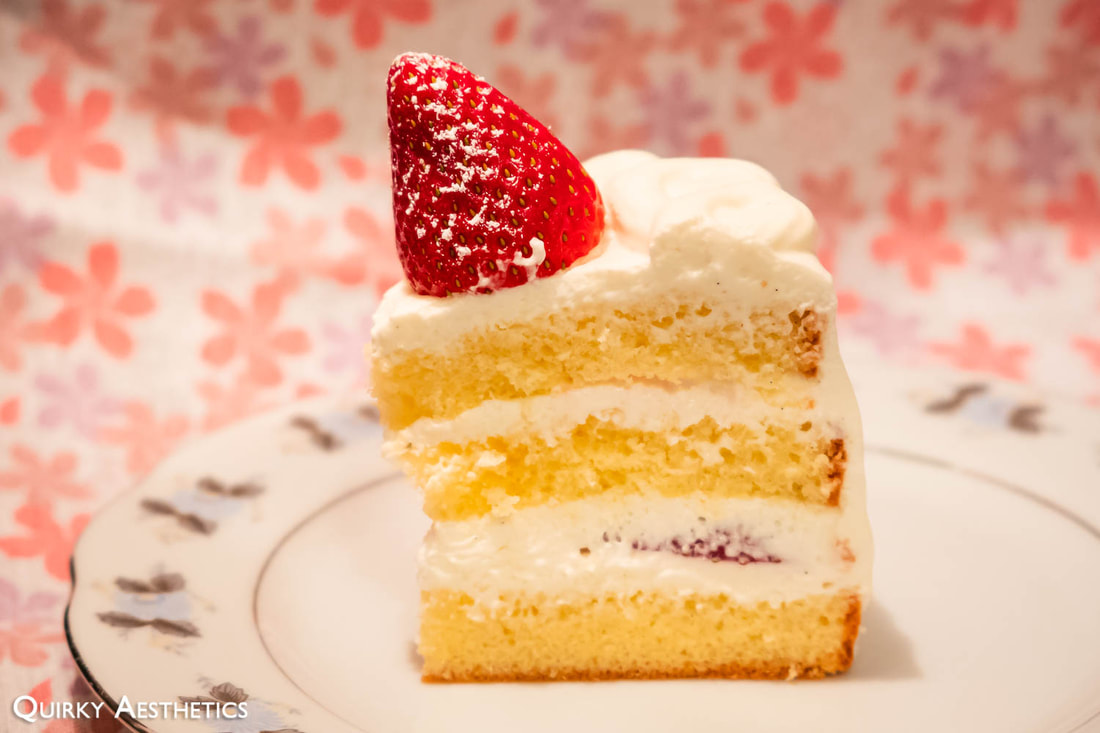
Post-pizza cravings had conjured a vivid image of fluffy sponge and cream, possible fitted with fresh fruit. "I want cake - Strawberry Shortcake." was announced while aimlessly sauntering through Yonge North York BIA's latest silk lantern exhibit at Mel Lastman Square.
1) Strawberry Shortcake
The timely purchase of discount Driscoll's strawberries, as well as discovery of their mould-bearing state, had facilitated the experiment accordingly. Heavy cream was already on hand; just one sponge - and perhaps two hours of active labour - stood between me and a delectable slice of cake. Needless to say, there was little to no resistance in commencing the process, though an unexpected water shutdown did cause a delayed start.
The timely purchase of discount Driscoll's strawberries, as well as discovery of their mould-bearing state, had facilitated the experiment accordingly. Heavy cream was already on hand; just one sponge - and perhaps two hours of active labour - stood between me and a delectable slice of cake. Needless to say, there was little to no resistance in commencing the process, though an unexpected water shutdown did cause a delayed start.
 |  |
Sunday Baking's recipe would be modified minimally for this trial, for it was already scaled for a 6" aluminum pan. The general formula would be as follows, noted with adjustments by yours truly:
| Ingredients: i) Genoise 3 Eggs 90 g cake flour 100 g granulated sugar 20 g honey 20 g butter, melted ii) Cream Filling 360 g heavy cream * 36 g granulated sugar 45g 1 tsp vanilla bean paste (optional) 1 tbsp gelatin * iii) Simple Syrup 200 g water, boiling 100 g granulated sugar | Directions:
|
Adjustments:
- Temperature + Ribbon Stage: When constructing genoise, raising the temperature of the eggs to 45 C ensures optimal aeration, thus promoting volume without compromising structure. Should the double-boiler step be omitted, as I often do for the sake of speed and fewer dishes, conducting visual checks is pivotal for success: the hue should be pale yellow, while the whipped mixture should be able to sustain a trail on the bowl's surface for a few seconds before slowly vanishing - the "ribbon stage". (The consistency is depicted clearly in a number of Cooking Tree's videos.) This is especially important to note if working in a cold kitchen, as Canadian winters (and faux springs) tend to generate in.
Tip: One can also be mindful of changes in viscosity while using a hand mixer, as greater friction results from a thickened, stabilized mixture.
 | 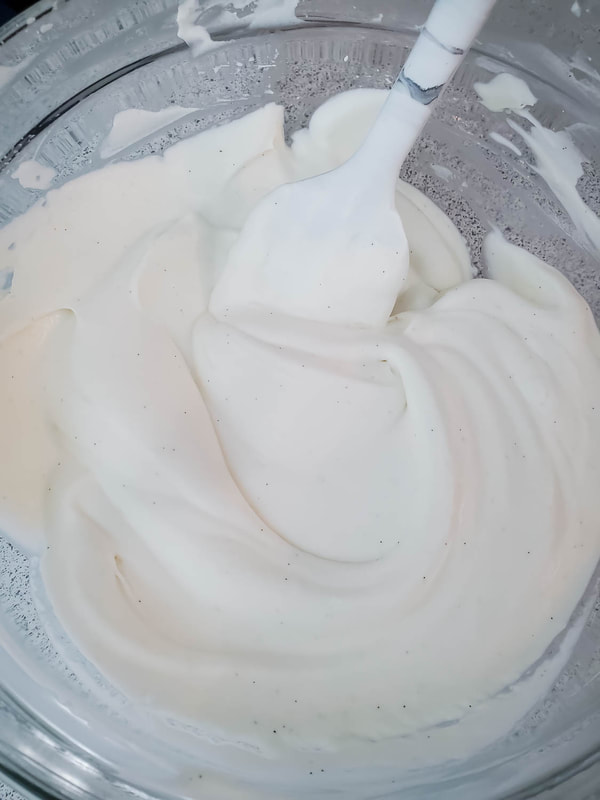 |
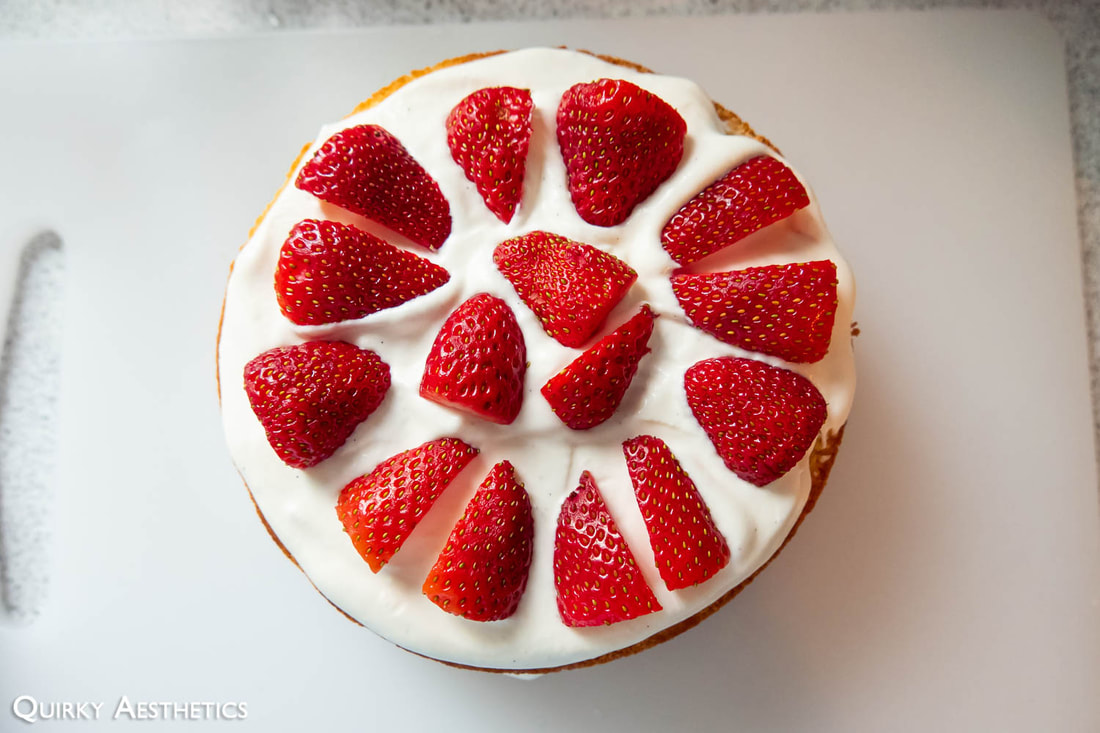
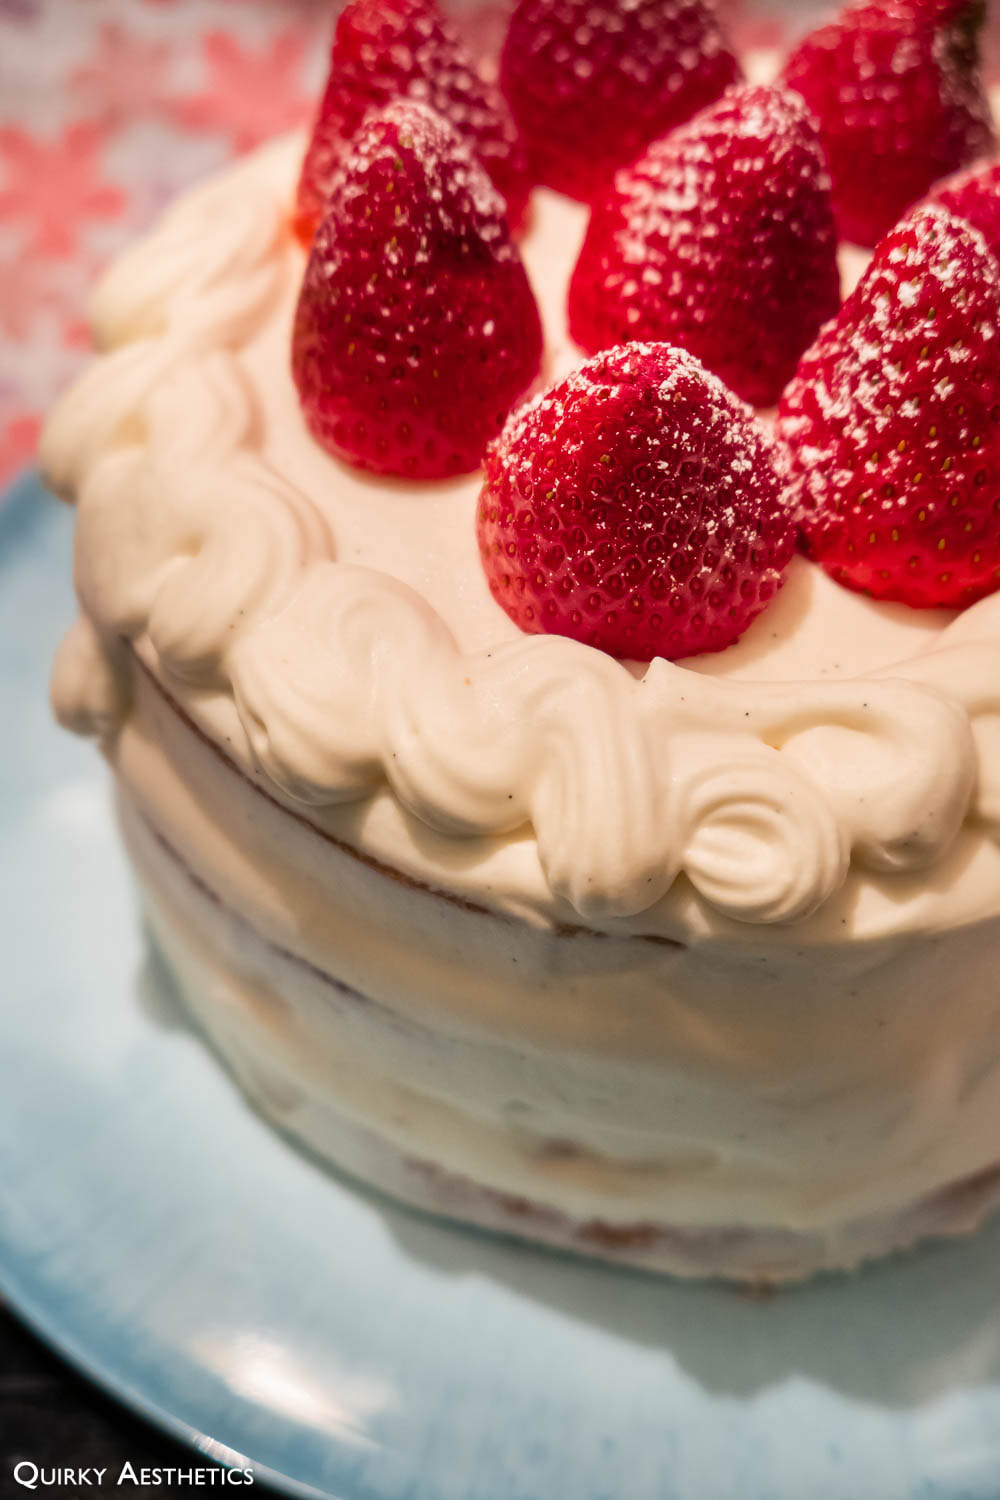
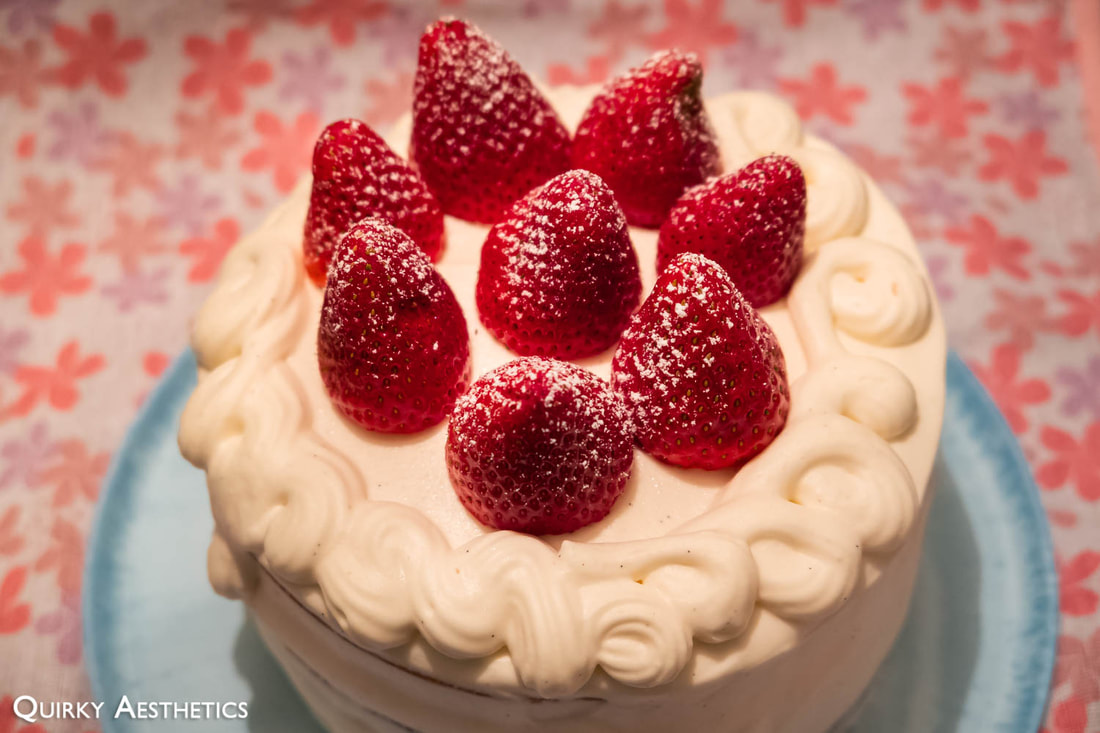
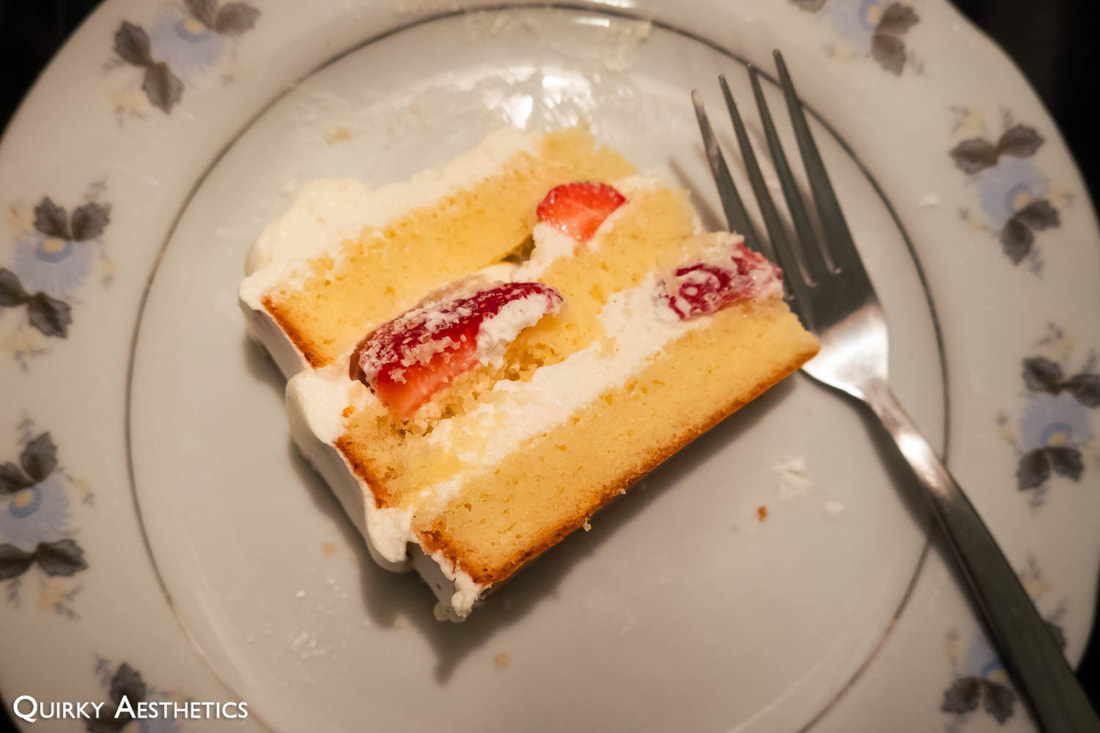
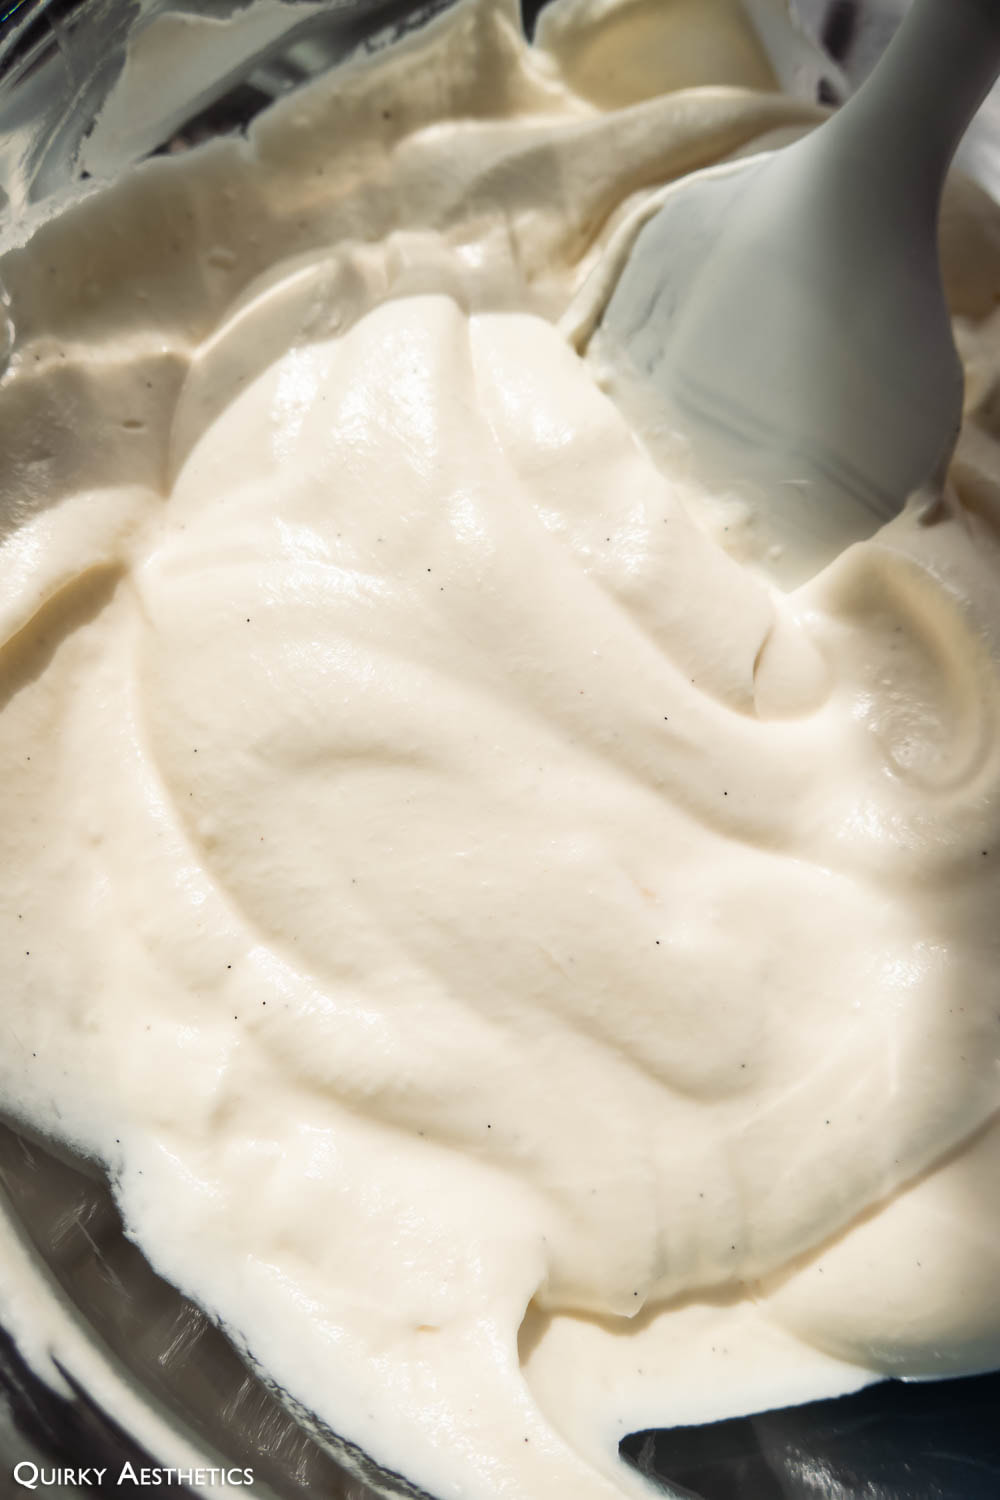
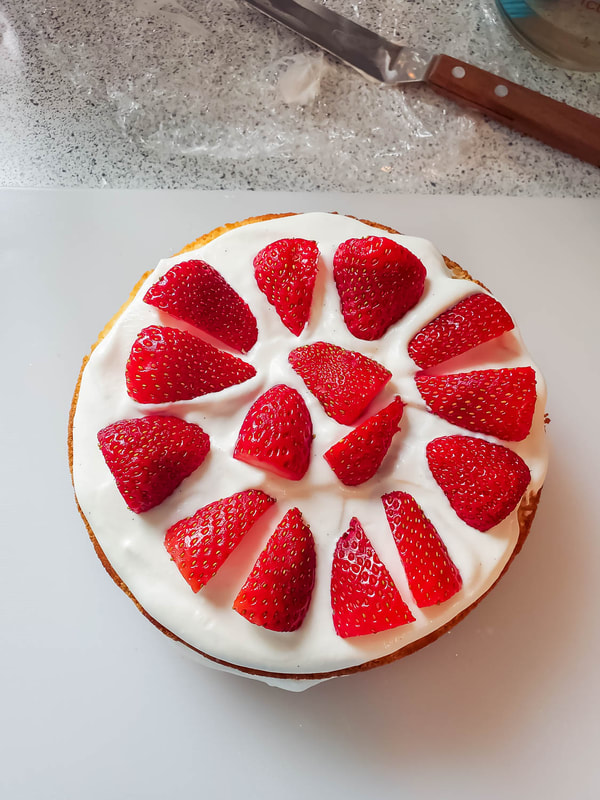
- Cream Filling: Sunday's recipe called for 450 g of heavy cream and a 1:10 ratio of sugar to cream. I settled for depleting the remainder of my cream carton and preserving the second container on hand and scaling the amount of sugar accordingly, however it is advised to adhere to the directed quantity to ensure adequacy in frosting the exterior. Ultimately, my rendition adopted the format of a naked cake due to insufficient cream.
 | 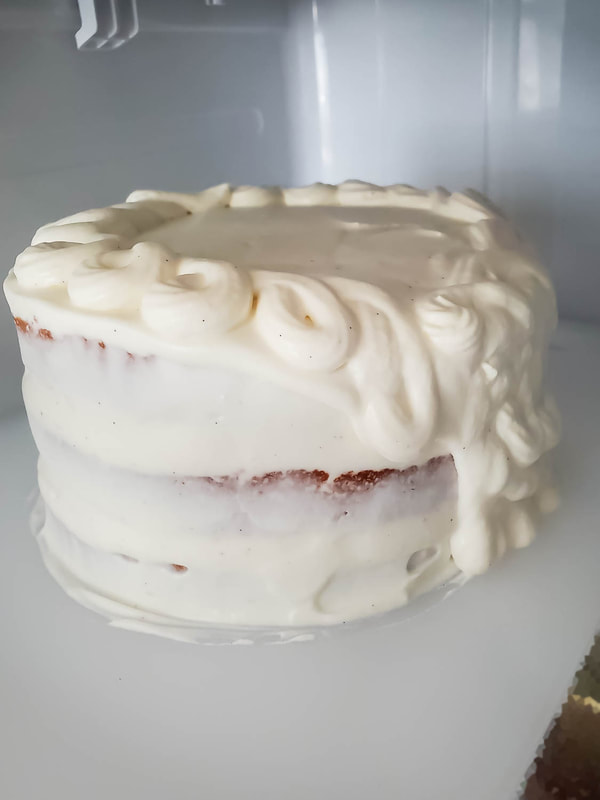 |
- Chill Time: To prevent my cream filling from weeping, 1 tbsp of gelatin was dissolved in an unmeasured quantity of water, let cool, then incorporated using sacrificial mixing. Given the introduction of liquid, the cream filling was more difficult to work with and chilling was non-negotiable before slicing and serving. Cream whipped to medium-stiff peaks (without the addition of gelatin) could likely be sliced in about three hours.
- Cake Flour: Due to the constituent of cornstarch, sifting of cake flour is not optional for any cake recipe. Sunday sifts her cake flour separately before commencing aeration of the eggs. Meanwhile, to reduce the number of dishes, I tend to sift the stabilizer directly into the bowl with a placed on top. Both methods will work.
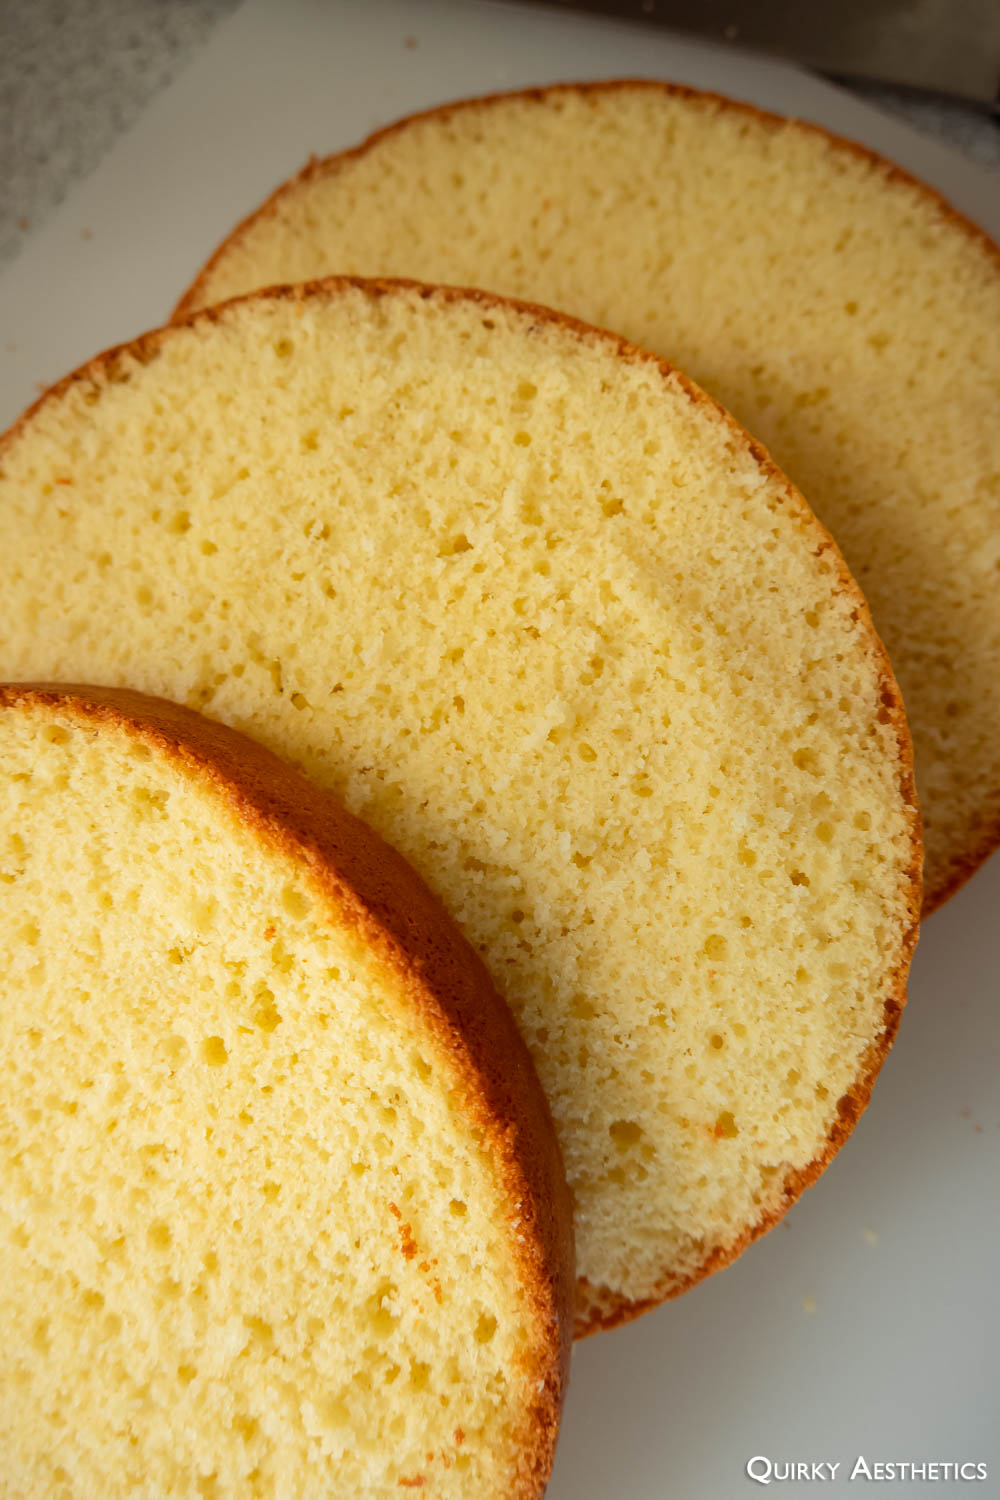
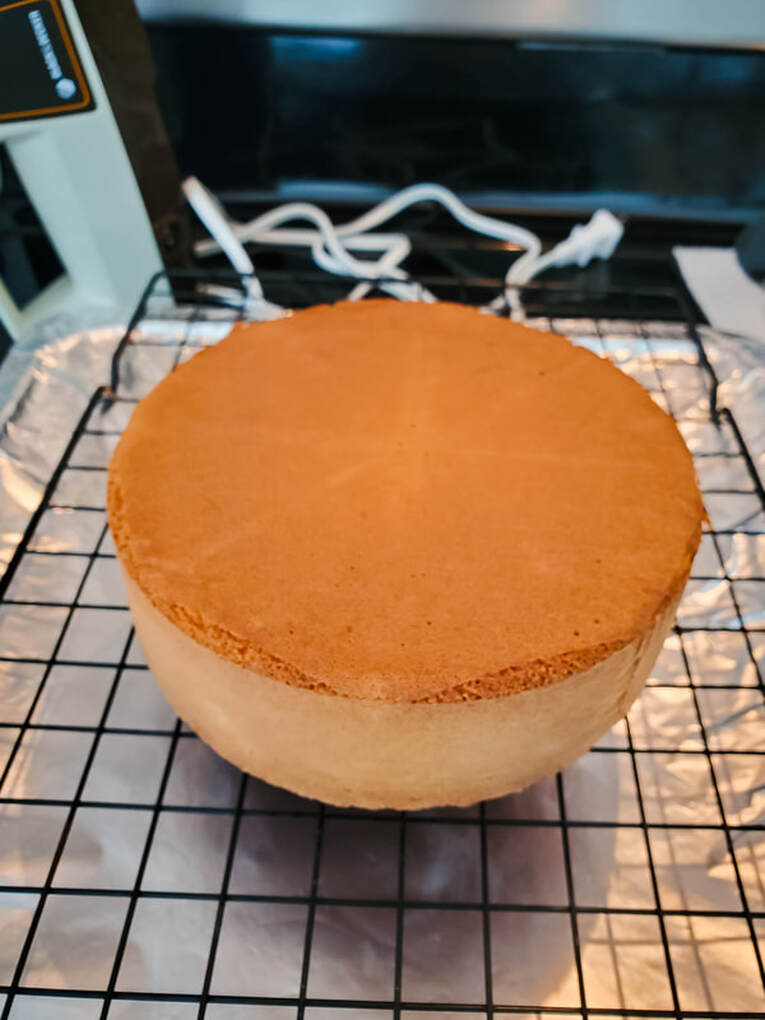
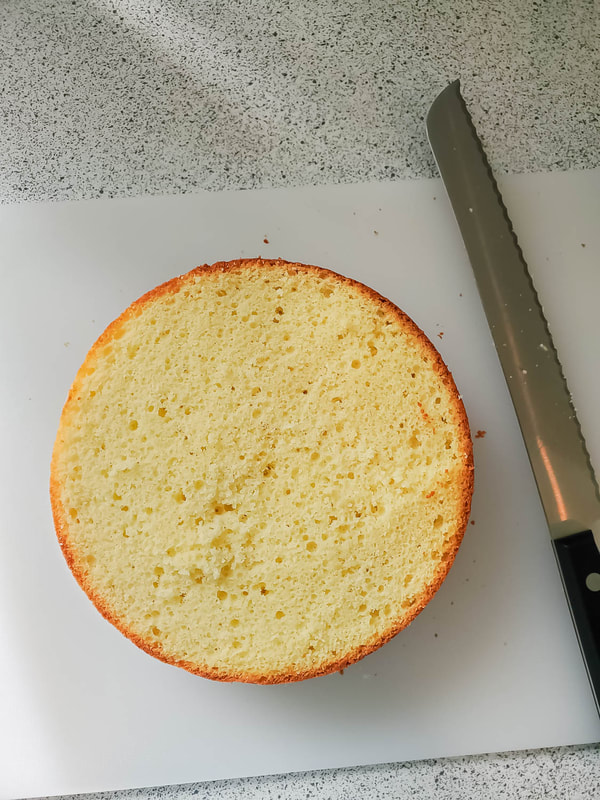
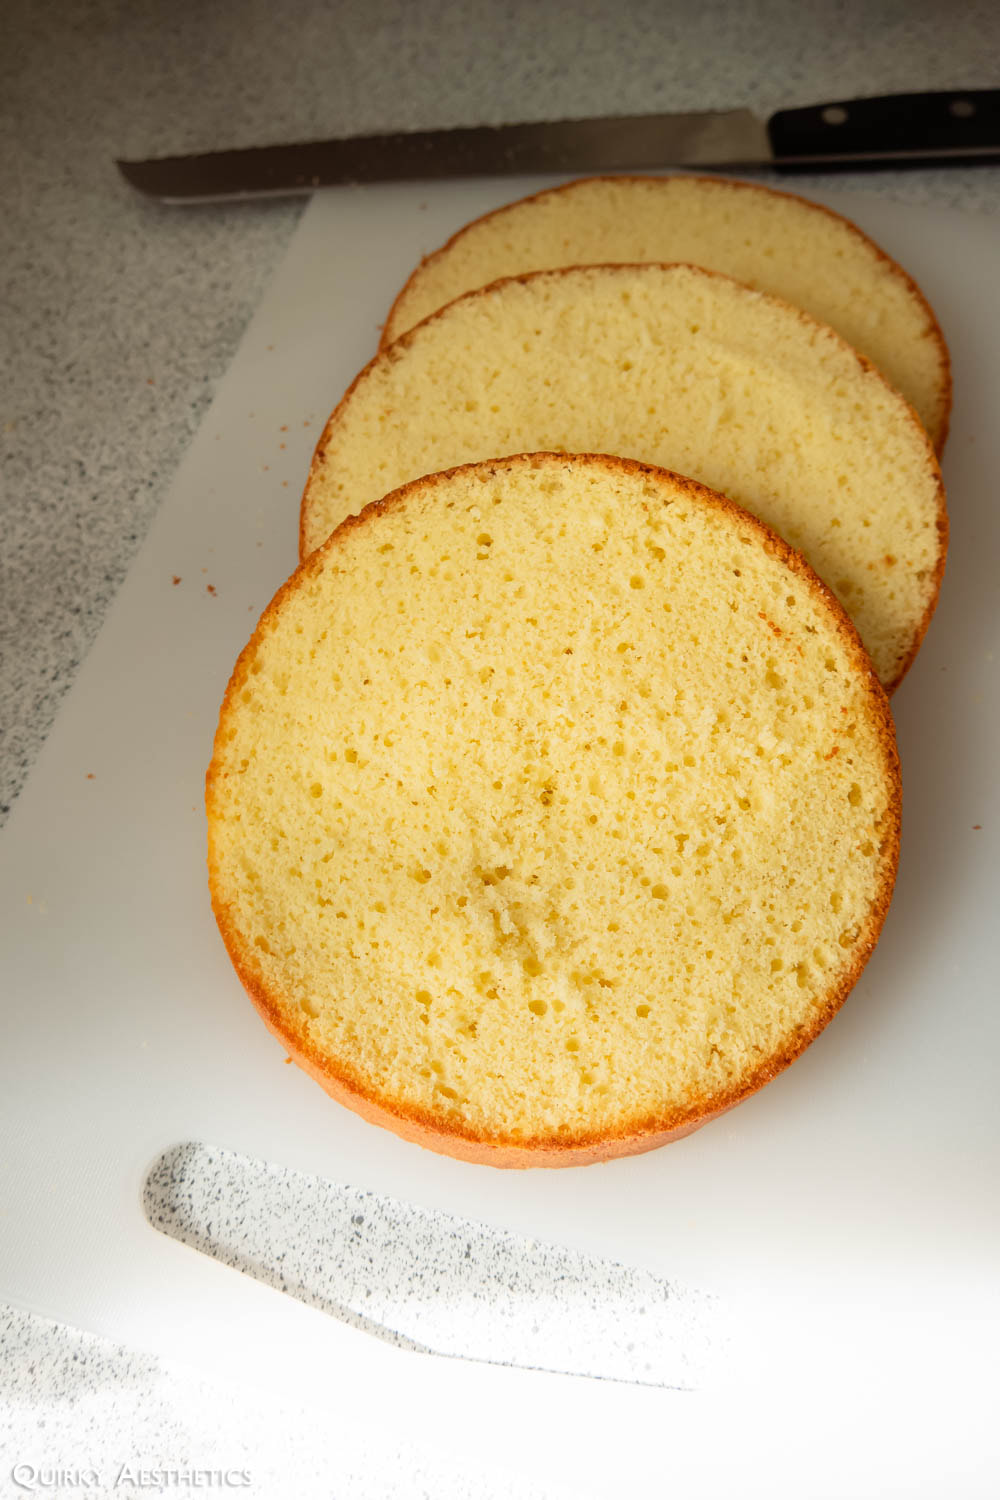
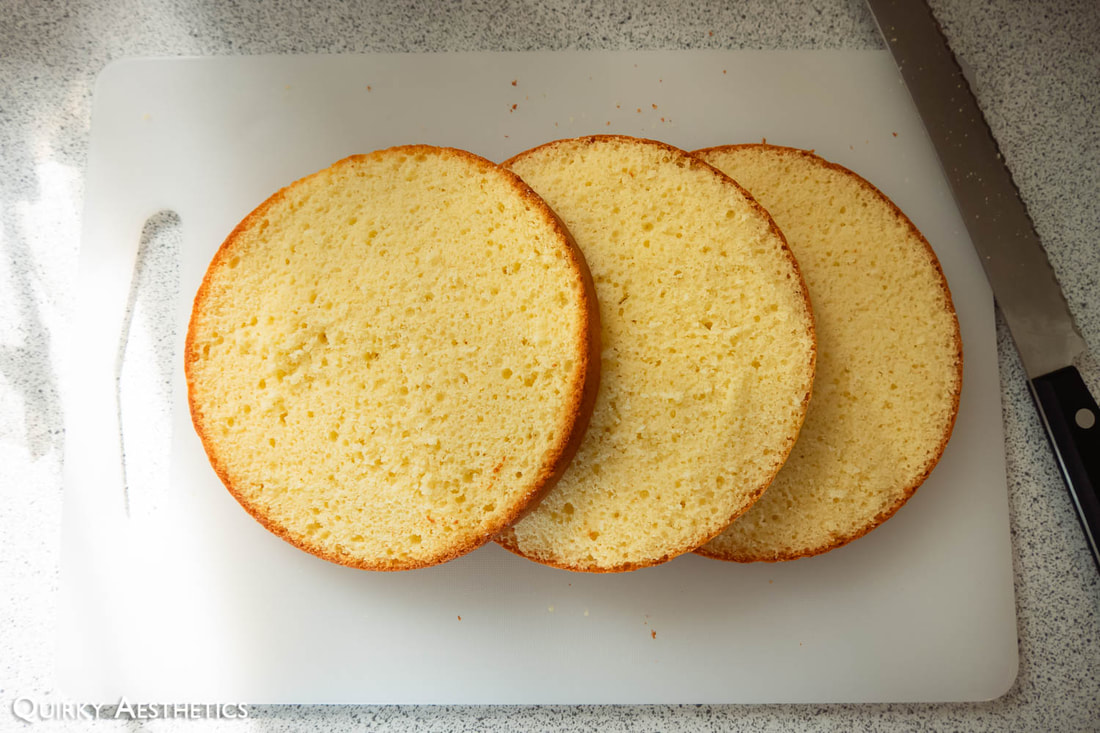
- Layer thickness: While Sunday does not specify a thickness for the cake sheets, I opted for 1 cm thickness. That said, the thickness of each layer will depend on:
a) Height after cooling - Though not included in her recipe, my cake was cooled upside down as height insurance.
b) Height after trimming the top
c) Structural integrity - Sheets that are too thin will crumble and resist transport/layering
a) Height after cooling - Though not included in her recipe, my cake was cooled upside down as height insurance.
b) Height after trimming the top
c) Structural integrity - Sheets that are too thin will crumble and resist transport/layering
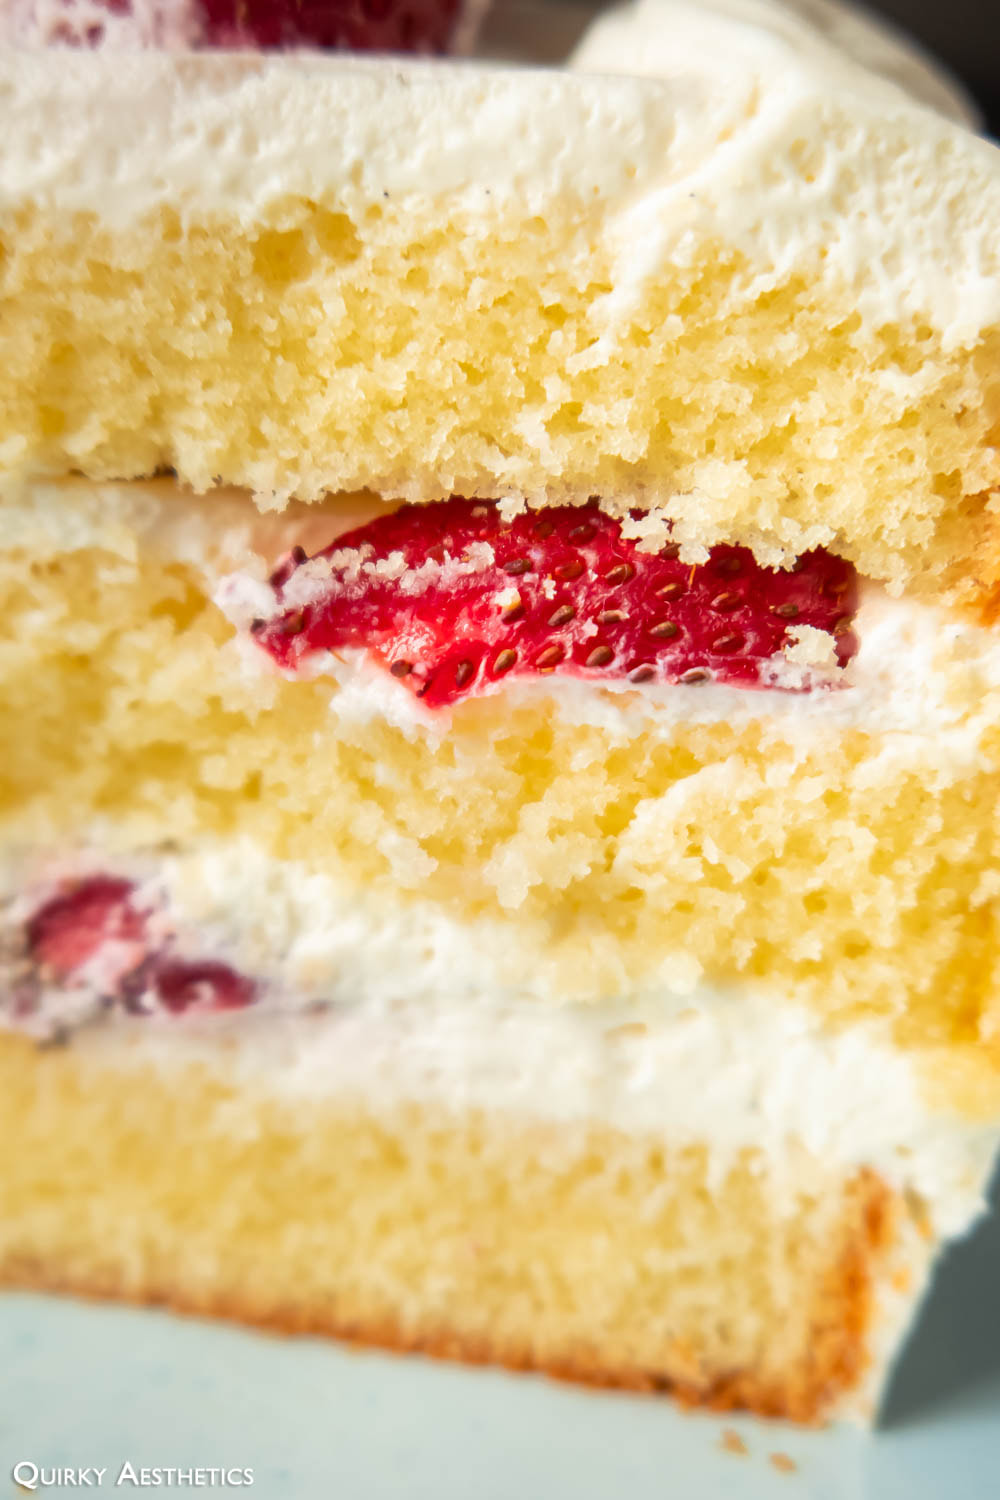
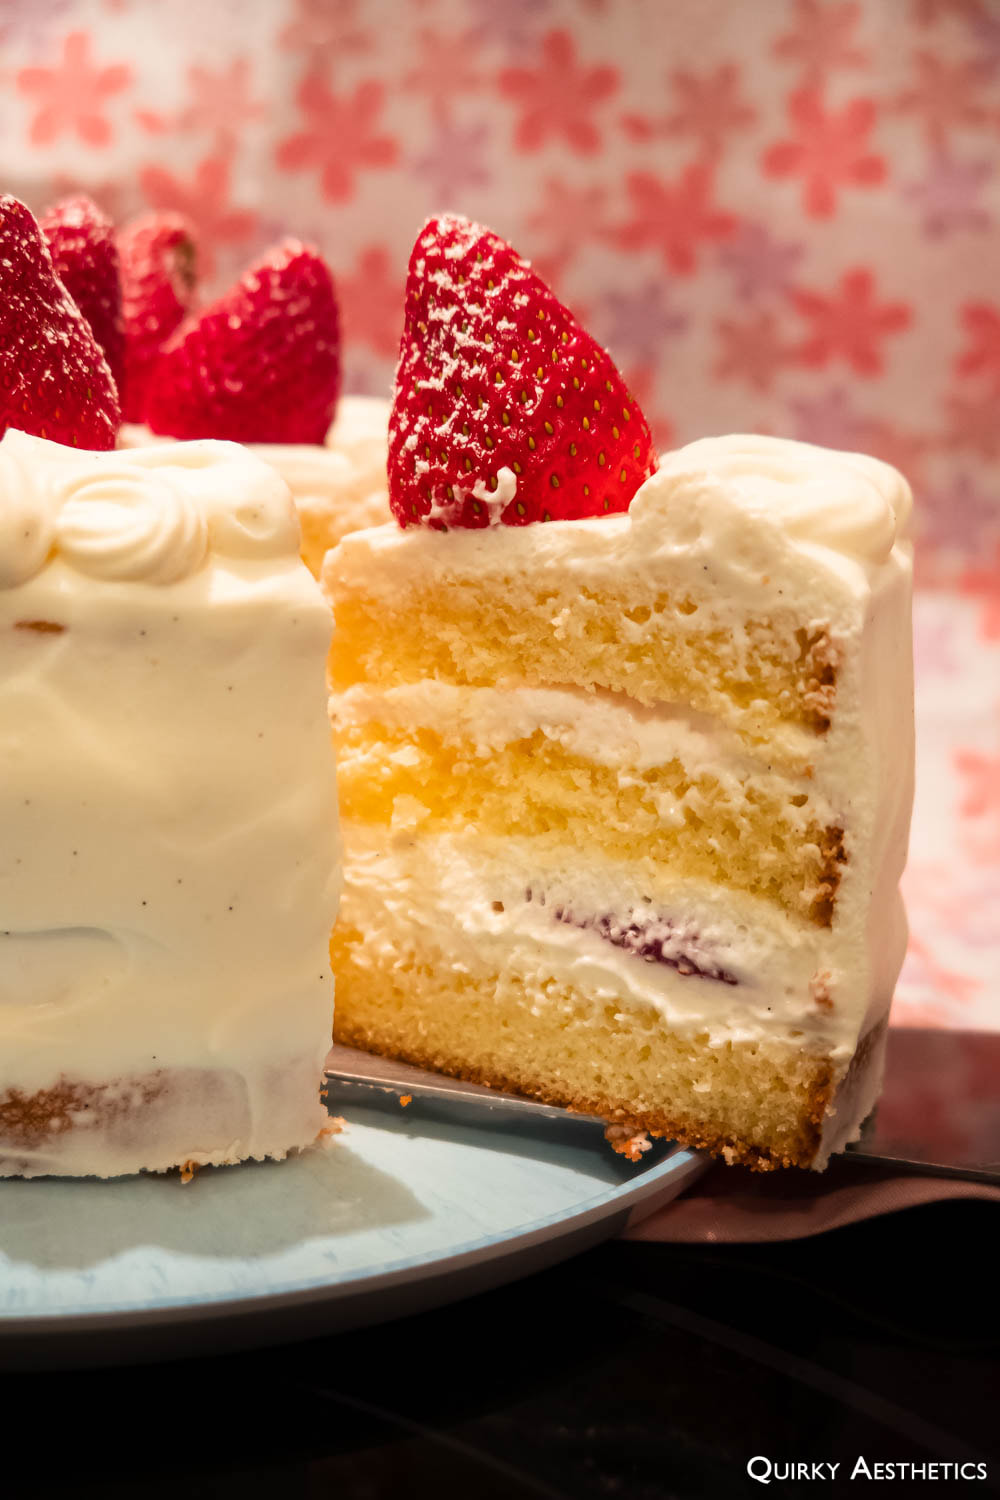
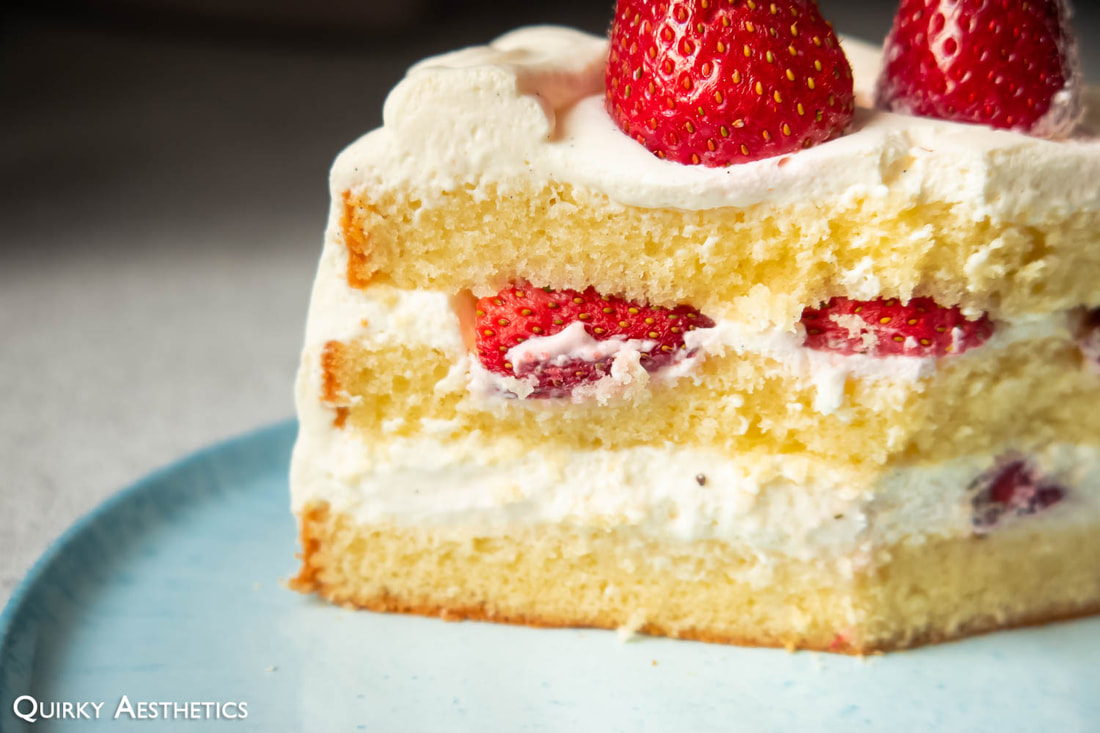
The genoise was straightforward, comprising of just five ingredients, none of which were chemical leavener. Using butter instead of oil improved structural integrity of the cake, not only making the sponge easier to slice even while warm, but also easing the transport of layers without fear of breakage. There was noticeably less crumb fall compared to oil-based cakes, which are often tender and require delicate handling. A large amount of sugar promoted structure, as did meticulous greasing and lining of the pan of choice.
It is worth noting that Sunday did not exclude simple syrup for the cake in spite of using honey in the sponge. The 1:2 ratio of sugar to water was a tad cloying for my liking, giving that both the cream and sponge already contained sugar. Further iterations shall see a reduction in sugar, probably to a 1:3 ratio.
It is worth noting that Sunday did not exclude simple syrup for the cake in spite of using honey in the sponge. The 1:2 ratio of sugar to water was a tad cloying for my liking, giving that both the cream and sponge already contained sugar. Further iterations shall see a reduction in sugar, probably to a 1:3 ratio.
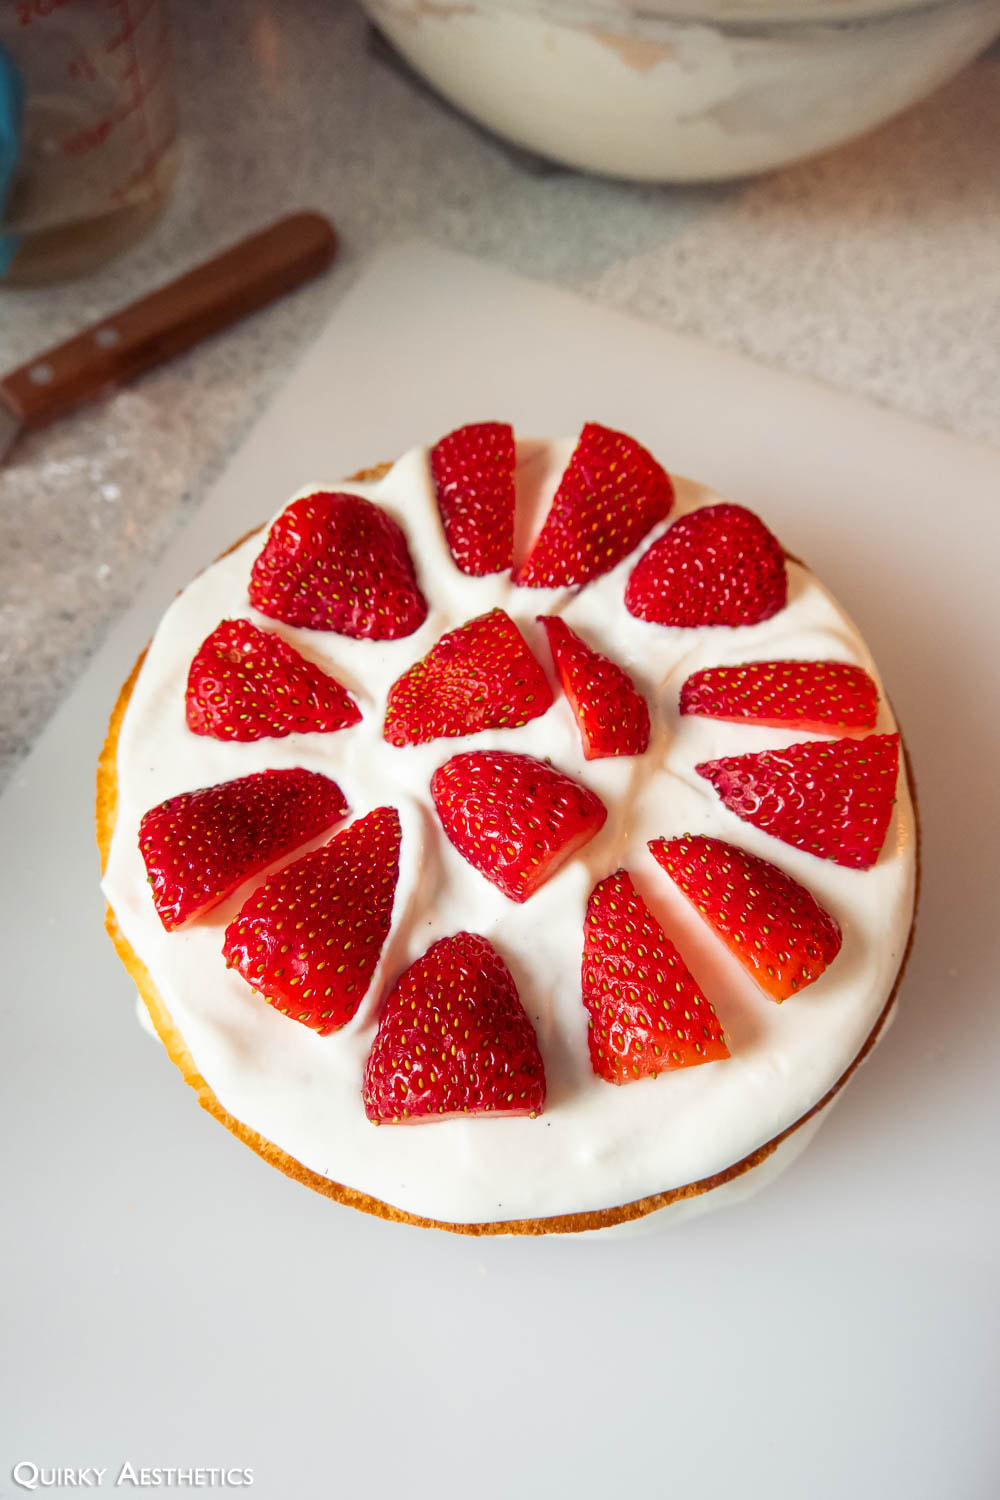
Layered cakes are wonderful projects to undertake given their straightforward construction, foundational components, and versatility. With regard to this concoction, strawberry jam could potentially be used as part of the surface decorations, contributing additional berry-infused depth. (Of course, one ought be mindful to prevent the creation from bordering too close to Victoria Sponge if that route is chosen.)
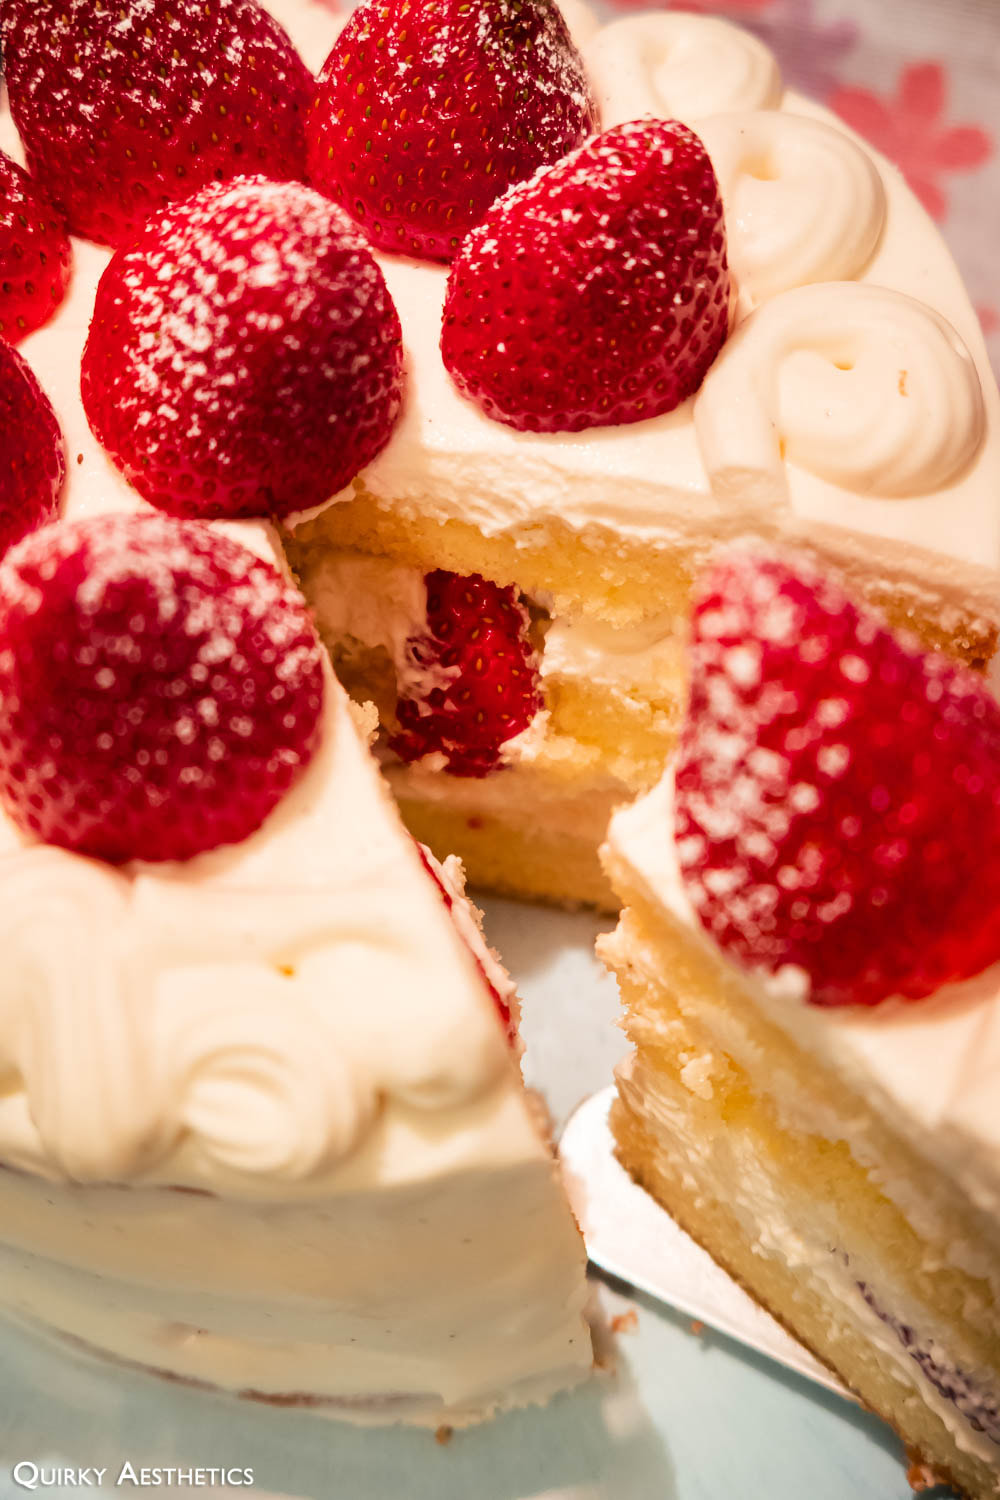

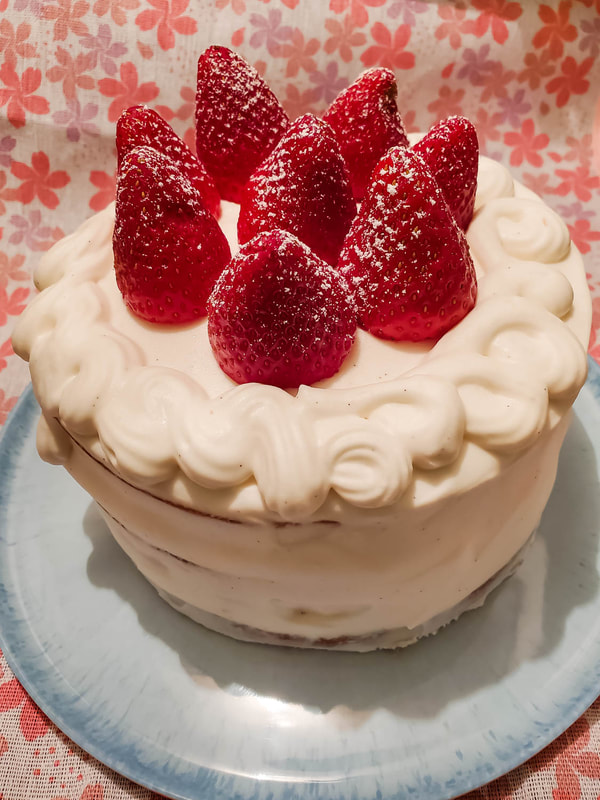
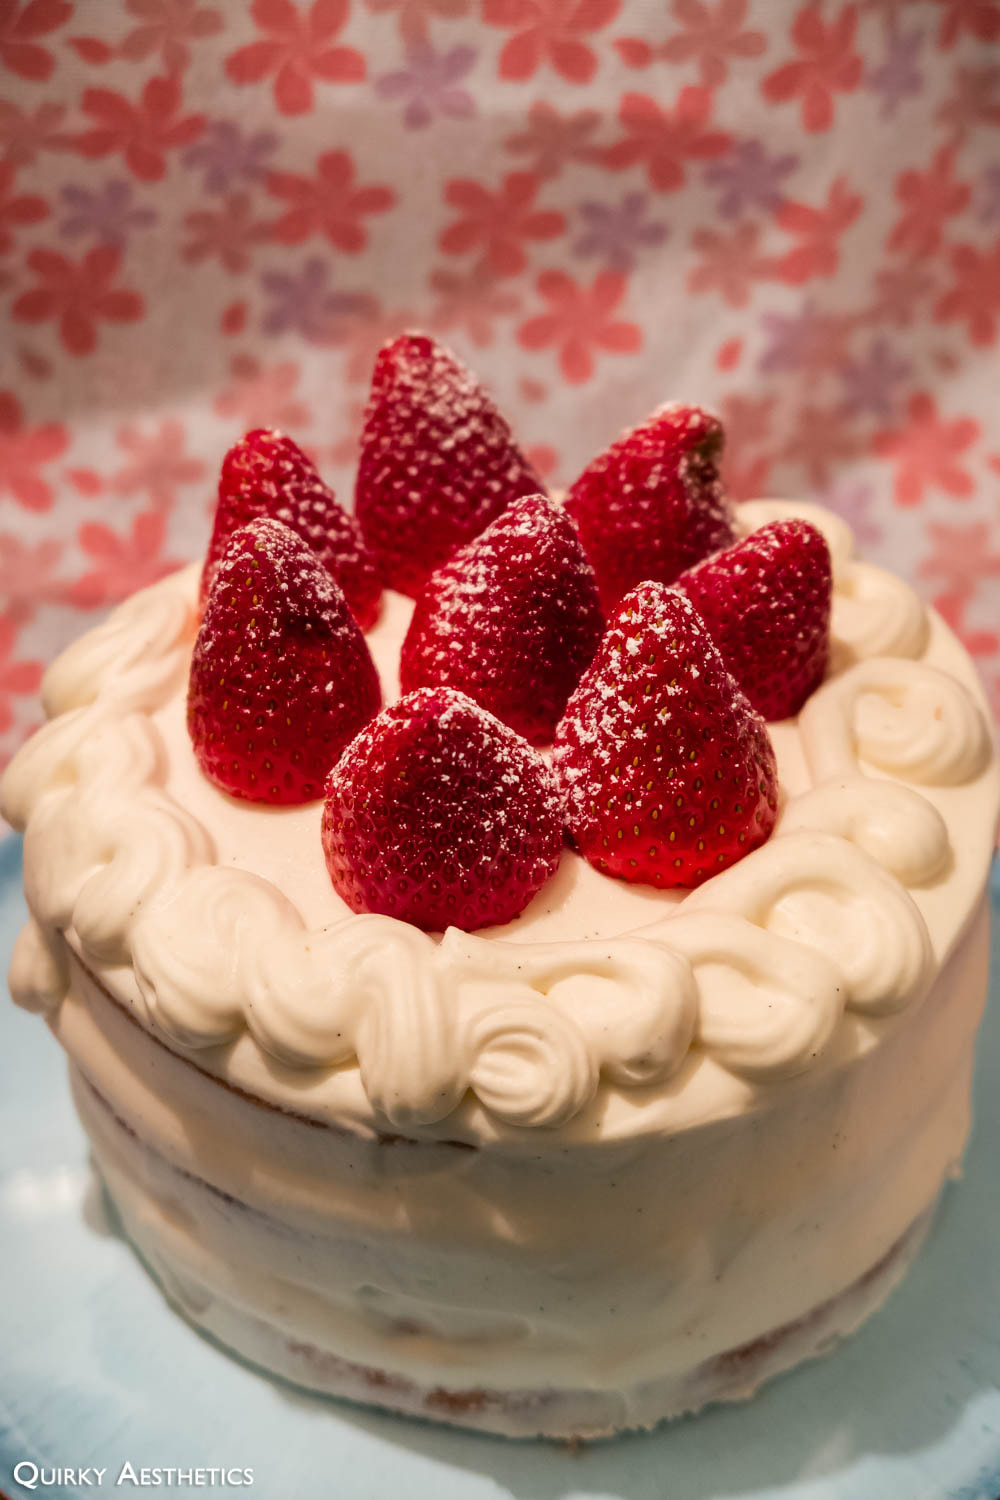
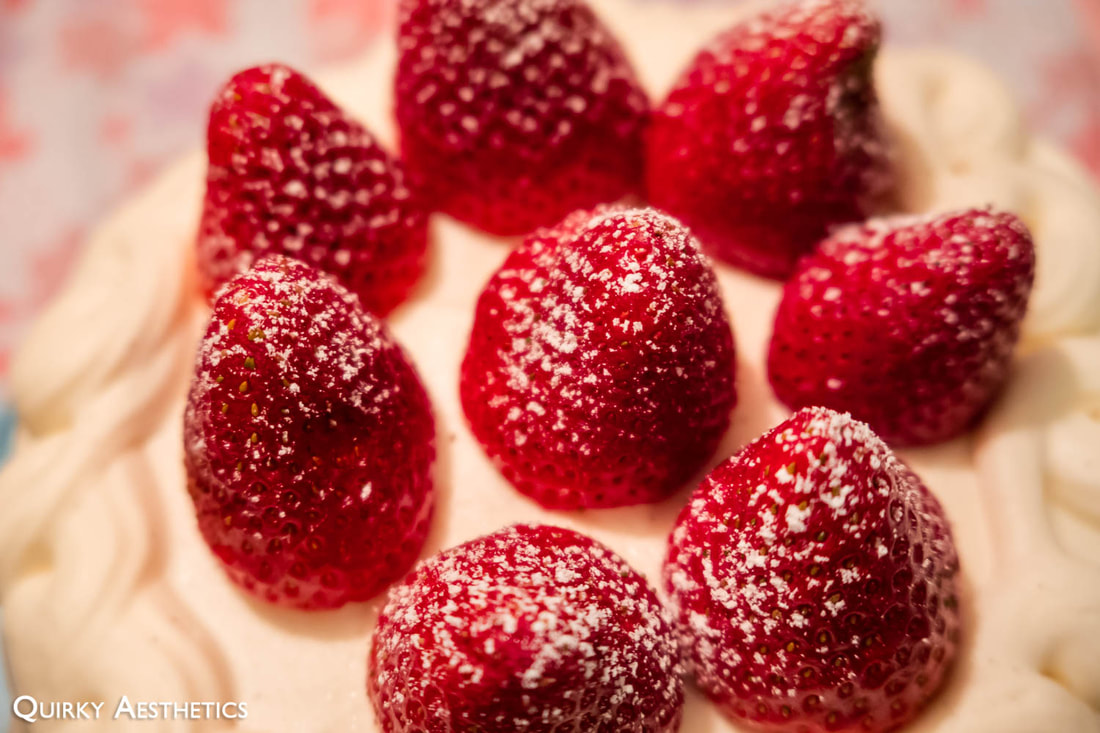
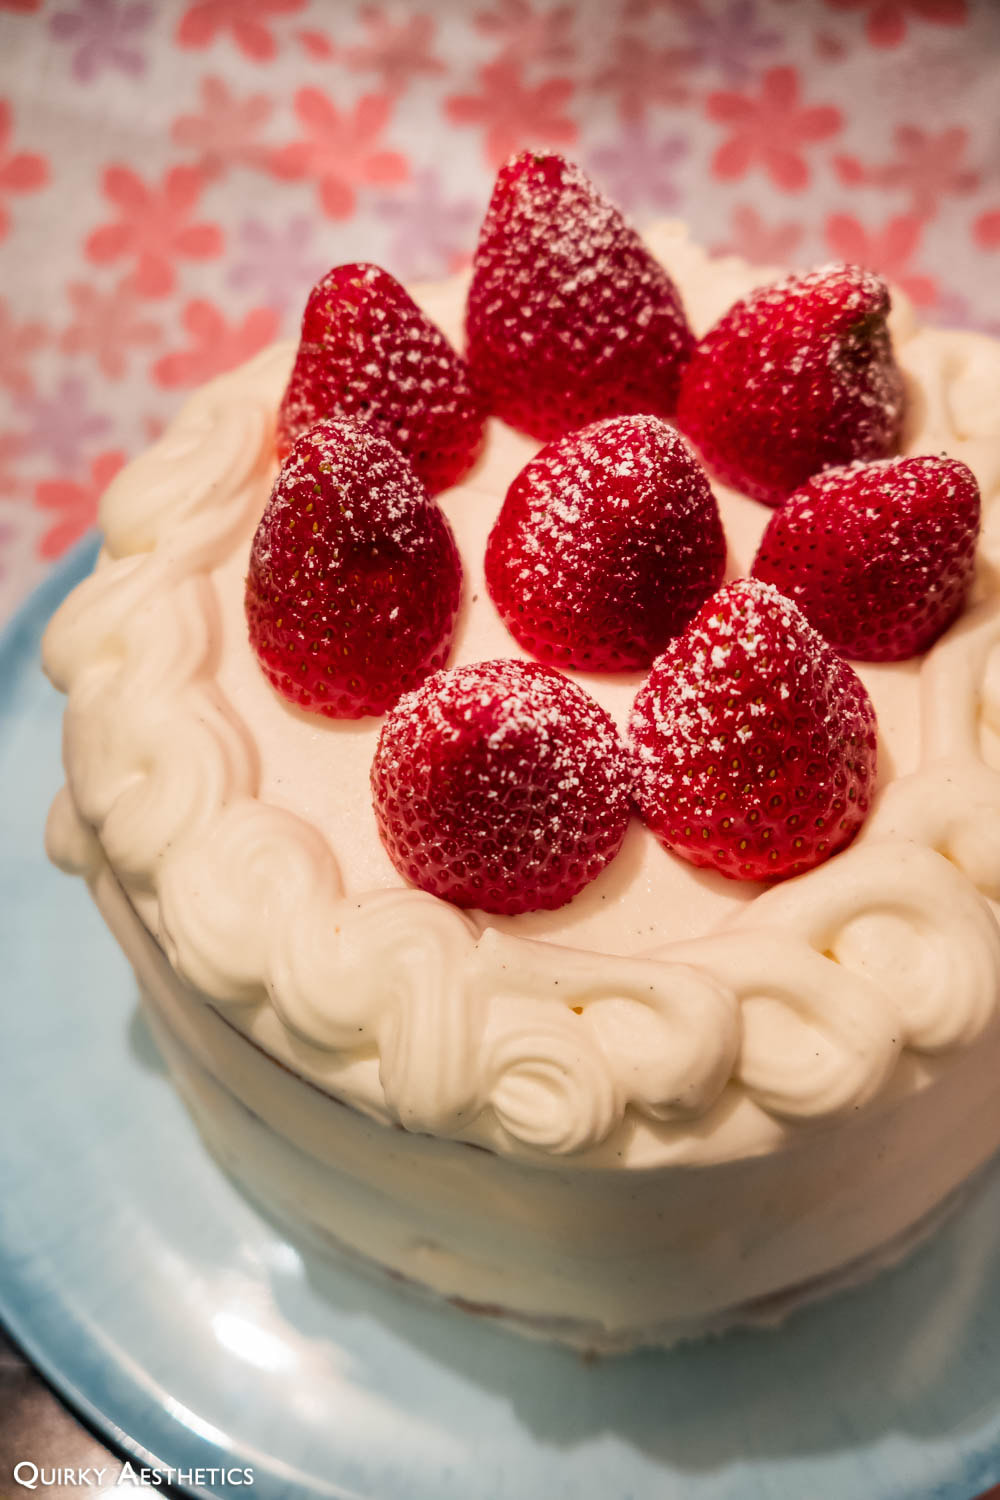
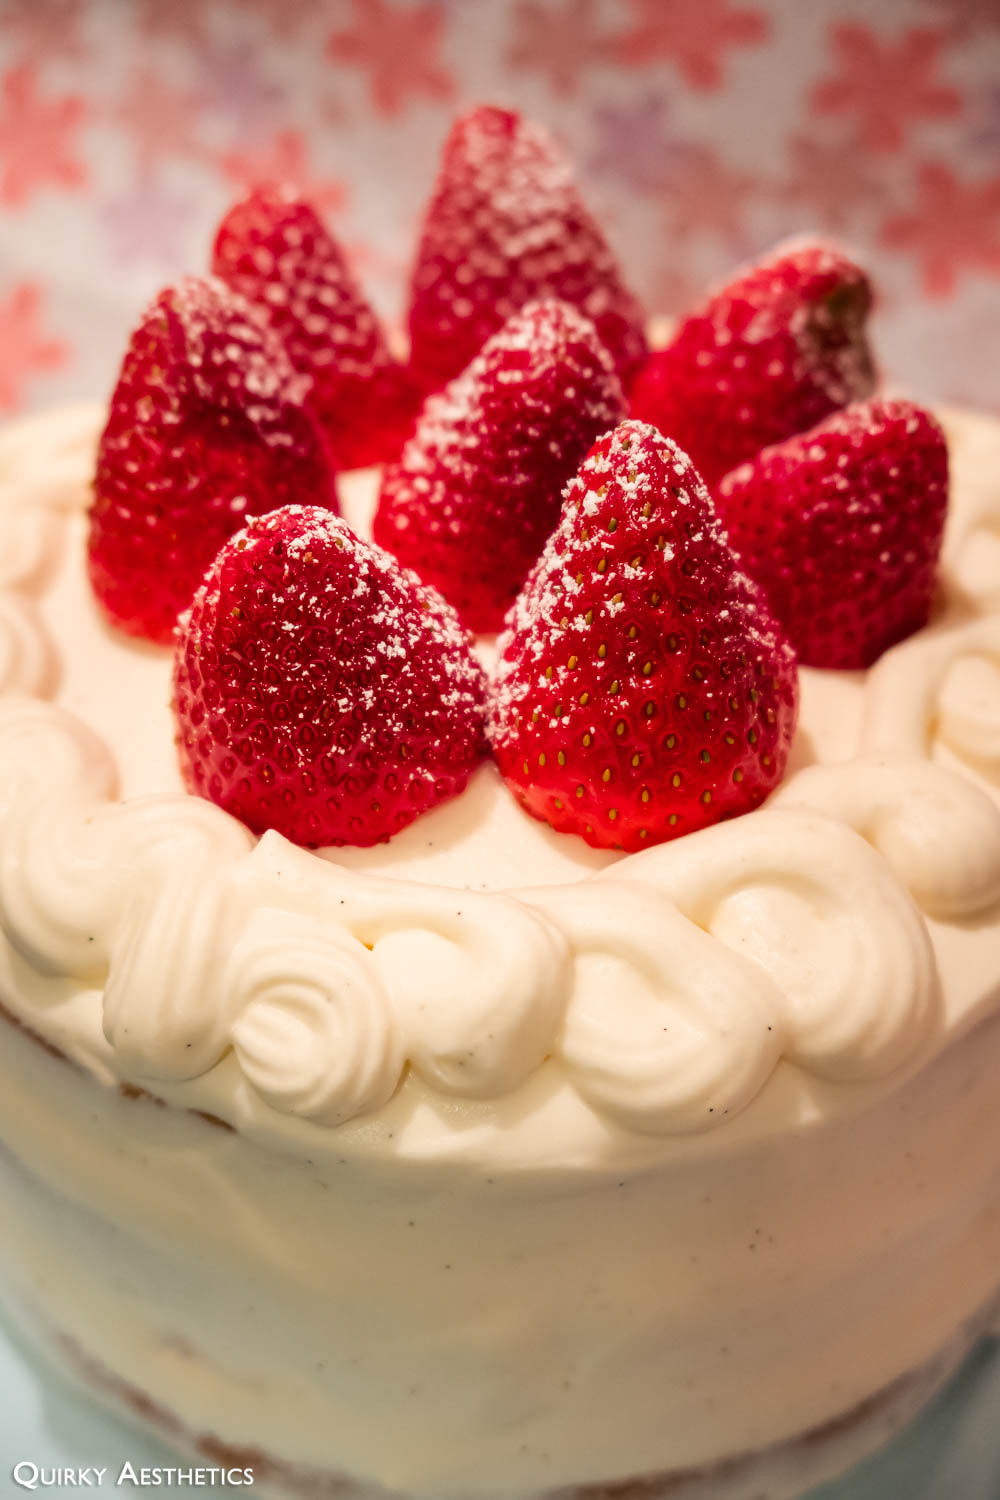
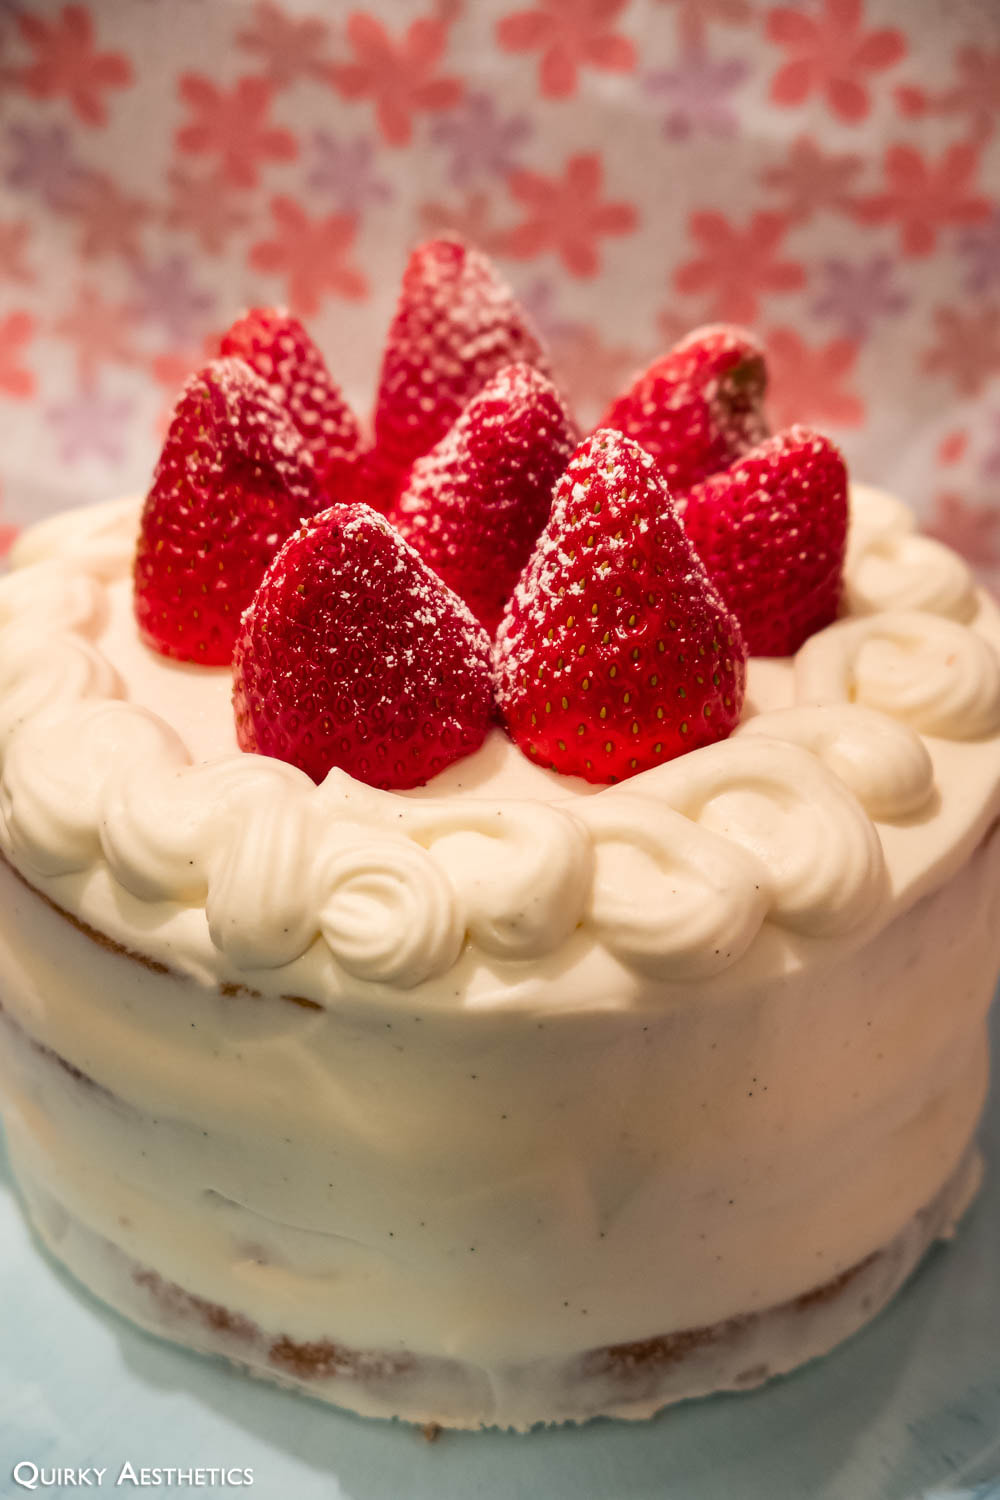
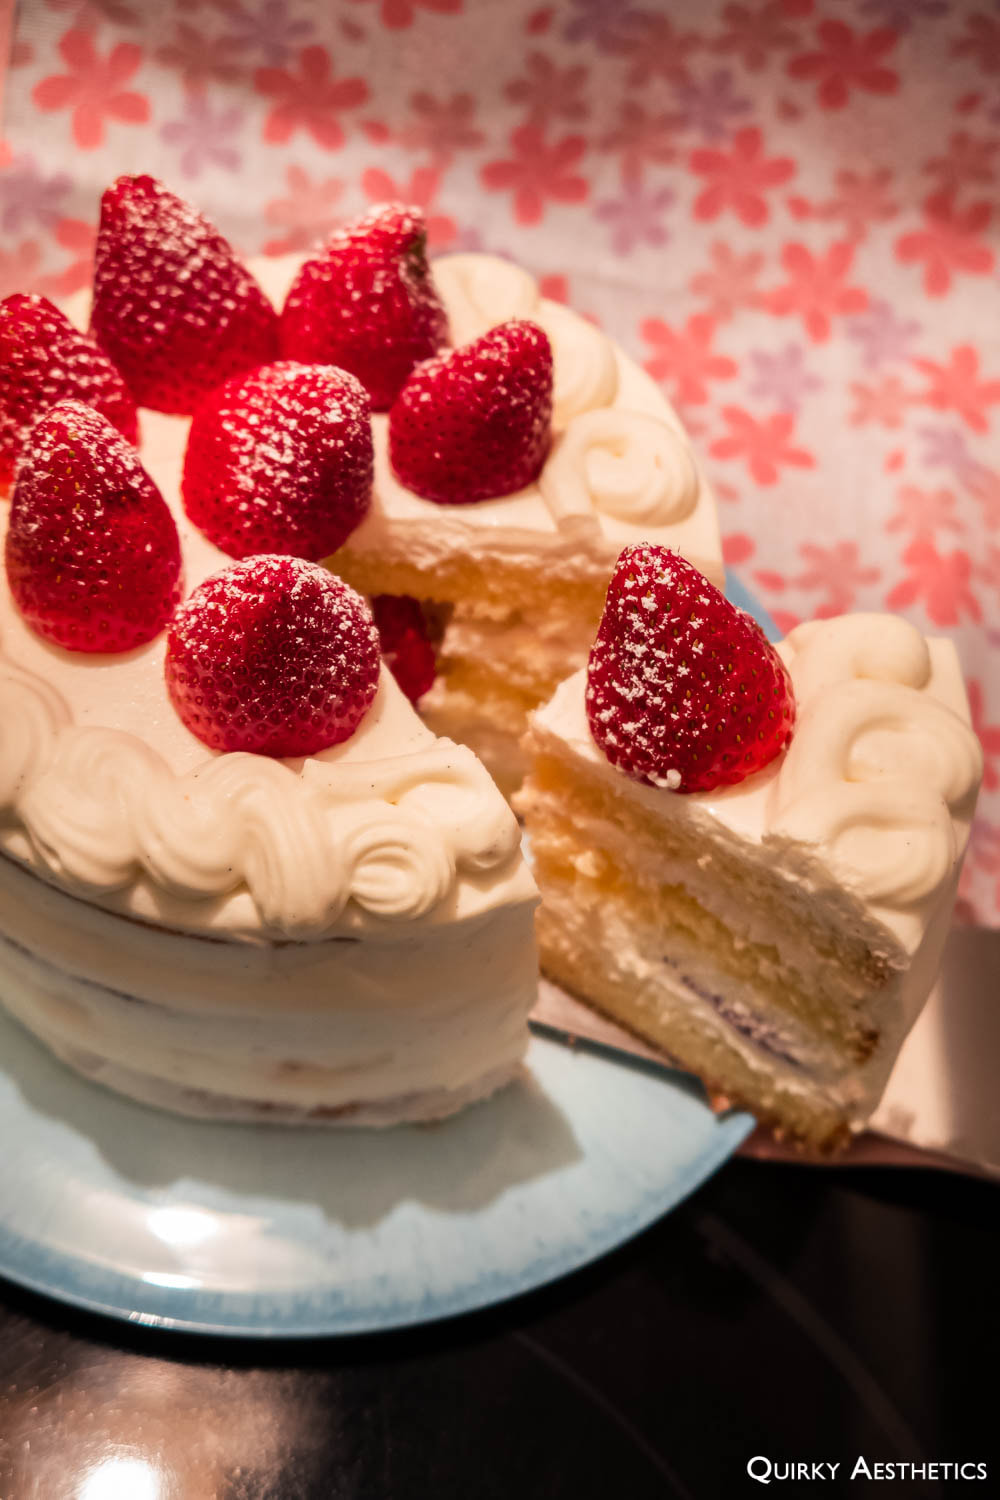
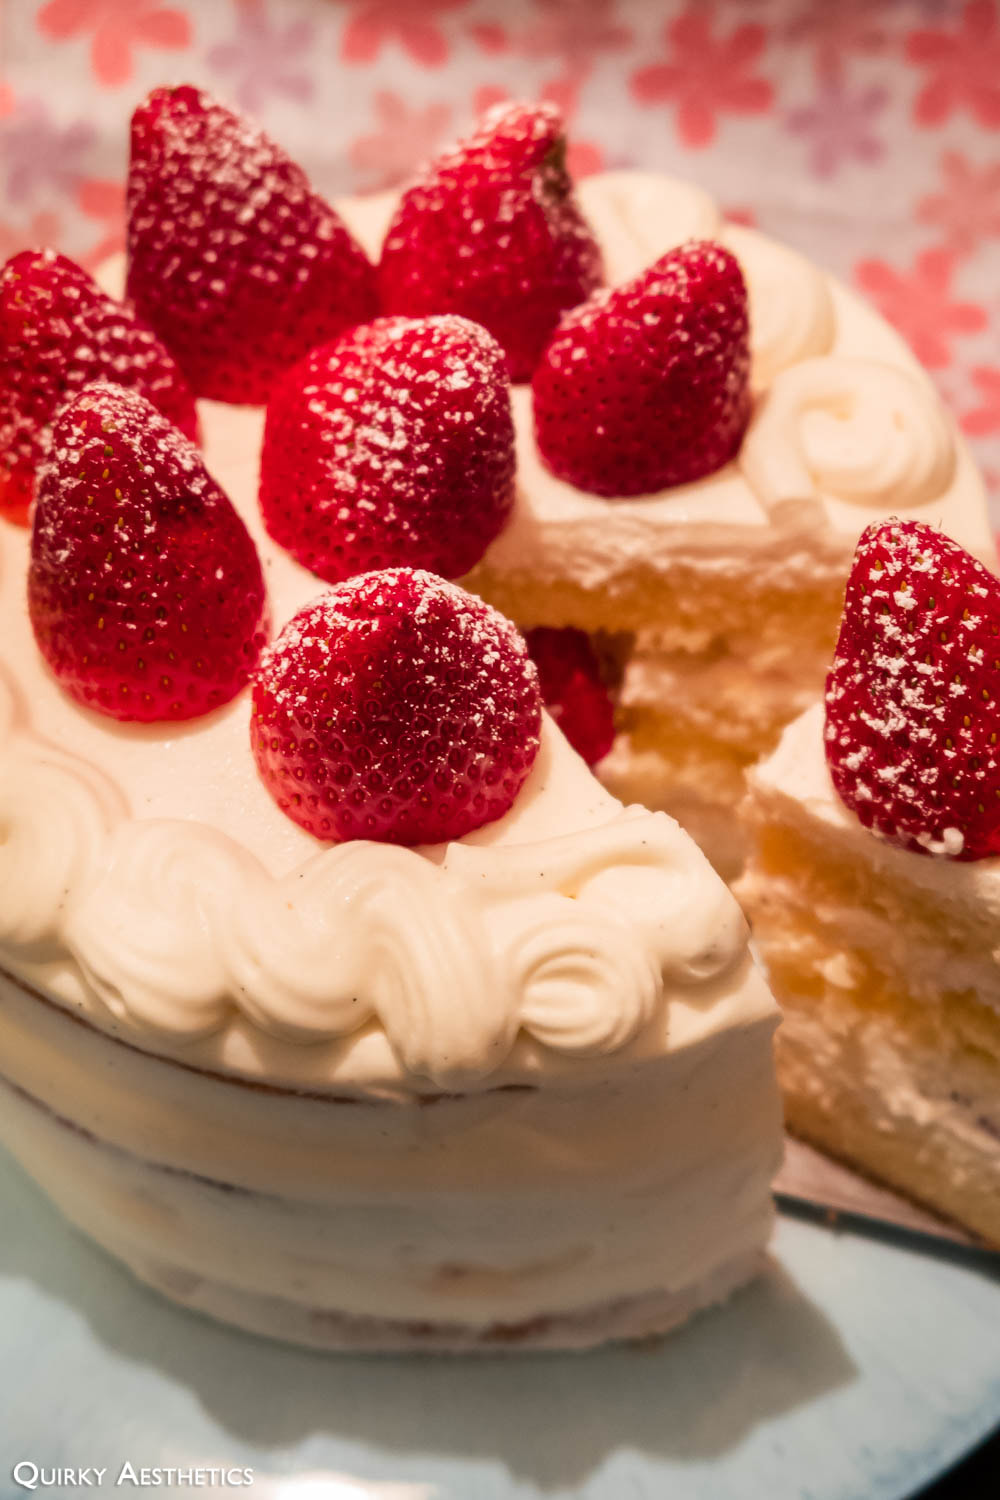
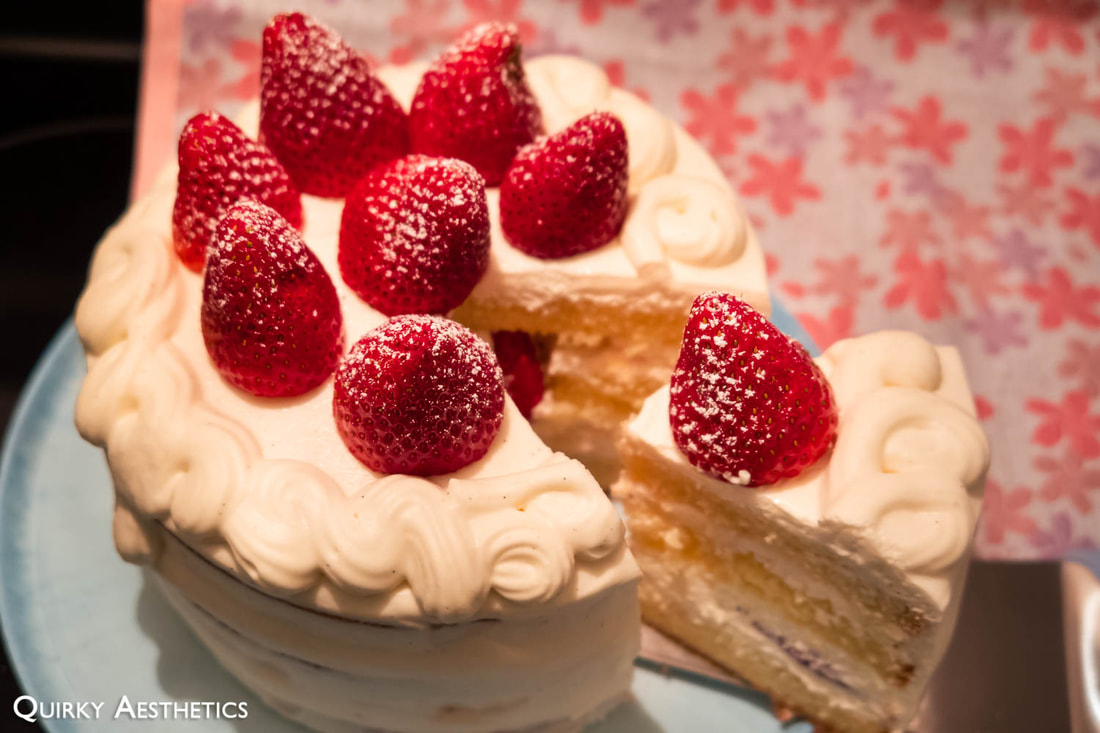
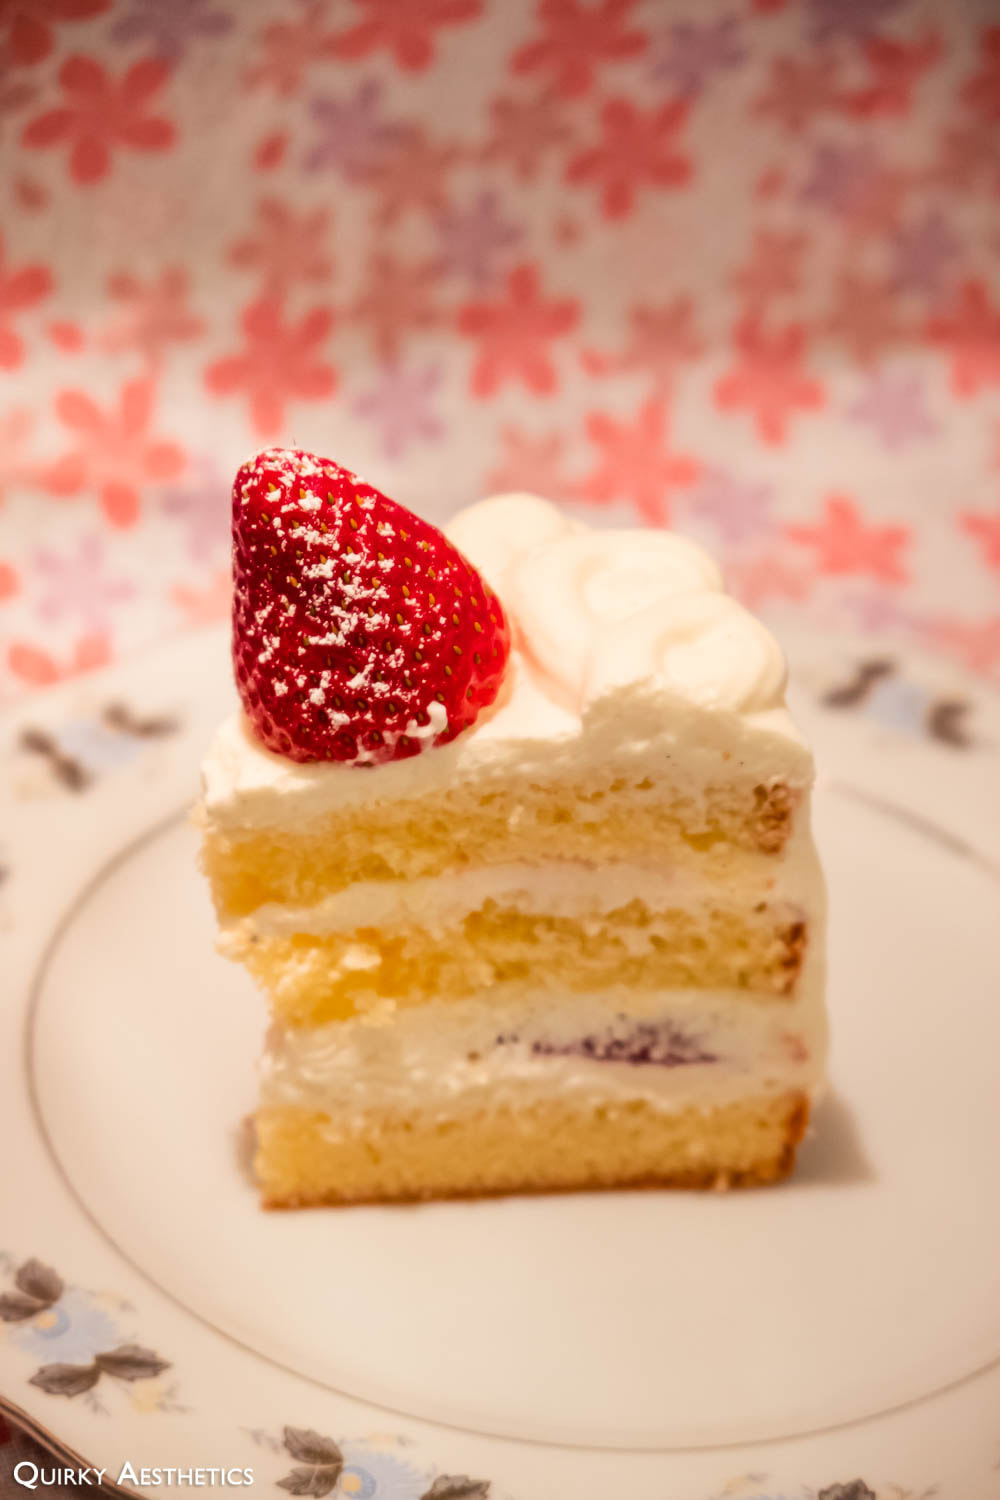
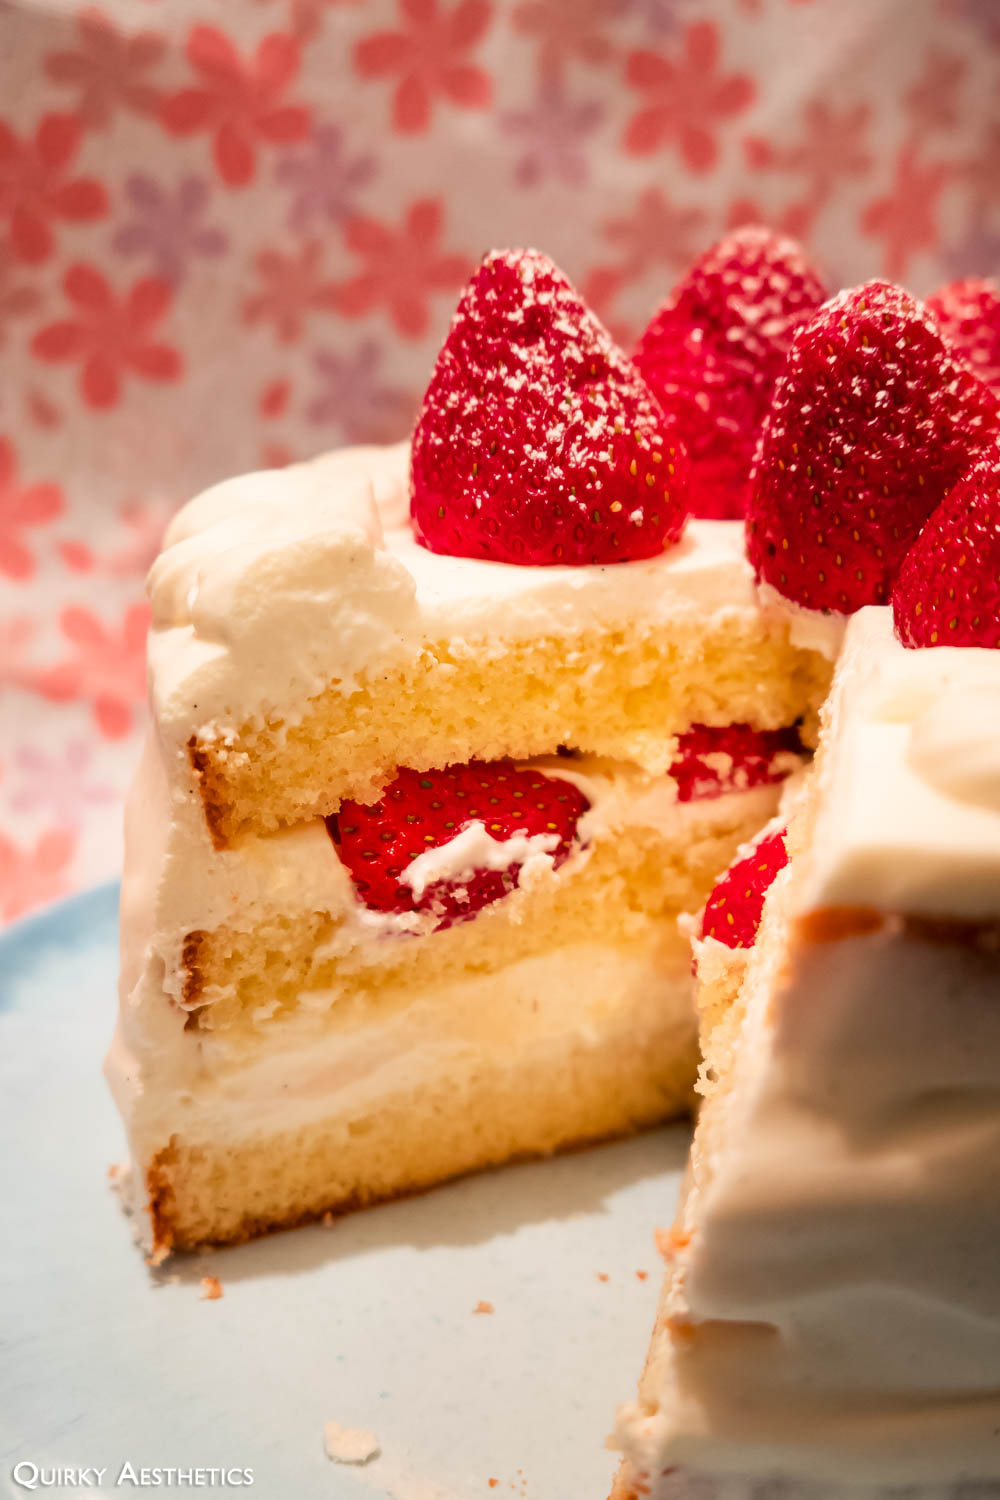
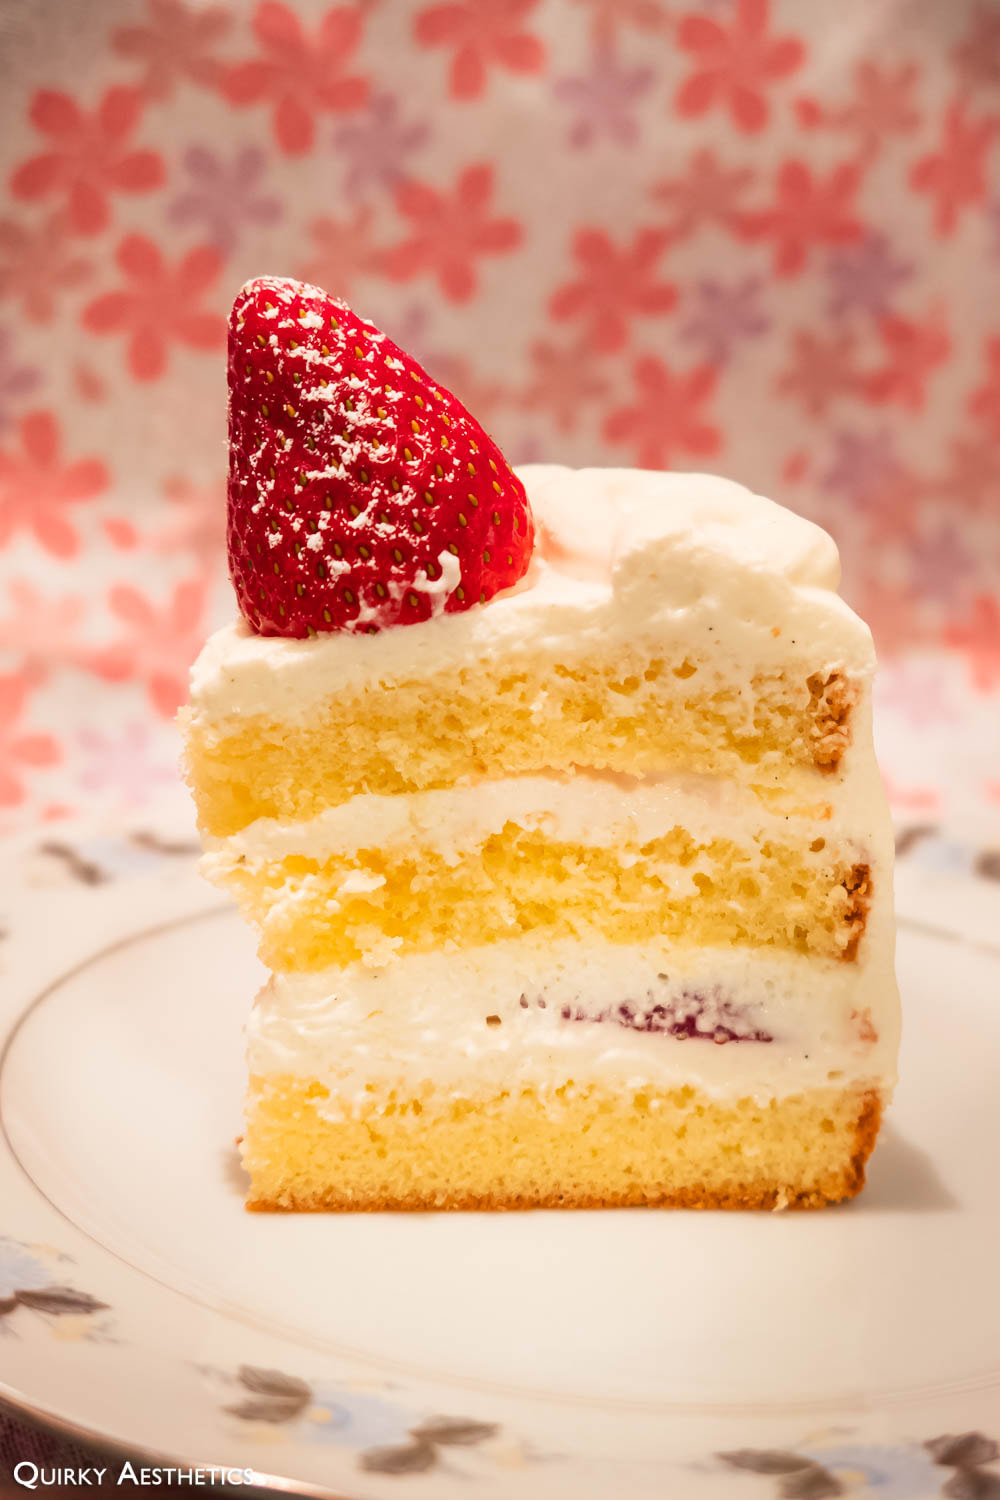
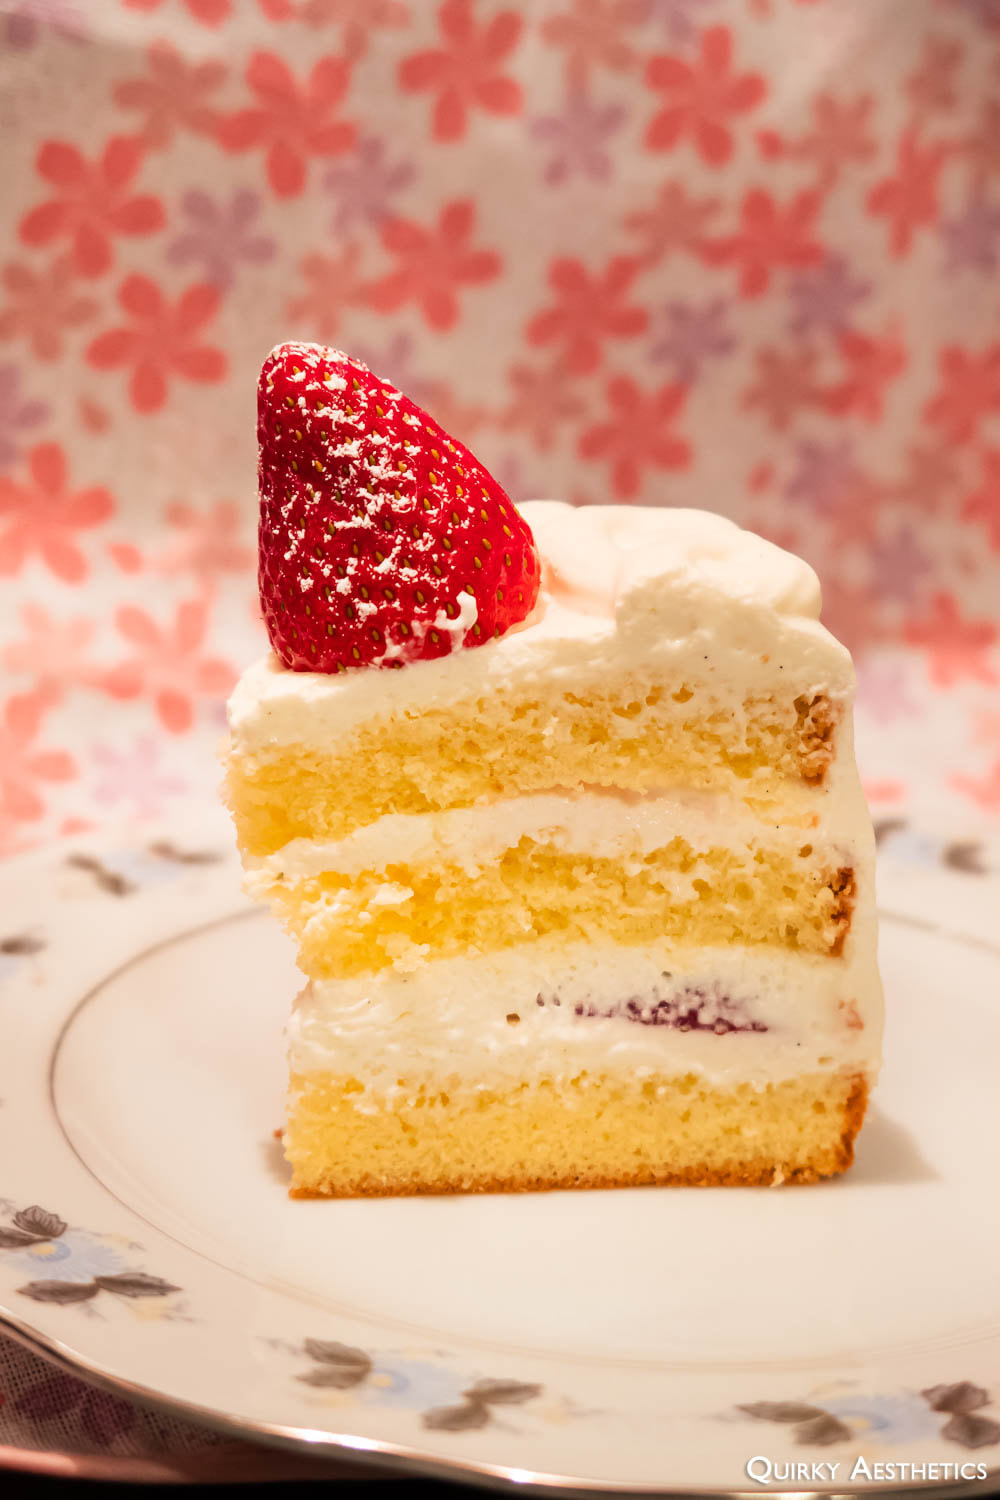
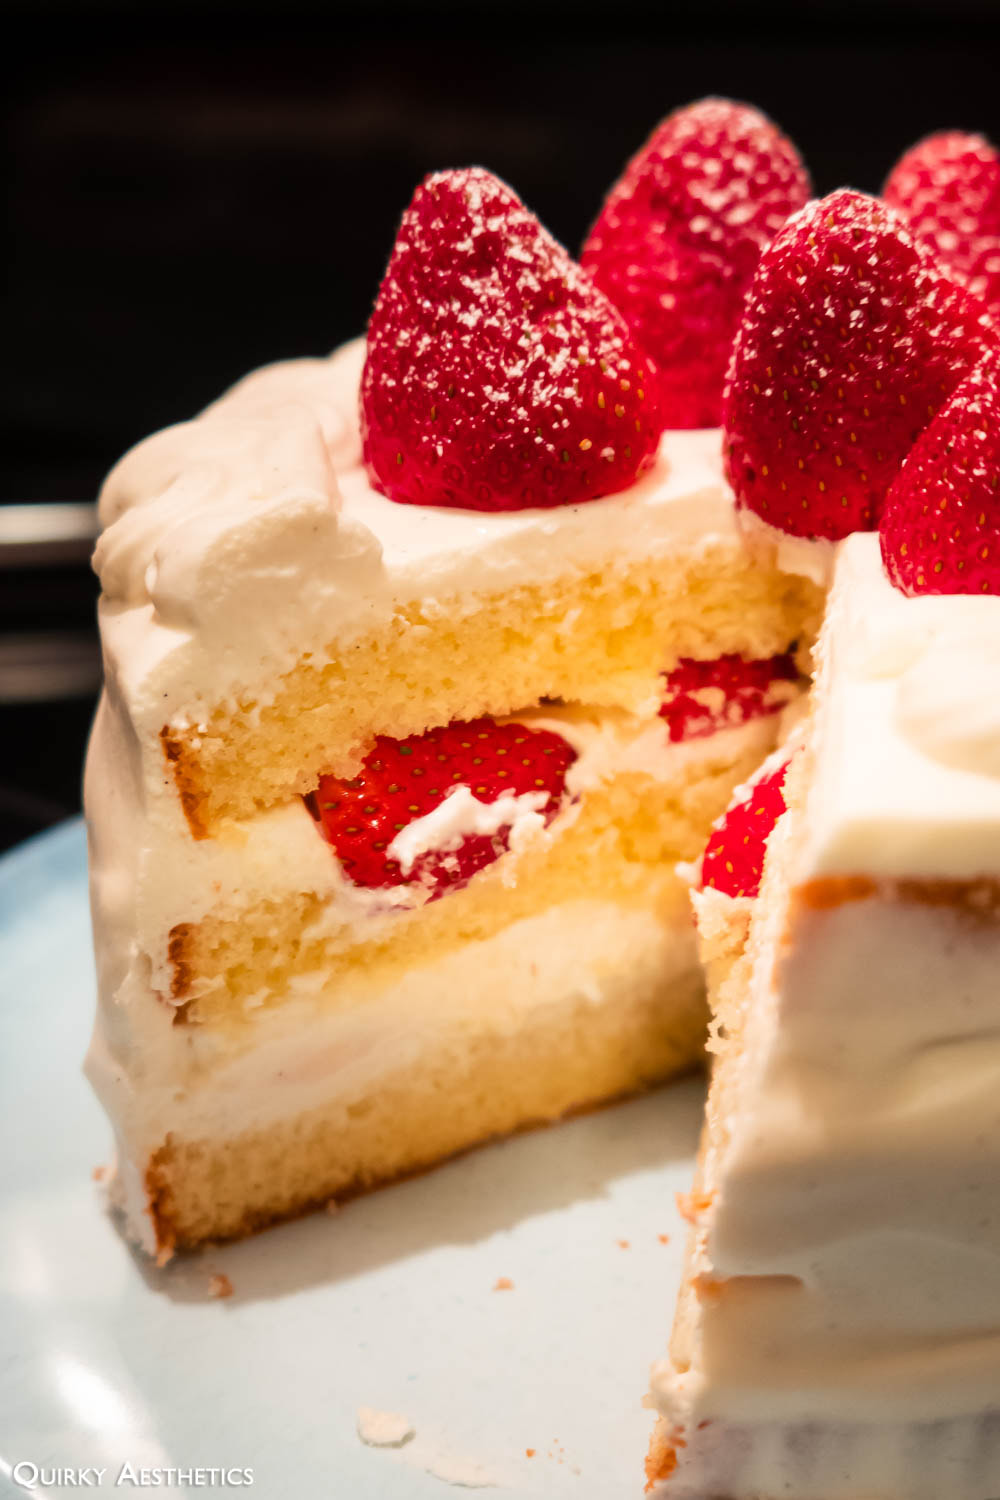
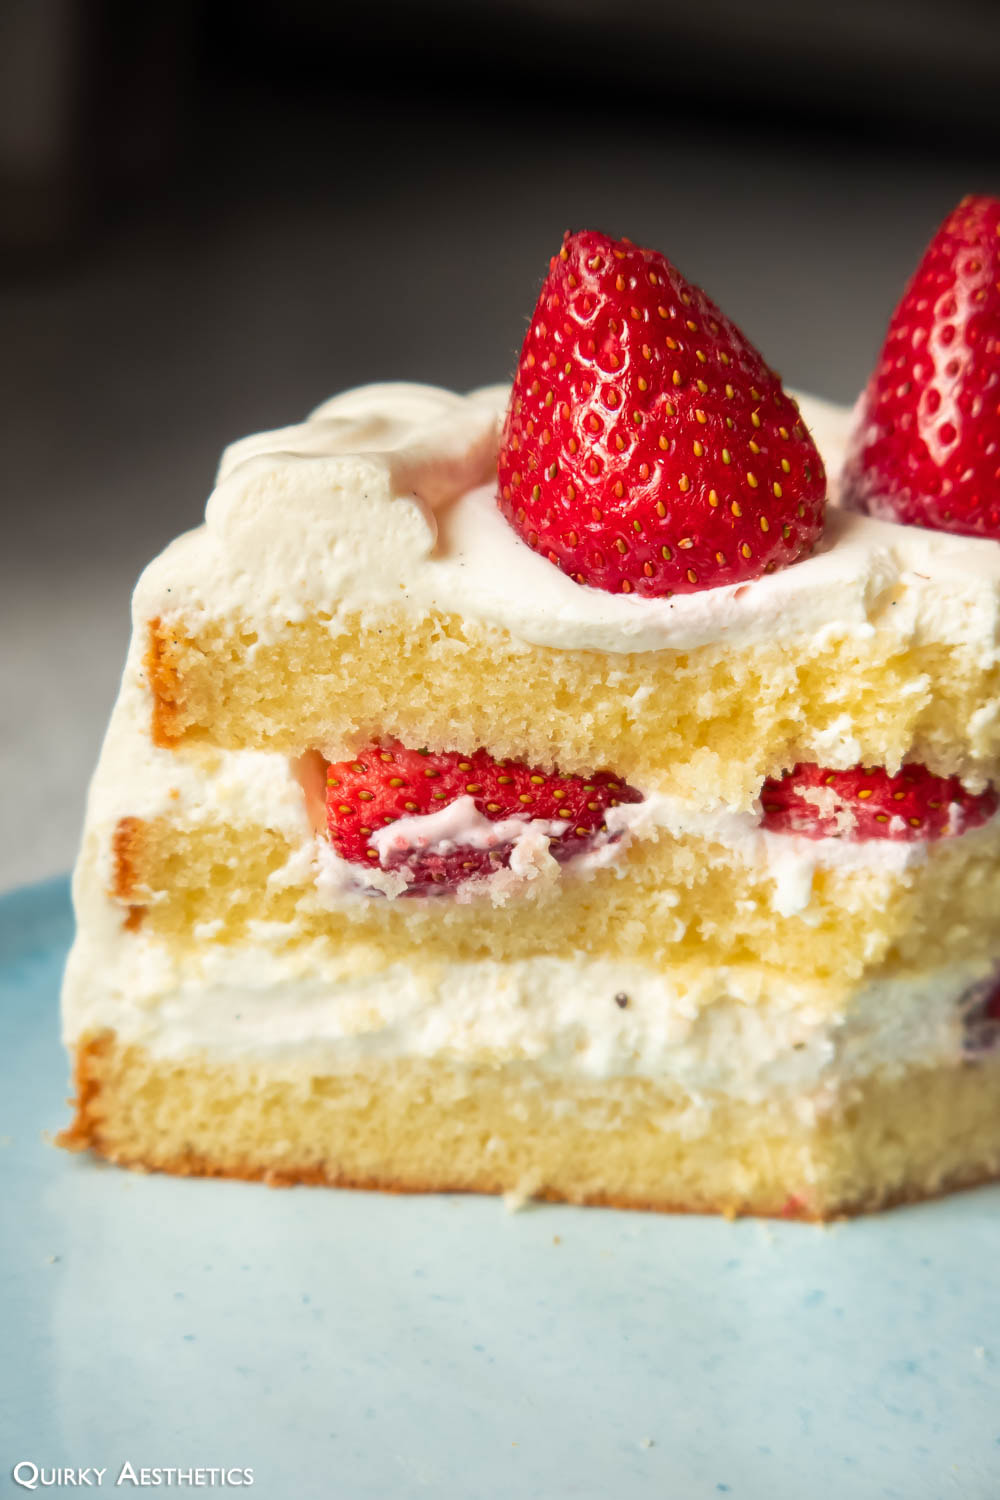
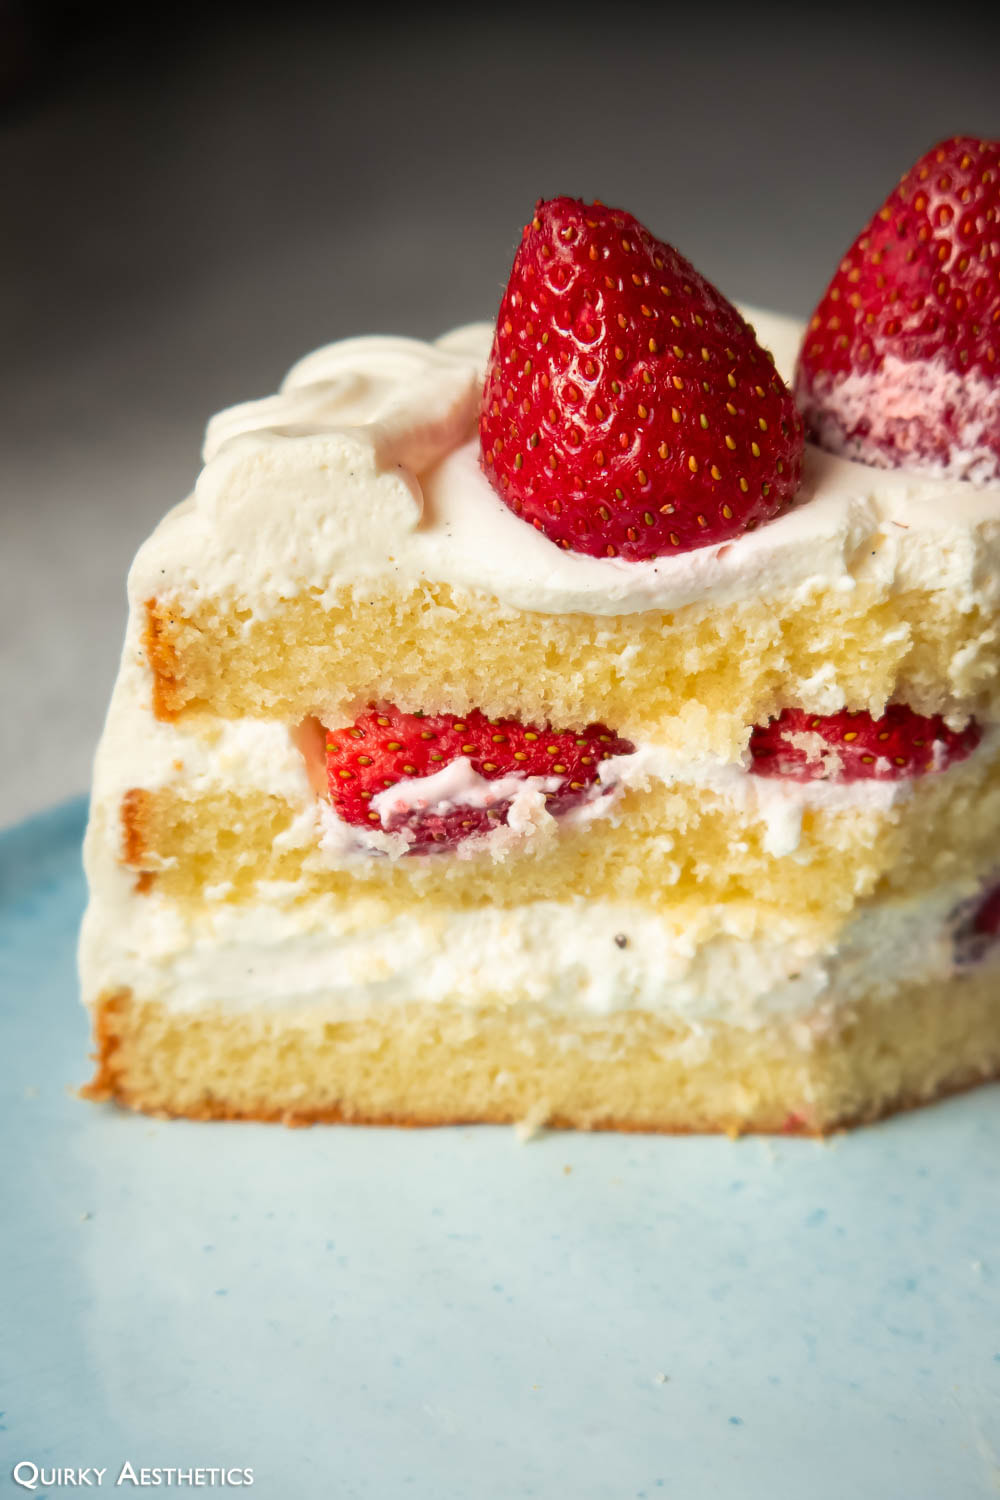
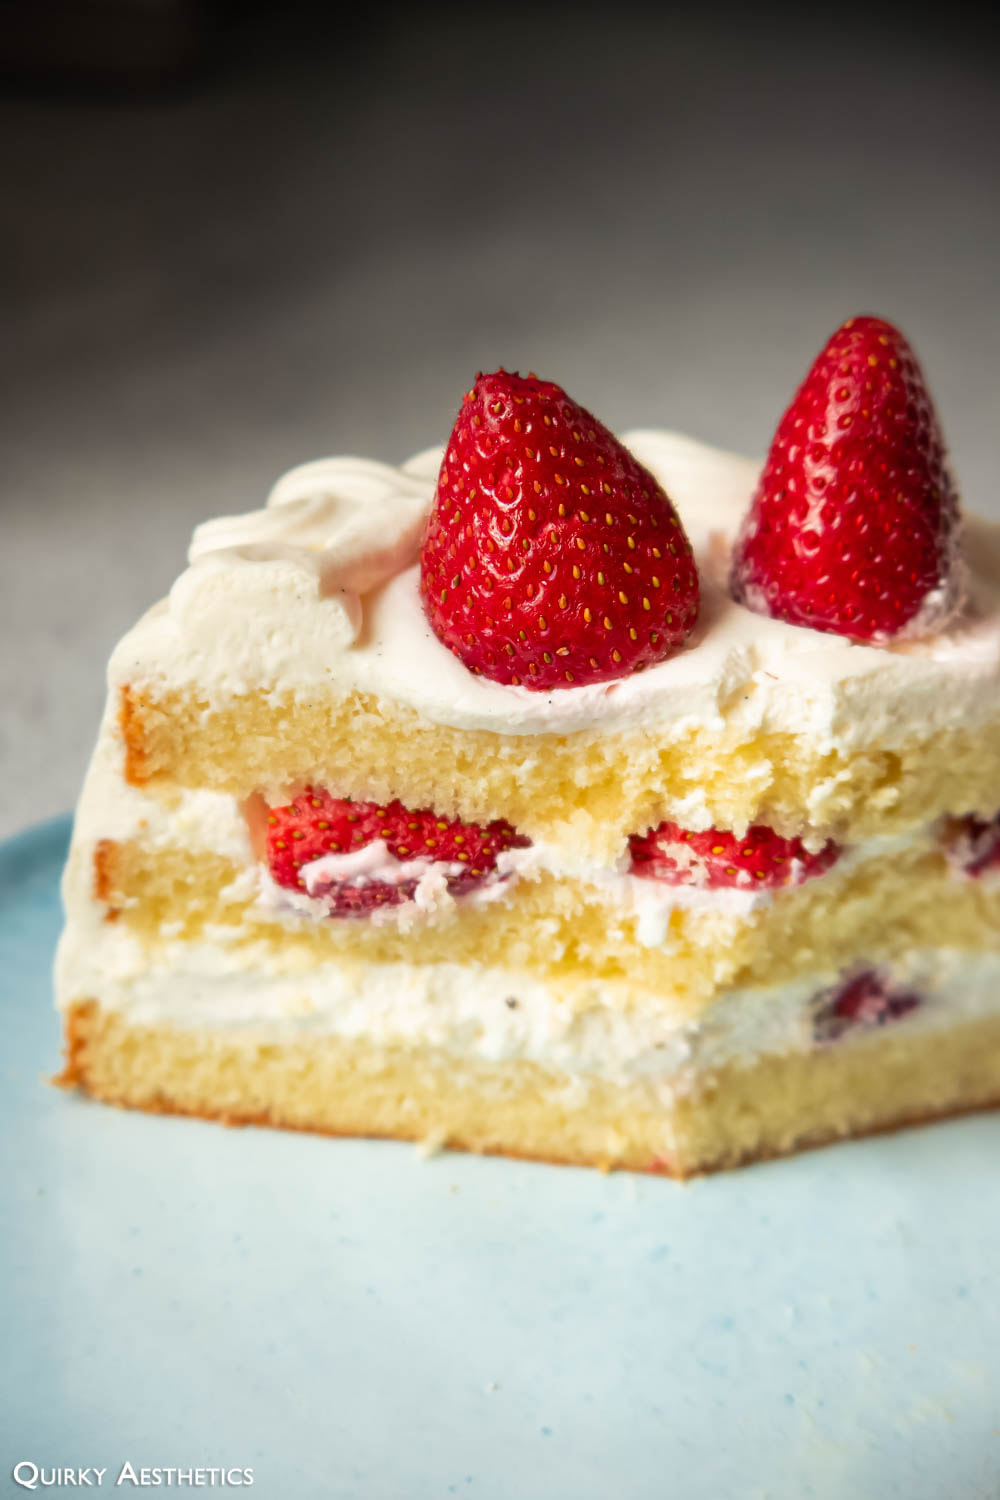
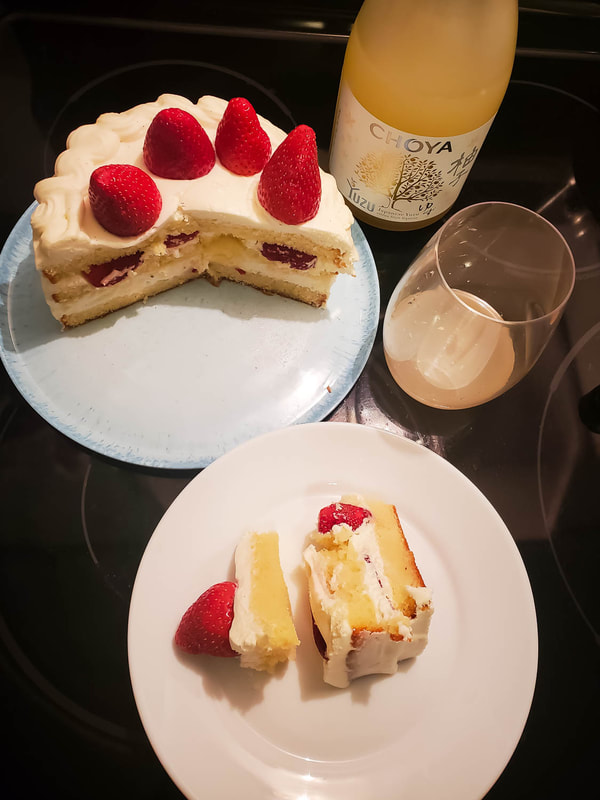
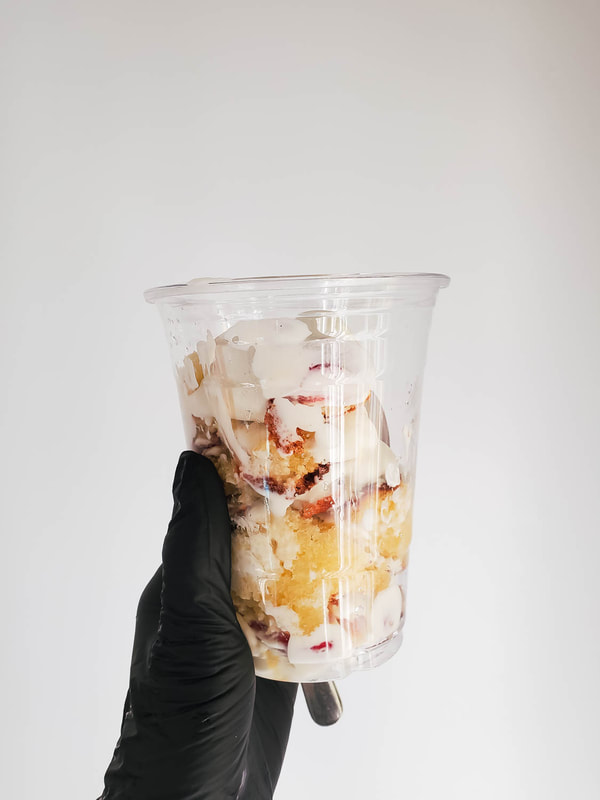
The Strawberry Shortcake succeeded in curbing my cravings for cake, offering uniform, airy layers alternated with sturdy cream fitted with refreshing bites of fresh strawberry. The composition deserves no complaints beyond the slightly sweet profile and the underside of the bottom layer being a bit rigid (read: sliced too thick/lacking in syrup), however these gripes only extend towards same-day sampling. The cake was found to taste better on the following day with perfectly delectable layers with saturation levels rivalling dulce de leche; covering the cake for storage ensured preservation of airy Chantilly whipped cream and fresh, juicy strawberries. Beyond the second day, one should expect slightly damper layers, slightly drier cream, and the return of first-day sweetness from the sugar syrup concentrate.
2) Hot Cross Buns
In the weeks leading up to Easter weekend, Hot Cross Buns had constantly been on my mind. The COBS renditions had been sampled countless times in the past and, while tasty, they lacked the rich egginess of brioche and soft strands of milk bread. Moreover, they often emerged dense on the second day, with its once-sturdy of a glaze dissolving into a sticky syrup.
In the weeks leading up to Easter weekend, Hot Cross Buns had constantly been on my mind. The COBS renditions had been sampled countless times in the past and, while tasty, they lacked the rich egginess of brioche and soft strands of milk bread. Moreover, they often emerged dense on the second day, with its once-sturdy of a glaze dissolving into a sticky syrup.
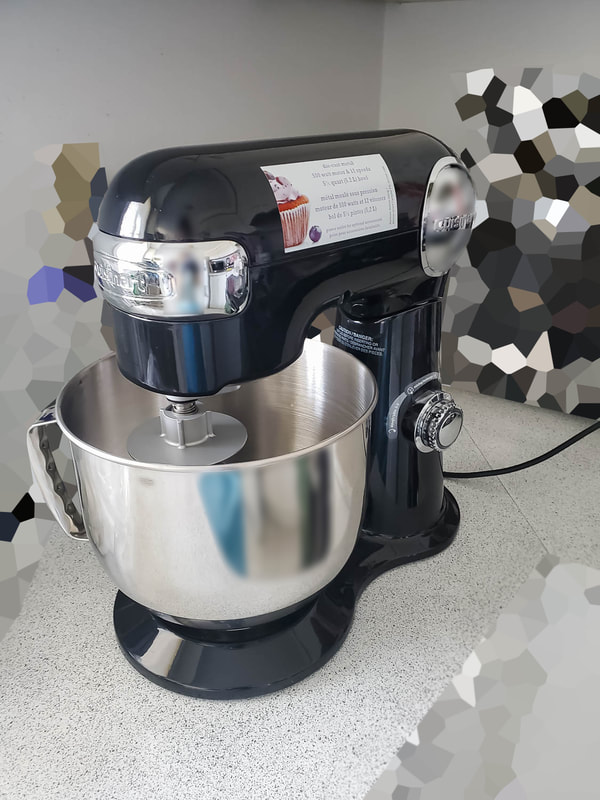
My wrist pains persisted, causing me to finally cave for a stand mixer. The final decision had spanned about one week, in which the Costco edition sold out and sent me in a frenzy. Eventually, I could wait no longer and hit the Checkout button on Amazon. A shiny black Cuisinart mixer arrived a few days later.
The Hot Cross Bun recipe served triple duty in satisfying my unyielding desire to create, relieving me of kneading terrors, and providing an outlet for durability testing on a new household appliance. With regard to the third point, I had canvassed the World Wide Web for alternatives and variations to the KitchenAid mixer I had tested and absolutely despised. Many were strictly beyond my budget, but the Cuisinart appeared to rectify the most unnerving aspects of KitchenAid at a lower price point and with notable reputation.
For starters, the head locked in place with a lever at the back of the device that was accessible from both sides of the mixer. In essence, the head would not shift out of place unless the lever was manually depressed, improving safety of operation tremendously. Meanwhile, the KitchenAid could be moved or shifted without the head locked in place, easily creating conditions for finger clamping, whose side effects would only prove more severe given their weight difference. Even the smallest size of the KitchenAid - absolutely useless, by the way - had been a travesty to transport in and out of its box and caused wrist and back strain several times over the course of its use. Although the Cuisinart was relatively light, it succeeded in kneading dough adequately (for now, anyway) and did not worsen my existing wrist condition. Finally, the mixer kit included the fundamental accessories for stress-free baking: besides the typical attachment trio of a dough hook, paddle, and whisk were a spill guard and pouring shield. These devices could be easily fitted around the mixer to prevent splashes and loose flour and were, for ridiculous reasons, not included as part of the basic KitchenAid model.
For starters, the head locked in place with a lever at the back of the device that was accessible from both sides of the mixer. In essence, the head would not shift out of place unless the lever was manually depressed, improving safety of operation tremendously. Meanwhile, the KitchenAid could be moved or shifted without the head locked in place, easily creating conditions for finger clamping, whose side effects would only prove more severe given their weight difference. Even the smallest size of the KitchenAid - absolutely useless, by the way - had been a travesty to transport in and out of its box and caused wrist and back strain several times over the course of its use. Although the Cuisinart was relatively light, it succeeded in kneading dough adequately (for now, anyway) and did not worsen my existing wrist condition. Finally, the mixer kit included the fundamental accessories for stress-free baking: besides the typical attachment trio of a dough hook, paddle, and whisk were a spill guard and pouring shield. These devices could be easily fitted around the mixer to prevent splashes and loose flour and were, for ridiculous reasons, not included as part of the basic KitchenAid model.
Suffice to say, I am already quite pleased with the basic specifications of the Cuisinart stand mixer. That said, performance shall need to be confirmed in subsequent trials over the next little while.
In order to form the Hot Cross Bun dough, I had contemplated two recipes, then ultimately decided to combine them. The formulas in question were Bake For Happy Kids' Soft Brioche Style Chocolate Chip Hot Cross Buns and Claire Saffitz's Sour Cream & Chive Dinner Rolls. The intent had been to incorporate the tangzhong step and production scale from Claire, while adhering to Zoe's general guideline.
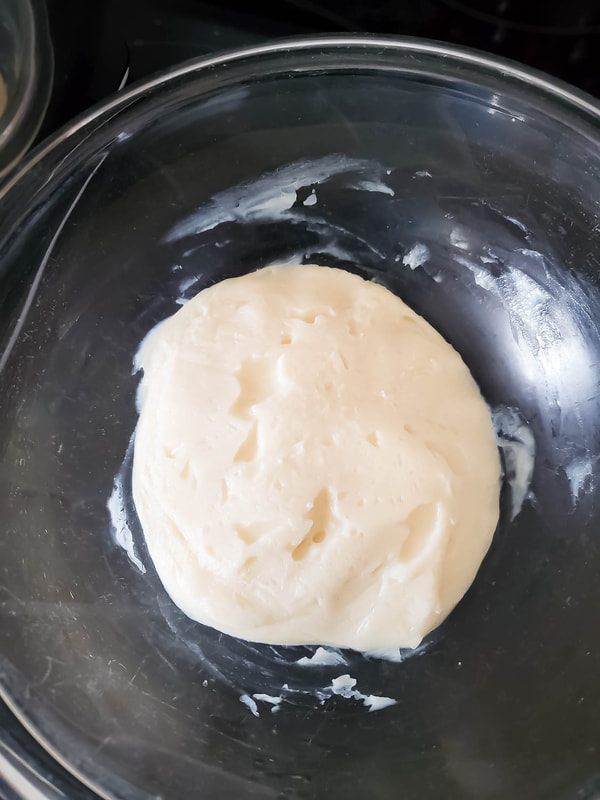
Tangzhong
Claire's tangzhong would involve whisking flour, milk, and water over the stove until thickened. She had compared the finished roux to the consistency of a pâte à choux, noting that the tangzhong was done once a streak could be drawn on the bottom of the saucepan and remain as is. Admittedly, this description assisted in determining doneness, for I kept a watchful eye on the thickness and its potential to form a "V-shape".
Once again, my tangzhong would be constructed in the microwave as opposed to the stovetop. The mixture would be subject to short bursts of heat and combined using a silicon whisk after each run, akin to the method of making mochi. Instead of transferring the tacky substance to the stand mixer immediately, I opted to cover the bowl and allow it to rest in the fridge while tending to other activities.
- 43 g AP flour
- 113 g milk
- 113 g water
Claire's tangzhong would involve whisking flour, milk, and water over the stove until thickened. She had compared the finished roux to the consistency of a pâte à choux, noting that the tangzhong was done once a streak could be drawn on the bottom of the saucepan and remain as is. Admittedly, this description assisted in determining doneness, for I kept a watchful eye on the thickness and its potential to form a "V-shape".
Once again, my tangzhong would be constructed in the microwave as opposed to the stovetop. The mixture would be subject to short bursts of heat and combined using a silicon whisk after each run, akin to the method of making mochi. Instead of transferring the tacky substance to the stand mixer immediately, I opted to cover the bowl and allow it to rest in the fridge while tending to other activities.
From previous research, I had recalled the ideal percentage of tangzhong to be around 10% of the total flour. (Of course, re-reading the article now informs me of a range of 4% to 8%.) Using 43 g for the tangzhong would equate to 430 g of bread flour. Claire's recipe used 693 g of bread flour, forming the equivalent of 6% tangzhong. I settled for doubling Bake For Happy Kids' recipe and using 600 g of bread flour for 7% tangzhong (43/600 = 7.17%).
 |  |
Dough
- 360 g lukewarm water
- 4 egg yolks (74 g instead of the specified 60 g)
- 226 g tangzhong
- 1/2 tsp orange extract
- 653 g whole wheat bread flour
- 1/2 tsp cinnamon
- 1/4 tsp ground ginger
- 1/2 tsp pumpkin pie spice
- 1/4 tsp nutmeg
- 60 g milk powder
- 40 g sugar
- 4 g salt
- 2 tsp yeast
- 100 g butter
- 200 g raisins + dried cranberries
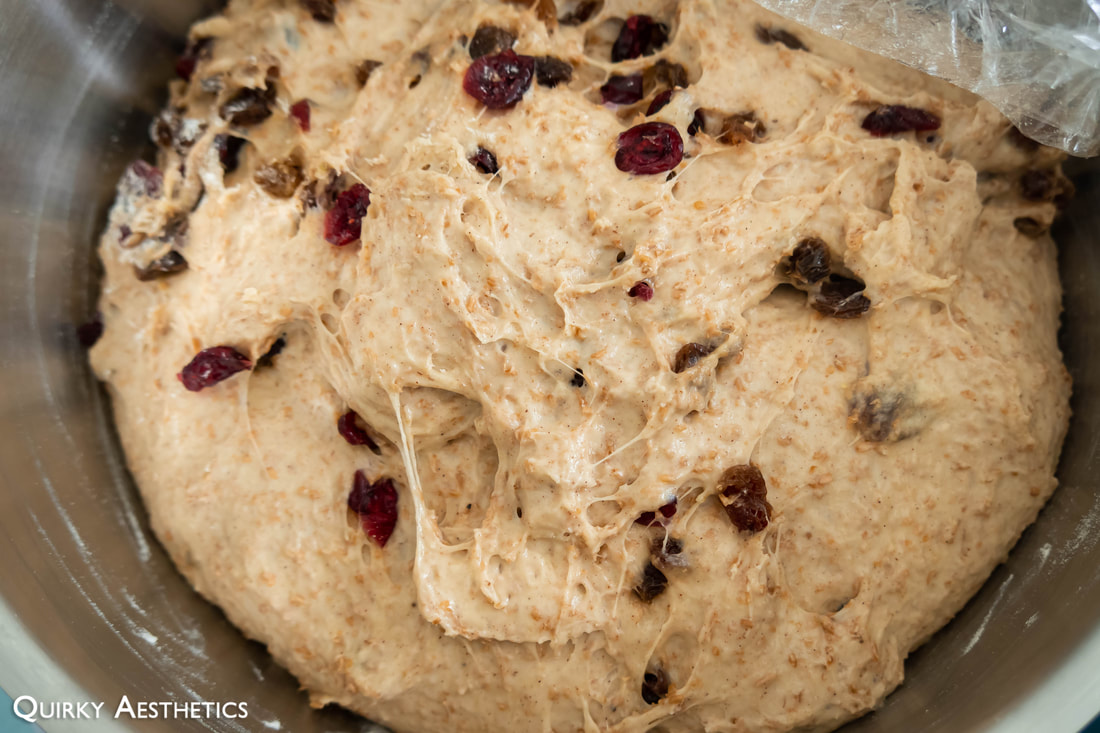
My edition had been modified to include spices, a trickle of orange extract, and the substitution of chocolate chips for raisins and dried cranberries. I commenced with the wet ingredients, then staggered the addition of the dry ingredients, softened butter, and add-ins.
The stand mixer bowl first saw the additions of water, egg yolks, salt, sugar, and tangzhong. In hindsight, I ought to have decreased the amount of water drastically, for Claire's had only used 142 g milk and Zoe's compensated the absence of tangzhong with water. Needless to say, the dough proved extremely soft, extremely damp, and extremely tacky. However, the yeast was fermenting nicely, and I resisted the addition of extra flour.
The stand mixer bowl first saw the additions of water, egg yolks, salt, sugar, and tangzhong. In hindsight, I ought to have decreased the amount of water drastically, for Claire's had only used 142 g milk and Zoe's compensated the absence of tangzhong with water. Needless to say, the dough proved extremely soft, extremely damp, and extremely tacky. However, the yeast was fermenting nicely, and I resisted the addition of extra flour.
 |  |
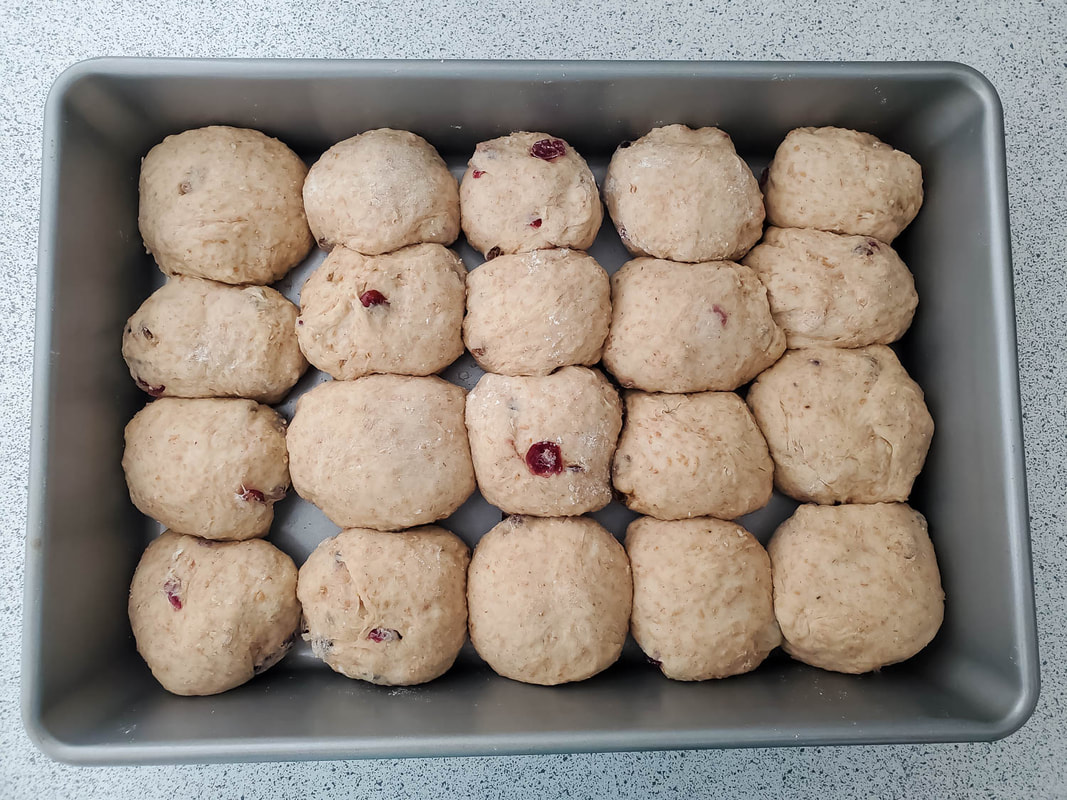
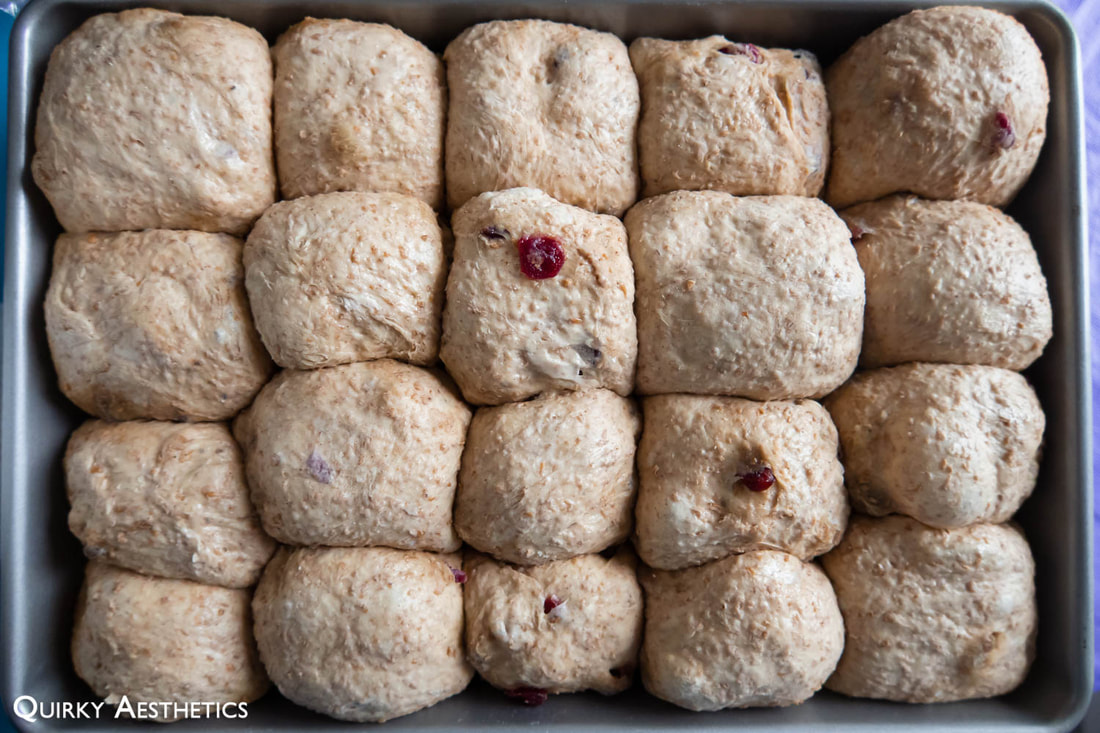
The first proof saw minimal rise, yet I proceeded to shape the dough anyway. About fifteen not-so-uniform rounds could were formed and nestled into a thoroughly greased 9" x 13" baking pan. My portioning abilities have evidently improved over the years, especially with the assistance of proper tools, though the mounds were still far from perfectly uniform in size and weight.
Due to fatigue and time constraints, the tray was covered with grease plastic wrap and set in the fridge to undergo a cold proof. The following morning, after 17h 42 mins of proofing, the rounds had expanded significantly, prompting me to question whether a larger pan should have been chosen.
Due to fatigue and time constraints, the tray was covered with grease plastic wrap and set in the fridge to undergo a cold proof. The following morning, after 17h 42 mins of proofing, the rounds had expanded significantly, prompting me to question whether a larger pan should have been chosen.
 |  |
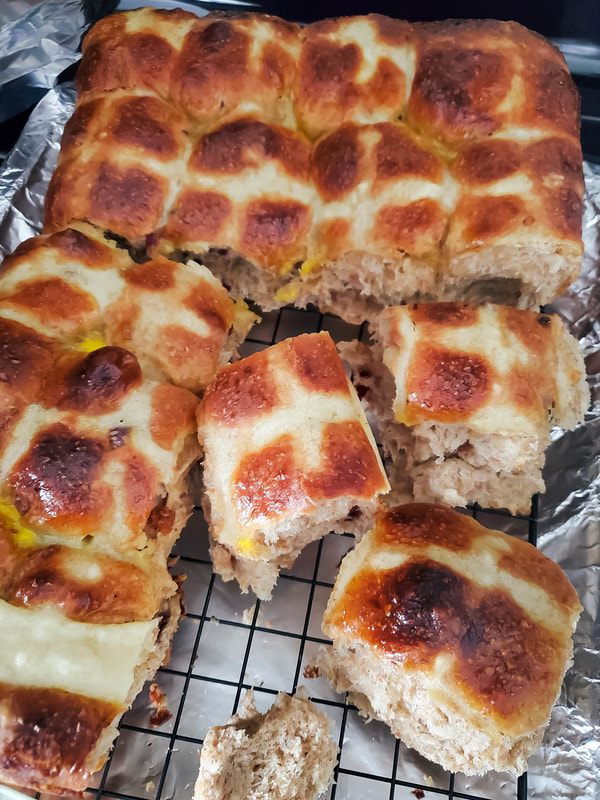
| Egg wash
| Cross
|
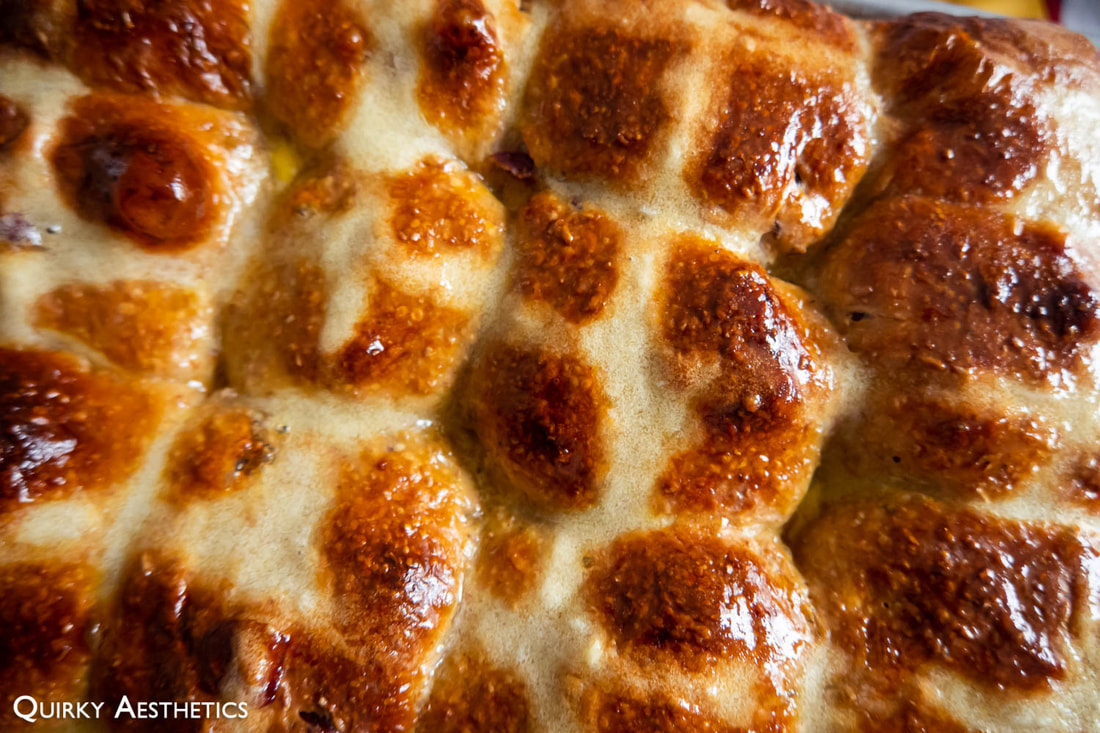
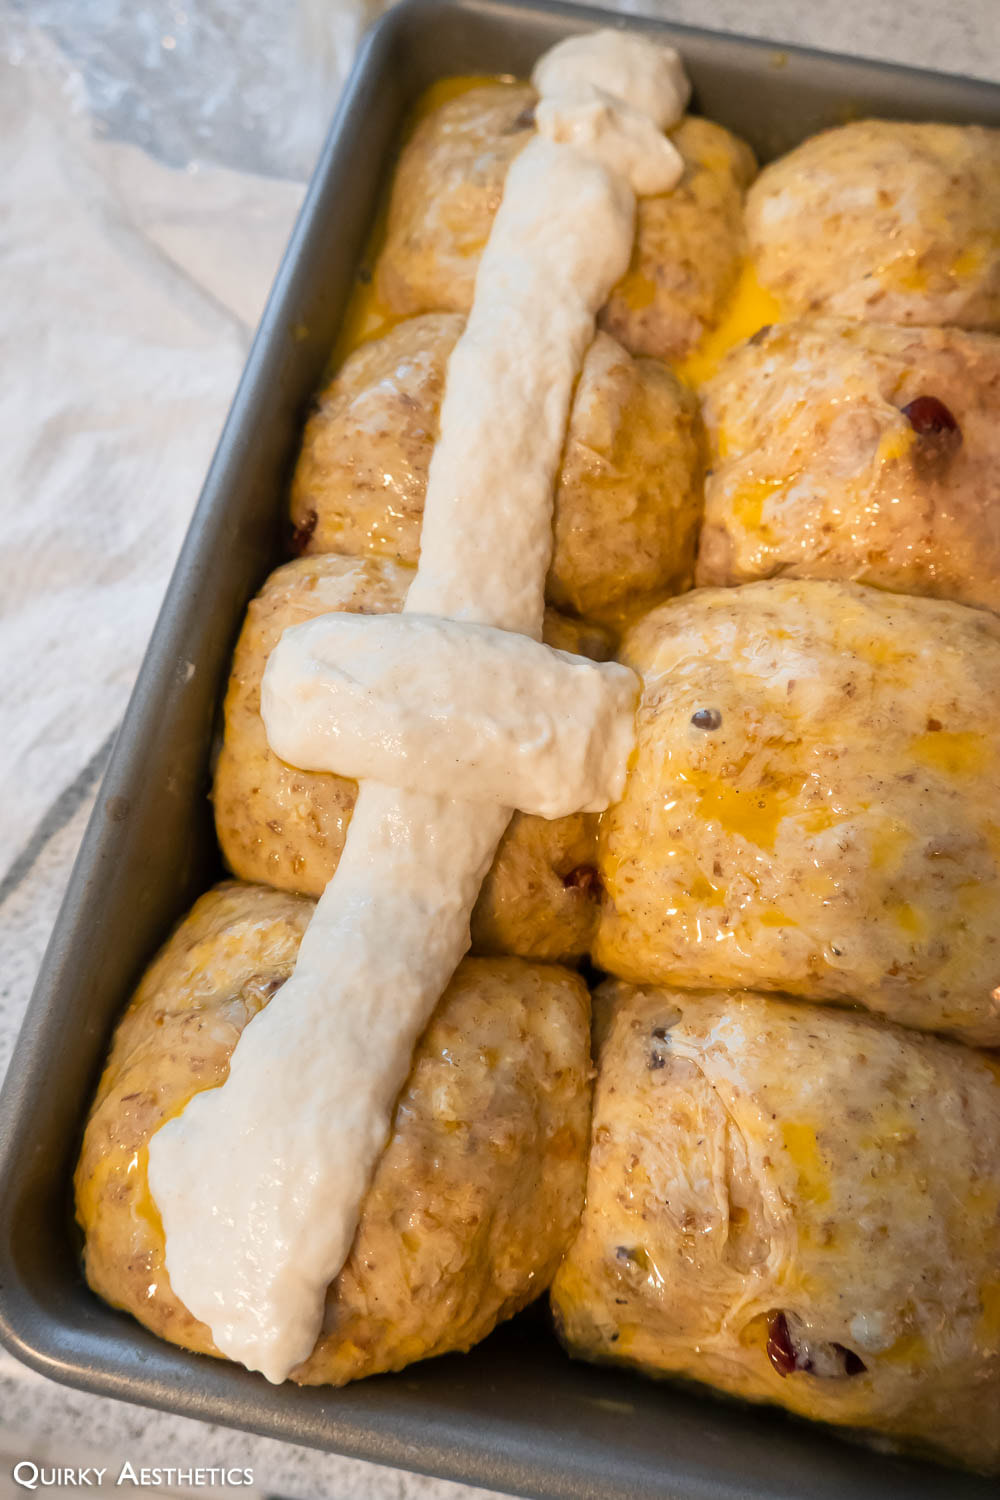
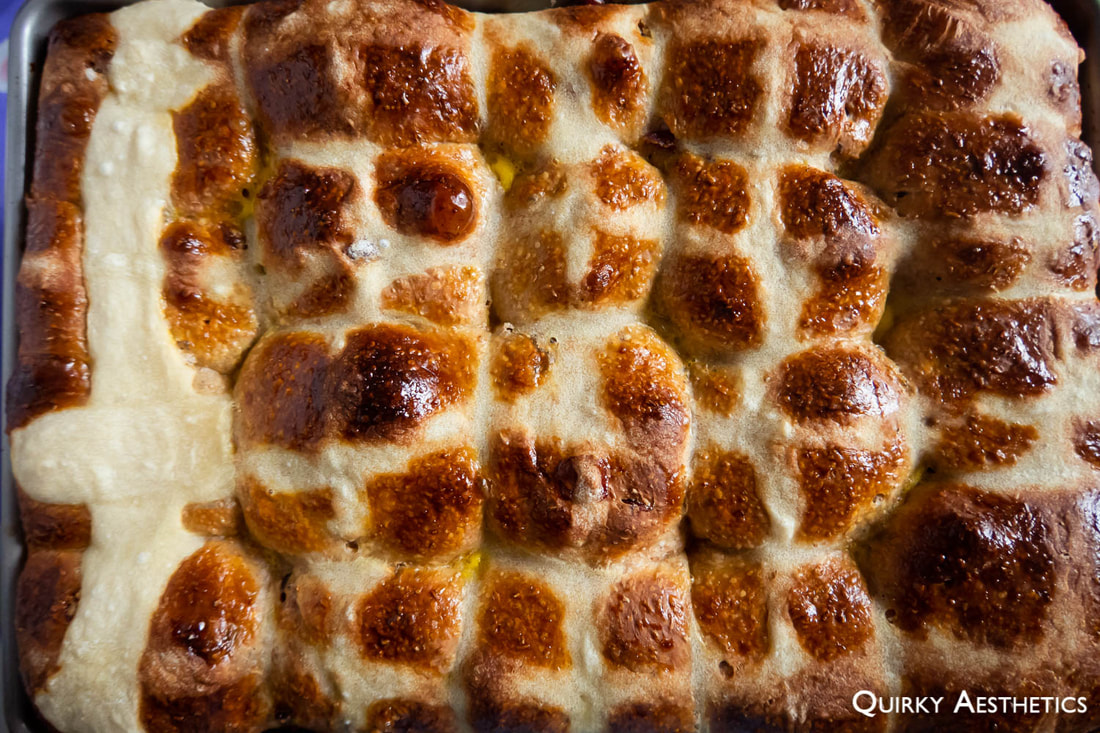
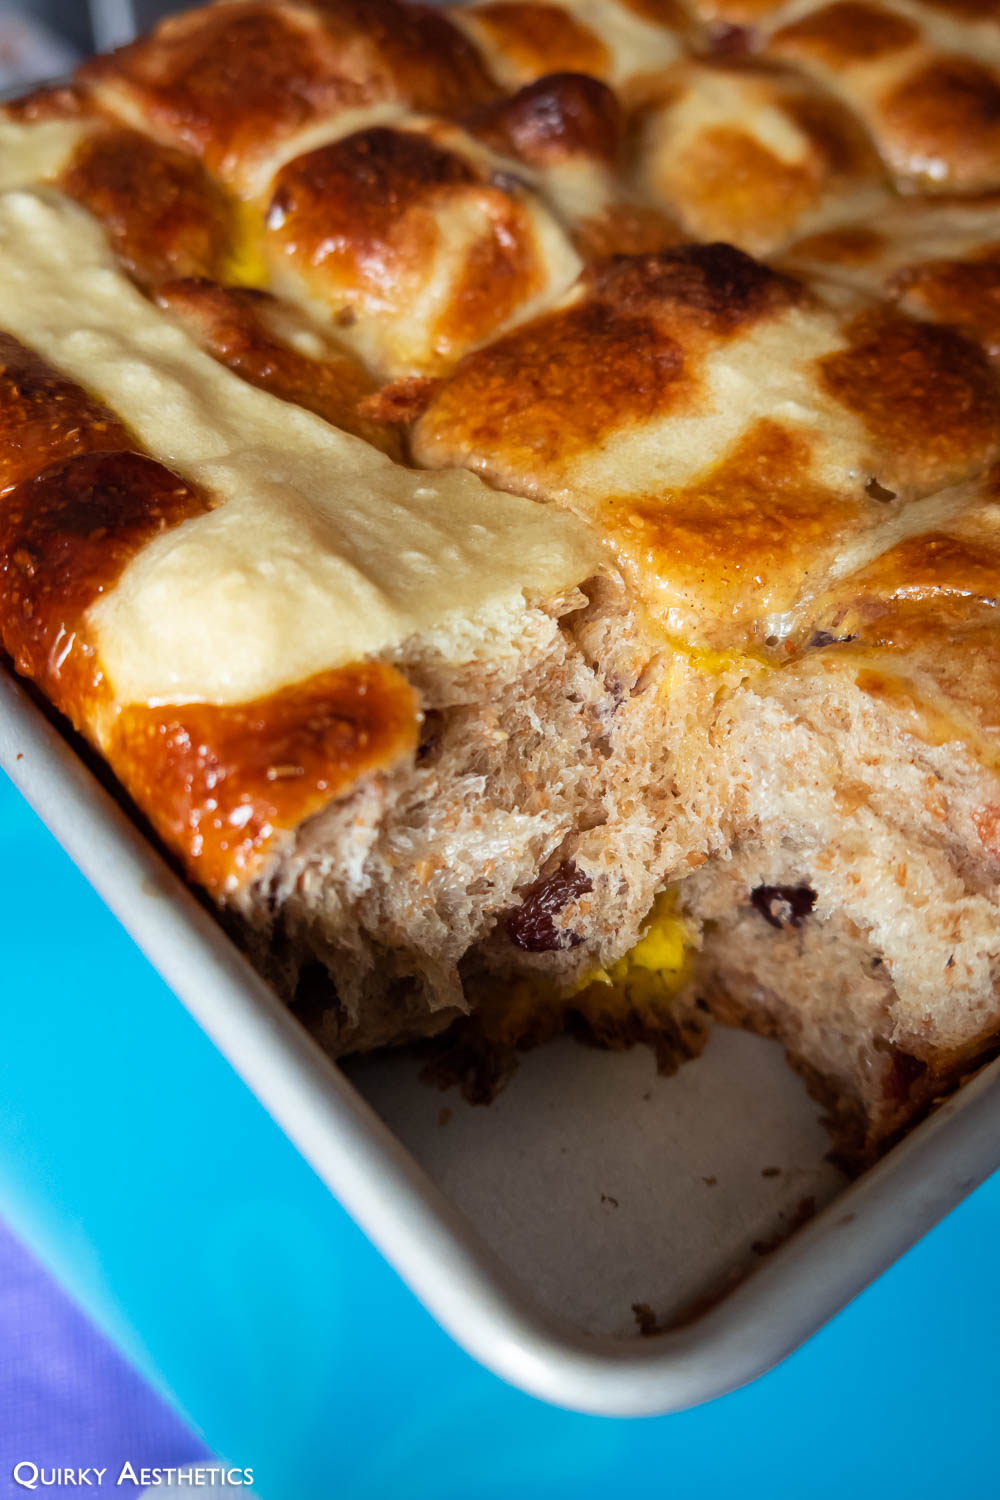
Prior to baking, an egg wash would be liberally brushed over the surface. One loosened egg yolk was not quite enough, yet two was exorbitant. Excess egg wash trickled through the gaps, solidifying in the form of bright yellow splotches between the buns, and occasionally burning on the bottom of the pan.
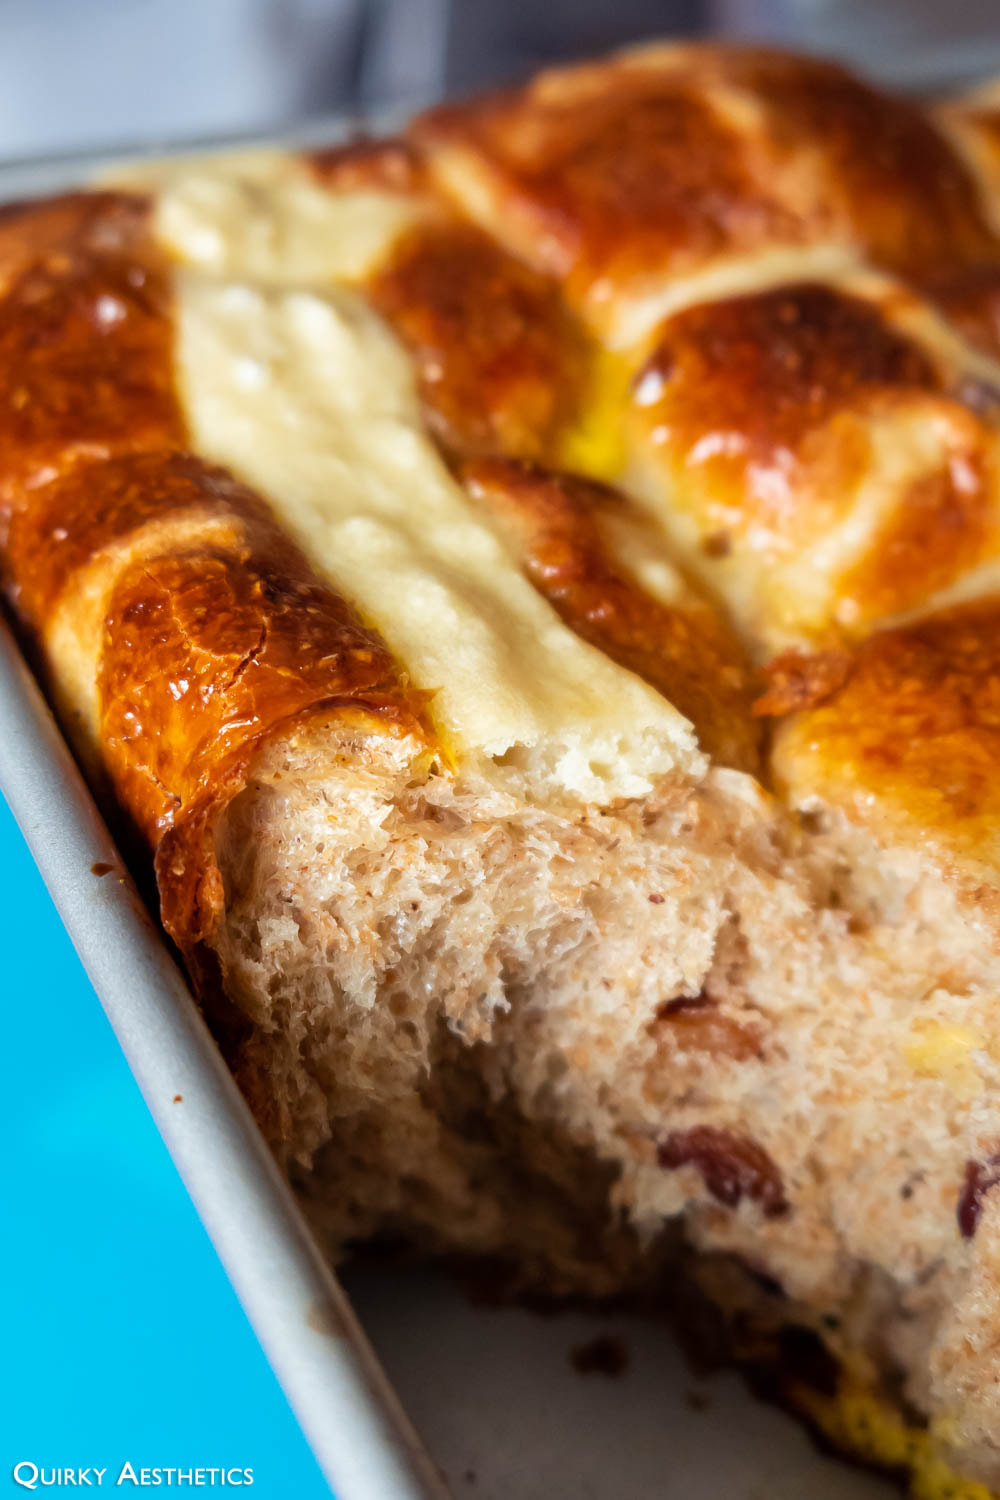
The signature cross decoration was to be constructed with a 1:1 ratio of flour and water. When the initial mixture was viewed too loose, a few extra spoonfuls of flour would find their way into the bowl. Alas, the paste became too viscous and too difficult to pipe; moreover, the strips were at least thrice the width required. Thinning out the mixture caused the formula to run off the buns, settling into any gaps. For future attempts, I would propose starting with the 1:1 ratio and adding small amounts of water as necessary, for the quantities appear to be dependent on flour choice (and corresponding absorption levels) and humidity.
The signature cross decoration was to be constructed with a 1:1 ratio of flour and water. When the initial mixture was viewed too loose, a few extra spoonfuls of flour would find their way into the bowl. Alas, the paste became too viscous and too difficult to pipe; moreover, the strips were at least thrice the width required. Thinning out the mixture caused the formula to run off the buns, settling into any gaps. For future attempts, I would propose starting with the 1:1 ratio and adding small amounts of water as necessary, for the quantities appear to be dependent on flour choice (and corresponding absorption levels) and humidity.
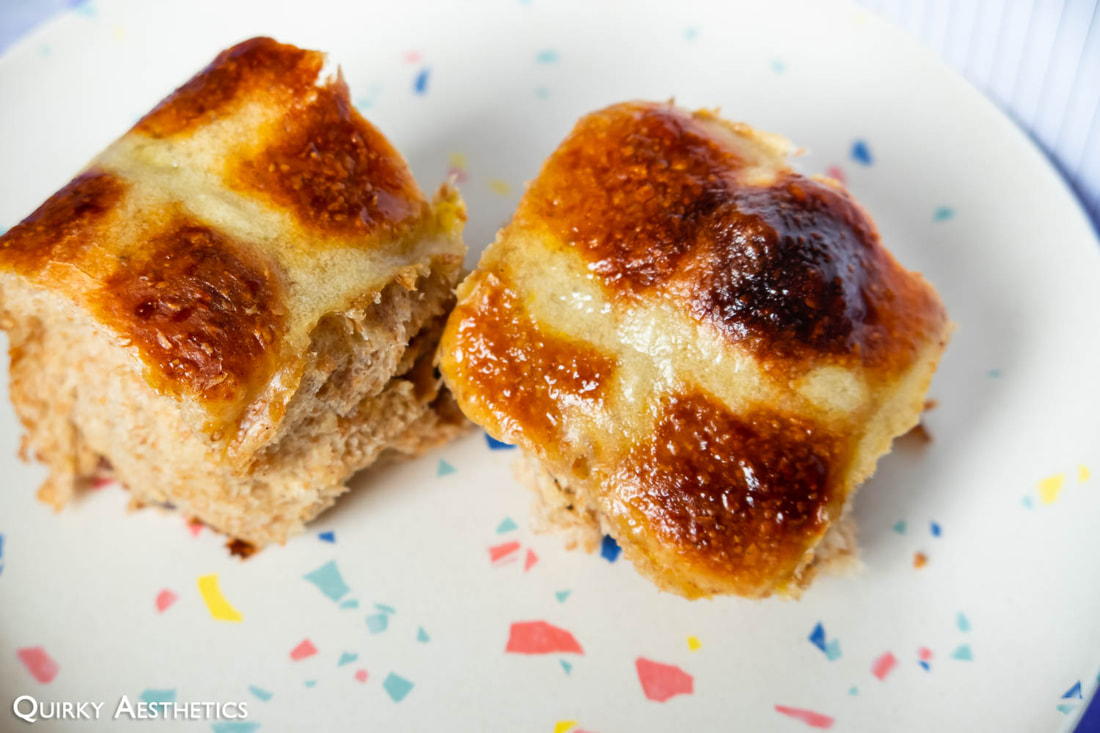
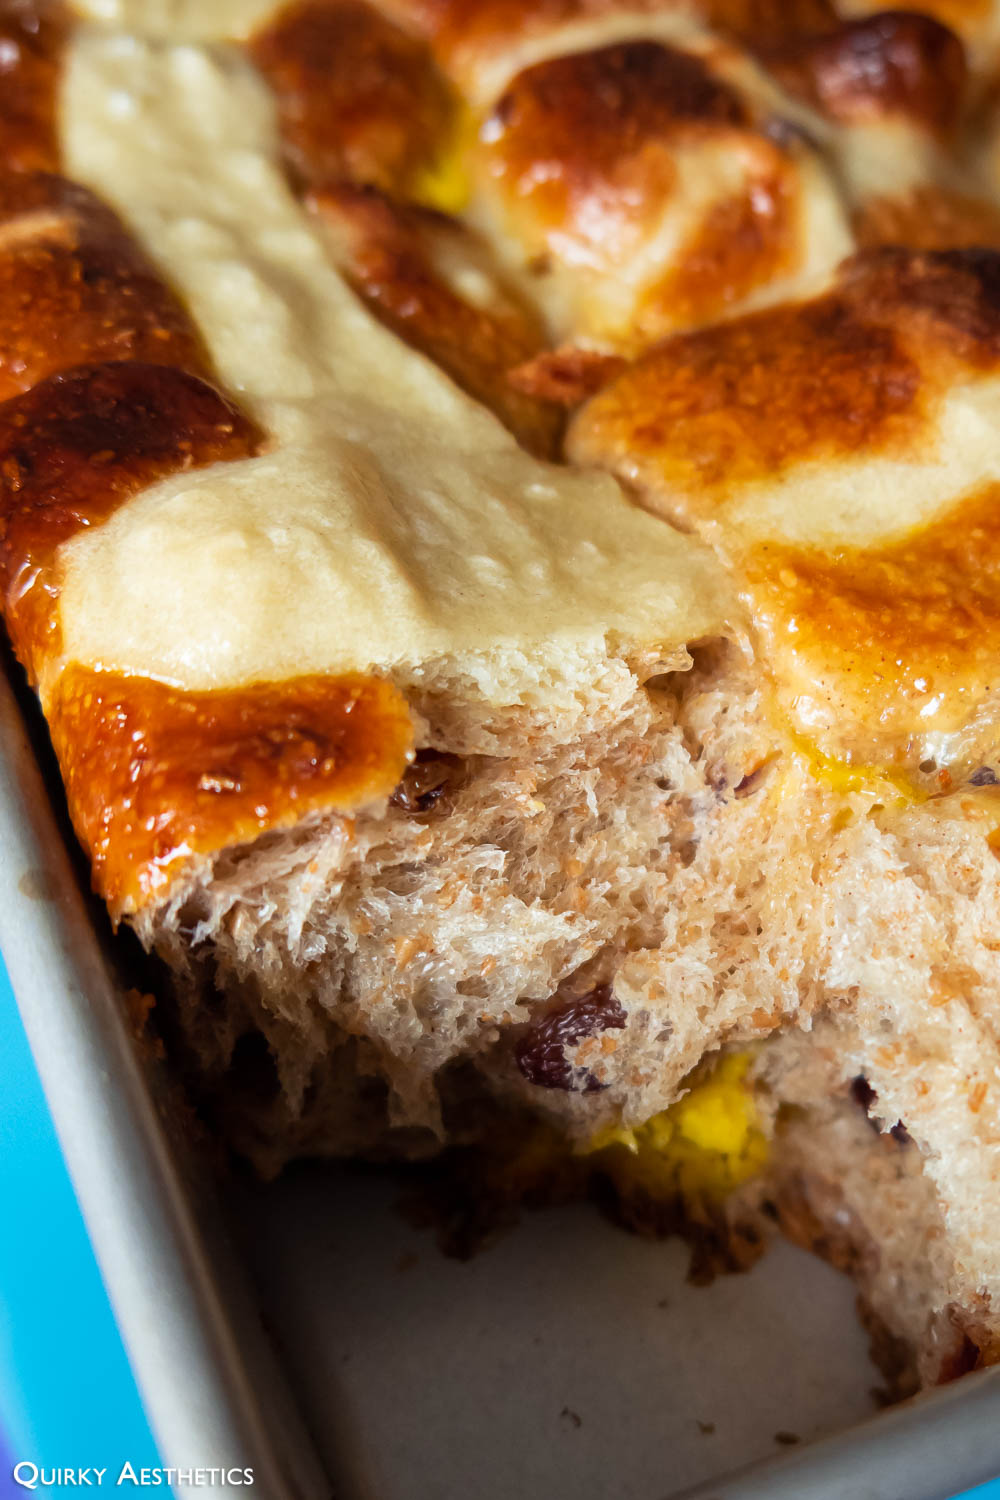
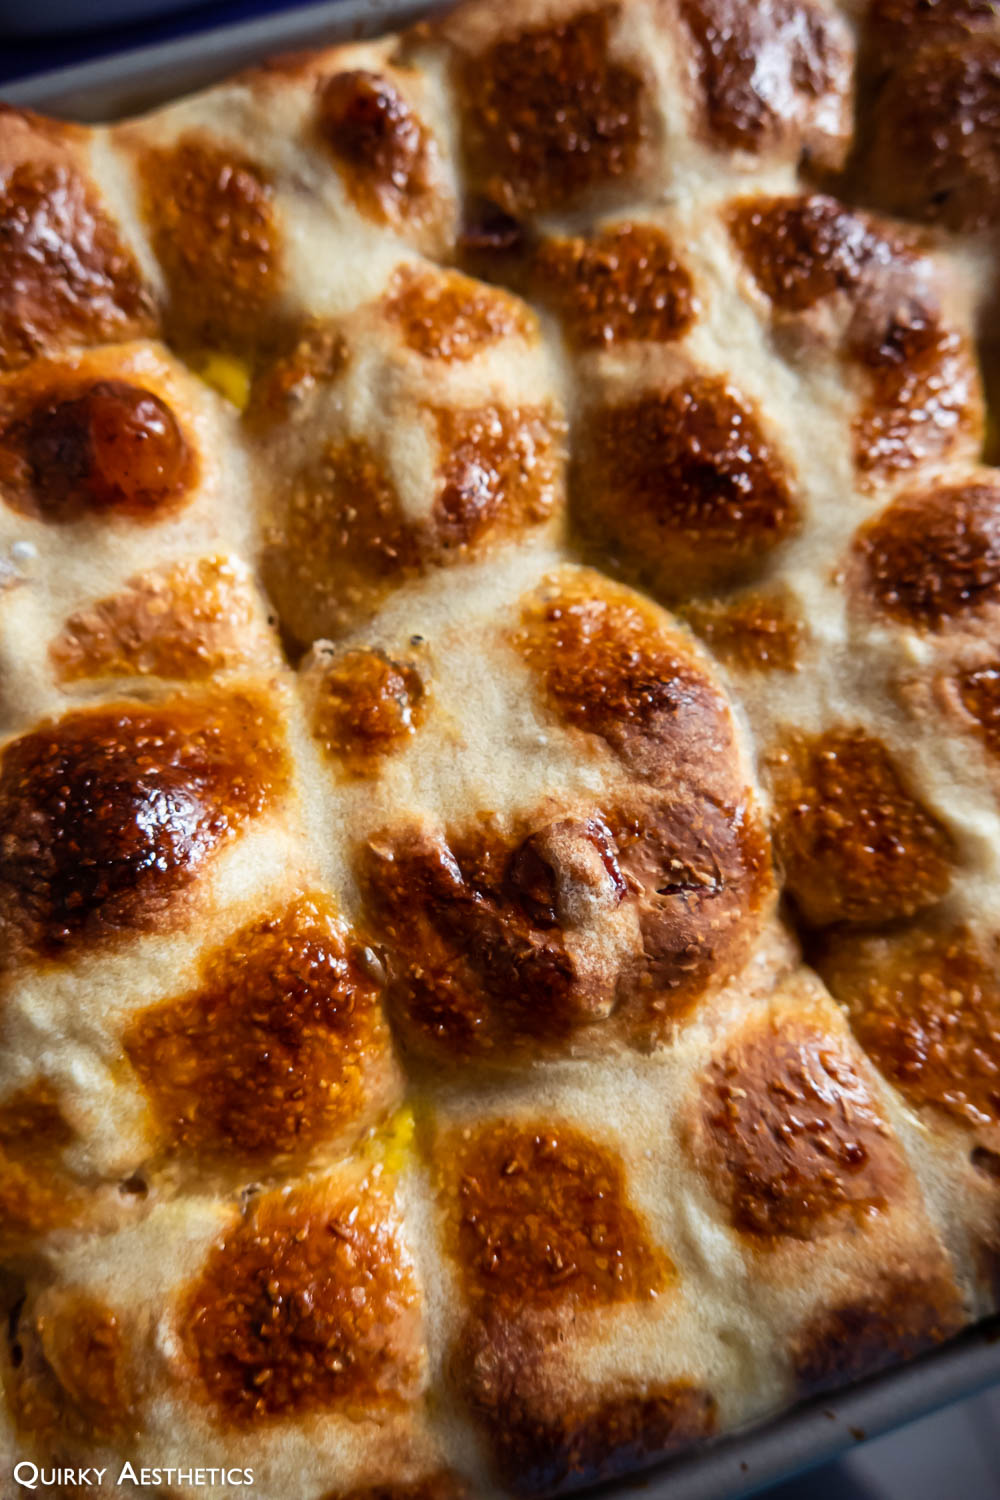
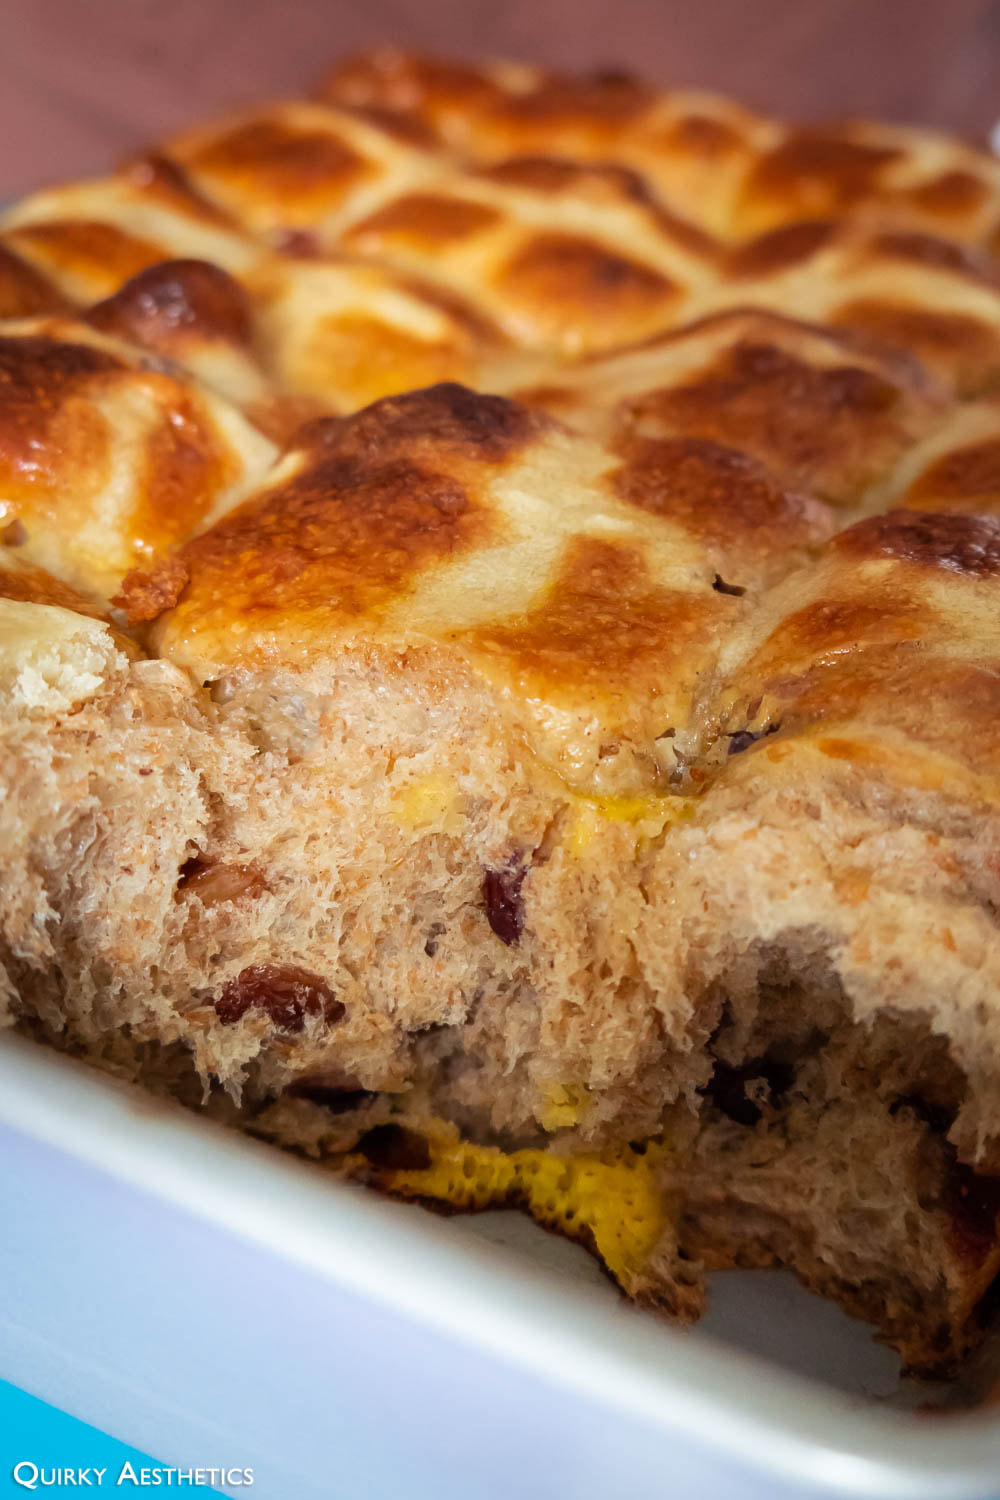
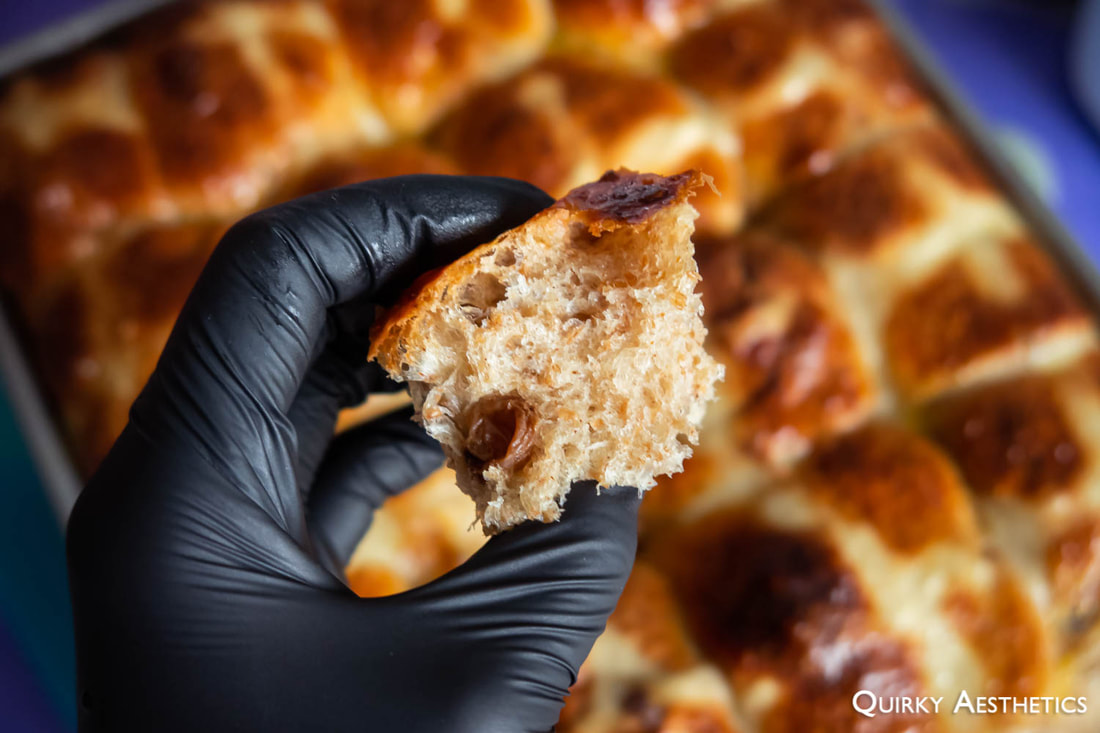
The buns would be baked at 365 F for 40-45 mins and covered with foil for last 5 minutes. Failing the skewer test the first time, I returned the tray to the oven until a toothpick would emerge with only a few crumbs attached. Unfortunately, excess moisture had predominantly collected at the bottom of the pan, resisting evaporation in the absence of circulation space. The sodden qualities had caused the buns to become somewhat gummy when warm and somewhat rigid after cooling.
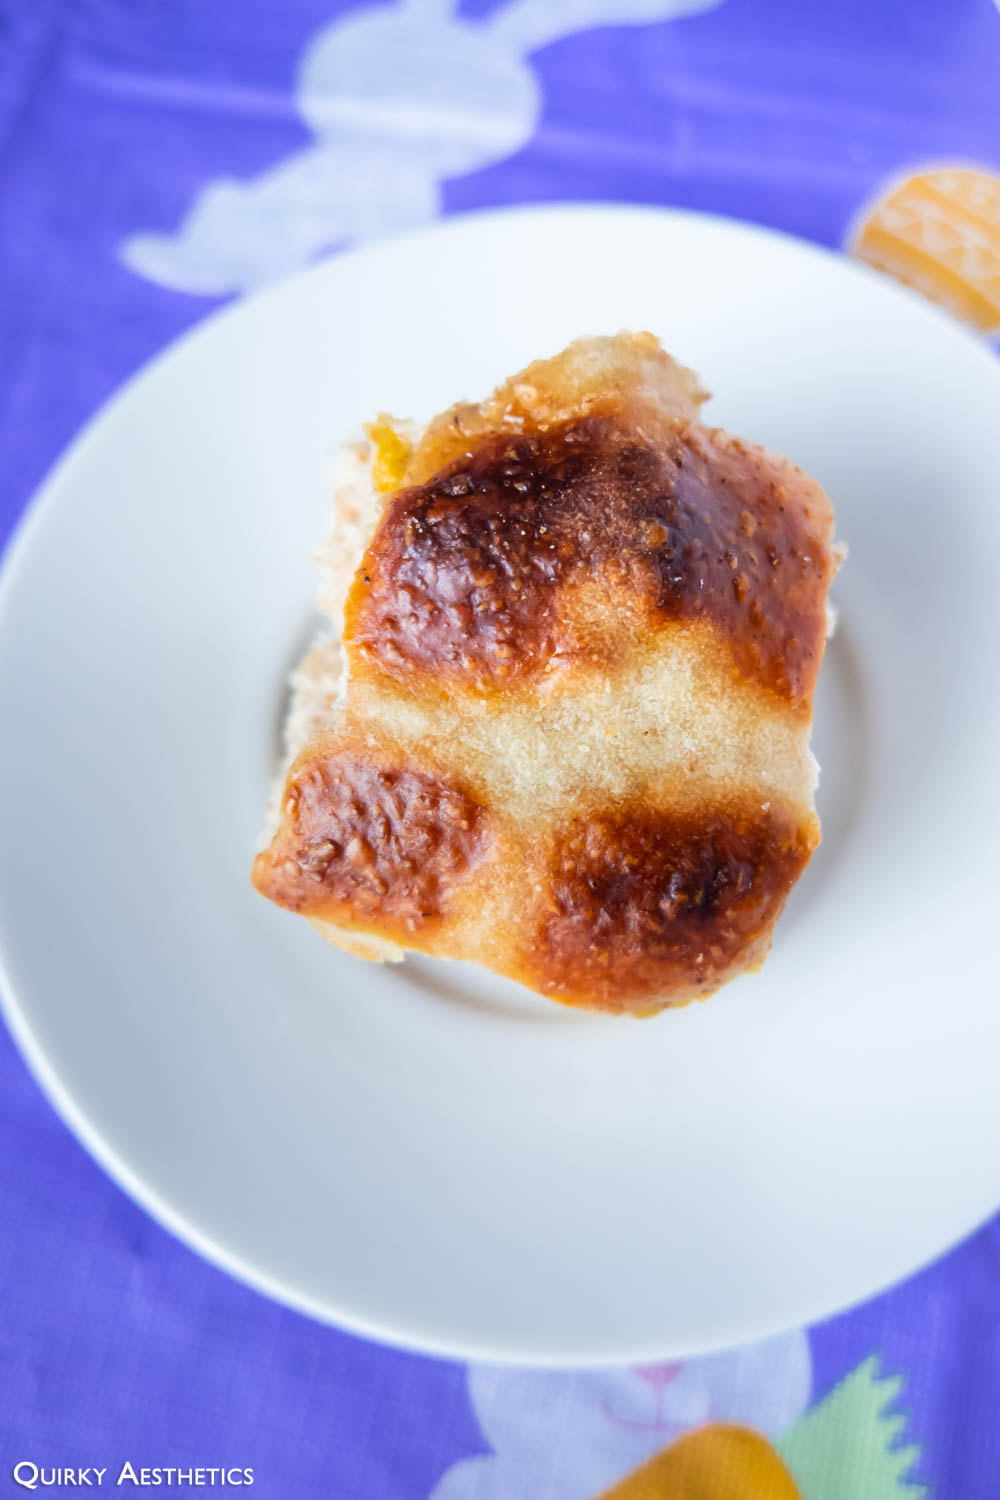
Given that the tops of the buns appeared somewhat dry, I quickly brushed the surface with melted butter. After ten minutes of impatient pacing, a steaming corner piece was dislodged from the edge.
Given that the tops of the buns appeared somewhat dry, I quickly brushed the surface with melted butter. After ten minutes of impatient pacing, a steaming corner piece was dislodged from the edge.
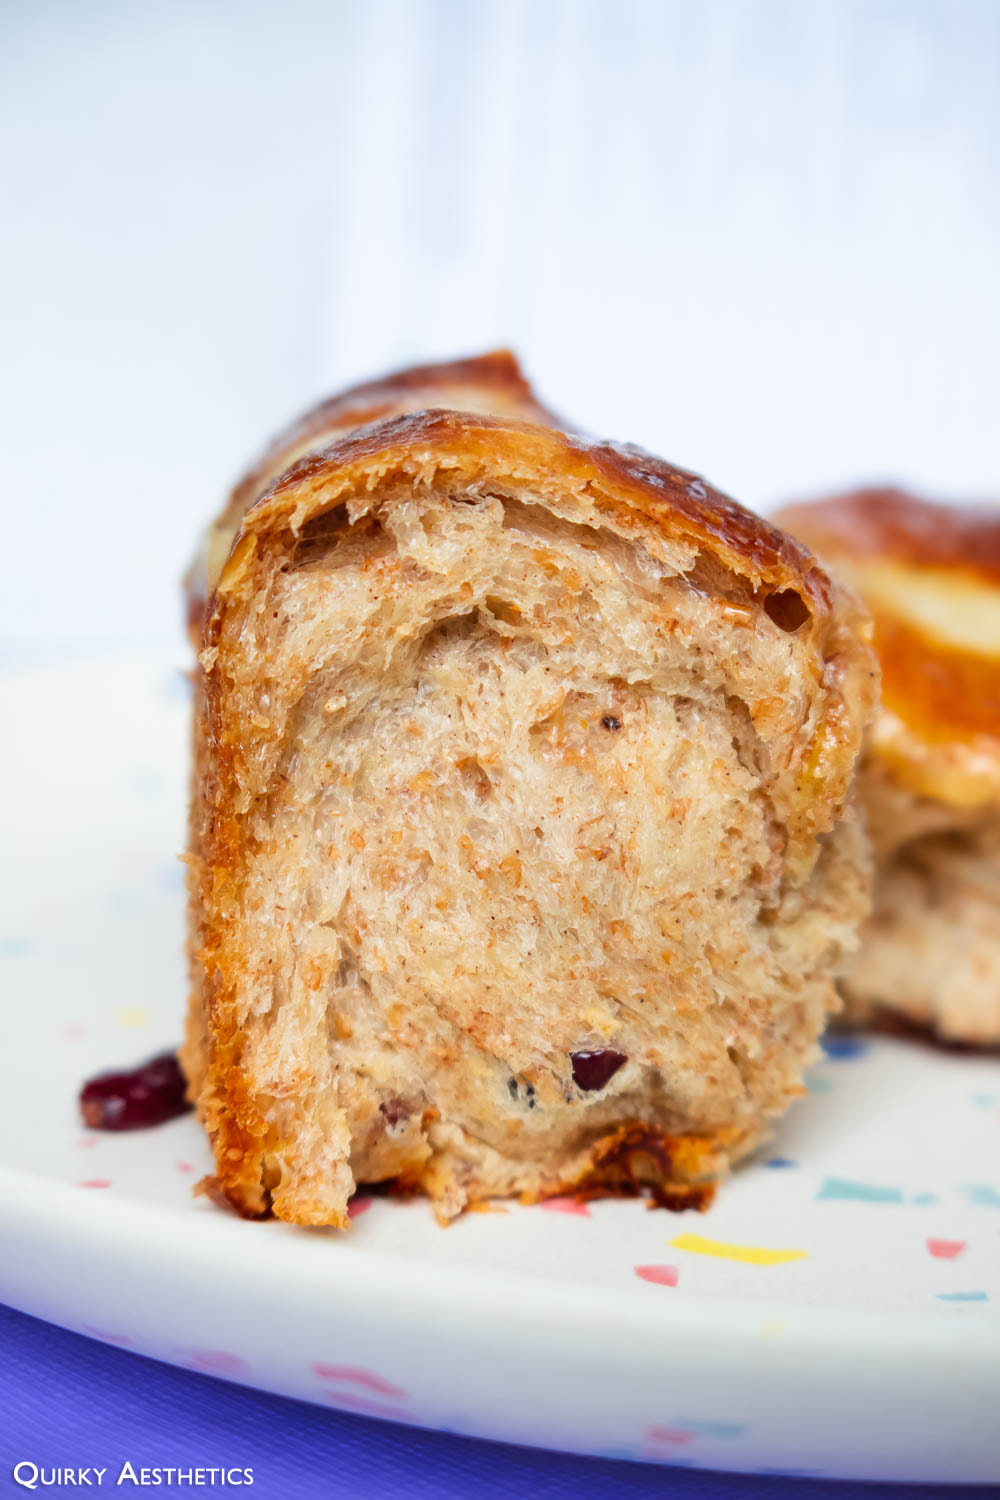 | 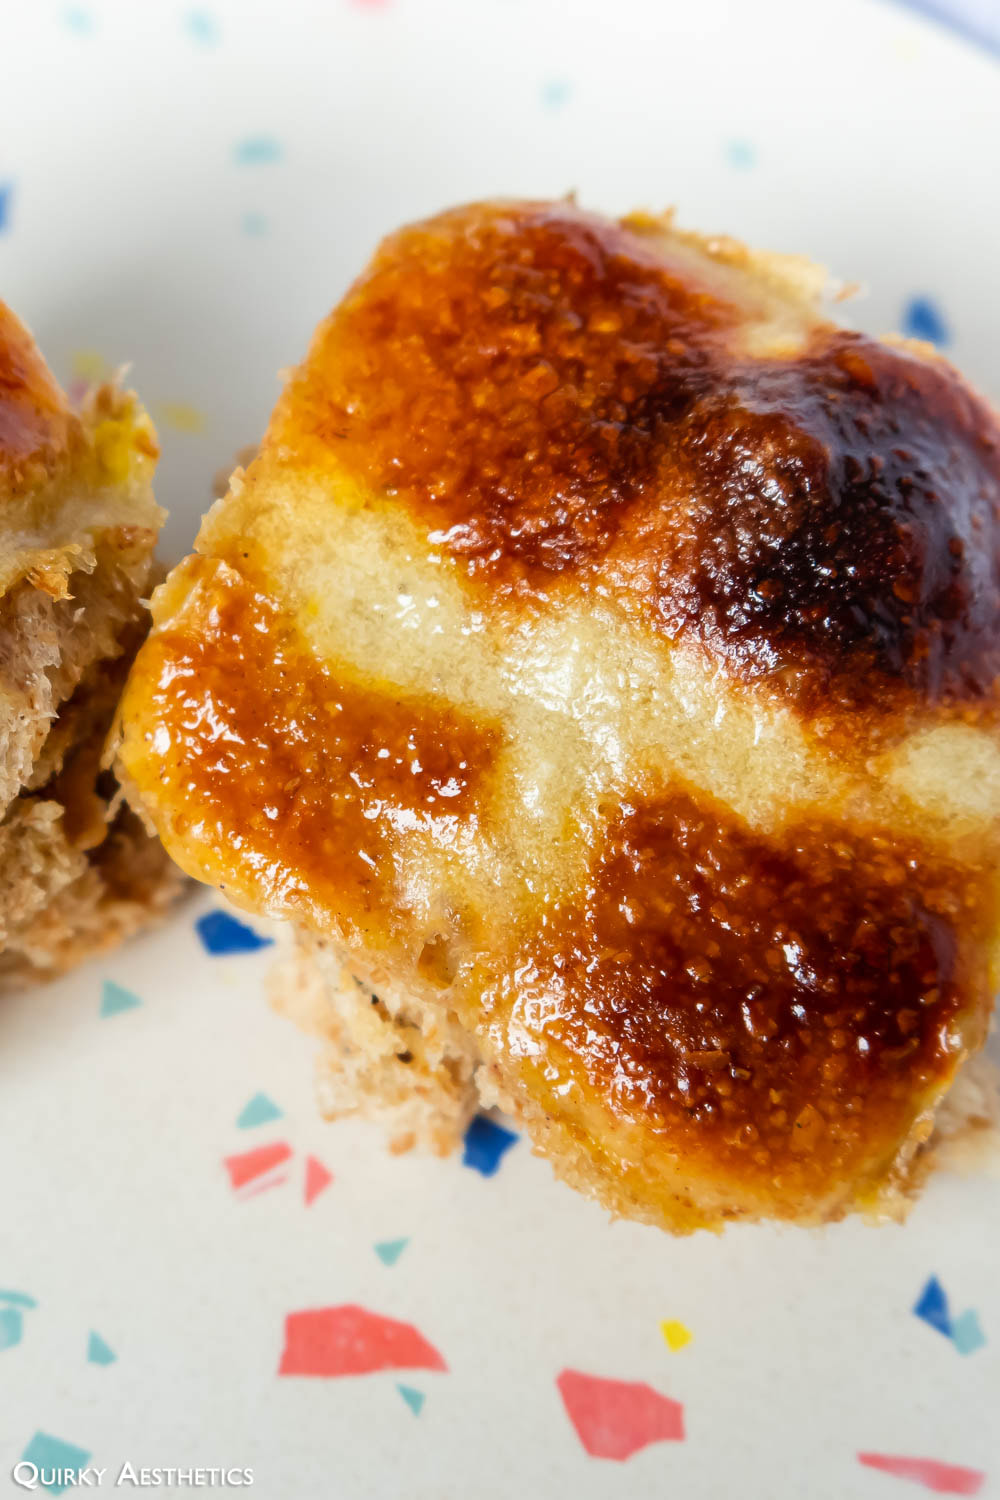 |

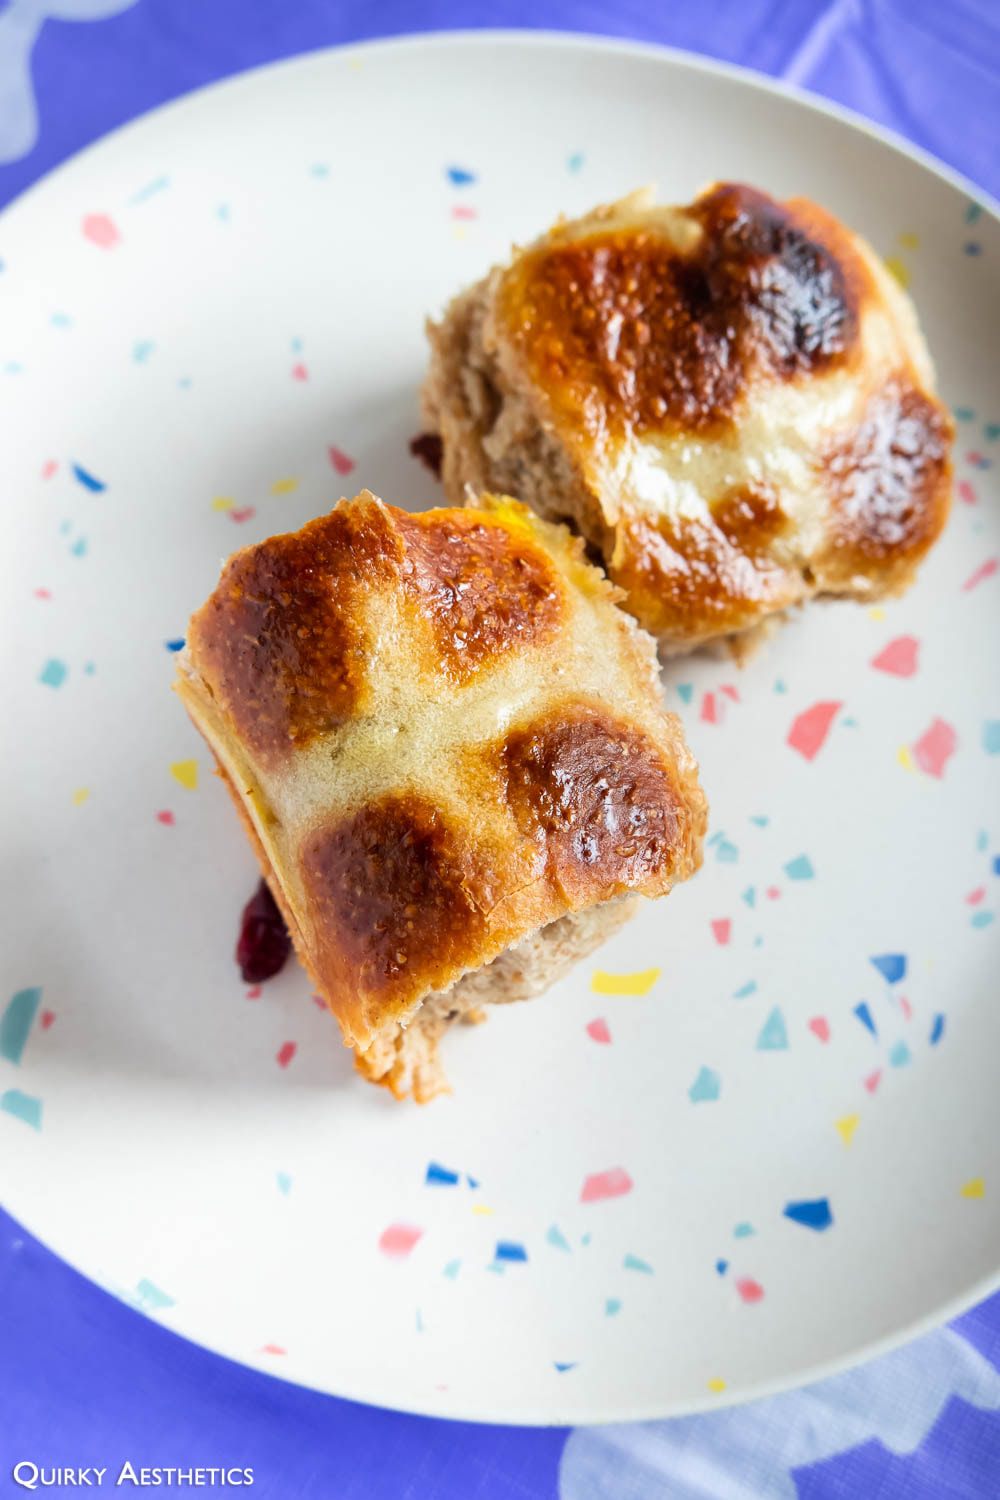
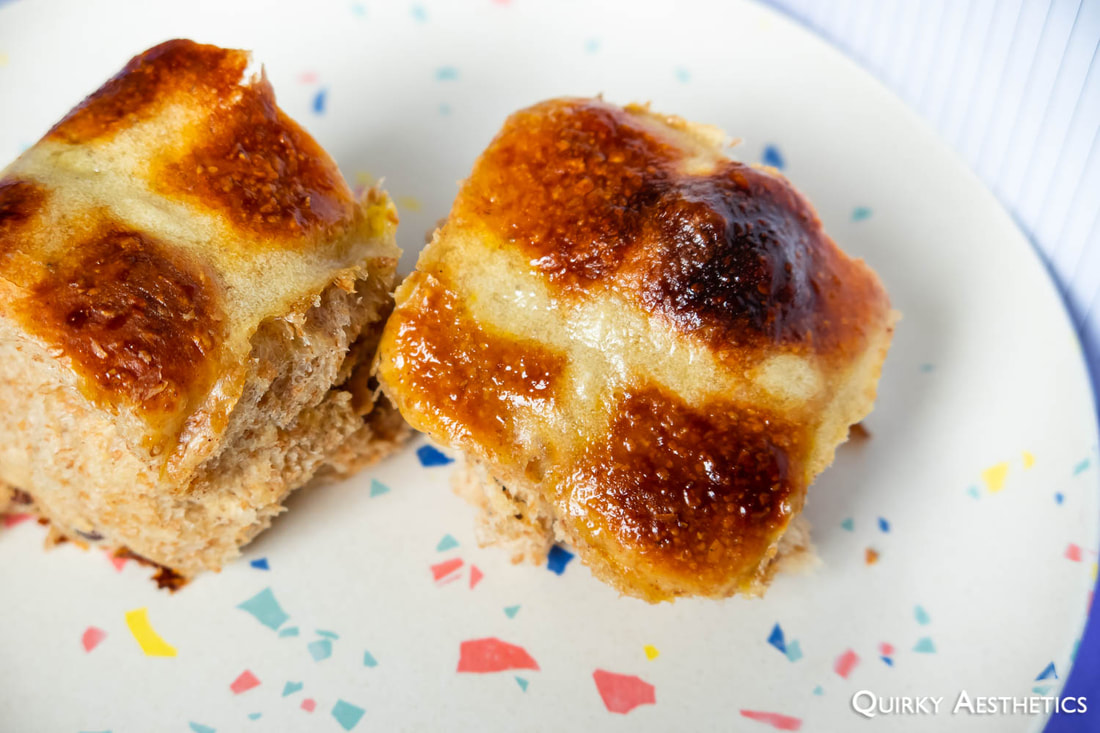
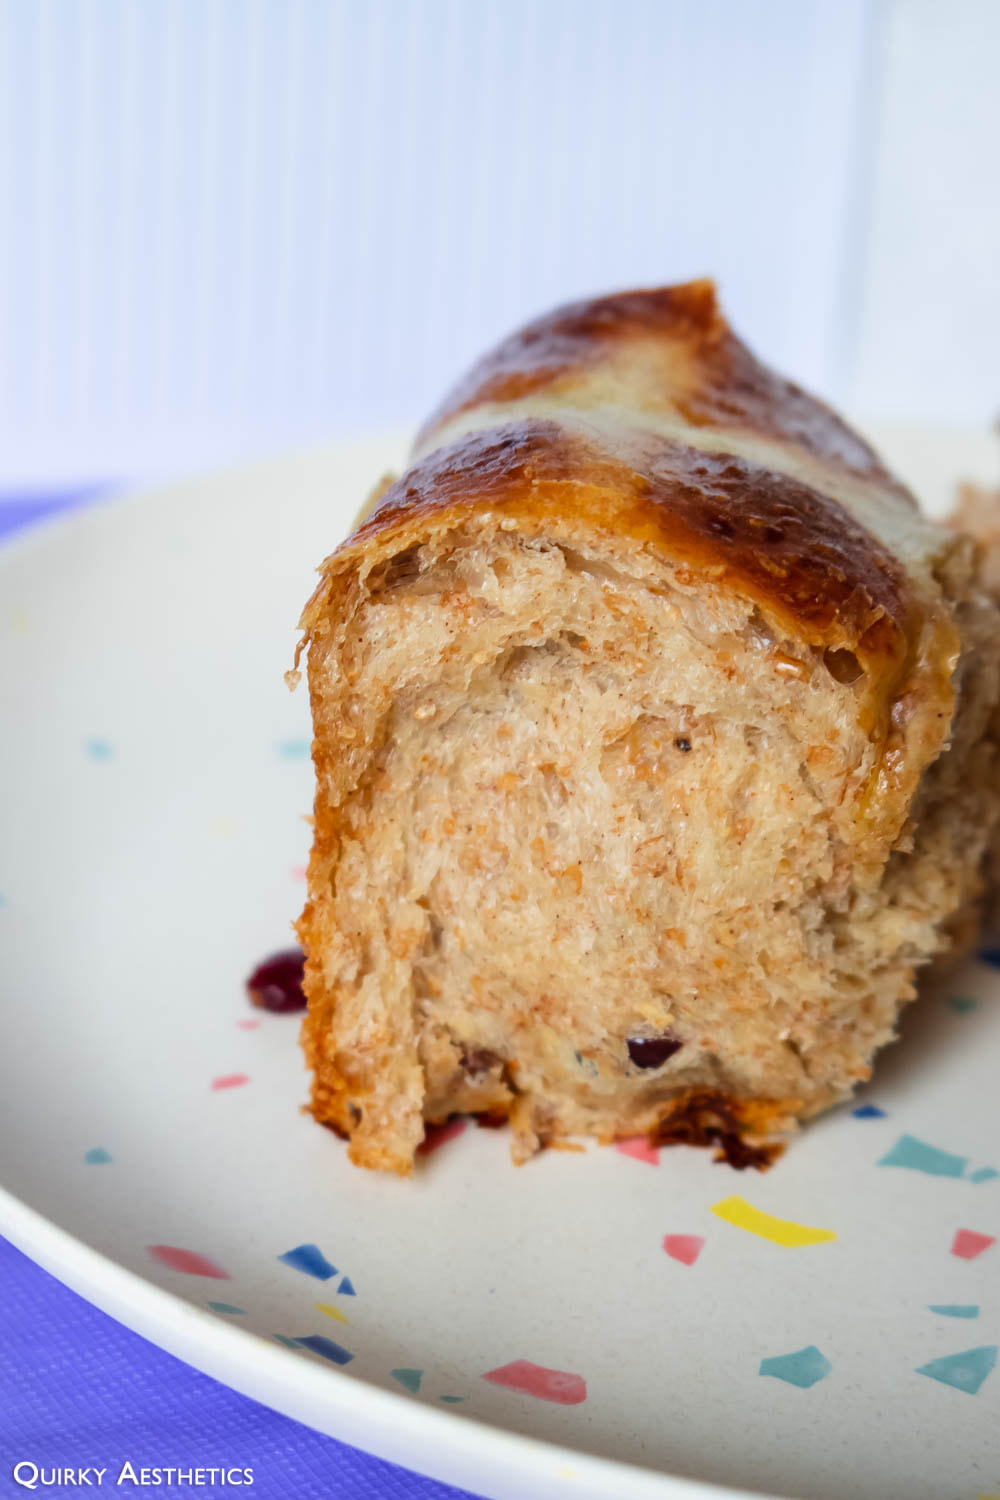
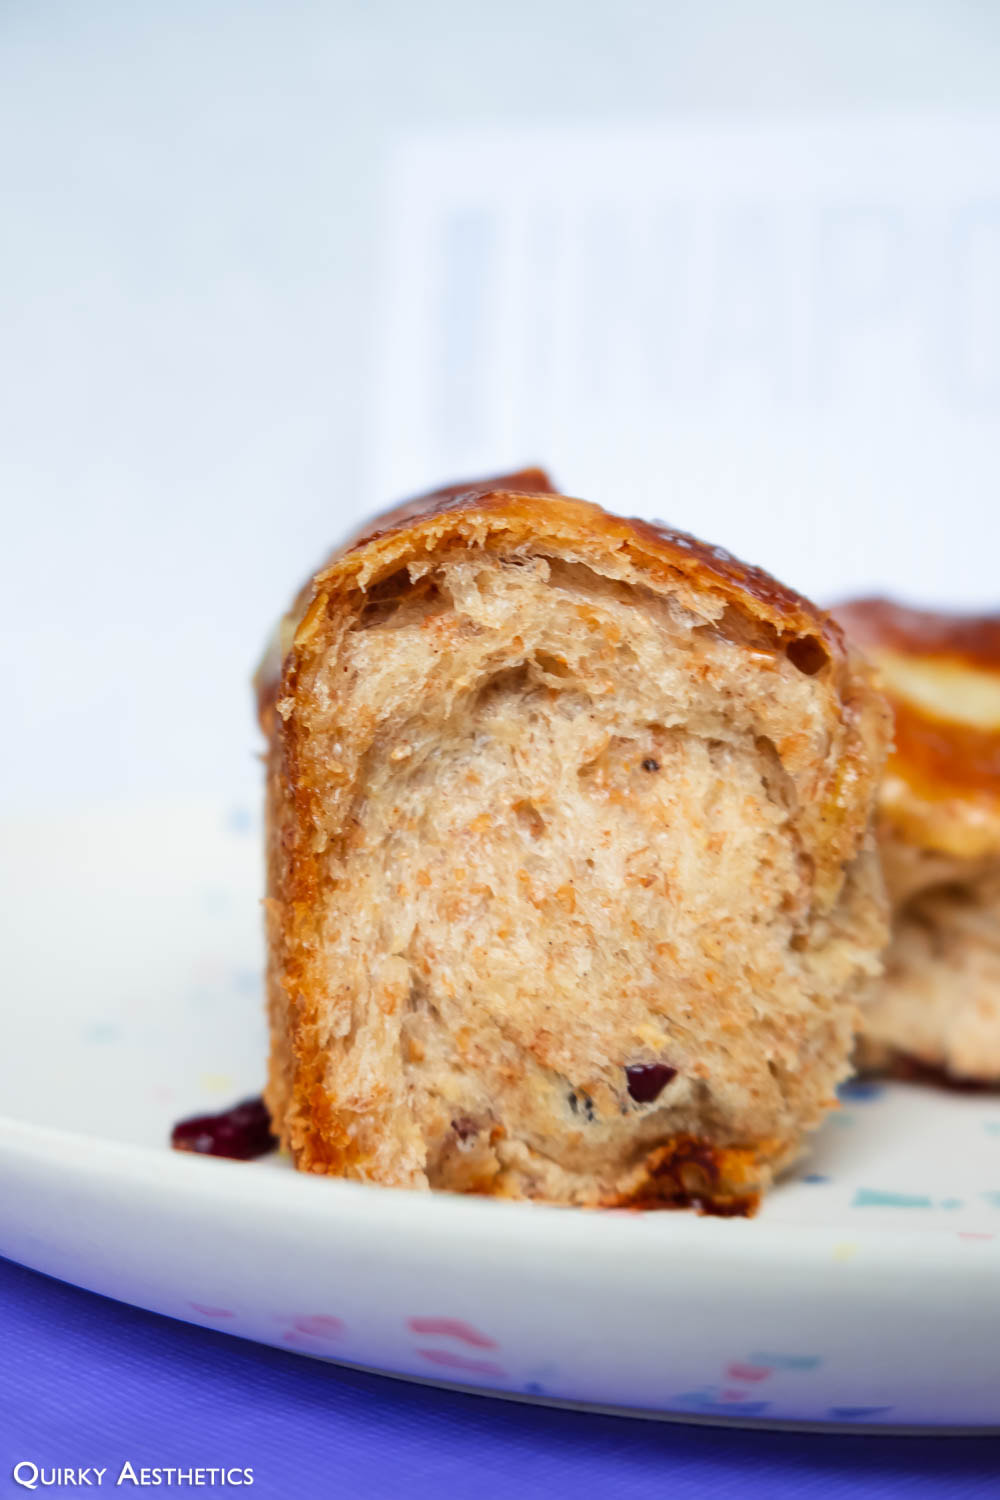
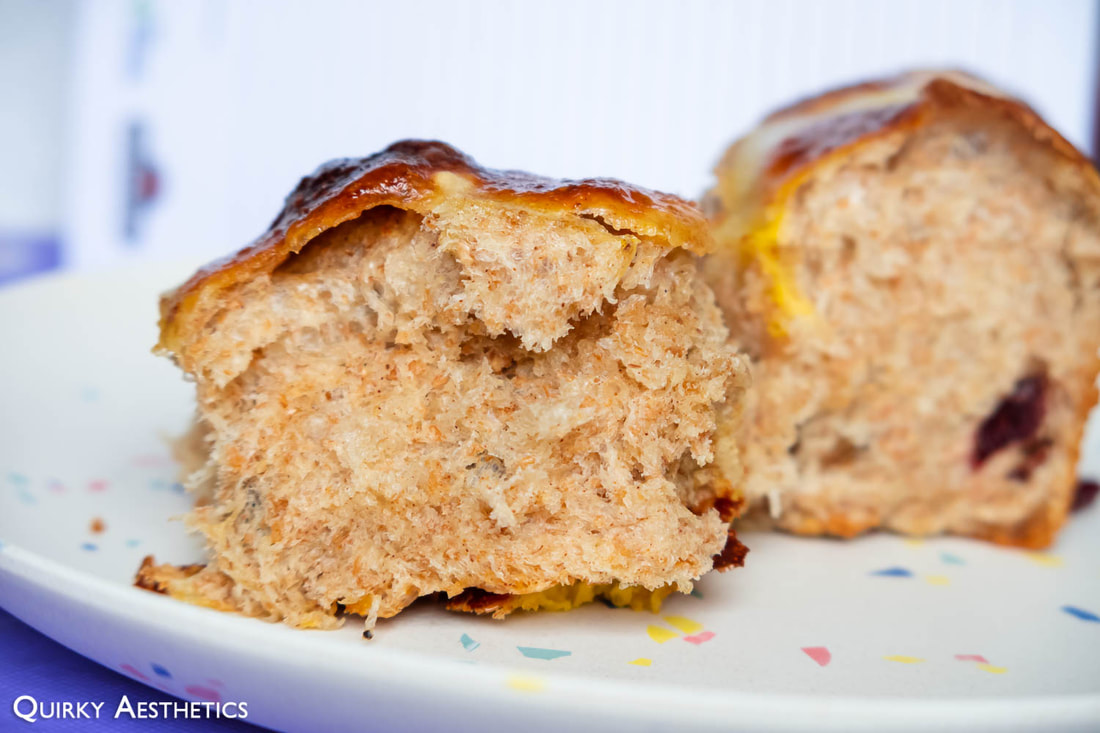
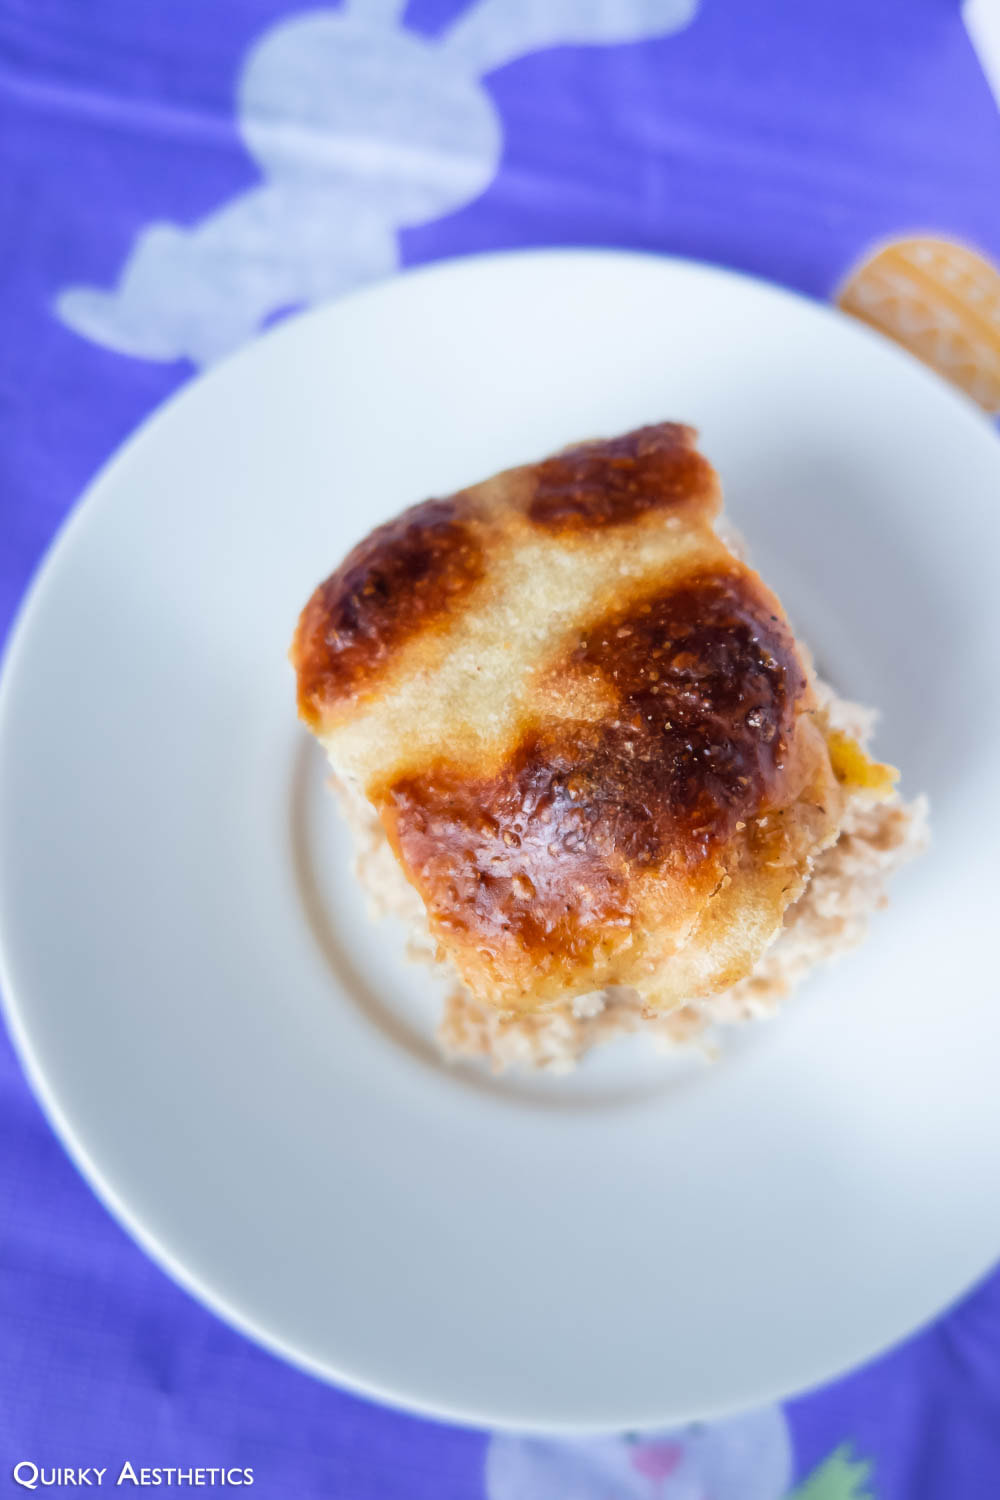
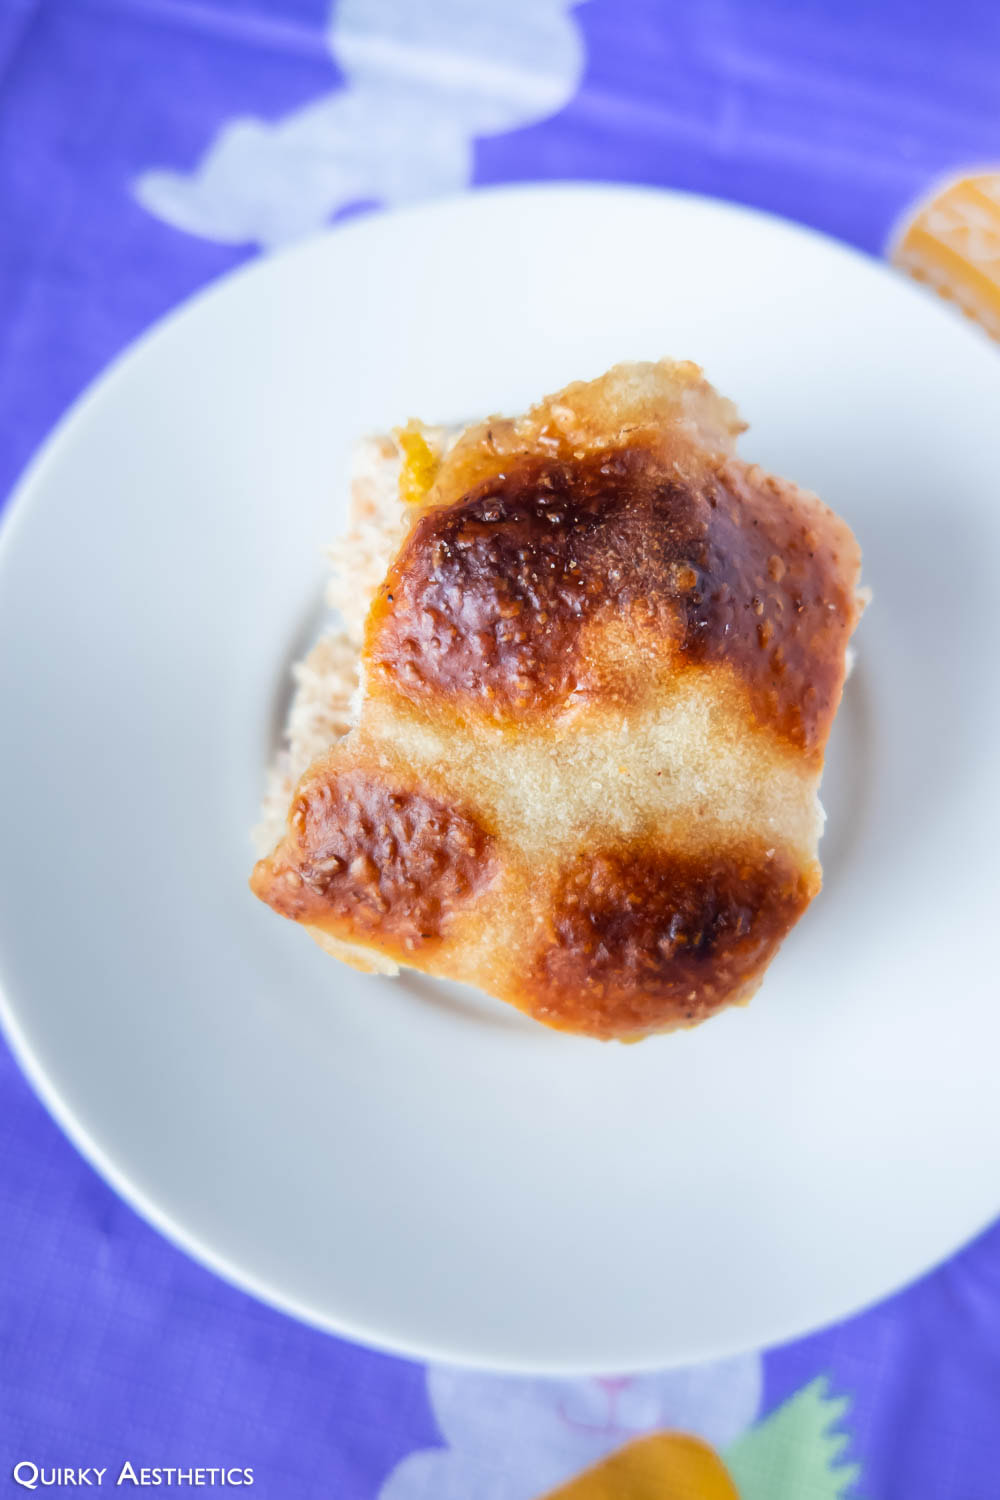
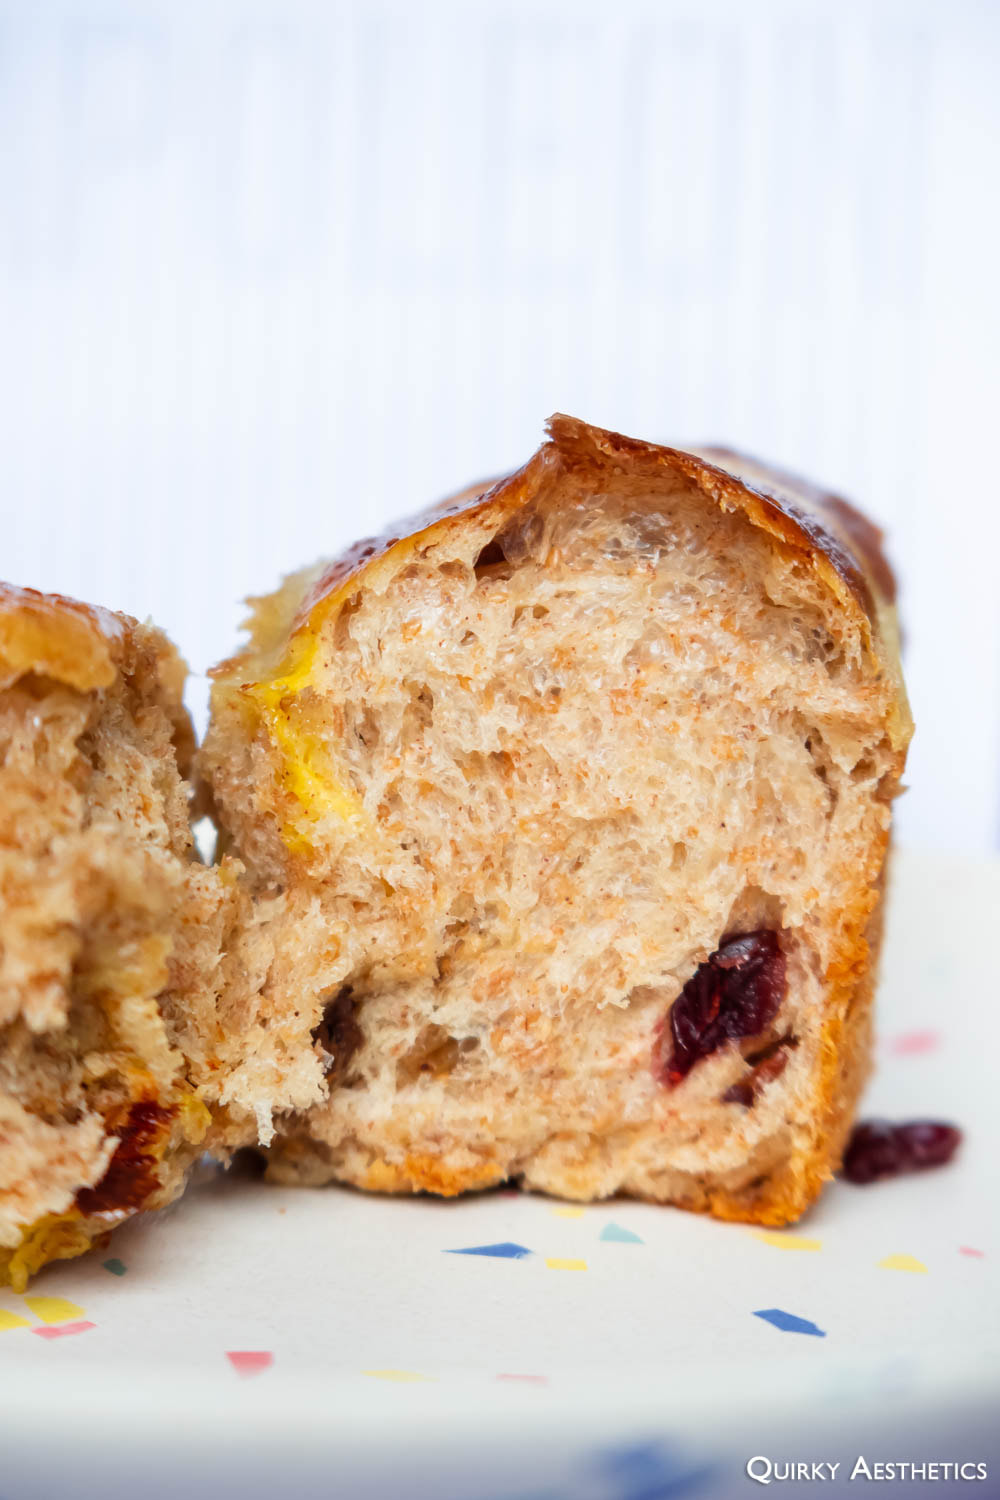
My first attempt at Hot Cross Buns hadn't yielded the desired results. The tangzhong was amazing in delivering wispy, delectable layers, but the buns lacked butteriness and structure. The incorporation of dried fruit was splendid, but the carefully curated spice mix was indiscernible. The concoction was, by no means, dismal, but it simply wasn't the Hot Cross Buns I had envisioned.
Combining the two recipes without adjusting the water content had been a fatal error. Adapting the Whole Wheat Tangzhong Loaf with spices and crossed would have likely increased my chance of success. The formula shall be revisited in due time, once this allotment is depleted.
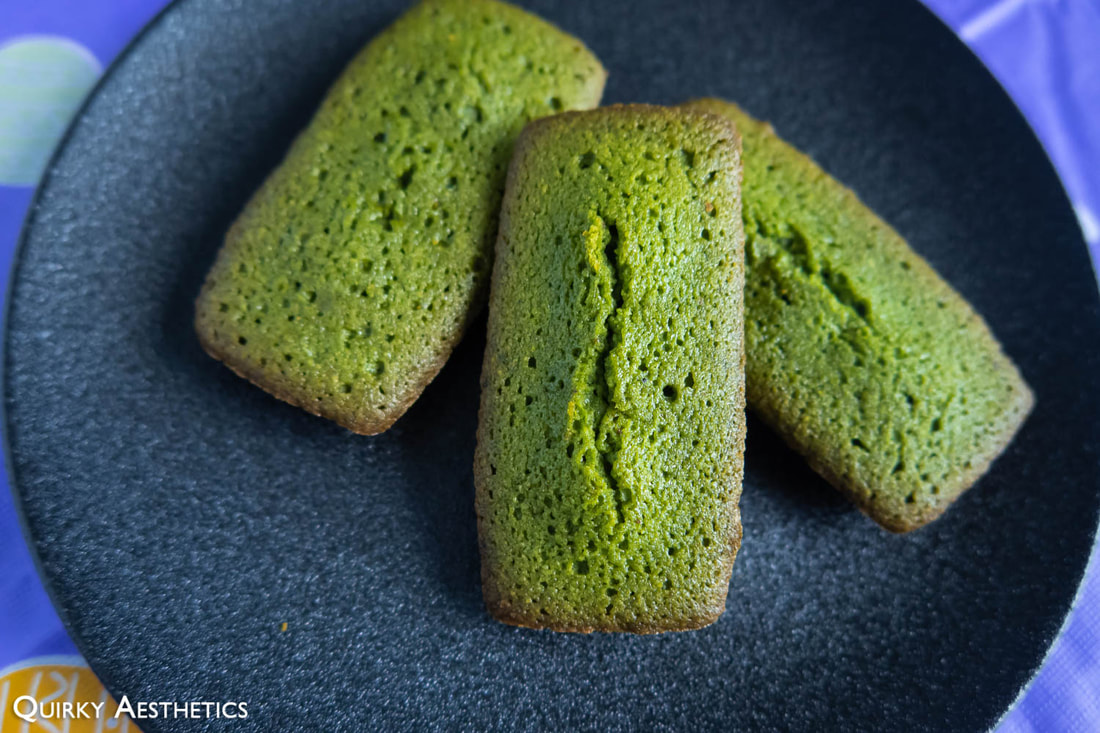
3) Matcha Financiers
Resulting from brioche dough was an excess of egg whites, one of which would be contaminated with streaks of yolk due to a compromised shell. Being none too fond of meringue-based desserts, I opted to revisit financiers. My newly acquired stand mixer would be tasked with most of the active labour, reserving my attention for the creation of brown butter.
Sunday Baking's Best Chocolate Financier would be adapted for a tea-infused edition, wherein cocoa powder would be swapped for Momo Tea's Matsu, and the ganache decorations would omitted for sake of simplicity. (Truthfully, I had wished to create an earl grey edition, but had difficulty locating my pouch of Paragon baking earl grey after constant rearrangement of my extended pantry.)
Her recipe specified 100 g of egg white, the approximate equivalent of 3 large eggs. The trickiest part would be converting the recipe for 4 egg whites, a scale up of 1.35x.
The ingredient list would be modified as follows:
Her recipe specified 100 g of egg white, the approximate equivalent of 3 large eggs. The trickiest part would be converting the recipe for 4 egg whites, a scale up of 1.35x.
The ingredient list would be modified as follows:
- 135 g → 183 g unsalted butter
- 100 g → 4 egg whites (roughly 4 x 30 g)
- 115 g → 155 g icing sugar
- 45 g → 60 g almond flour
- 40 g → 54 g cake flour
- 10 g cocoa powder → 14 g matcha
- 1/4 tsp → 1/3 tsp baking powder
- 1/4 tsp cream of tartar * to combat yolk contamination
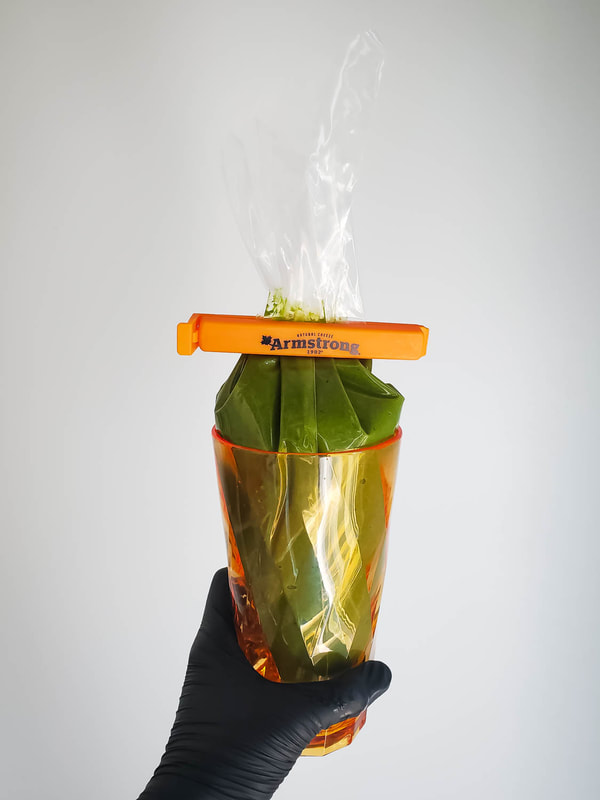 | 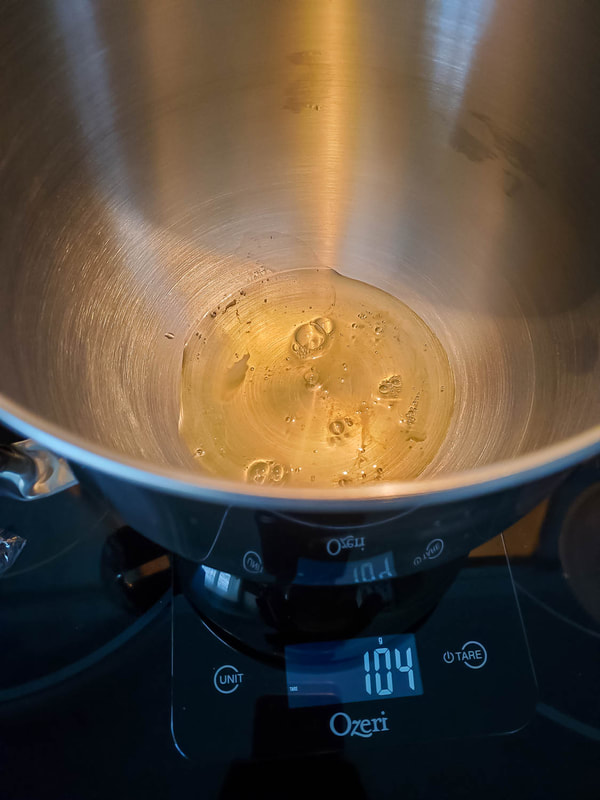 |
Egg whites, cream of tartar, and icing sugar would be whisked together while I hovered between the counter and the stove. For the first time in all instances of financier compilation, the brown butter would be sifted before incorporation. This was due to the formation of a few large burnt bits - a consequence of divided attention between the mixer and bubbling butter.
The process of mixing the whites with the icing sugar seemed to take longer than if done by hand, for the whisk attachement only seemed to agitate the surface of the egg whites, given the meager amount. Upon addition of the brown butter, however, there appeared sufficient volume for machine-led mixing.
As I proceeded to half-heartedly listen in on a webinar, the batter was allowed to chill for about two hours.
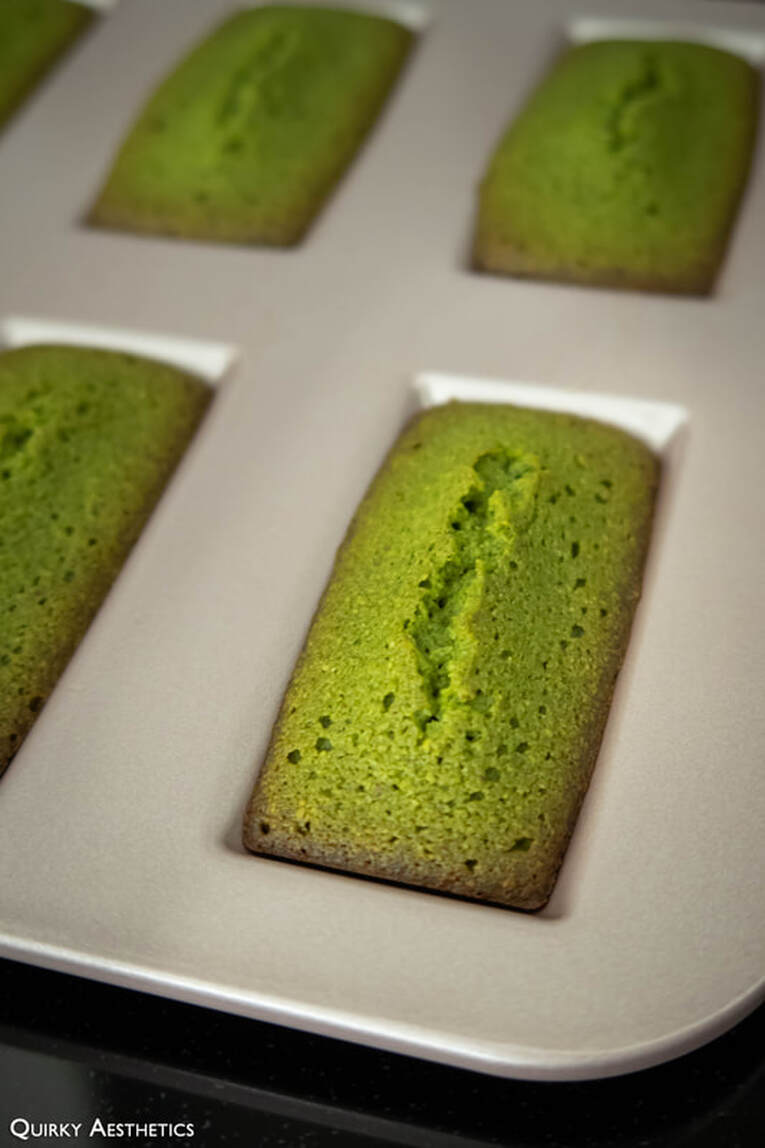
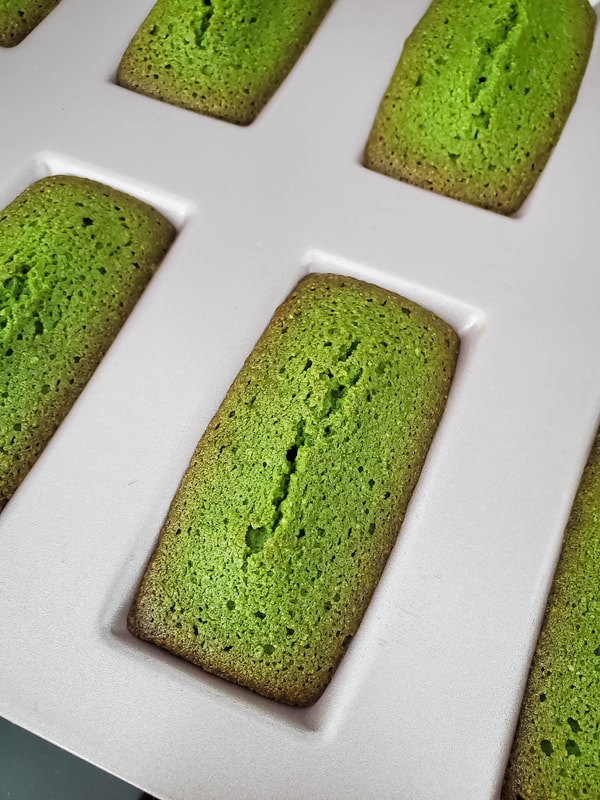
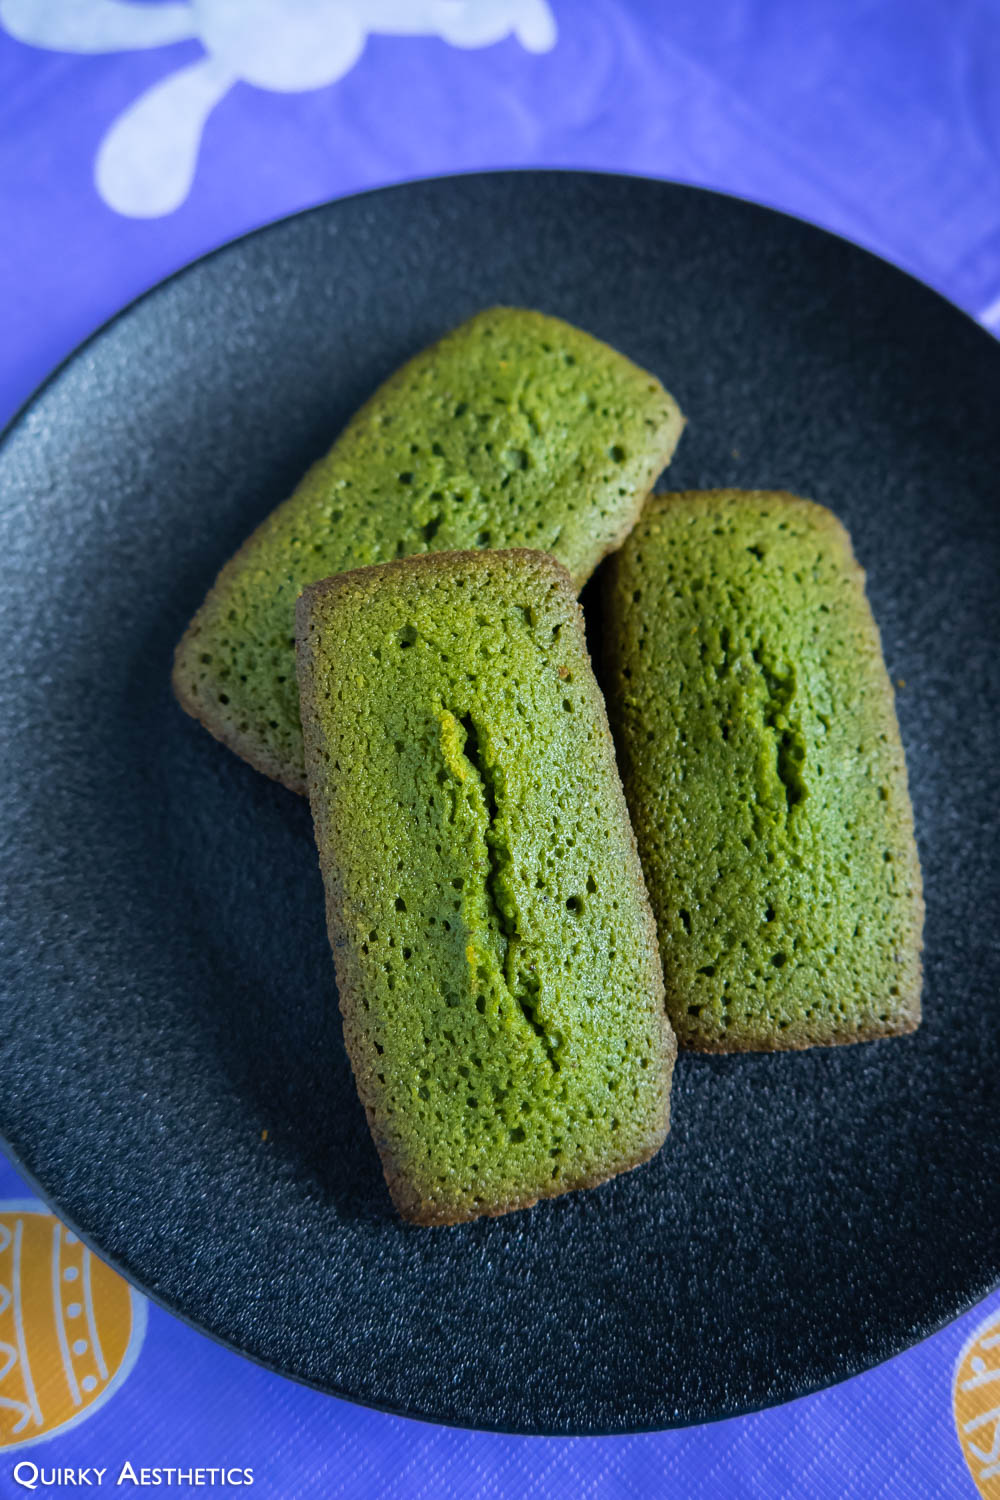
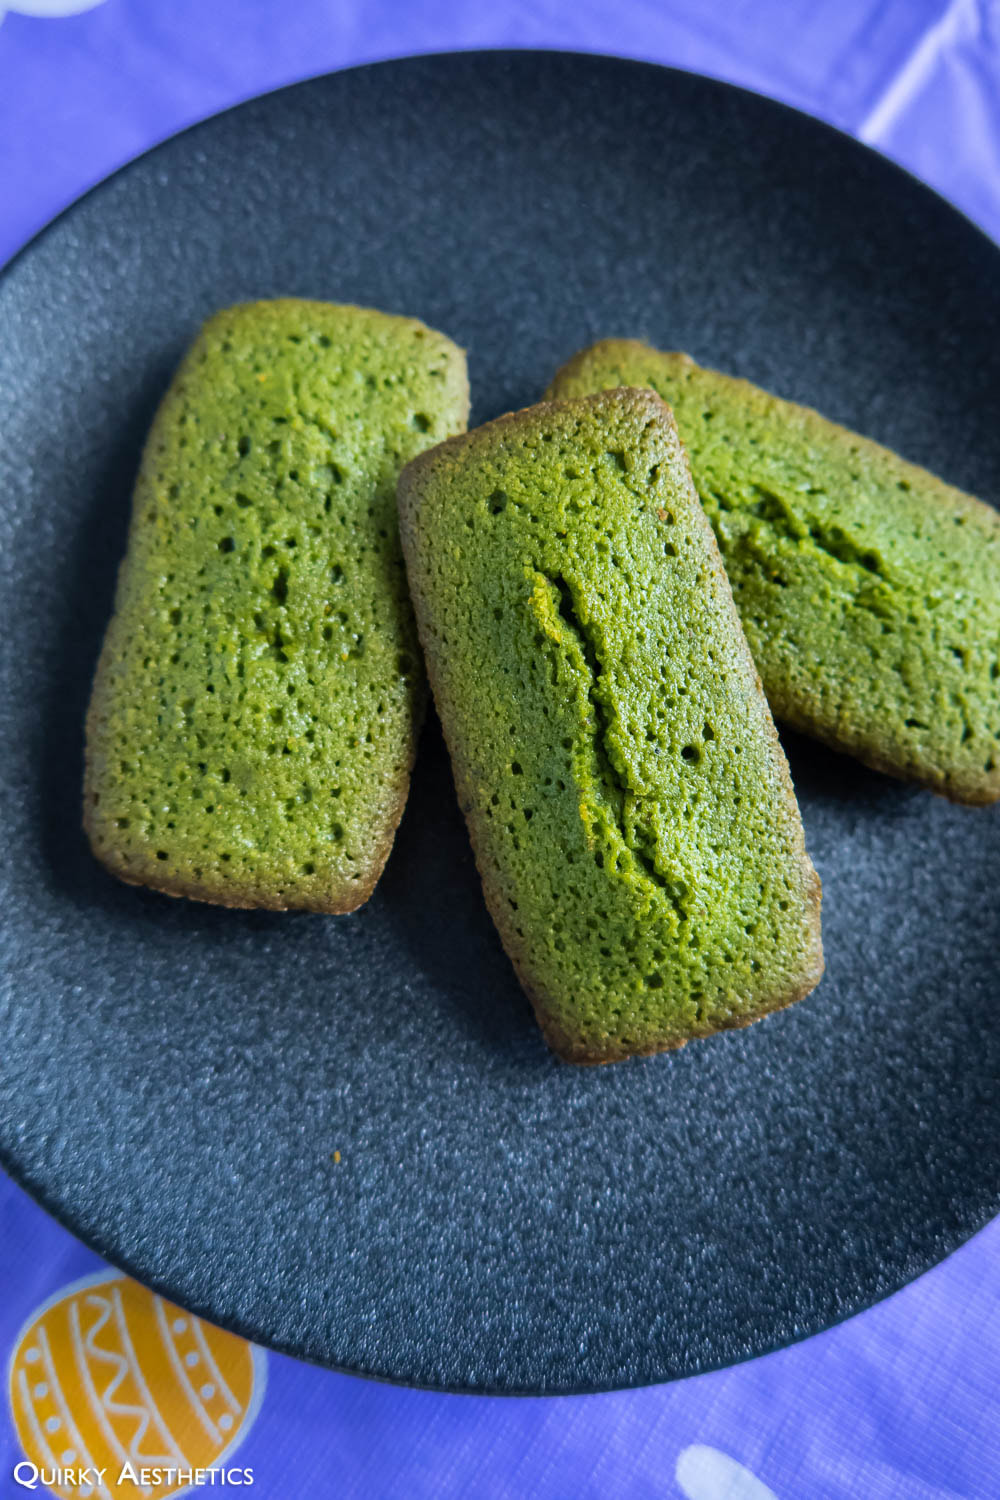
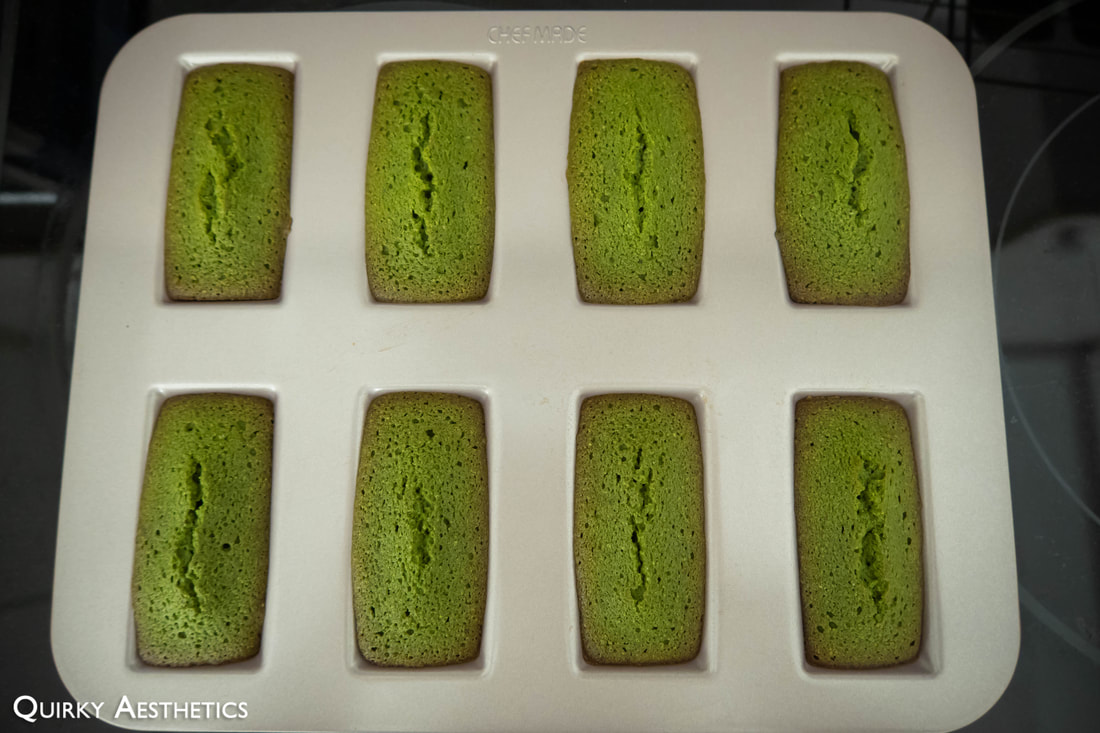
A total of sixteen servings would emerge, each boasting beautiful, golden edges and a wonderfully grassy hue. Perhaps the only aspect that caught me off guard was the size of the air pockets. Instead of being crunchy, the surface was a tad soft and didn't bear the signature lengthwise crack. Dotted all over were crater-like depressions that extended into the cross-section.
Had the batter been over-aerated?
Persisting as one of my biggest concerns while using a stand mixer is the inability to verify changes in consistency and adjust as needed, when needed. In contrast, the hand mixer is great for such applications, for the beaters resist movement in the presence of friction and/or increased viscosity.
Delightfully bittersweet with a moist crumb, these Matcha Financiers were still very much enjoyable. That said, I'd prefer to revert to manual whisking to preserve a smooth, unblemished exterior.
In-office attendance had been reduced to just one day, for a short work week meant cancellation of the weekly team meeting.

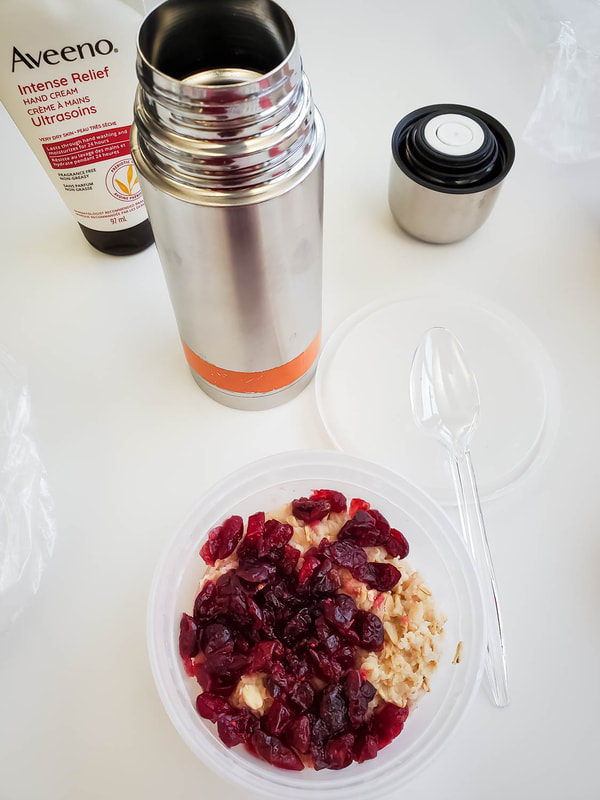 |  |
Errands were executed as planned, with a stopover at Eaton following a post office run.


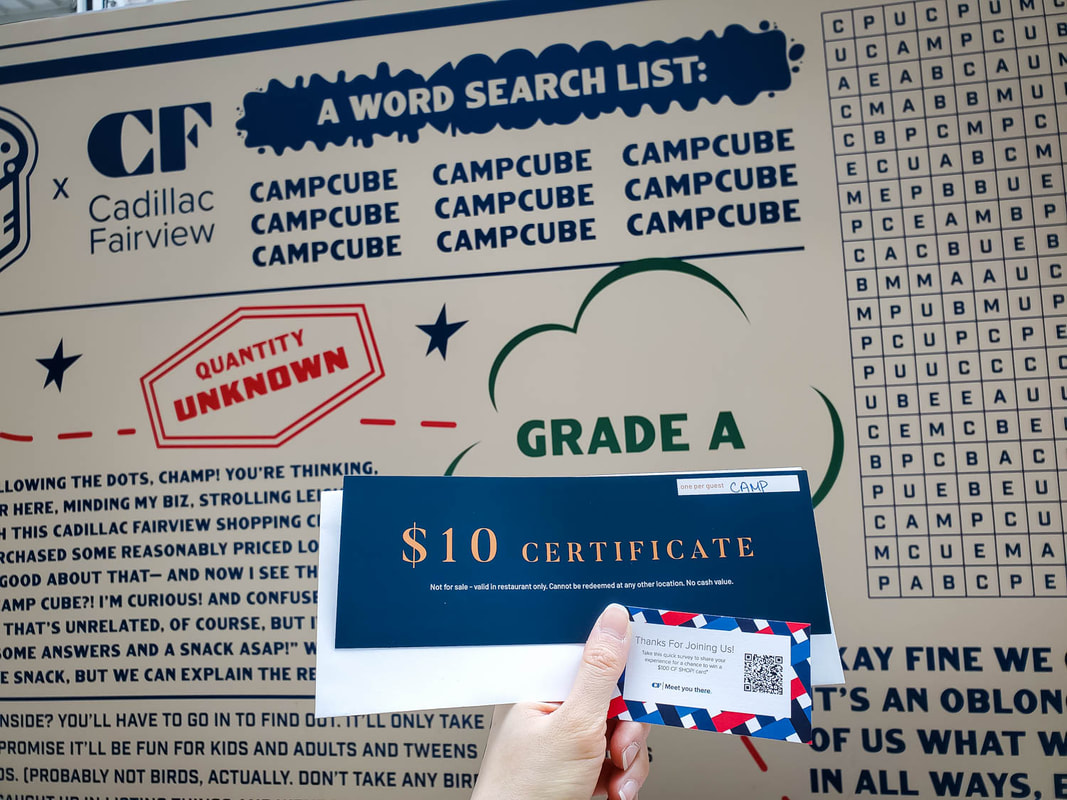
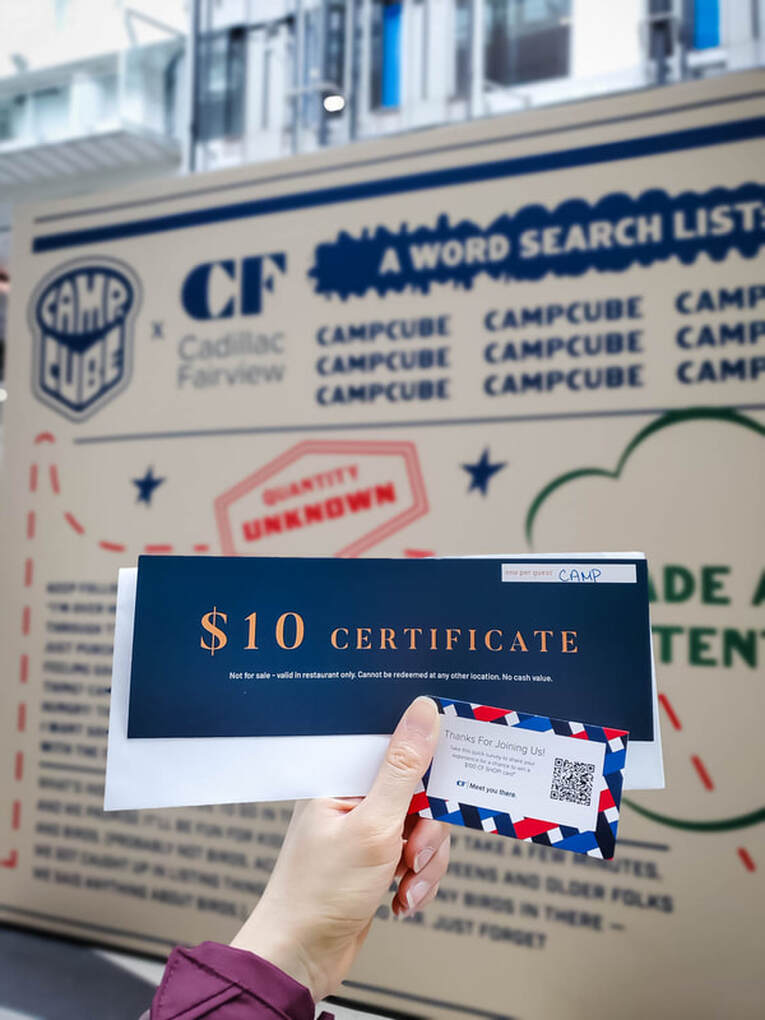
The CAMP Cube installation (previously seen at Sherway) invited participants into a dark, curtained room lined with three LED screens. There, an alien would threaten the safety of our home planet before launching a three-question trivia game. "The Fastest Gameshow in the Universe" indeed only spanned a few minutes. At its conclusion, a roulette would inform us of the colour - or tier - of prize.

A $10 Eaton-exclusive milestones voucher was presented to me in a white envelope. My coworker, who had also chanced across the exhibit the previous week, had earned a $5 CF gift card instead.
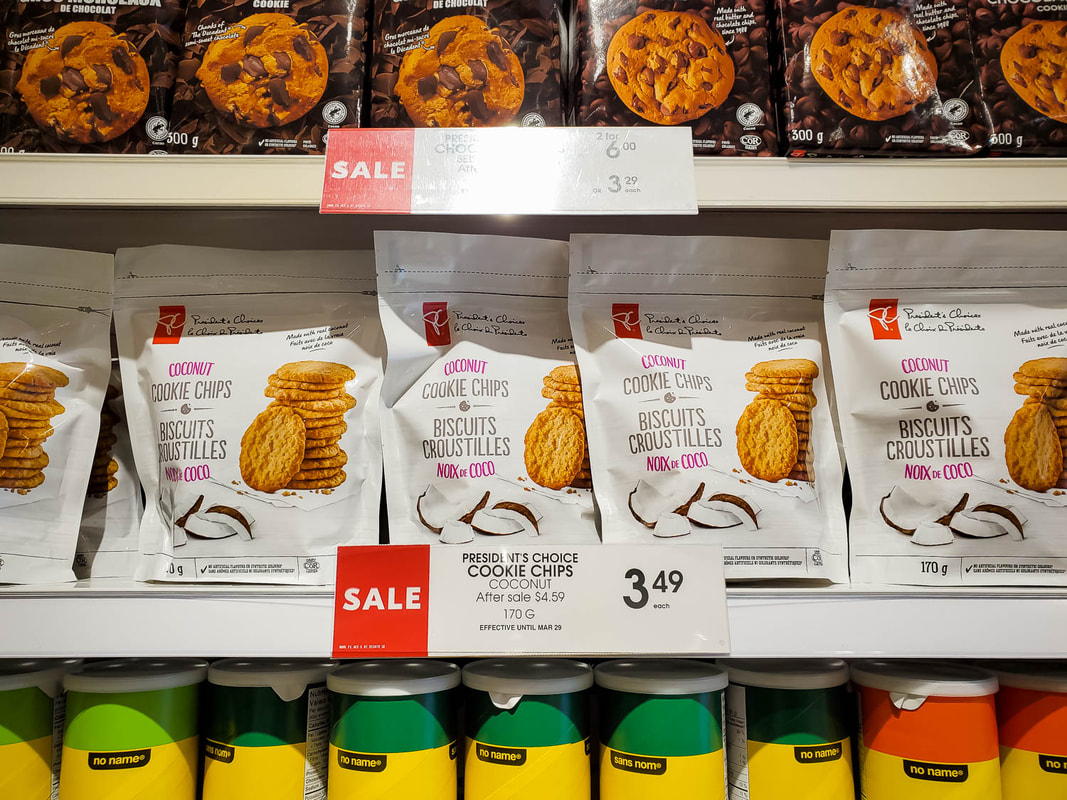
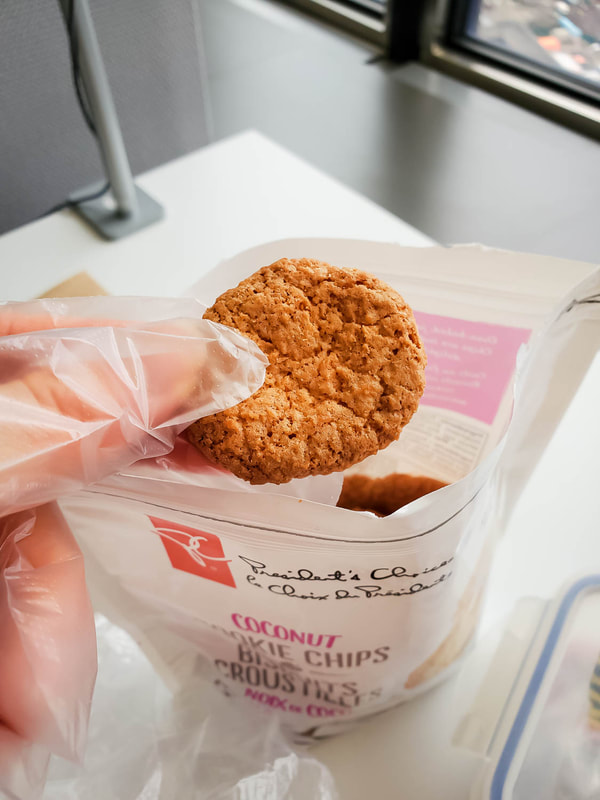
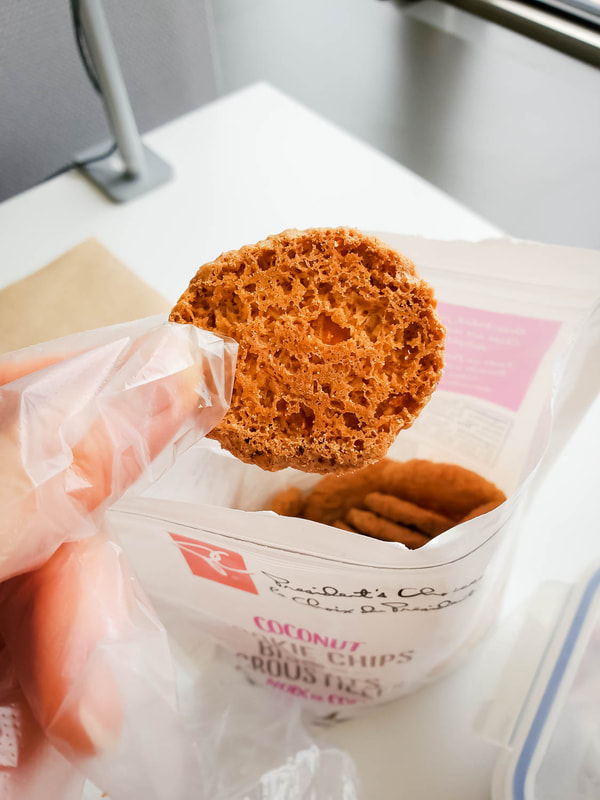
Returning to the office, I unveiled a pouch of Coconut Cookie Chips for snacking. The budget-friendly find was fragrant, unapologetically crunchy, and positively scrumptious.
 |  |
The rest of the work week was spent at home, enabling more errands and BOGO 50% off beverages from Starbucks.
 |  |
Having declared the Iced Lavender Cream Oat Matcha Tea Latte to be passable, the Iced Lavender Oat Latte was naturally up next for sampling. The coffee franchise had made the awful decision to utilize lavender syrup instead of an airy lilac-tinged foam, making for a drink that screamed "pollen and allergies (Feat. Coffee)". Oat milk possesses a somewhat dirt-like identity to start, therefore injecting a floral dose into the mix is the furthest one can aim from complementary.
The Iced Hazelnut Oat Shaken Espresso, as I was informed, was great and not at all repulsive like mine.
The Iced Hazelnut Oat Shaken Espresso, as I was informed, was great and not at all repulsive like mine.

 | 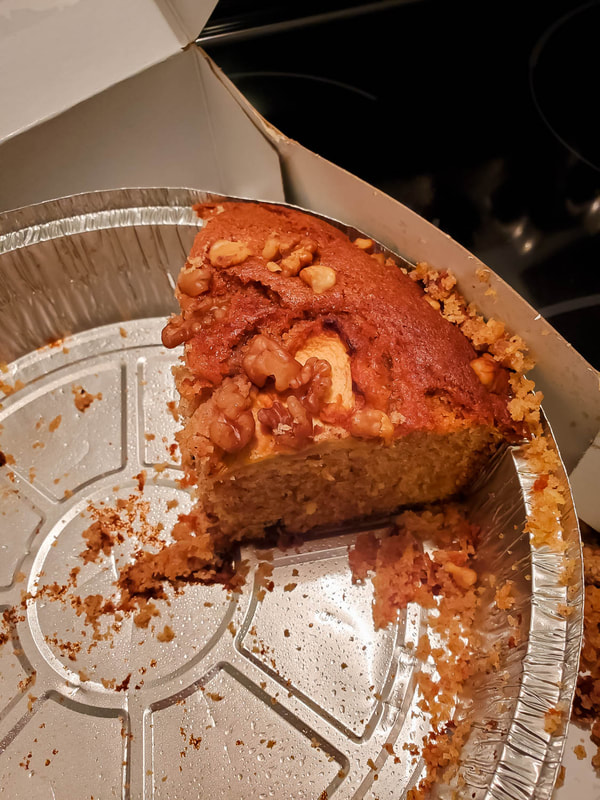 |
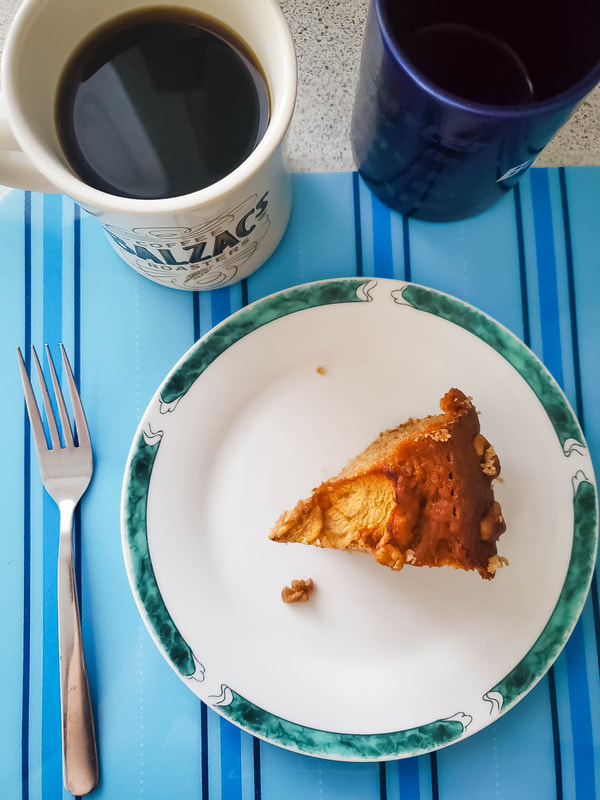
Later that evening saw delivery of an Apple Walnut Coffee Cake from The Big Apple, a coveted destination of mine.
Brimming with a cinnamon-laden punch, the oil-based cake was a satisfying snack with bits of walnut and apple on its surface. That said, the cinnamon content was rather overbearing in the absence of other spices, and all-around one-dimensional. At its given price point of $14.99 though, the round wouldn't be a bad choice for sharing amongst friends after a long drive.
Brimming with a cinnamon-laden punch, the oil-based cake was a satisfying snack with bits of walnut and apple on its surface. That said, the cinnamon content was rather overbearing in the absence of other spices, and all-around one-dimensional. At its given price point of $14.99 though, the round wouldn't be a bad choice for sharing amongst friends after a long drive.
 |  |
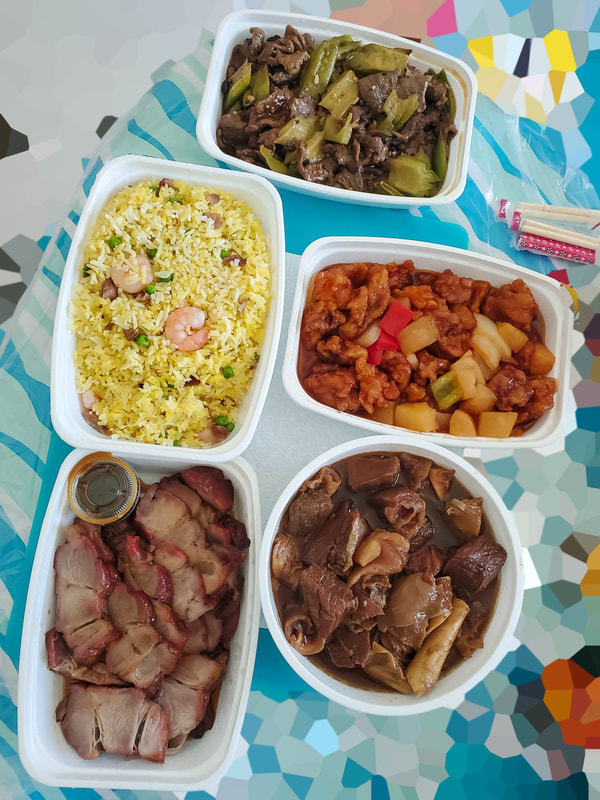
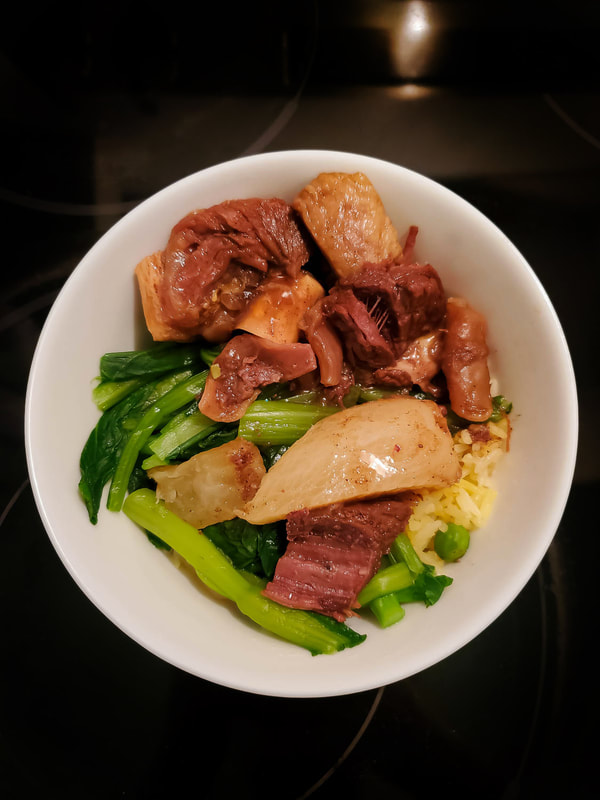
Meals of the week comprised of leftovers, Steamed Pork with Preserved Radish (not pictured), and Congee Queen Takeout.
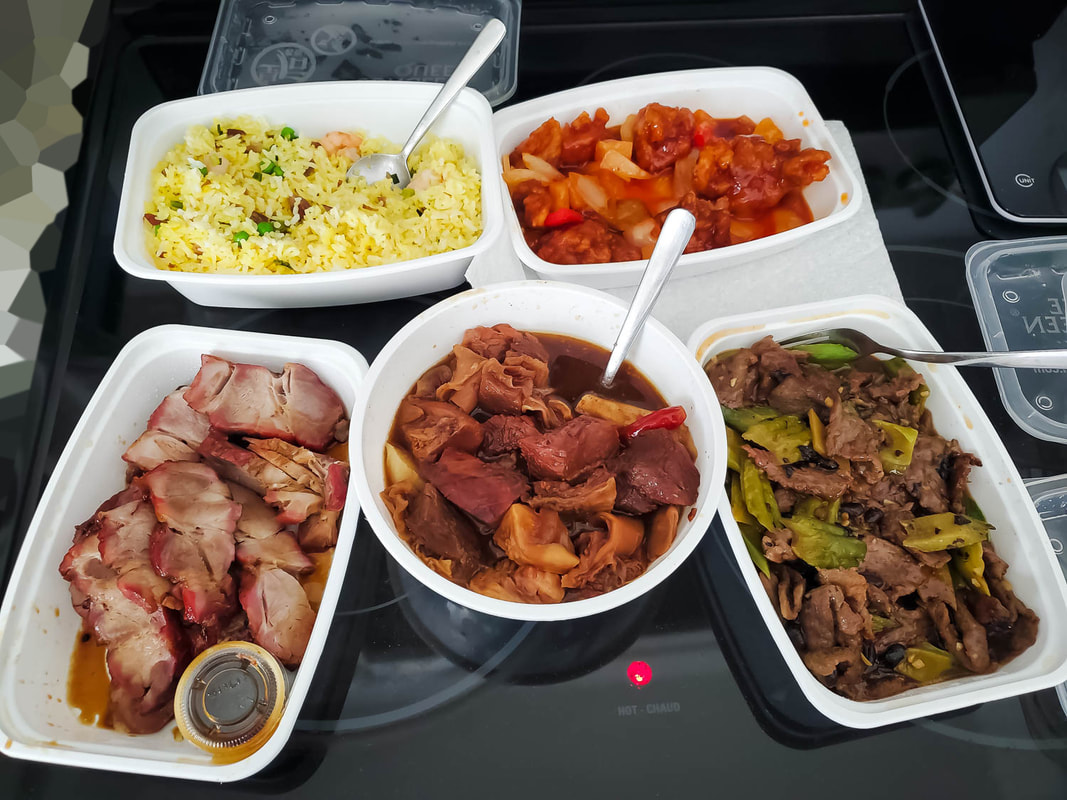
The Beef Brisket was the clear winner of the selection, followed closely by Yeung Chow Fried Rice. Far from worthy was the BBQ Pork, which has seen better iterations in our own household.
 |  |
Majority of the long weekend was spent not on a hectic road trip undertaking, the common course for prolonged periods of "rest", but rather unplanned cleaning, organizing, and errand-running.
 |  |
The extensiveness of the to-do list often never occurs to me. Furthermore, intermittent distractions cause the process to be unnecessarily lengthy. My own tasks usually take a back seat when the needs of others are tossed into my face, frustratingly so.

Saturday marked the only day of the weekend that guaranteed operation of municipal and commercial establishments. E-waste and donation drop-off were succeeded by receipt adjustments at Michaels and a Facebook Marketplace transaction at Square One.
 |  |
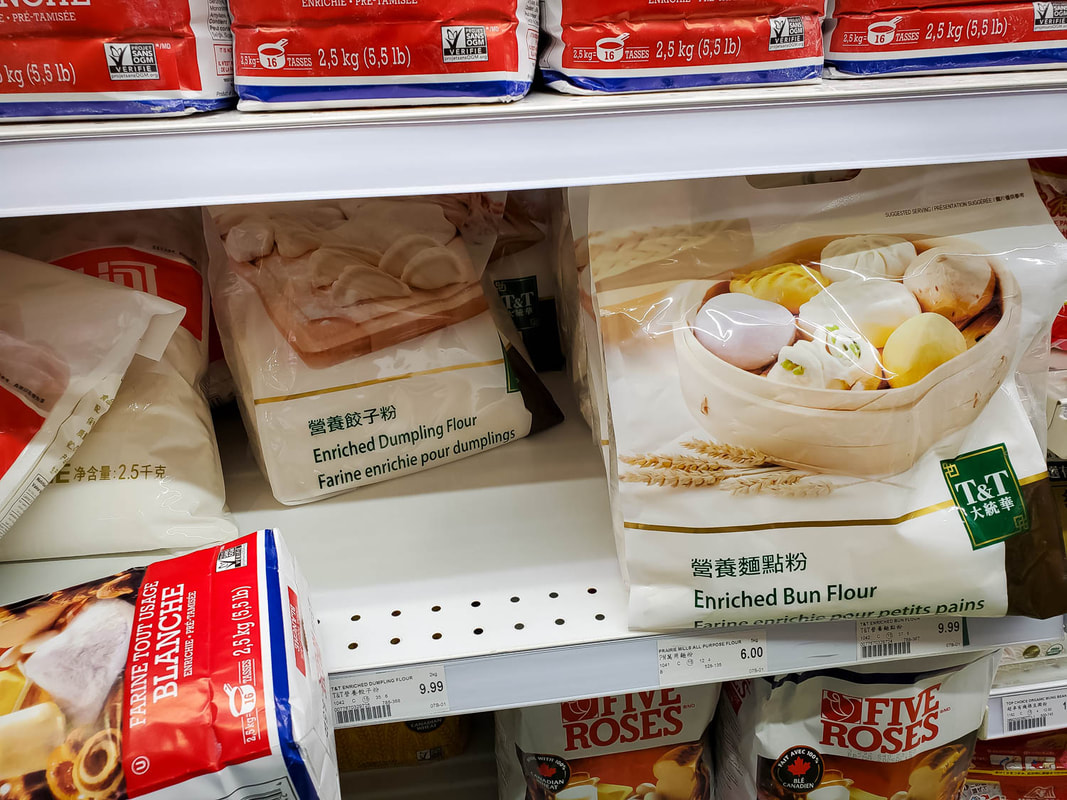
Resulting from stomach backlash towards too many meals of Congee Queen, I paid a visit to T&T. Frozen dumplings were acquired for sanity sake.
 | 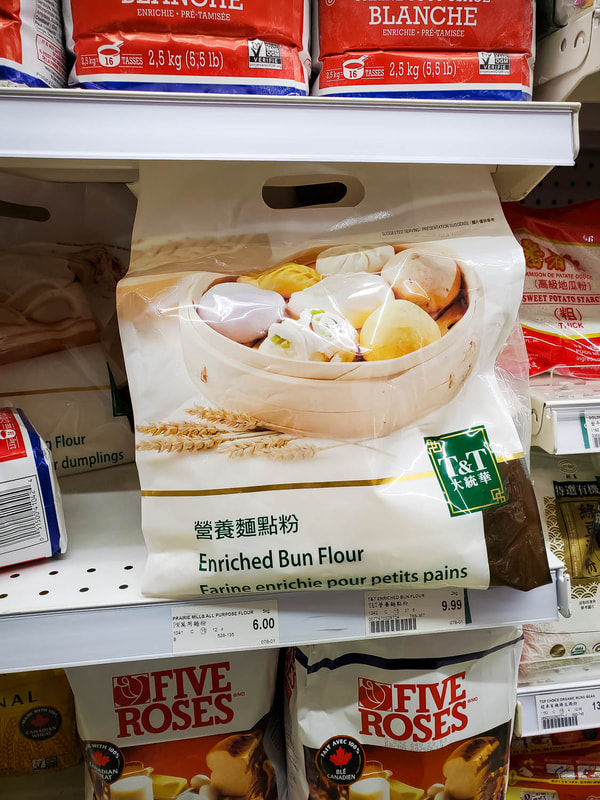 |
It was also discovered that Enriched Dumpling Flour and Enriched Bun Flour could be purchased, at a steep price of $9.99, for perfectly white bun exteriors.


 RSS Feed