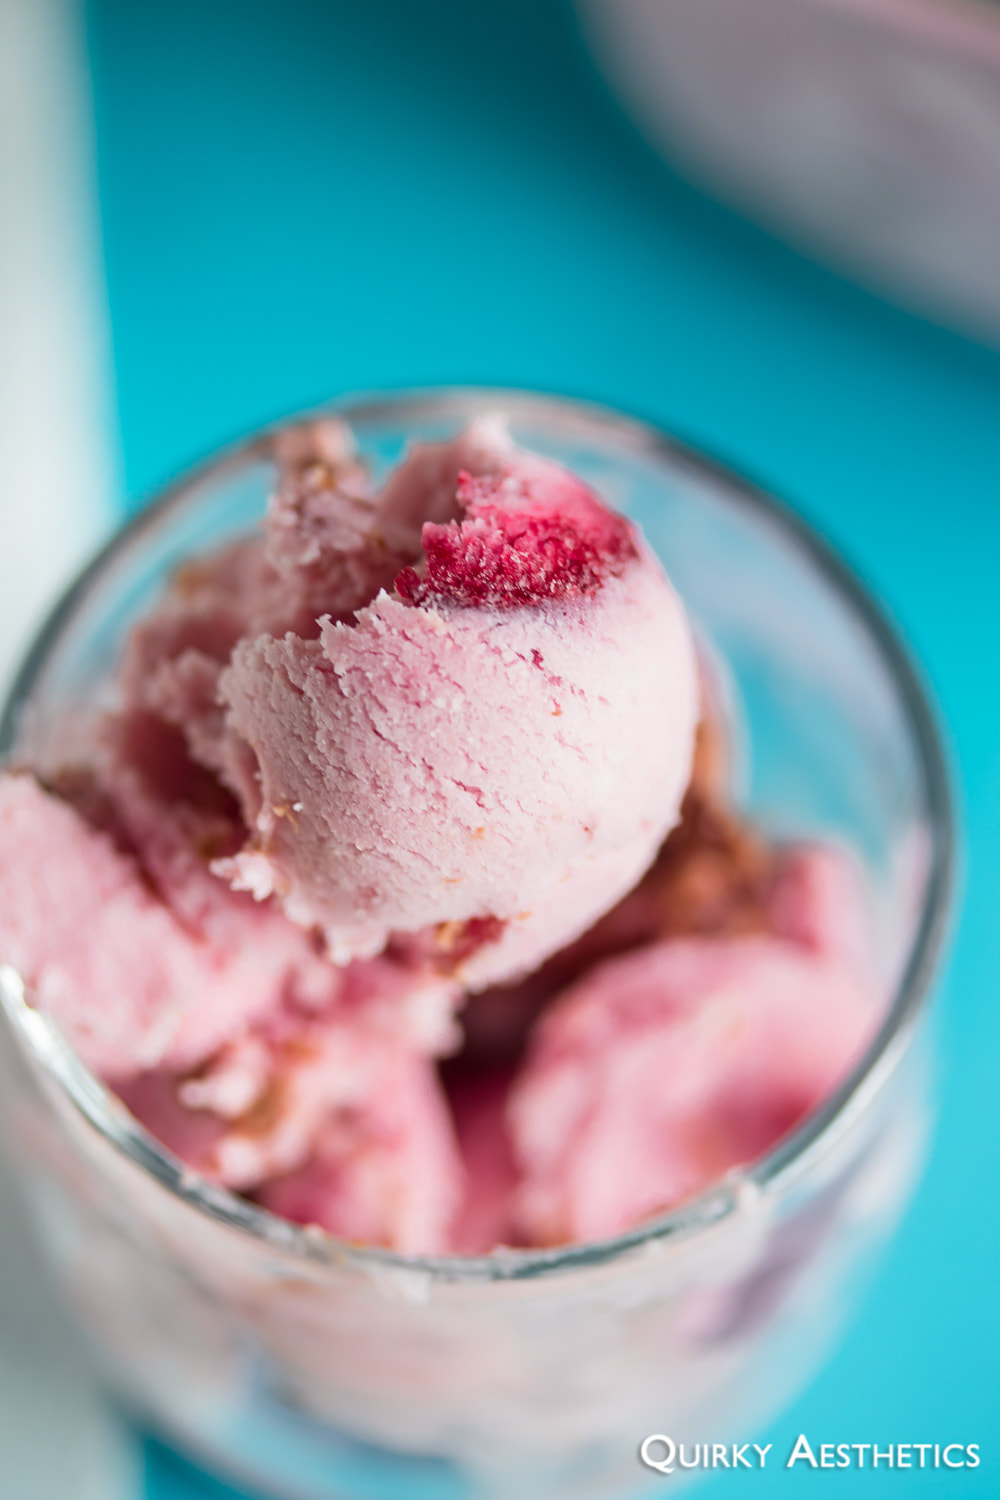
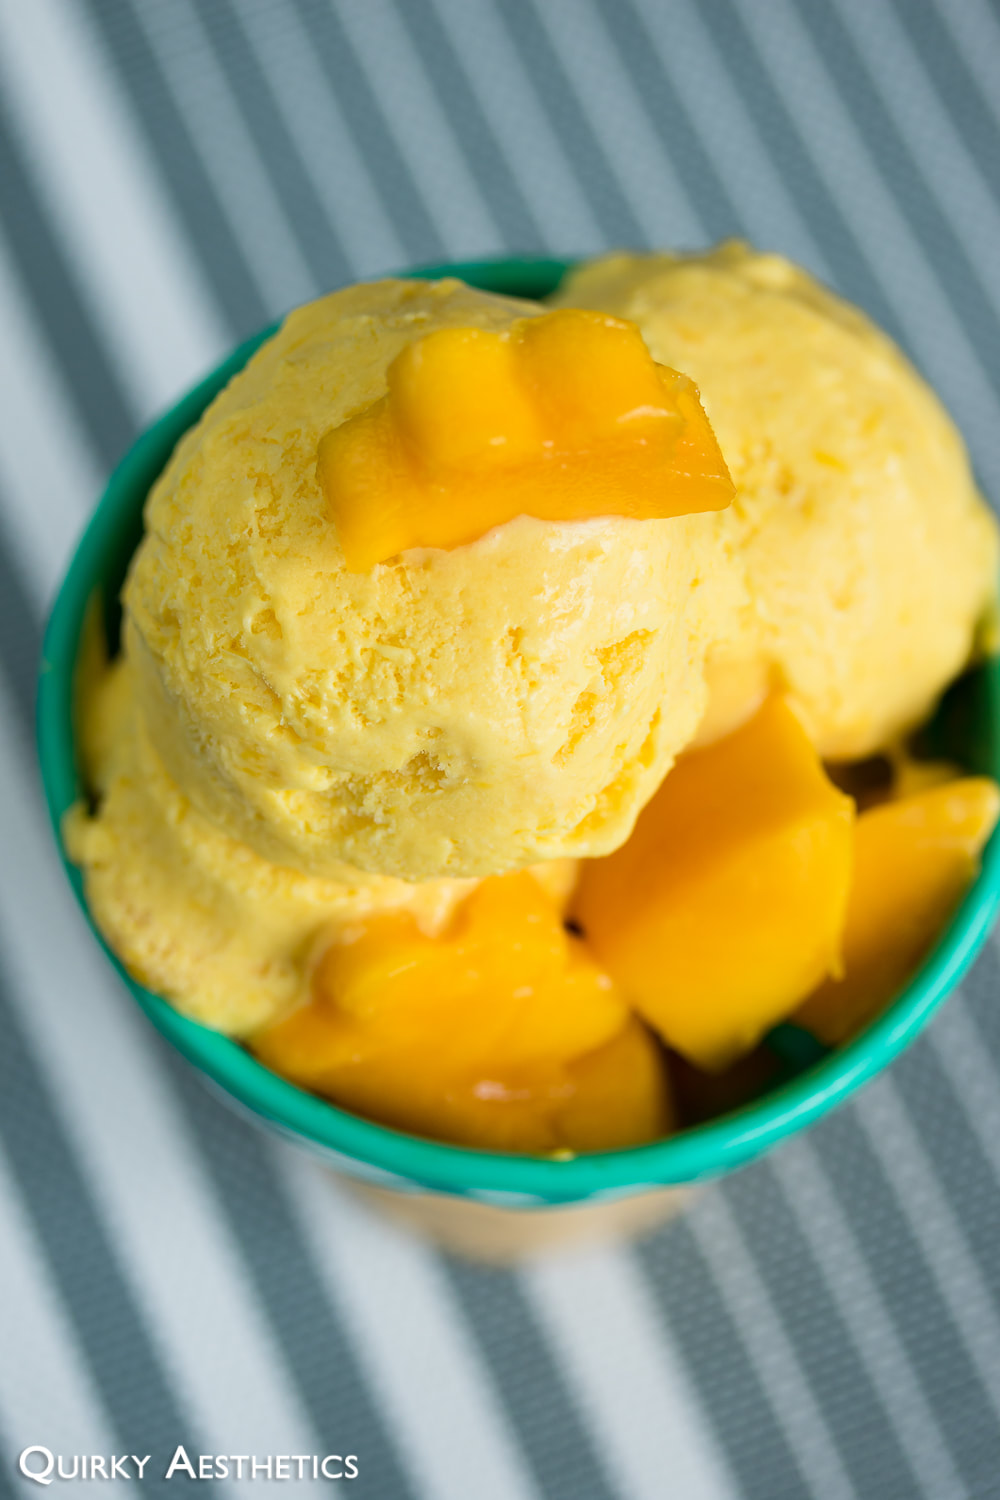
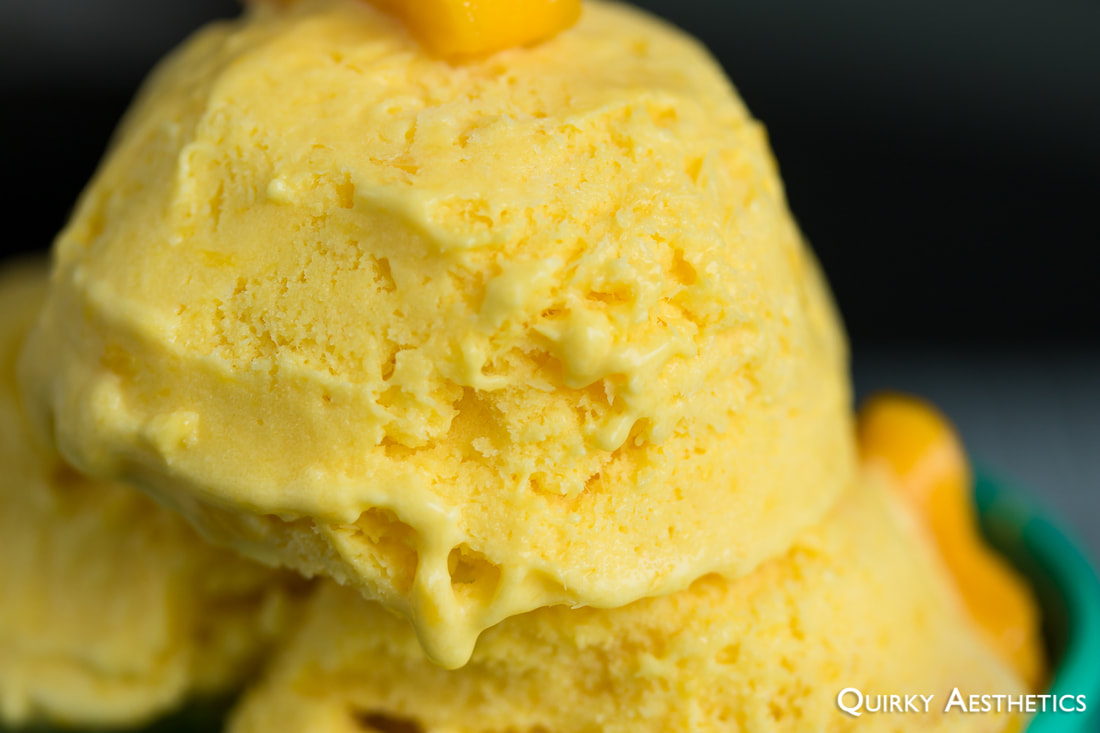
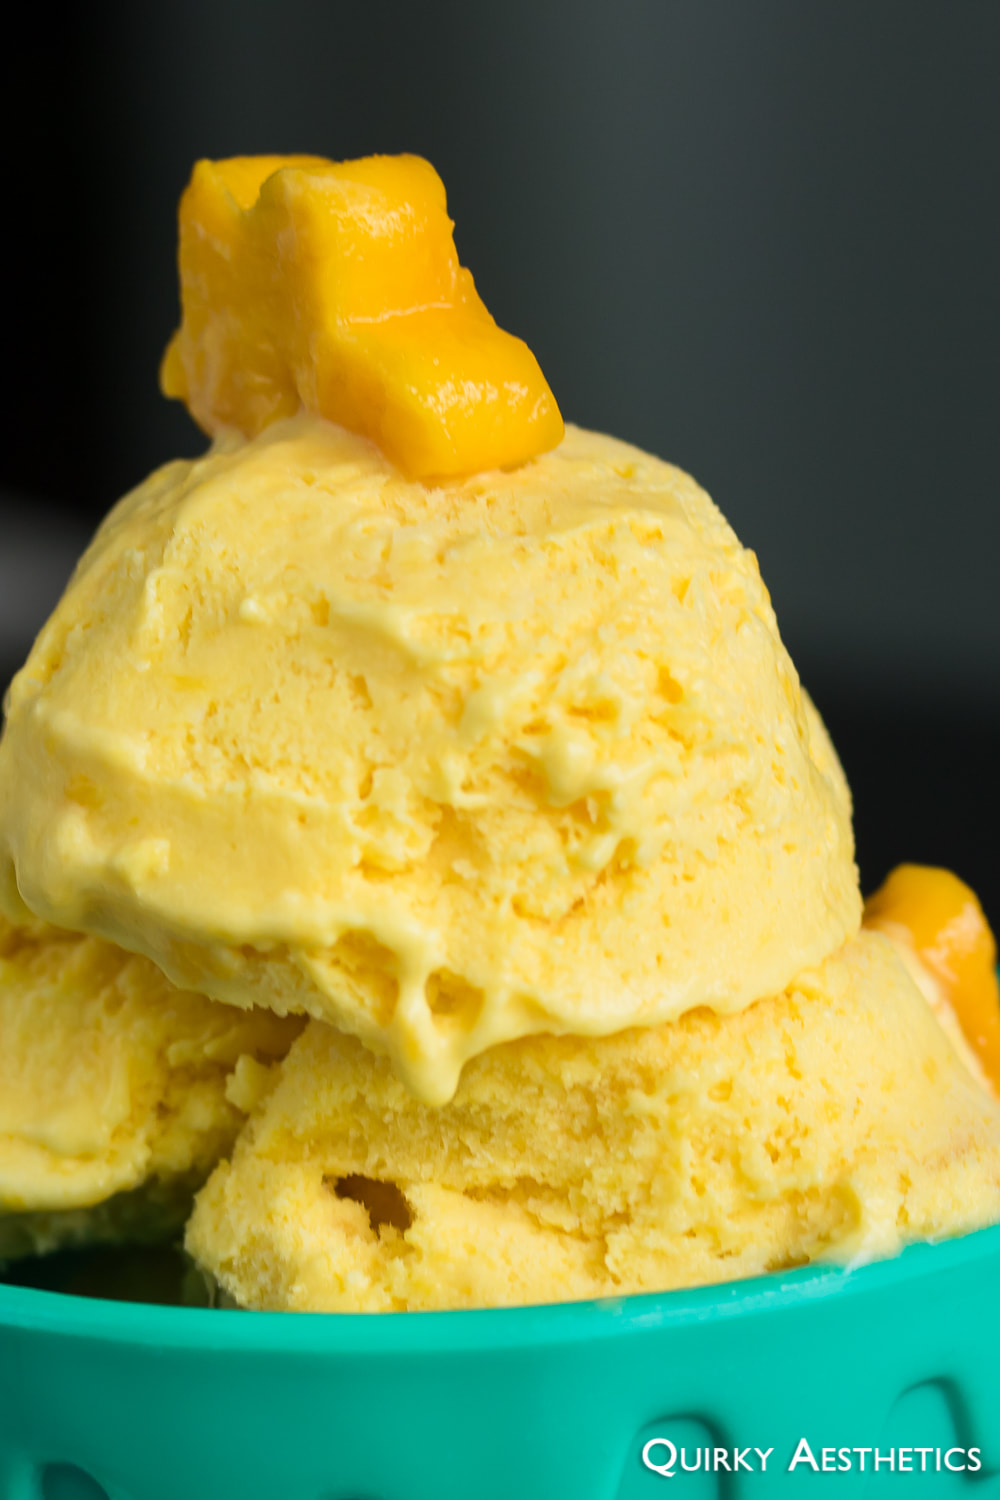
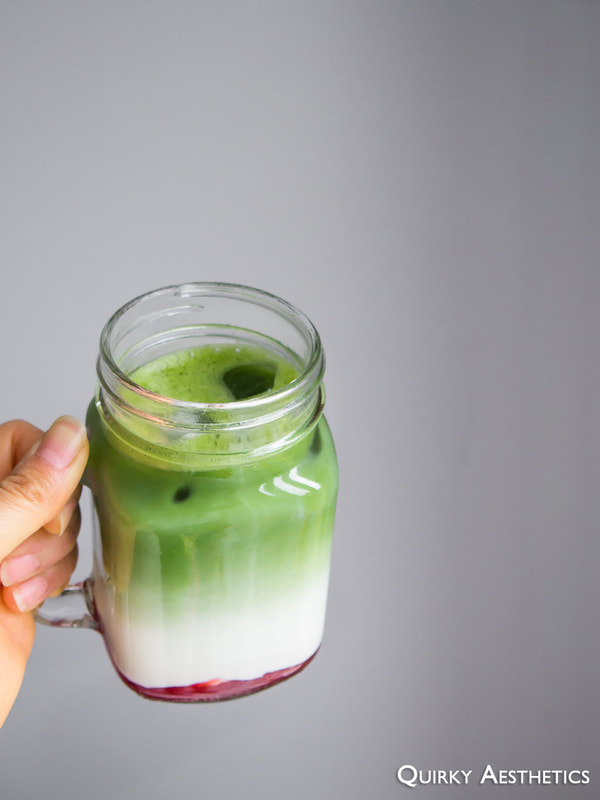
I won't lie and say that this surpasses my Mango Ice Cream. The plain truth is that it doesn't, however tangy and delicious. Though, the fact remains that "someone bought too much".
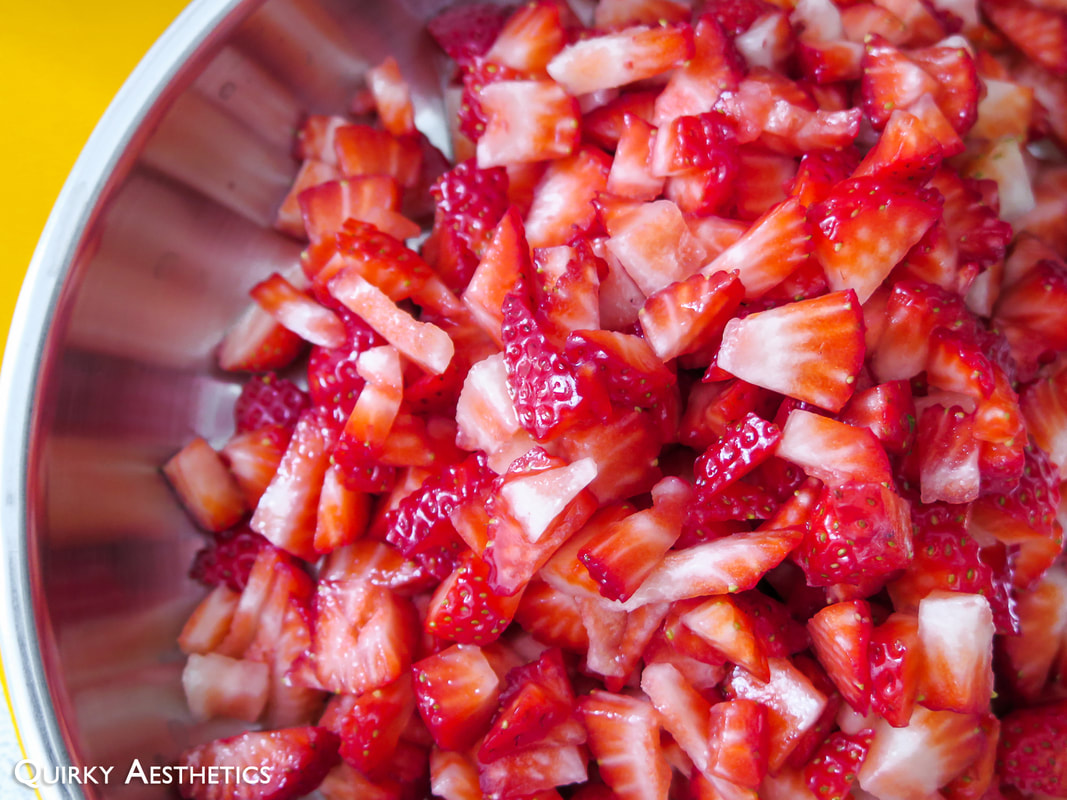
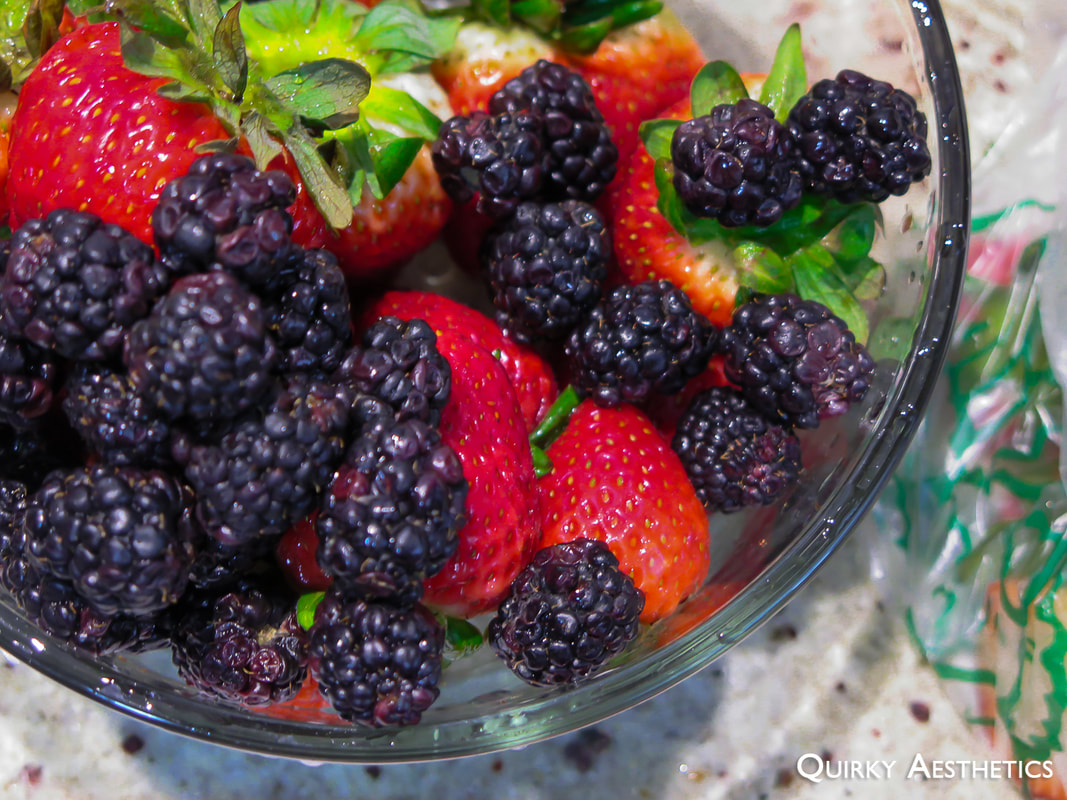
Seasonal fruit is to be cherished, and sometimes - just sometimes - there happens to be freezer space available for the ice cream machine.


 |  |
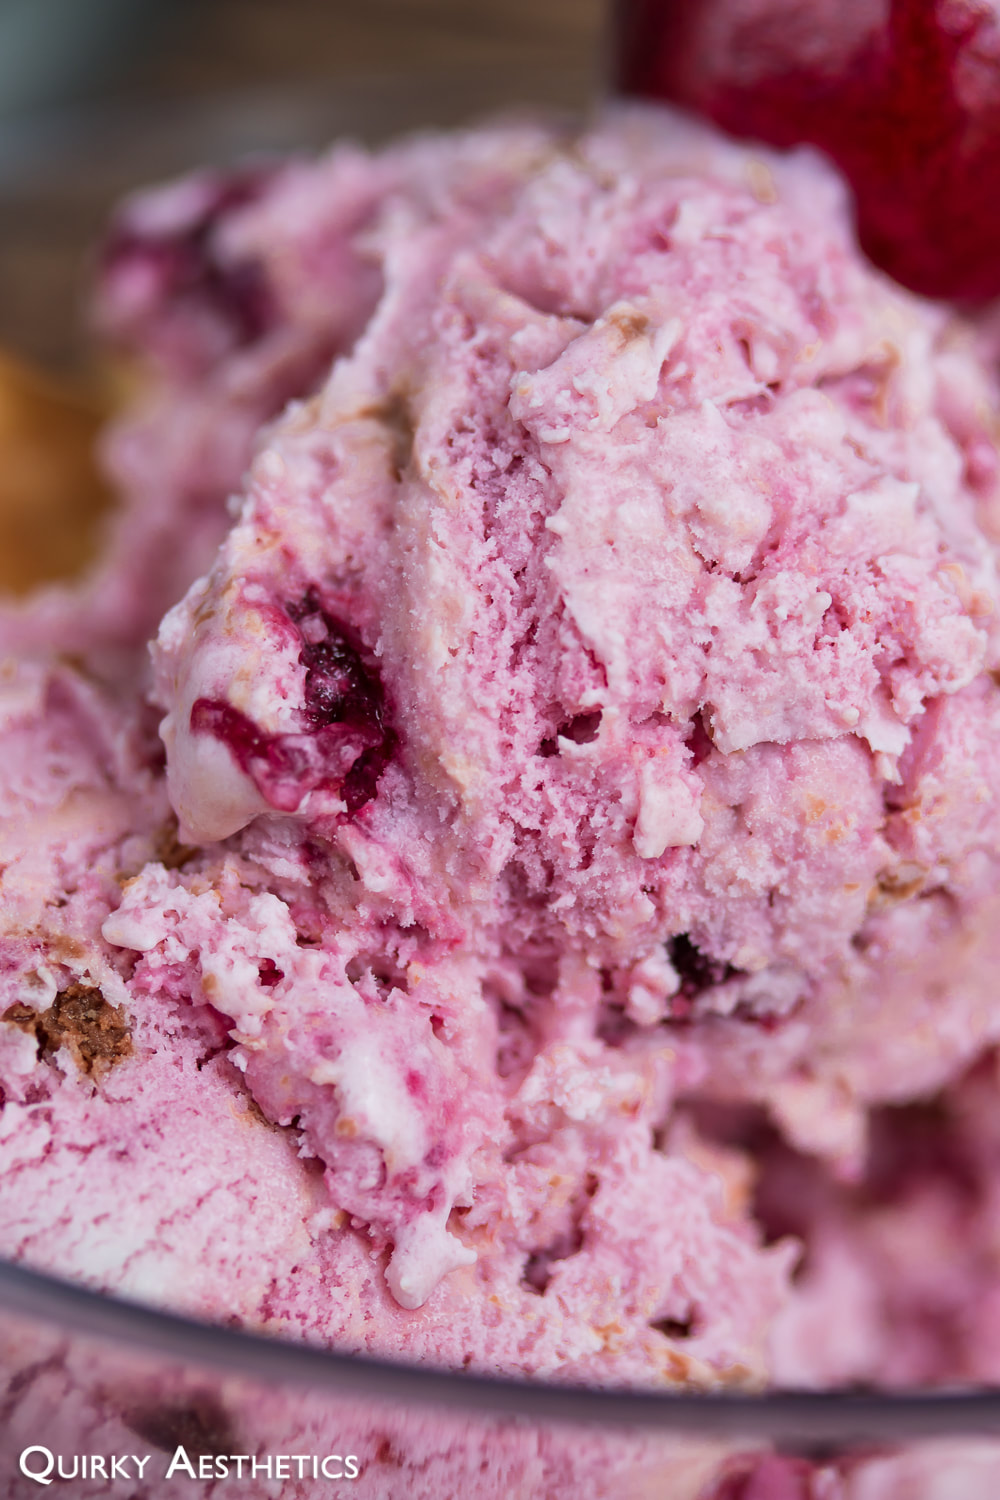
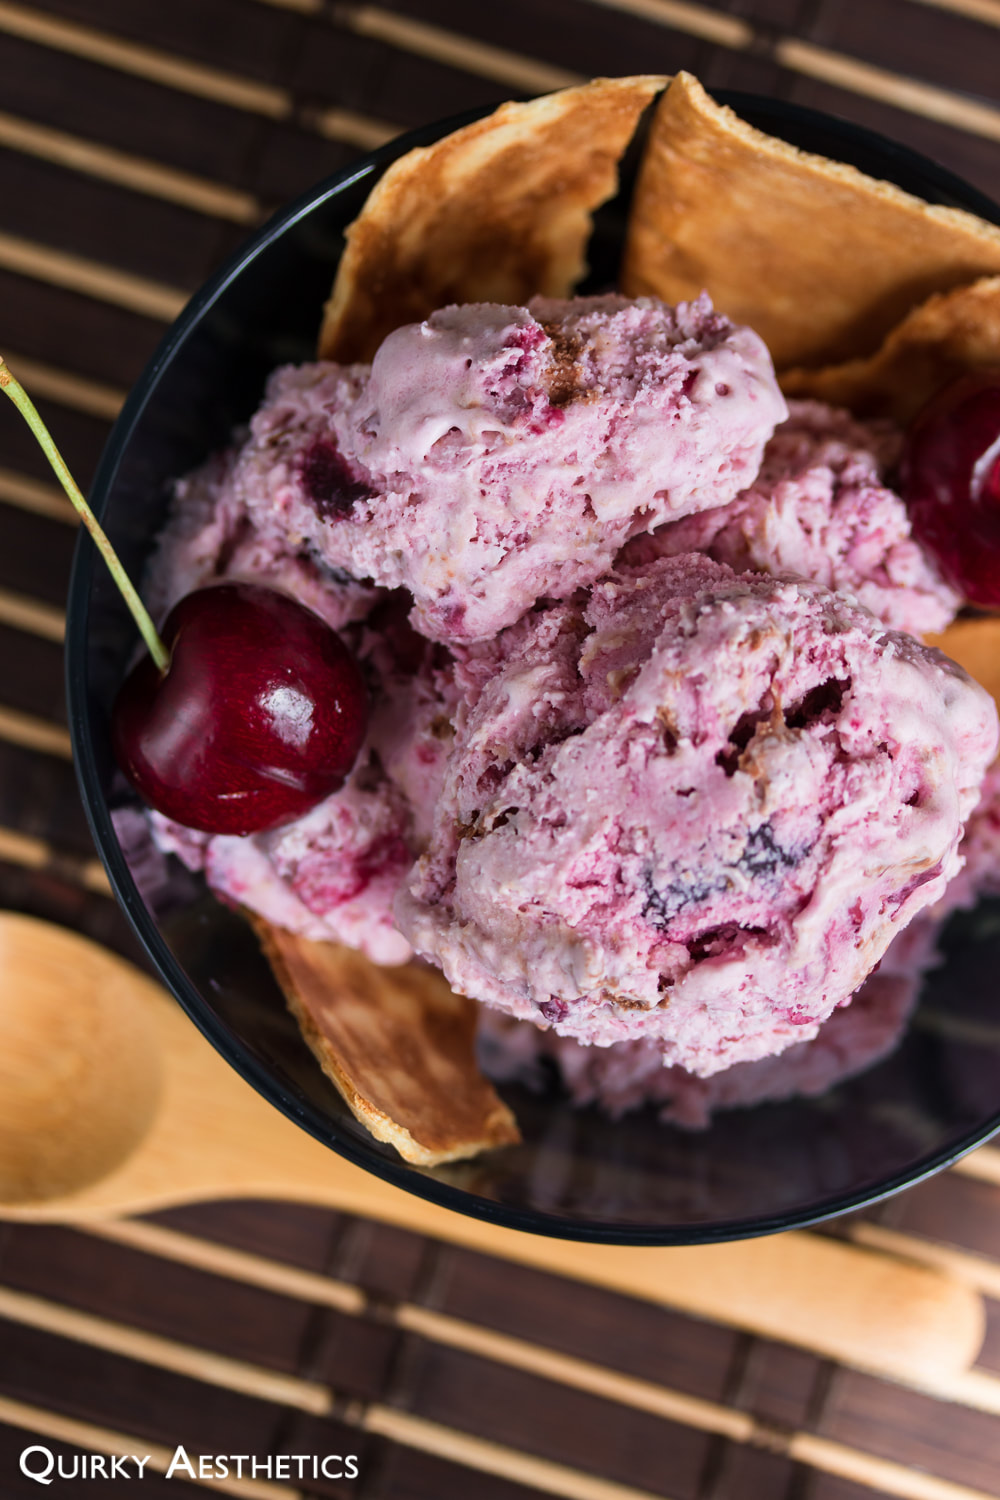
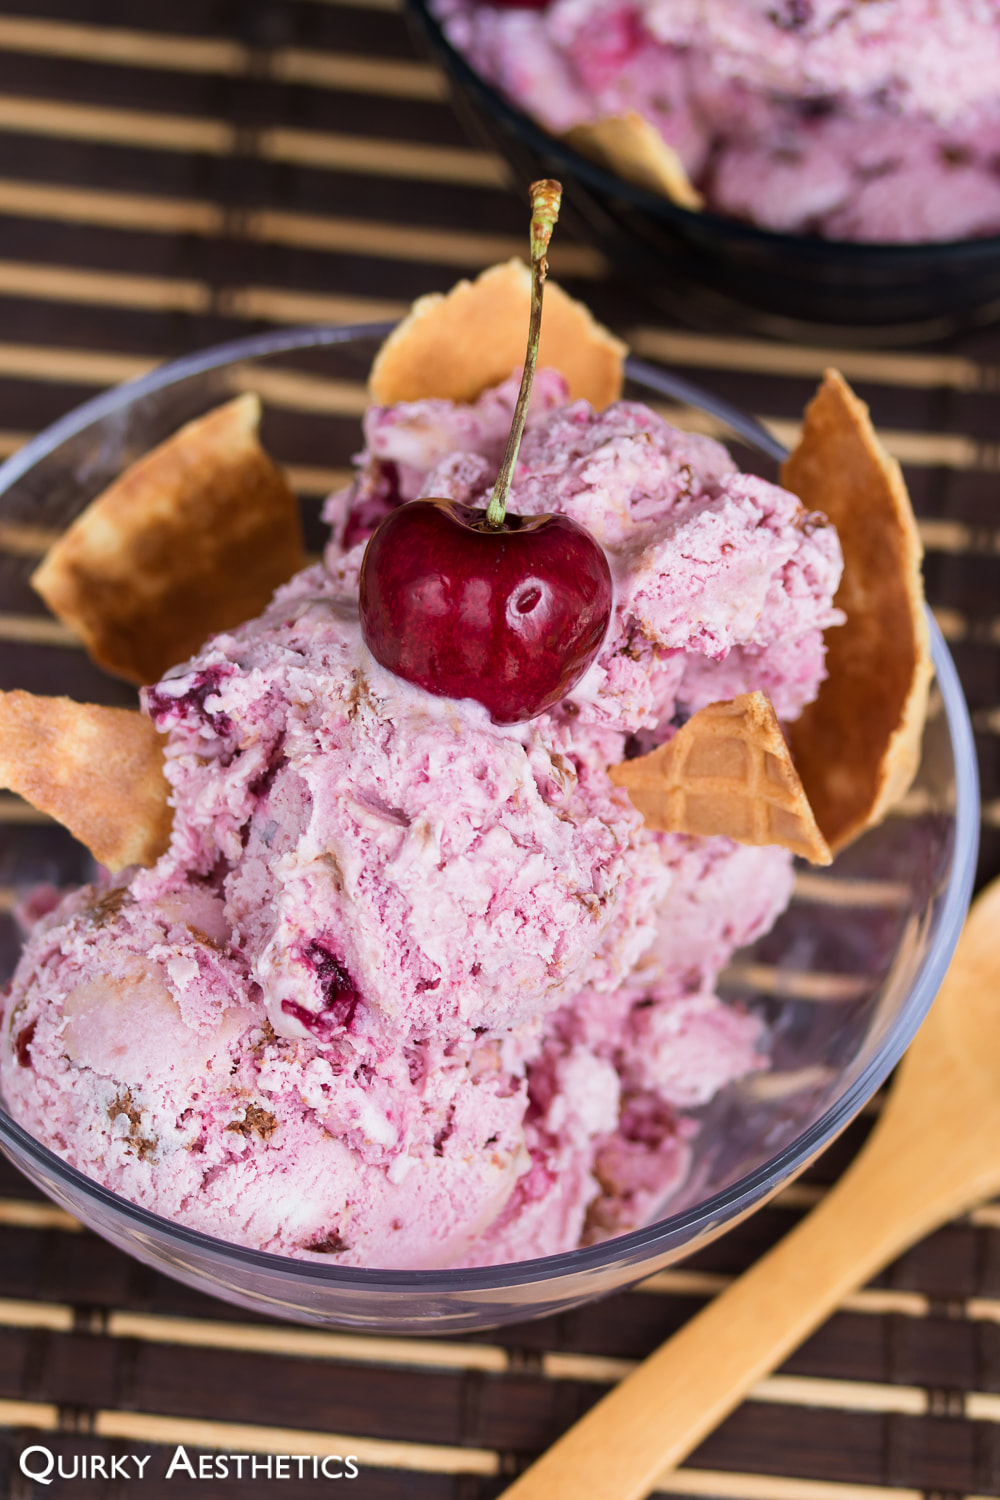
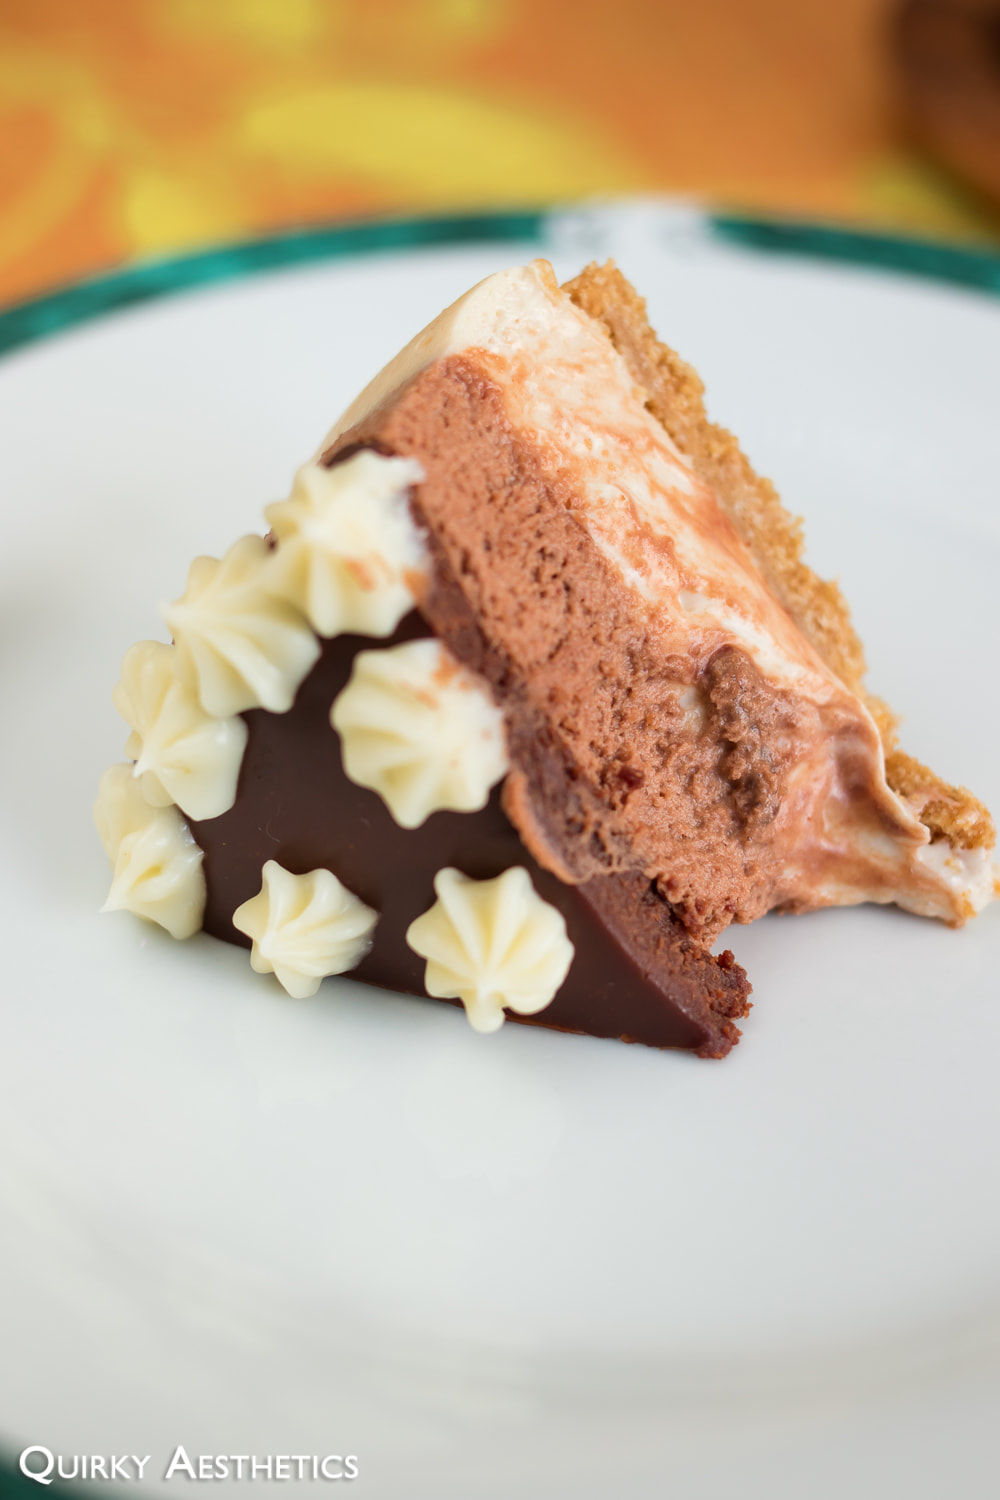
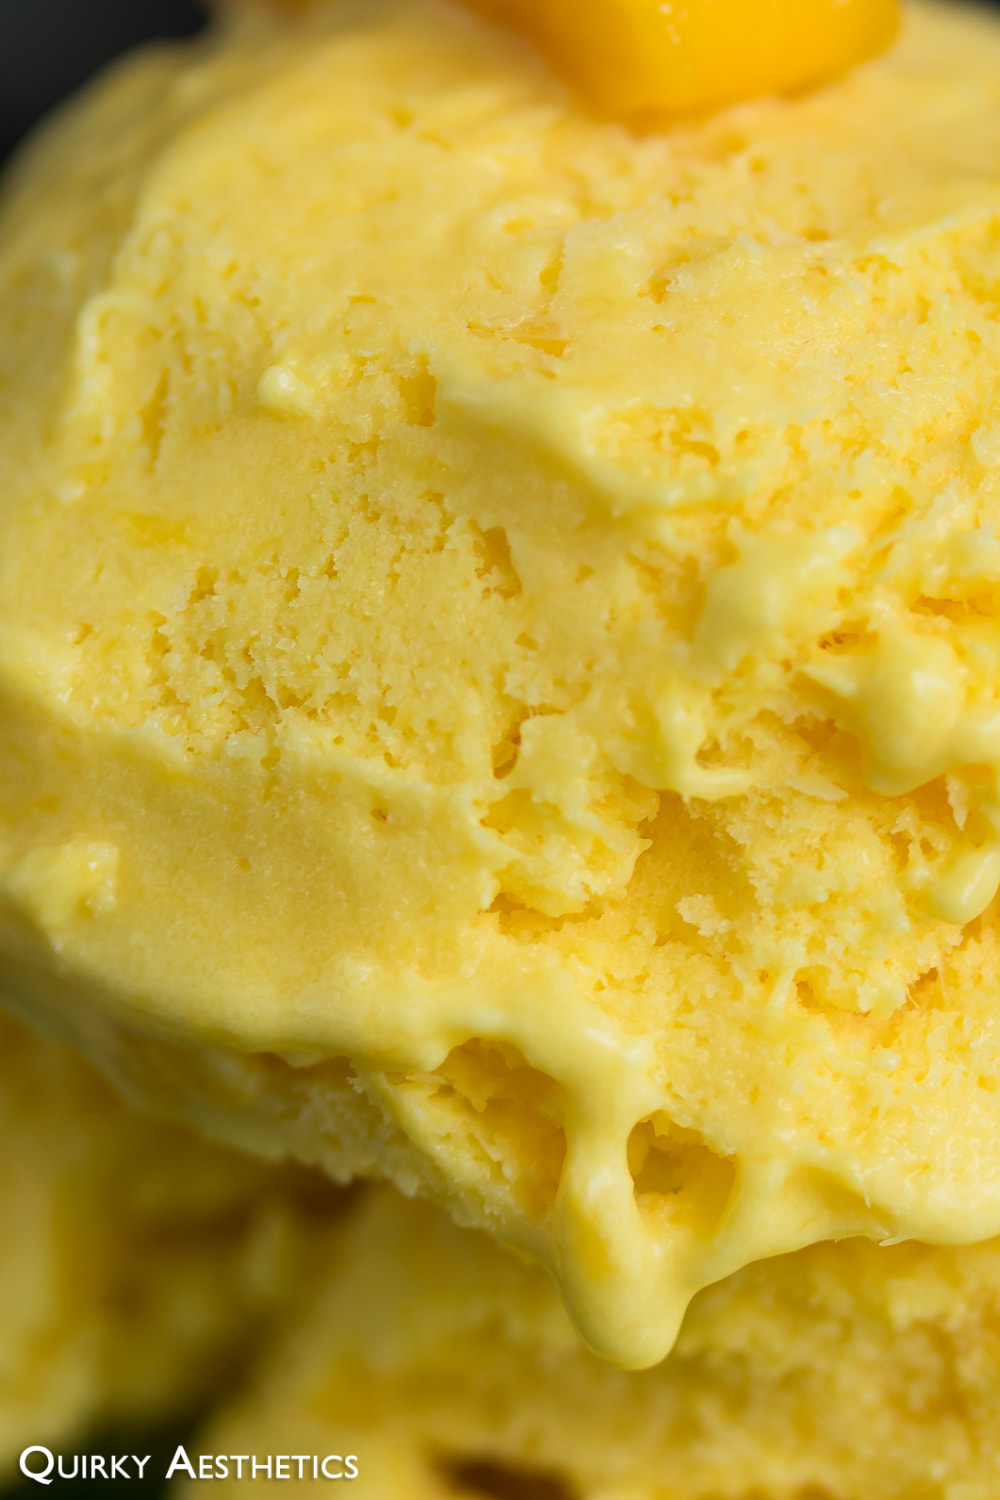
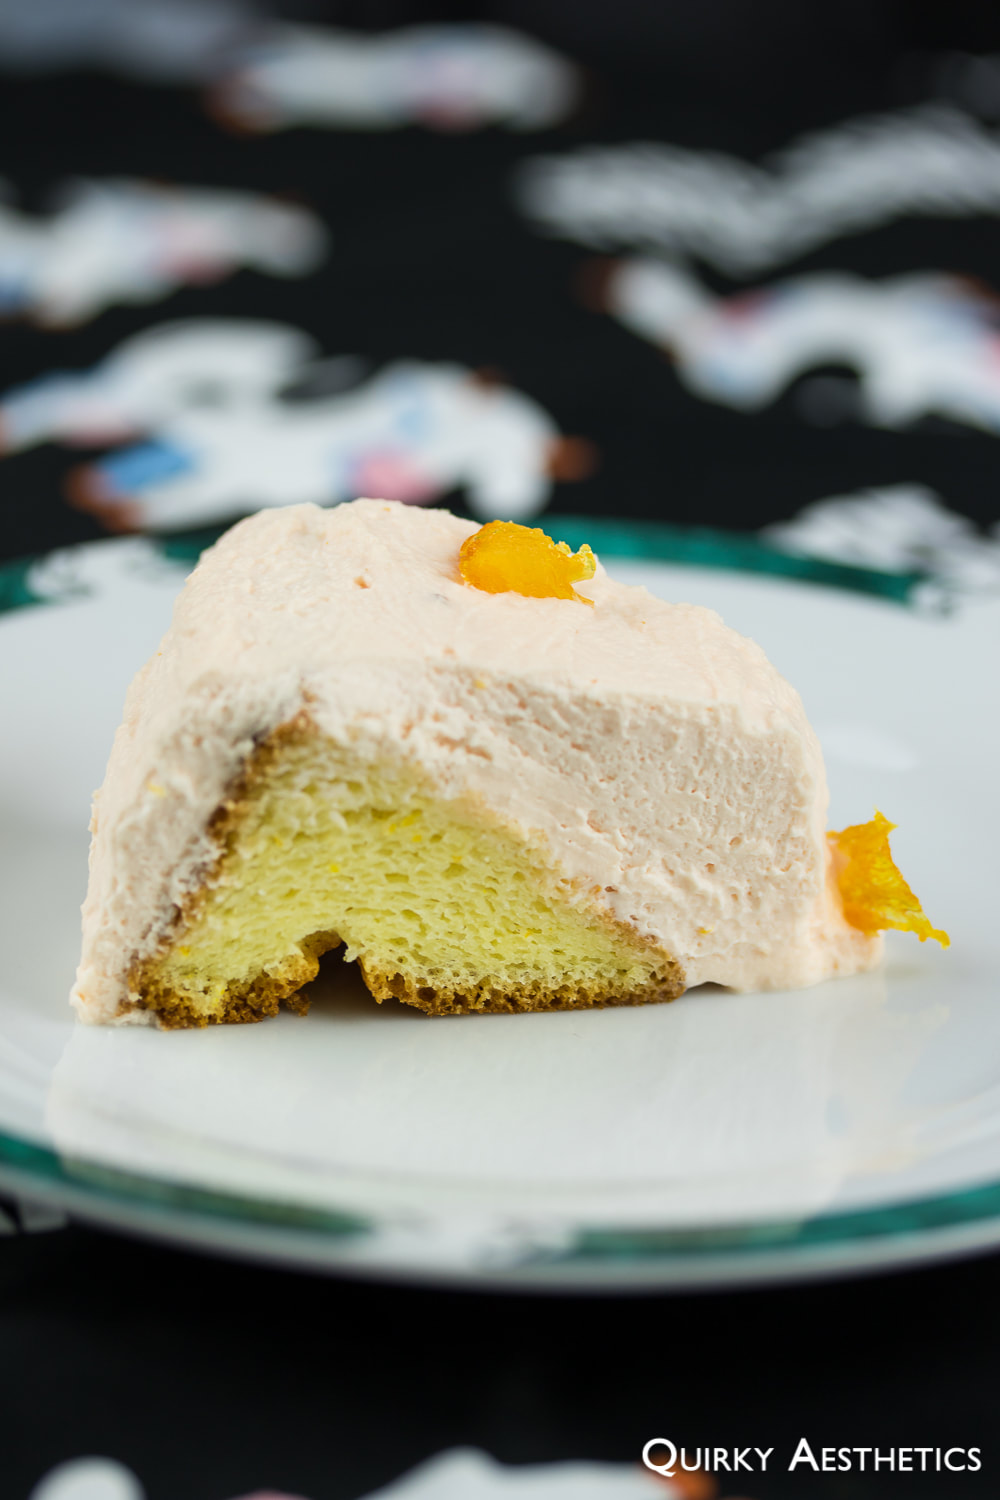
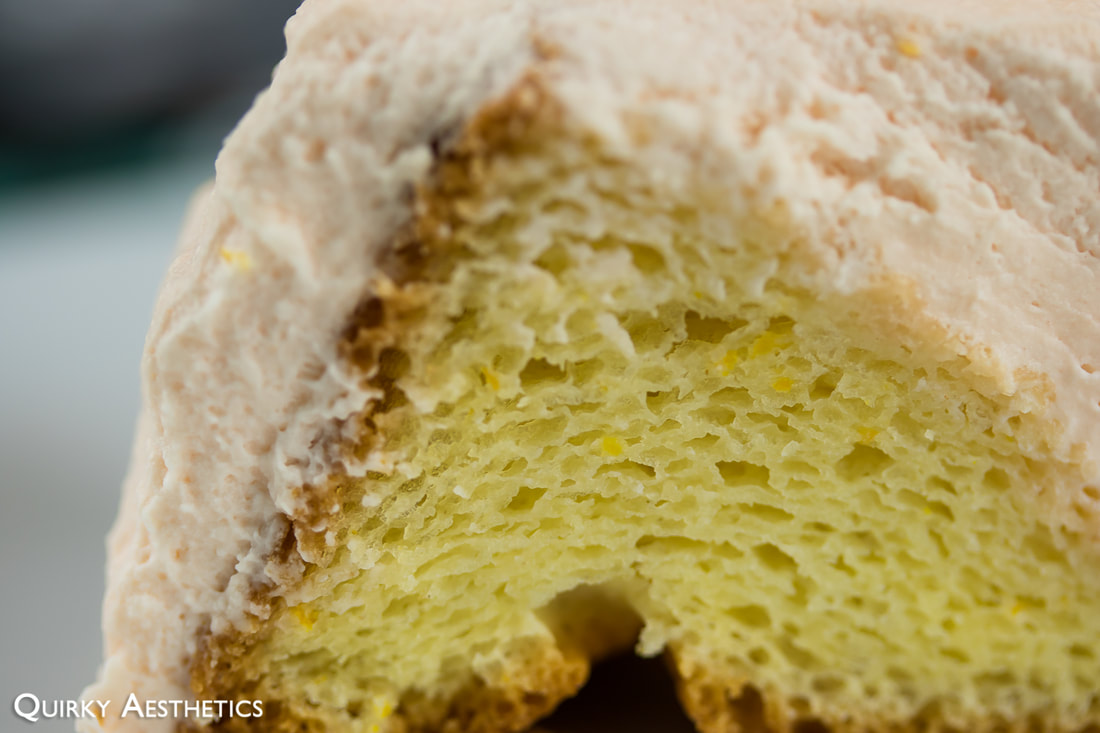
An ice cream scoop had been acquired for the occasion, for I feared the consequences to be borne by my melon baller with repeated digs. Nonetheless, smooth trails failed to be formed, in spite of the dessert's true, creamy consistency. This icy concoction requires a minimum of twenty-five minutes to loosen its edges, so heed my words: please be patient.
Ingredients
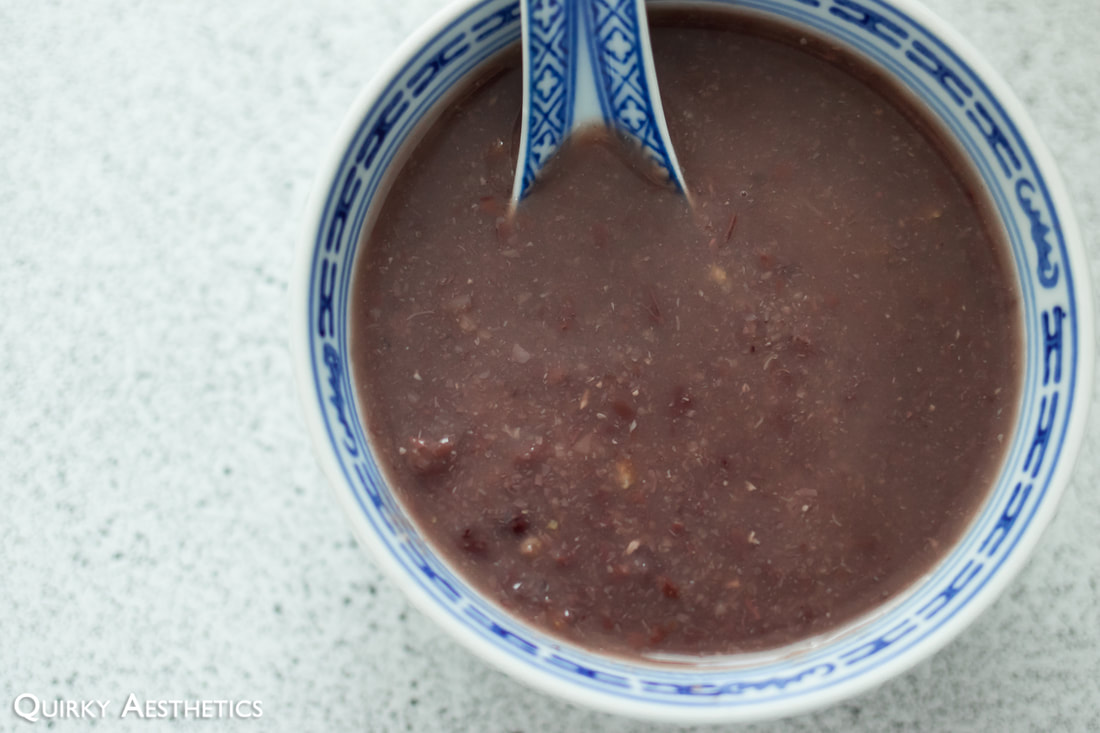
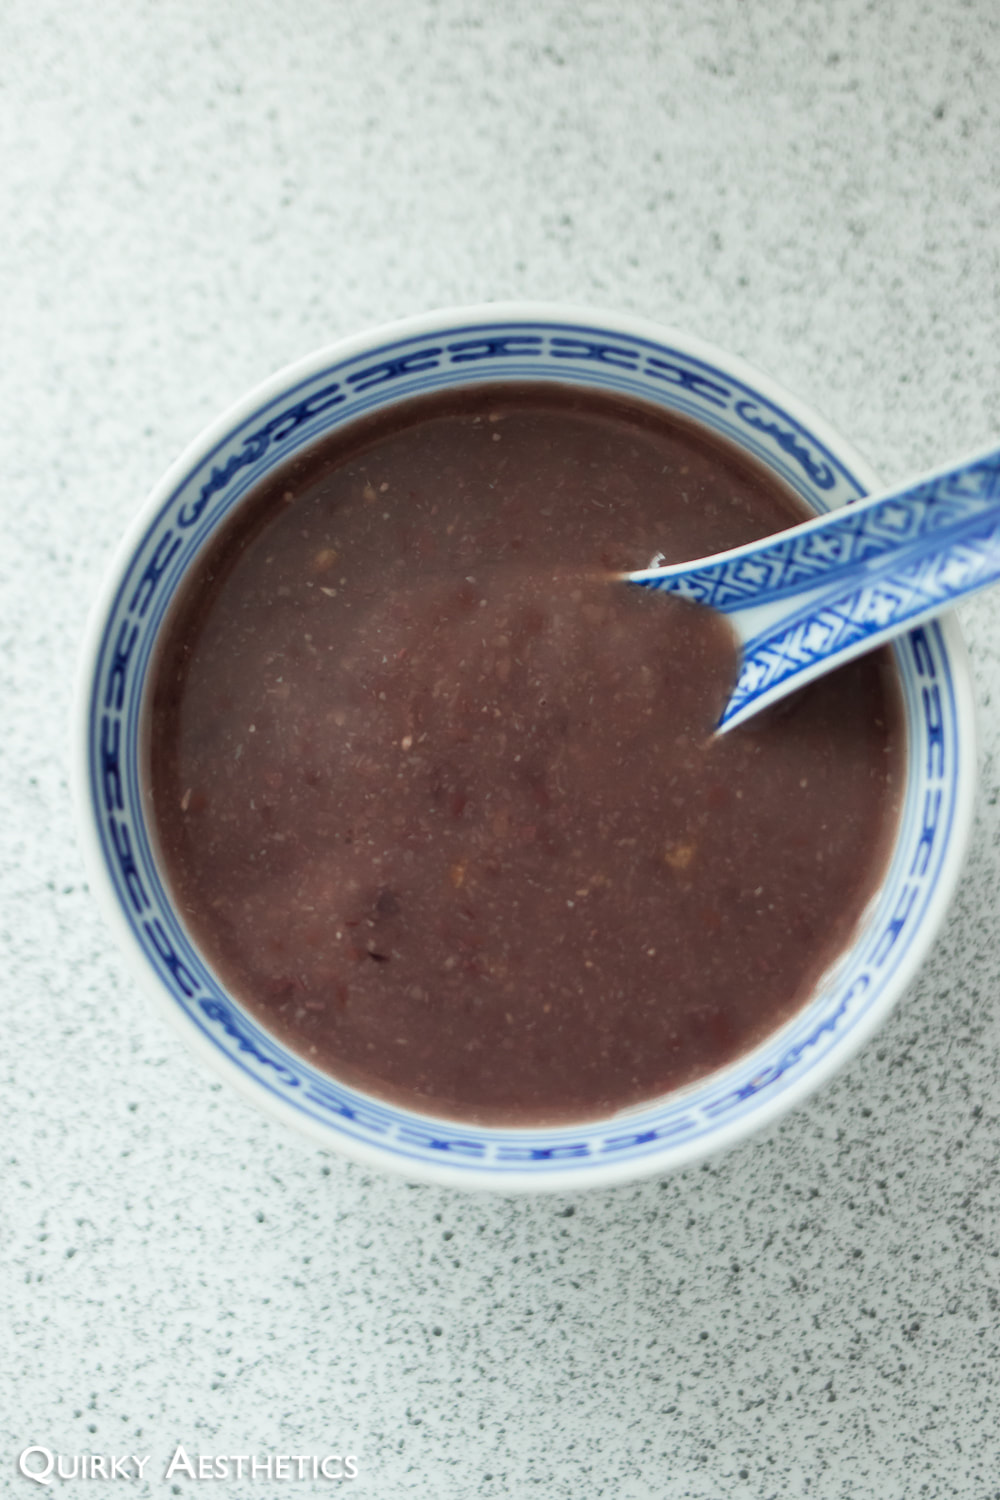
i) Cherry Compote (approximate quantities)
- 5 cups cherries, pitted
- 1 cup granulated sugar
- 1/3 cup lemon juice
- 1 tbsp glutinous rice flour
- 50 ml water
ii) Ice Cream Base (Recipe adapted from Cuisinart's ICE-30BC Recipe Booklet, pg. 8)
- 95 ml heavy cream
- 66 g sweetened condensed milk
- 650 ml heavy cream
- 310 g plain yogurt
iii) Chocolate Ripple
- 51g dark chocolate couverture
- 50 ml whipping cream
Directions:
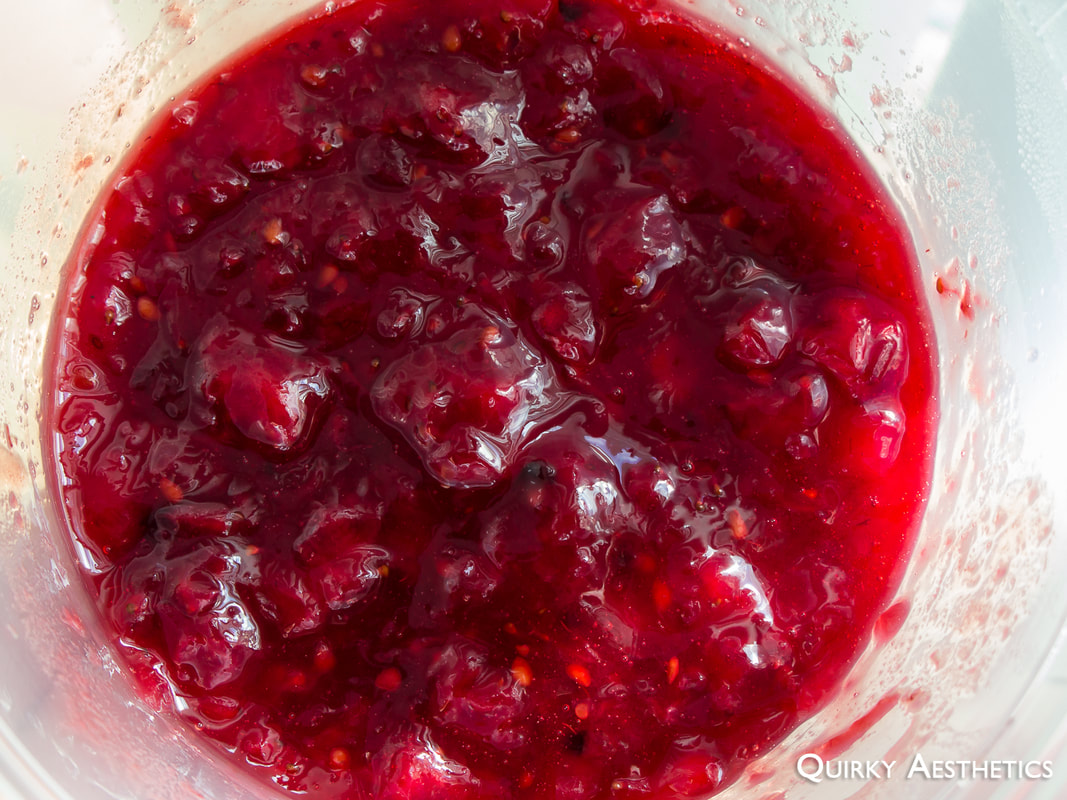
i) Cherry Compote
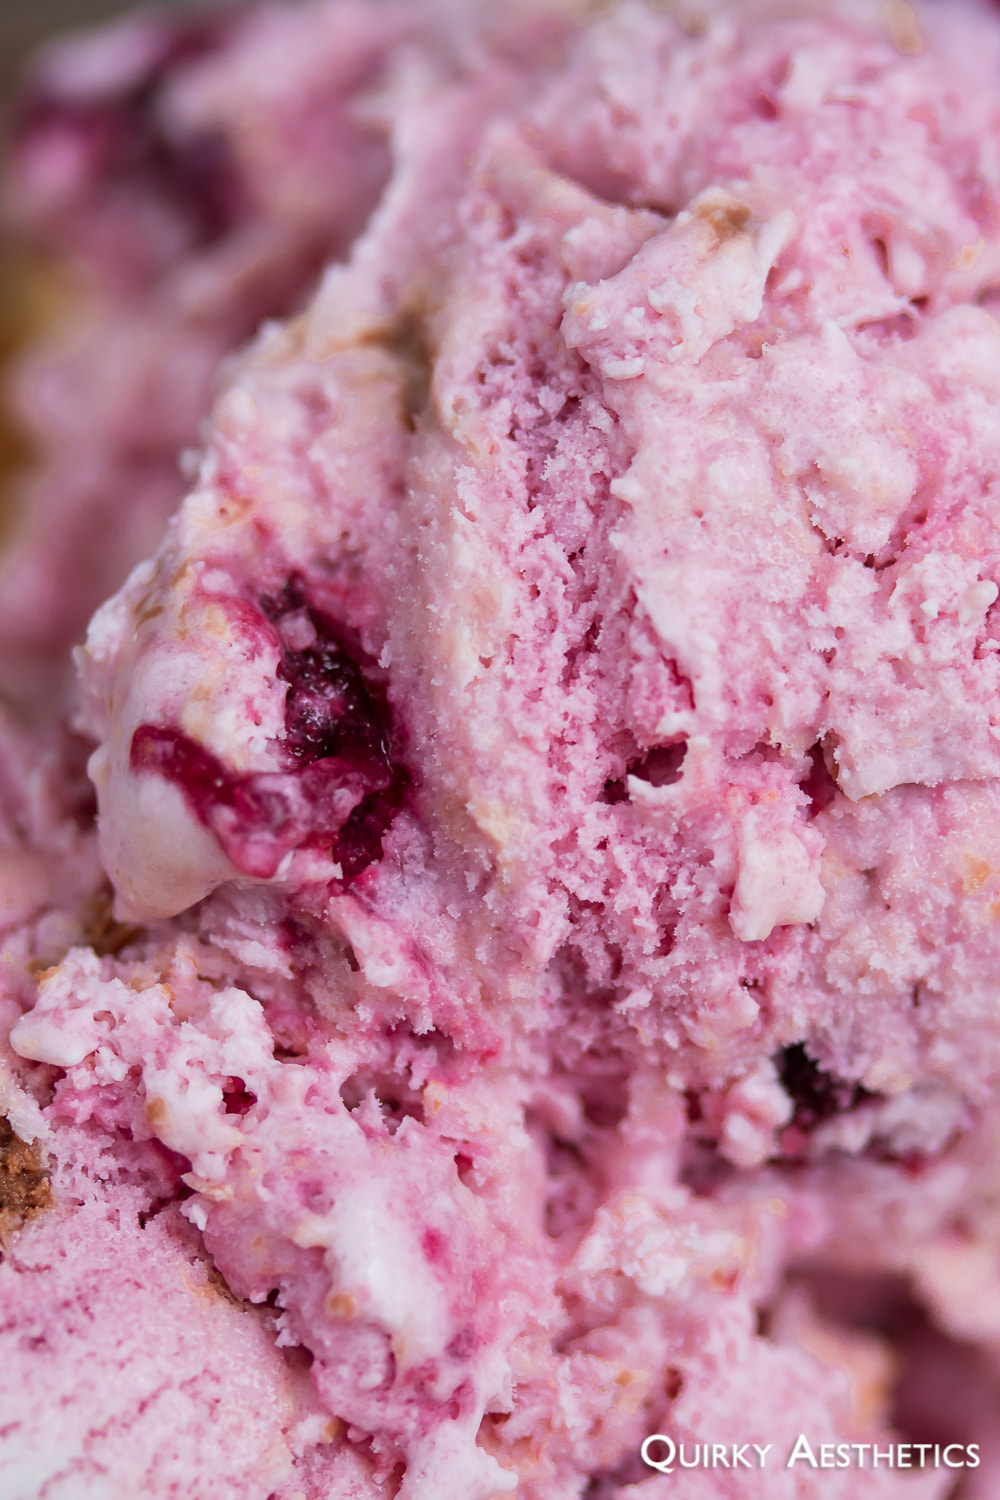
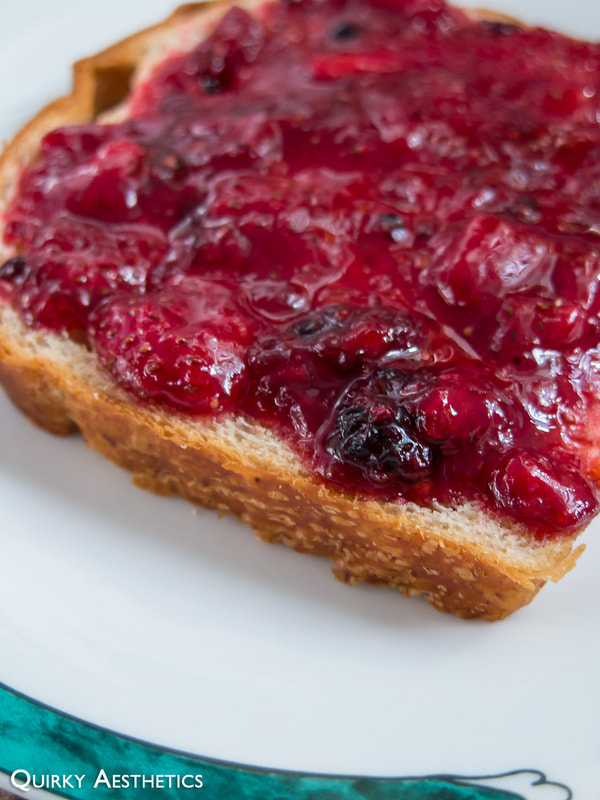
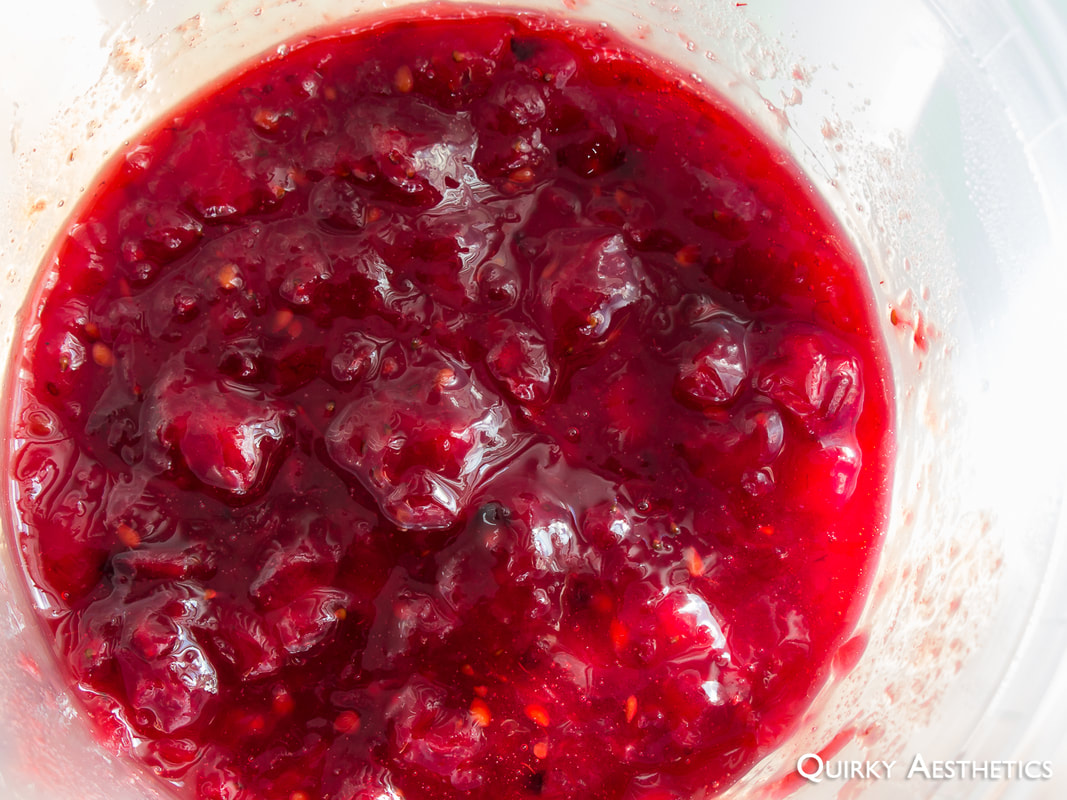
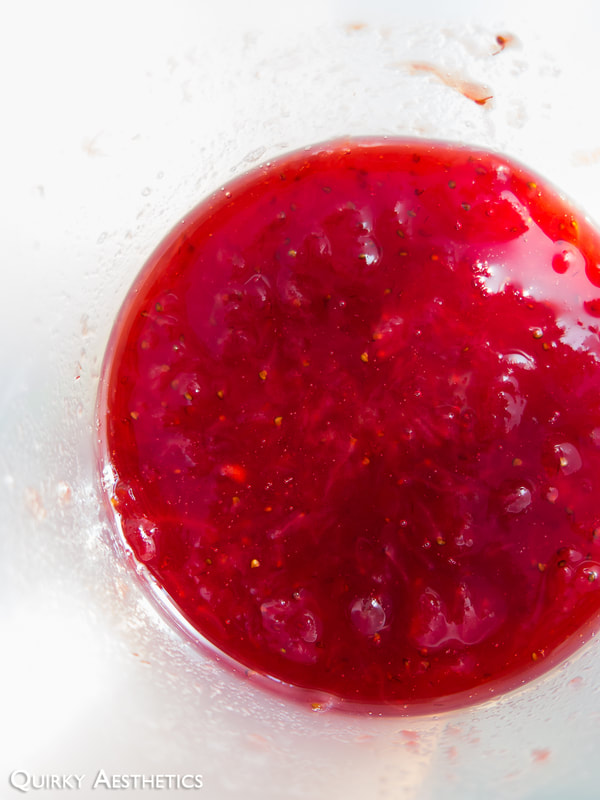
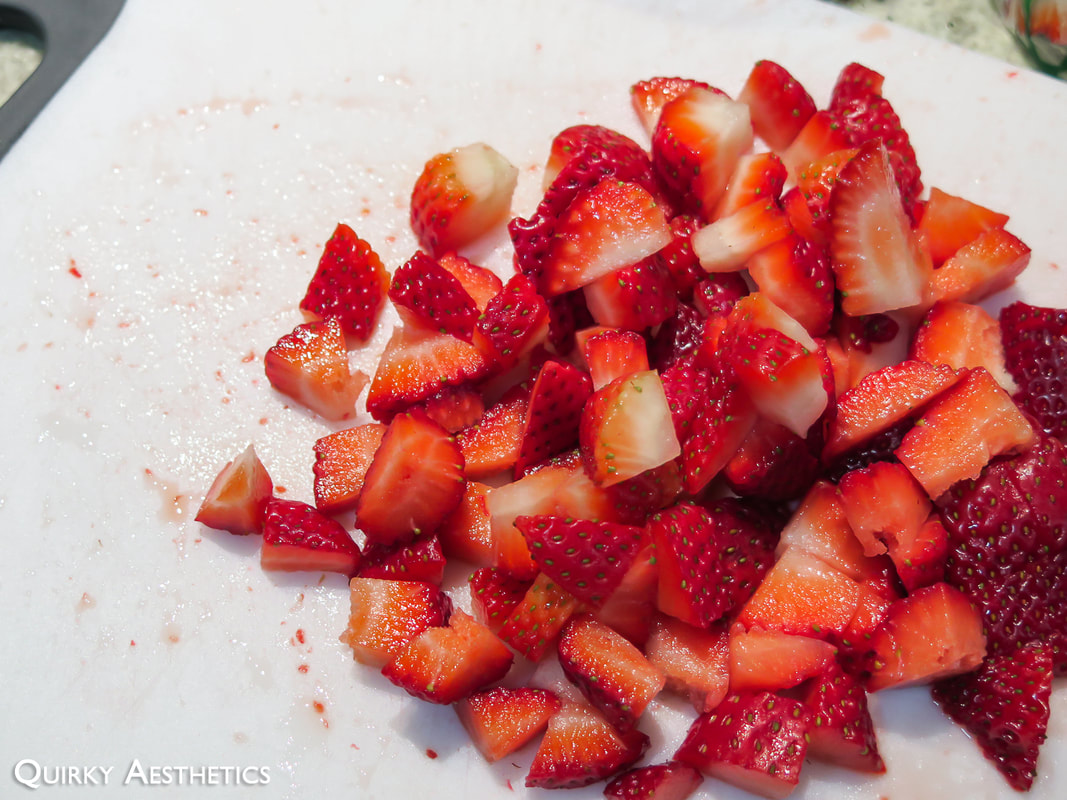
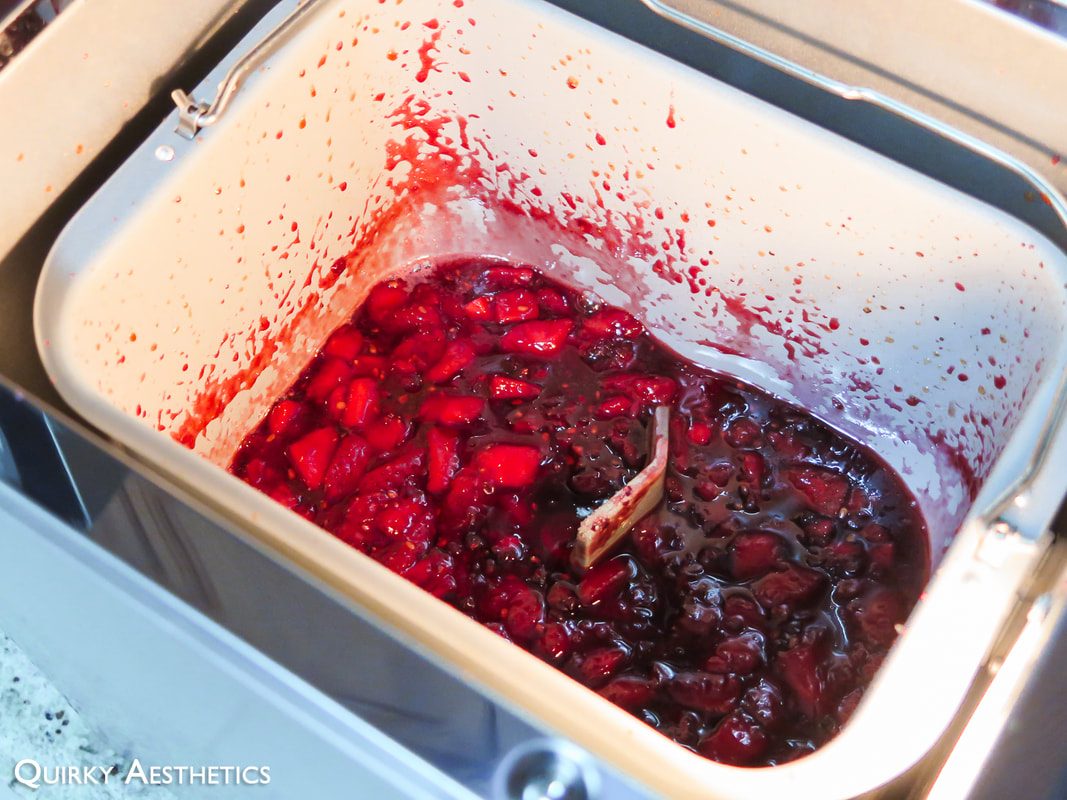
1) Combine cherries, sugar, and lemon juice in a medium saucepan. Simmer until only a few chunks of cherry remain. Blending the mixture is not recommended as the final product is intended to retain bites of fruit.
2) Mix glutinous rice flour with water and stir into the mixture. Continue to reduce.
3) Once thickened, remove from heat and let cool.
4) Allow the mixture to come to room temperature before transferring to the refrigerator. Chill until ready to use.
ii) Ice Cream Base
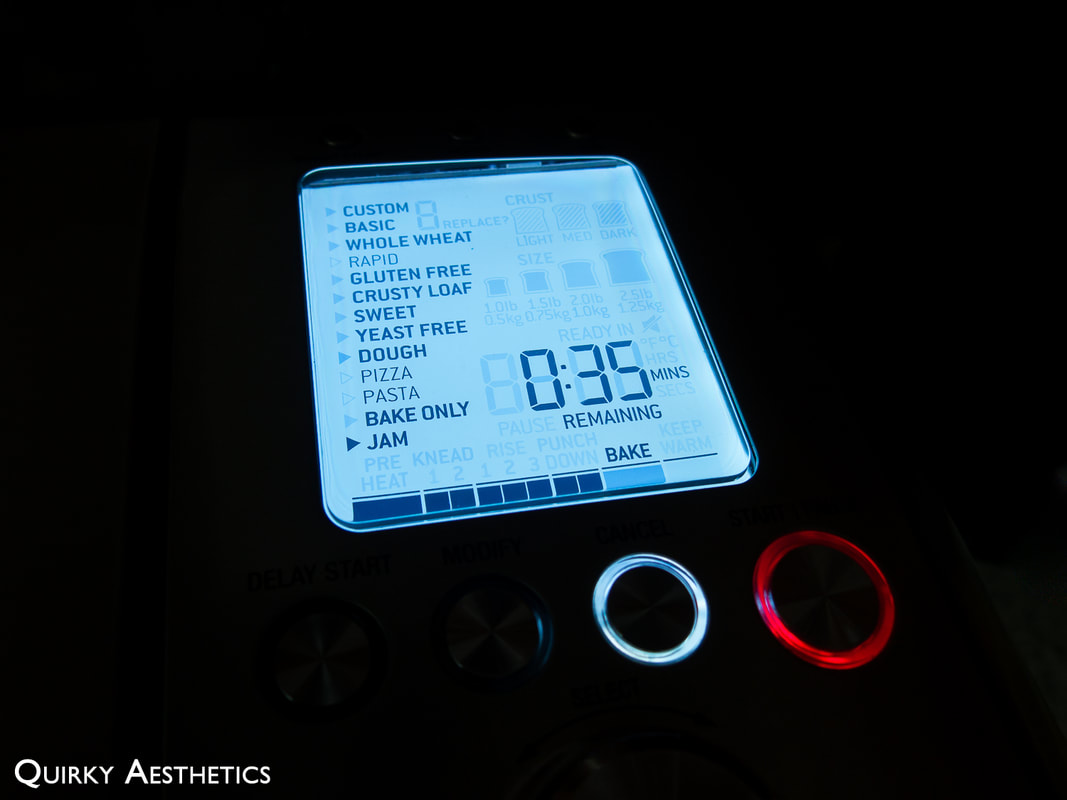
1) Churning directions shall differ between ice cream makers, so it is highly advised to familiarize oneself with the respective manual before proceeding.
2) Using either a low heat setting on a microwave or over a bain-marie, dissolve sweetened condensed milk into 95 ml of heavy cream. Mix until fully combined. Allow this mixture to cool before using.
3) Whisk heavy cream and yogurt together in a large bowl. Add in the condensed milk mixture and combine well. At this point, it would be beneficial to let the base rest in the refrigerator for roughly two hours before proceeding.
4) Remove the ice cream maker from the freezer and follow the manual for churning instructions.
5) Once visibly thicker, add in the cherry compote as the machine continues to churn.
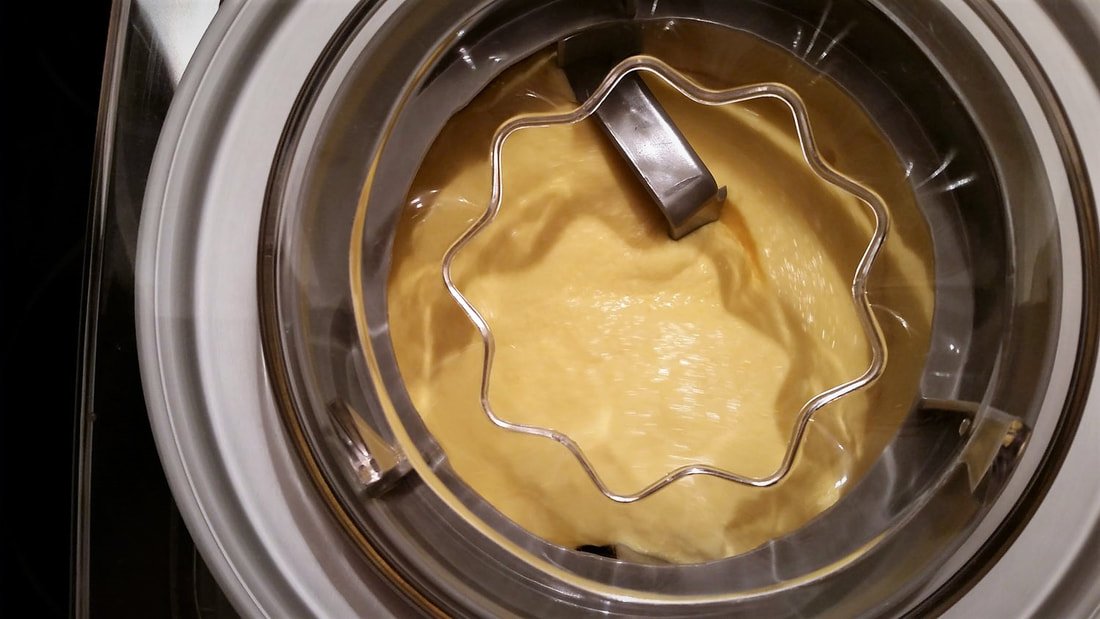
6) Continue churning until the paddle does not budge.
iii) Chocolate Ripple
1) Commence on the Chocolate Ripple as soon as the ice cream maker begins churning.
2) Over a bain-marie, allow chocolate couverture and heavy cream to melt slowly.
3) Remove from heat once partially dissolved and continue to stir to incorporate completely.
4) Allow the ripple to cool completely, stirring every so often to prevent hardening.
iv) Assembly
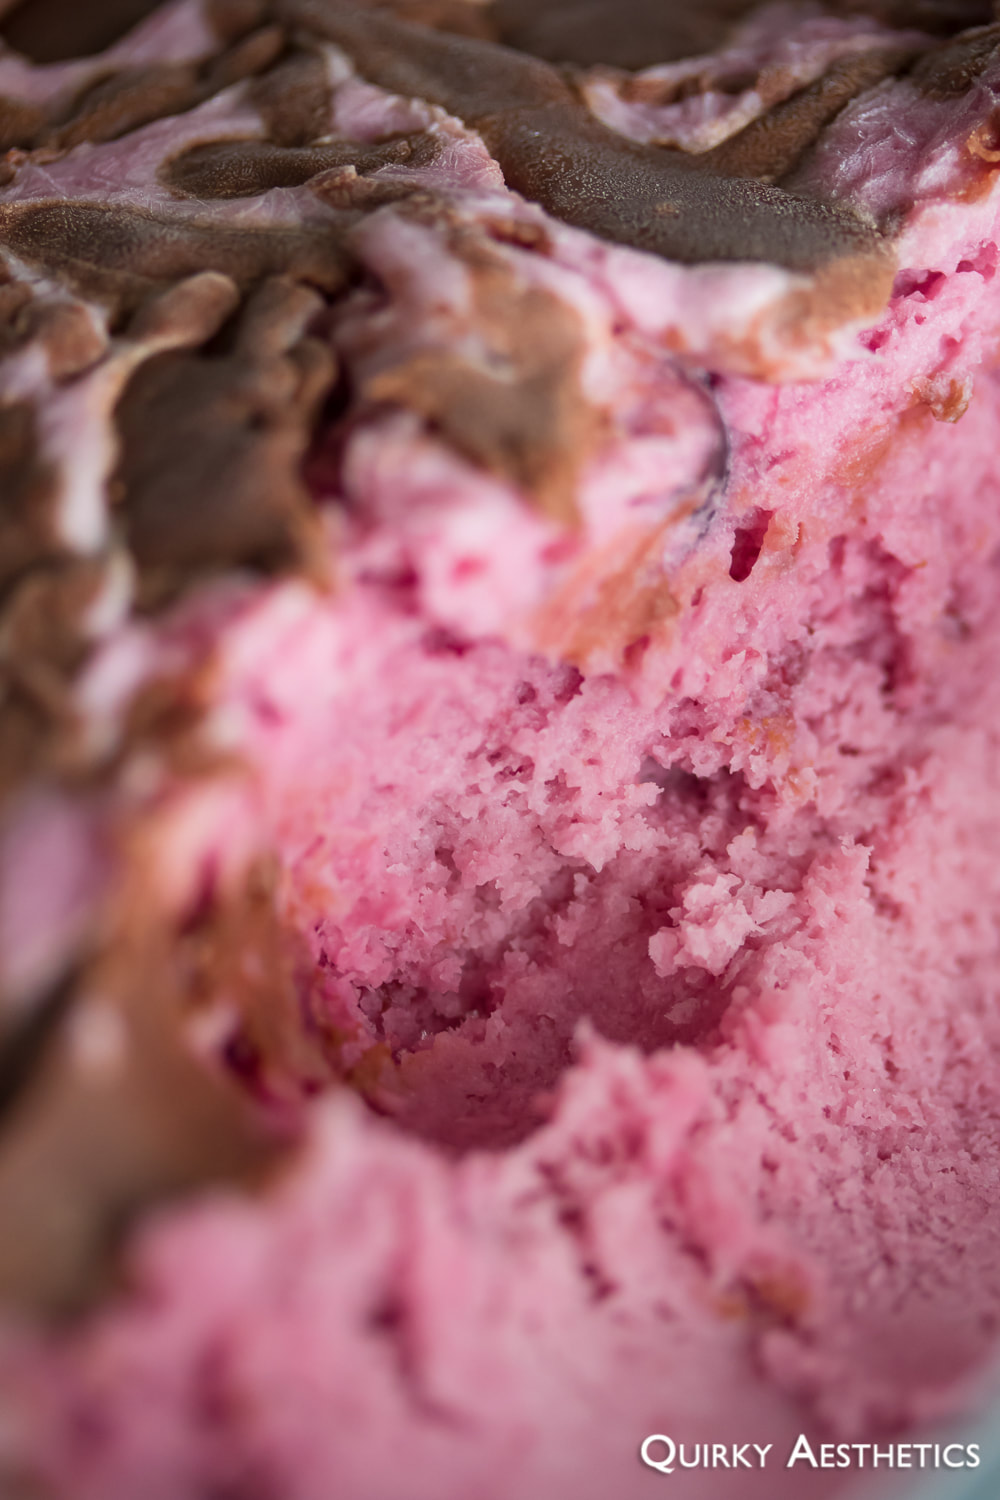
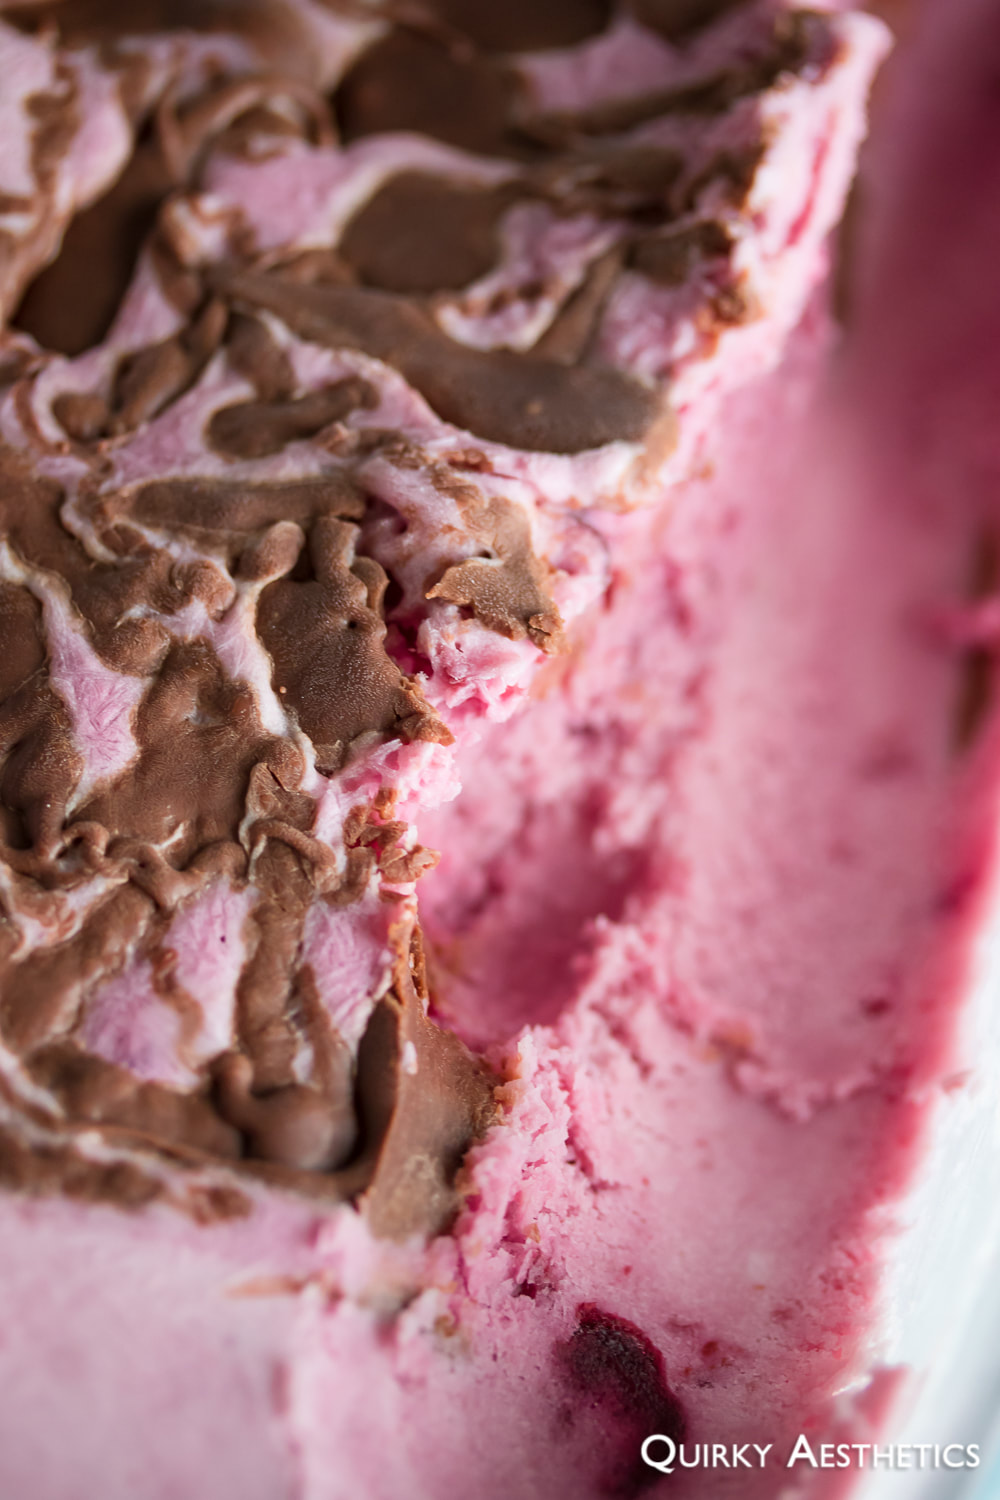
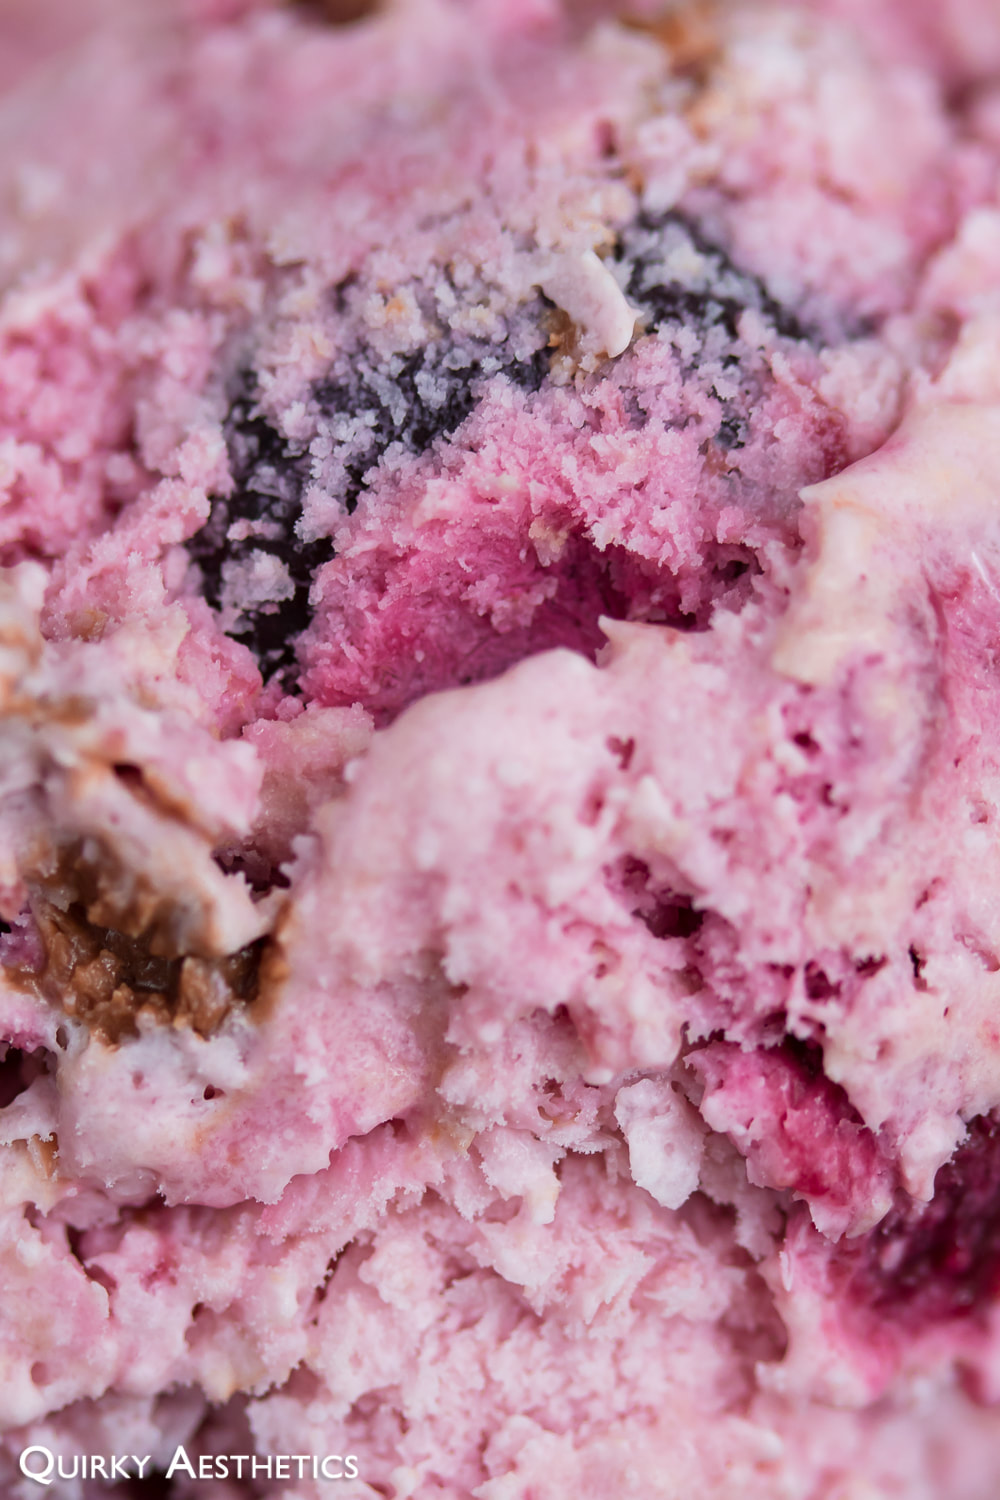
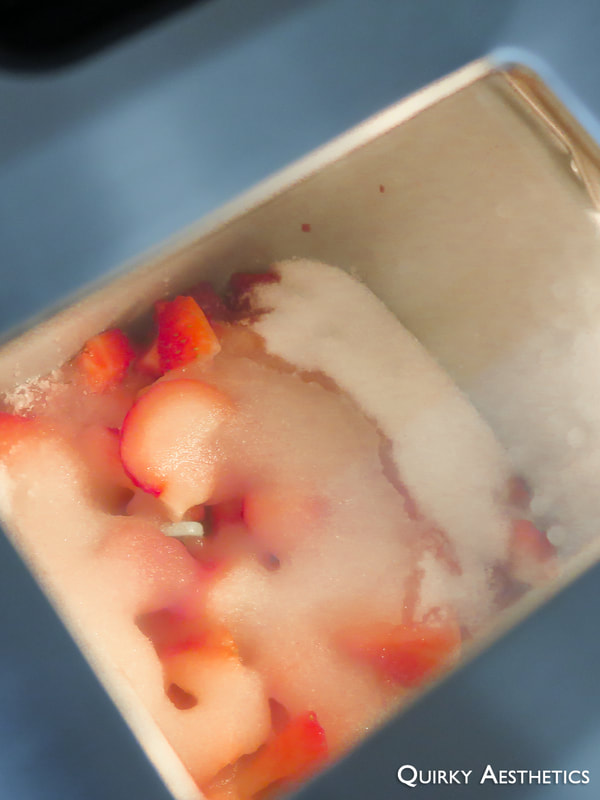
1) Once the paddle of the ice cream maker no longer budges, transfer the ice cream to a freezer-safe, airtight container, drizzling the Chocolate Ripple formula in between layers. Glass containers with airtight seals are ideal for this step; plastic is least resistant to drastic temperature changes and are prone to cracking upon removal, and thus is not recommended.
2) Allow to freeze for at least 8 hours. Should the centre remain soft, return to the freezer until firm.
3) Prior to scooping, remove the container from the freezer and let rest for 25 minutes at room temperature.
4) For best results, prepare a glass of hot water to dip the ice cream scoop before scooping.
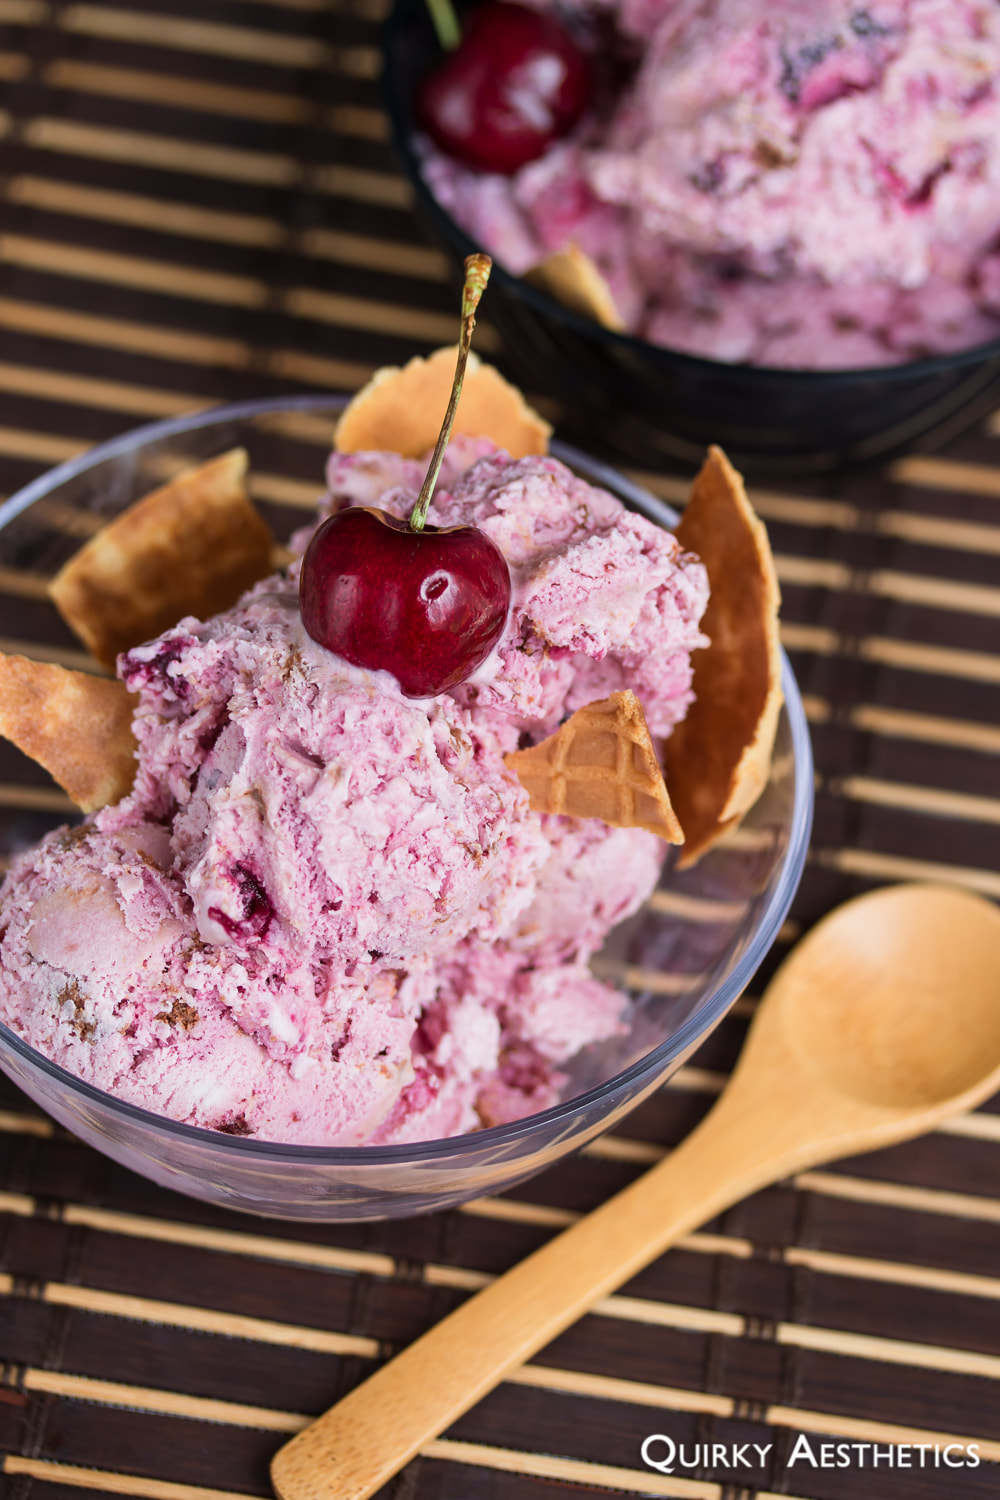
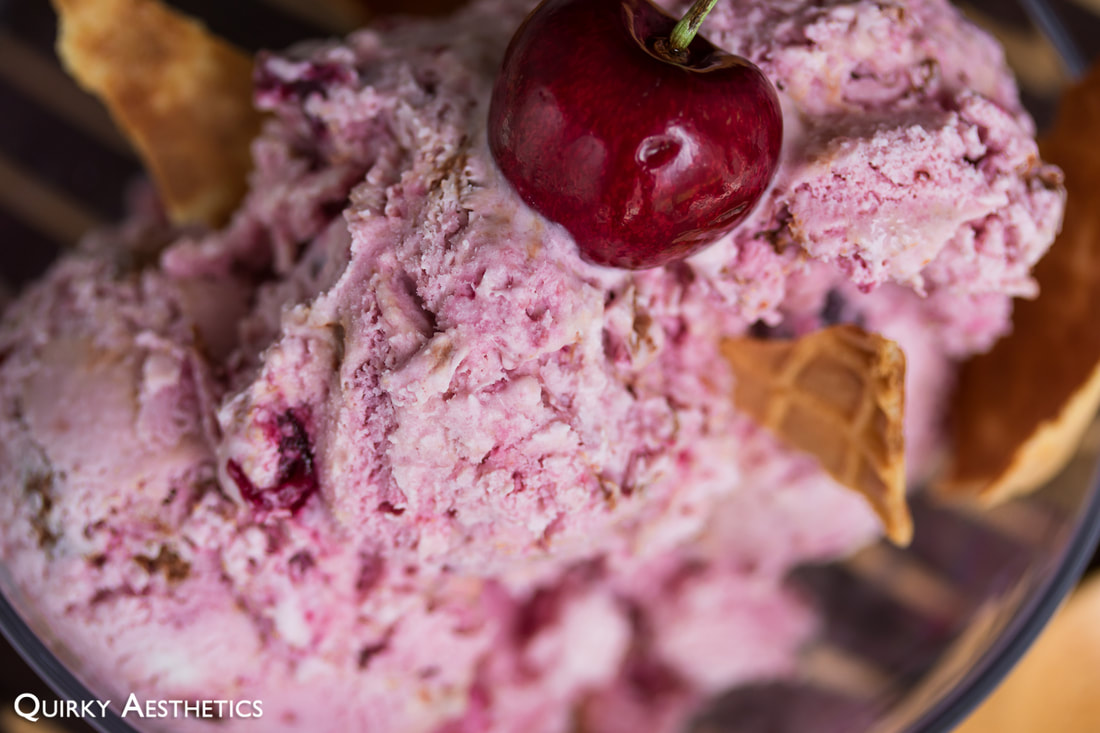
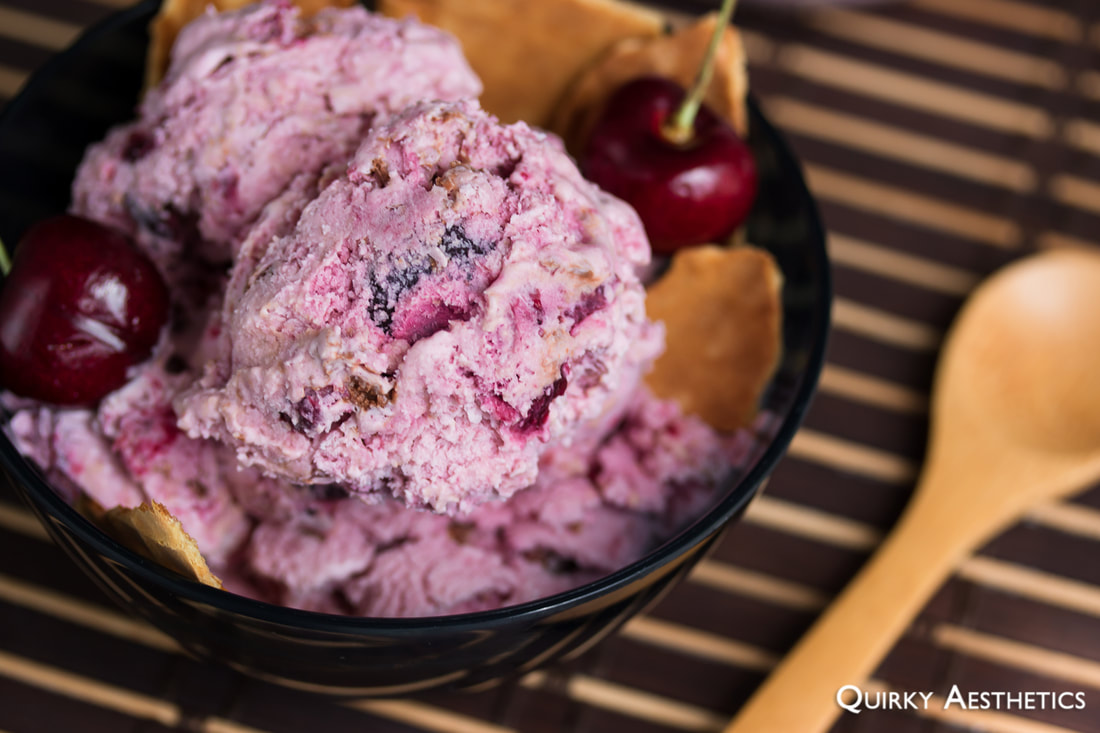
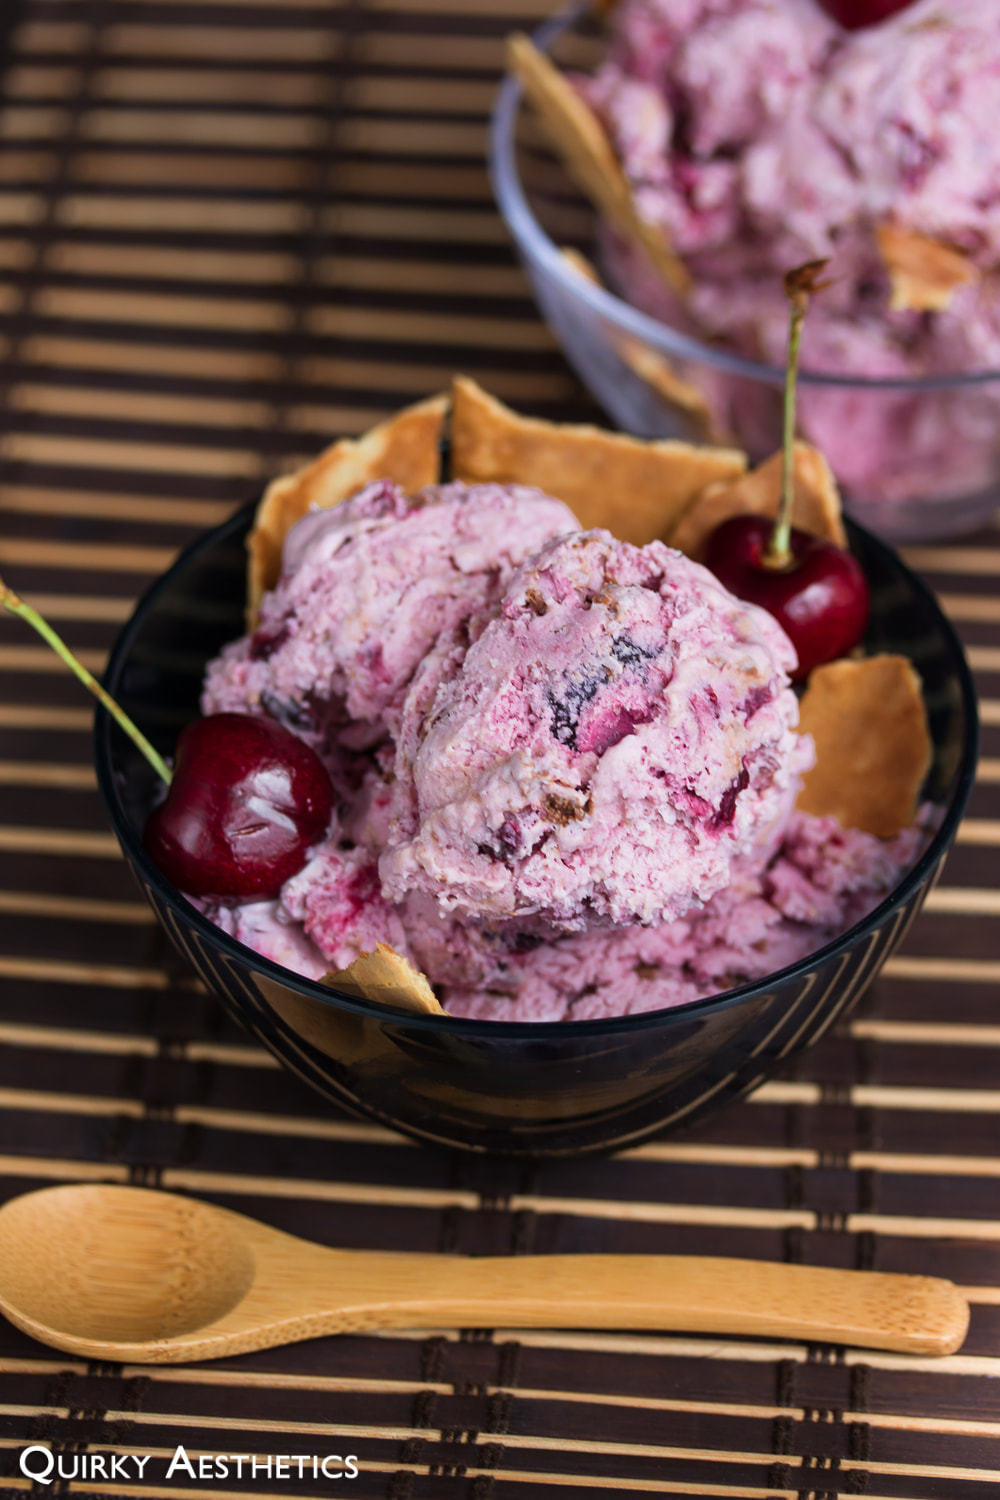
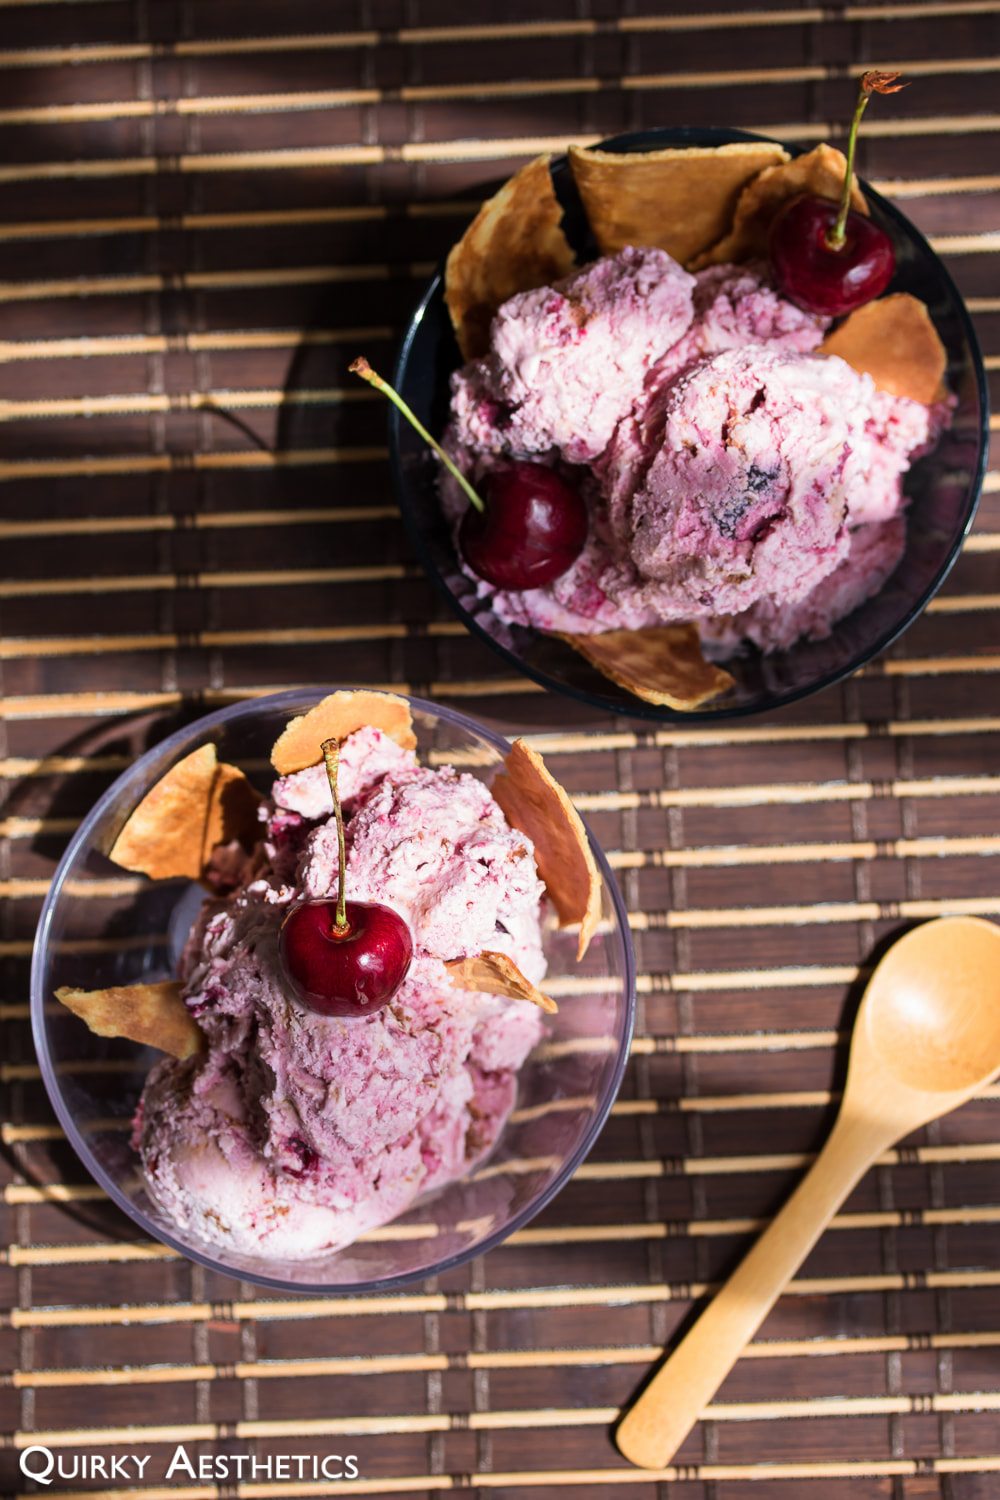
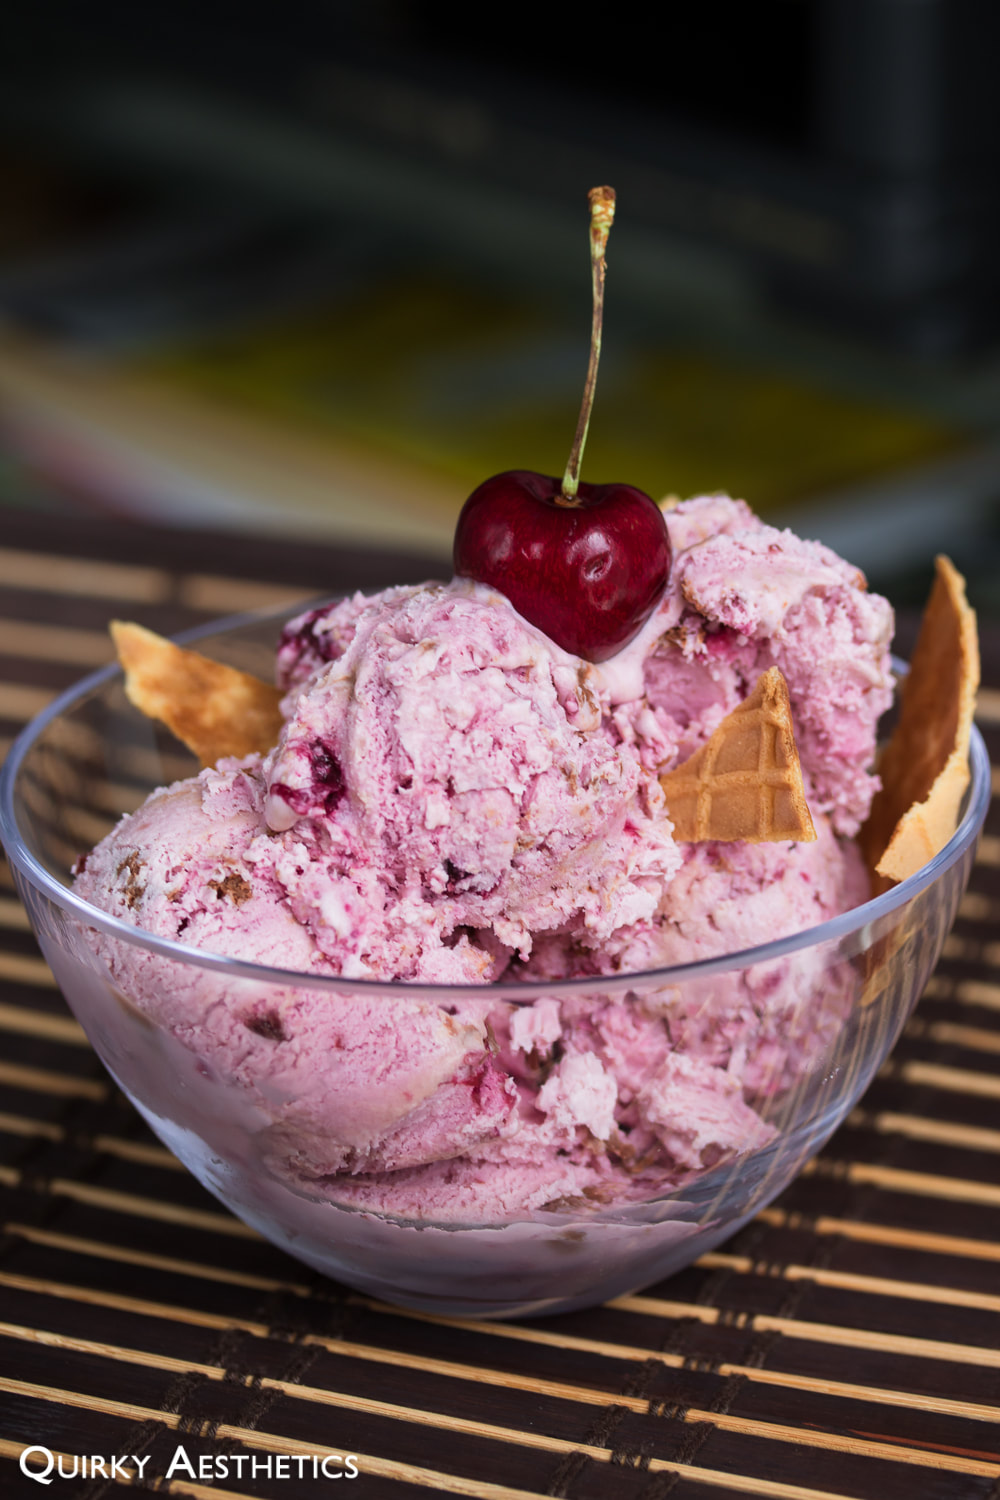
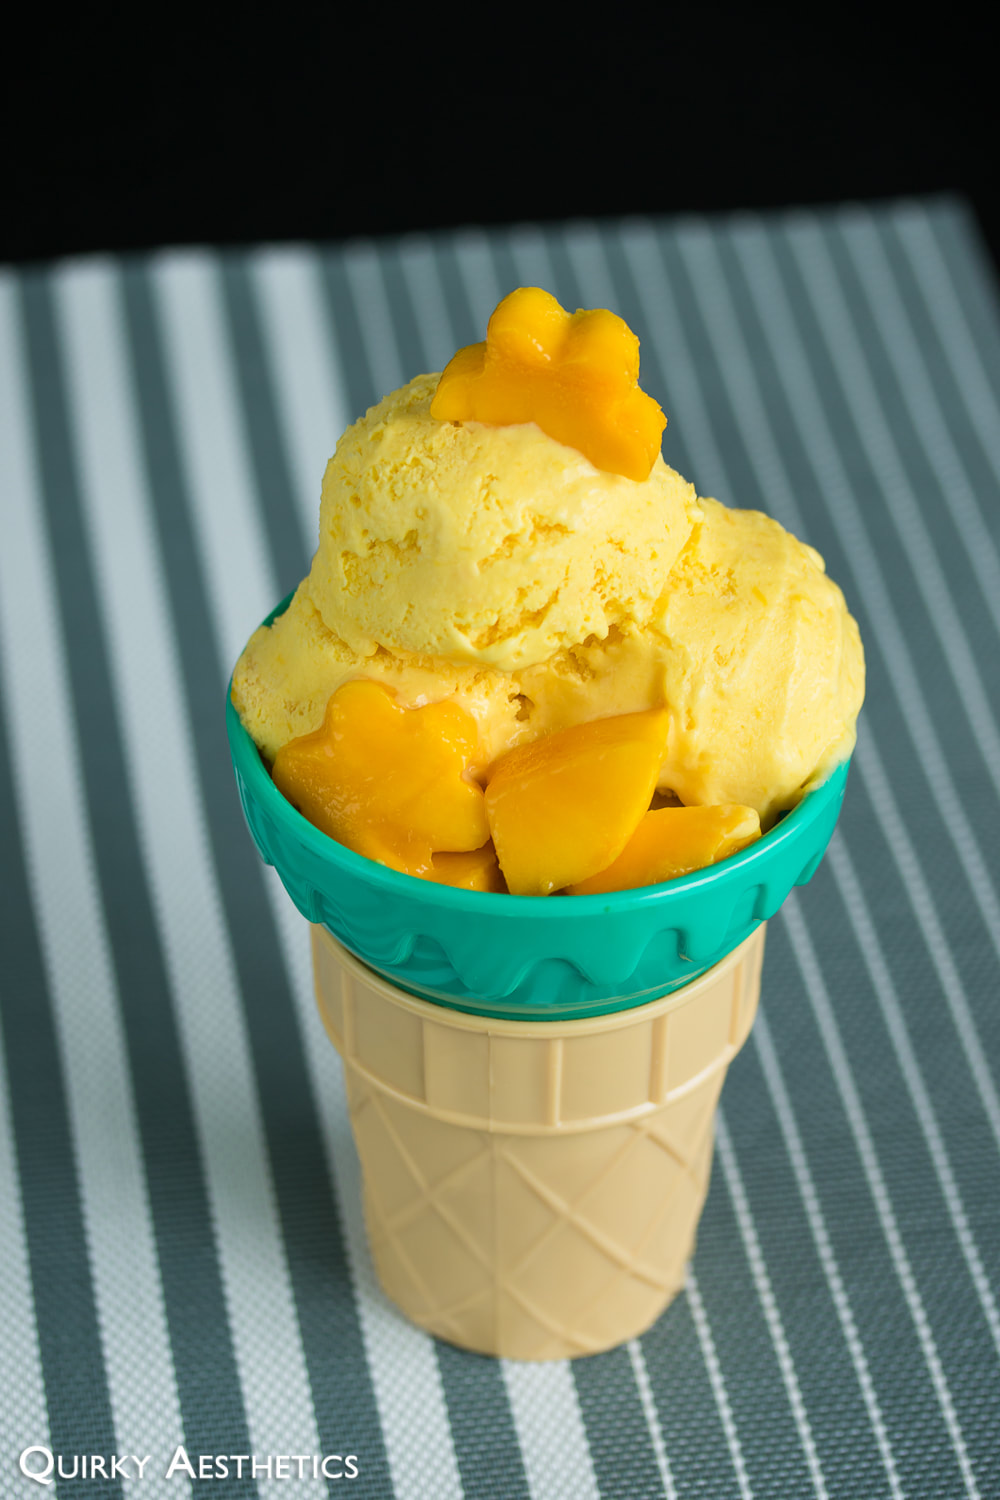
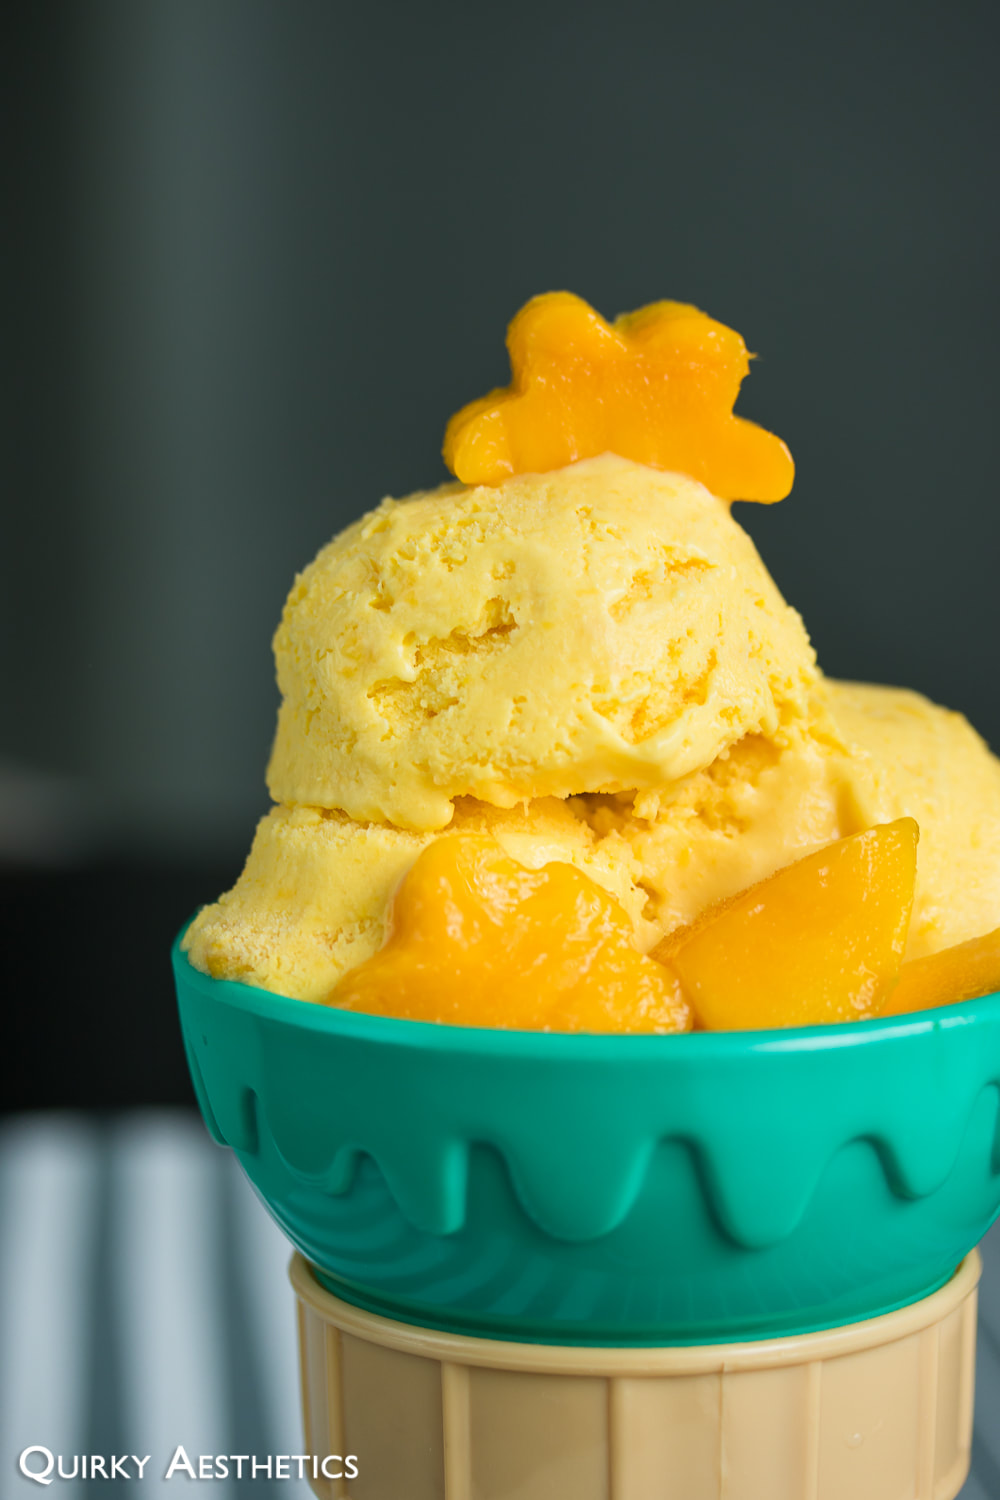
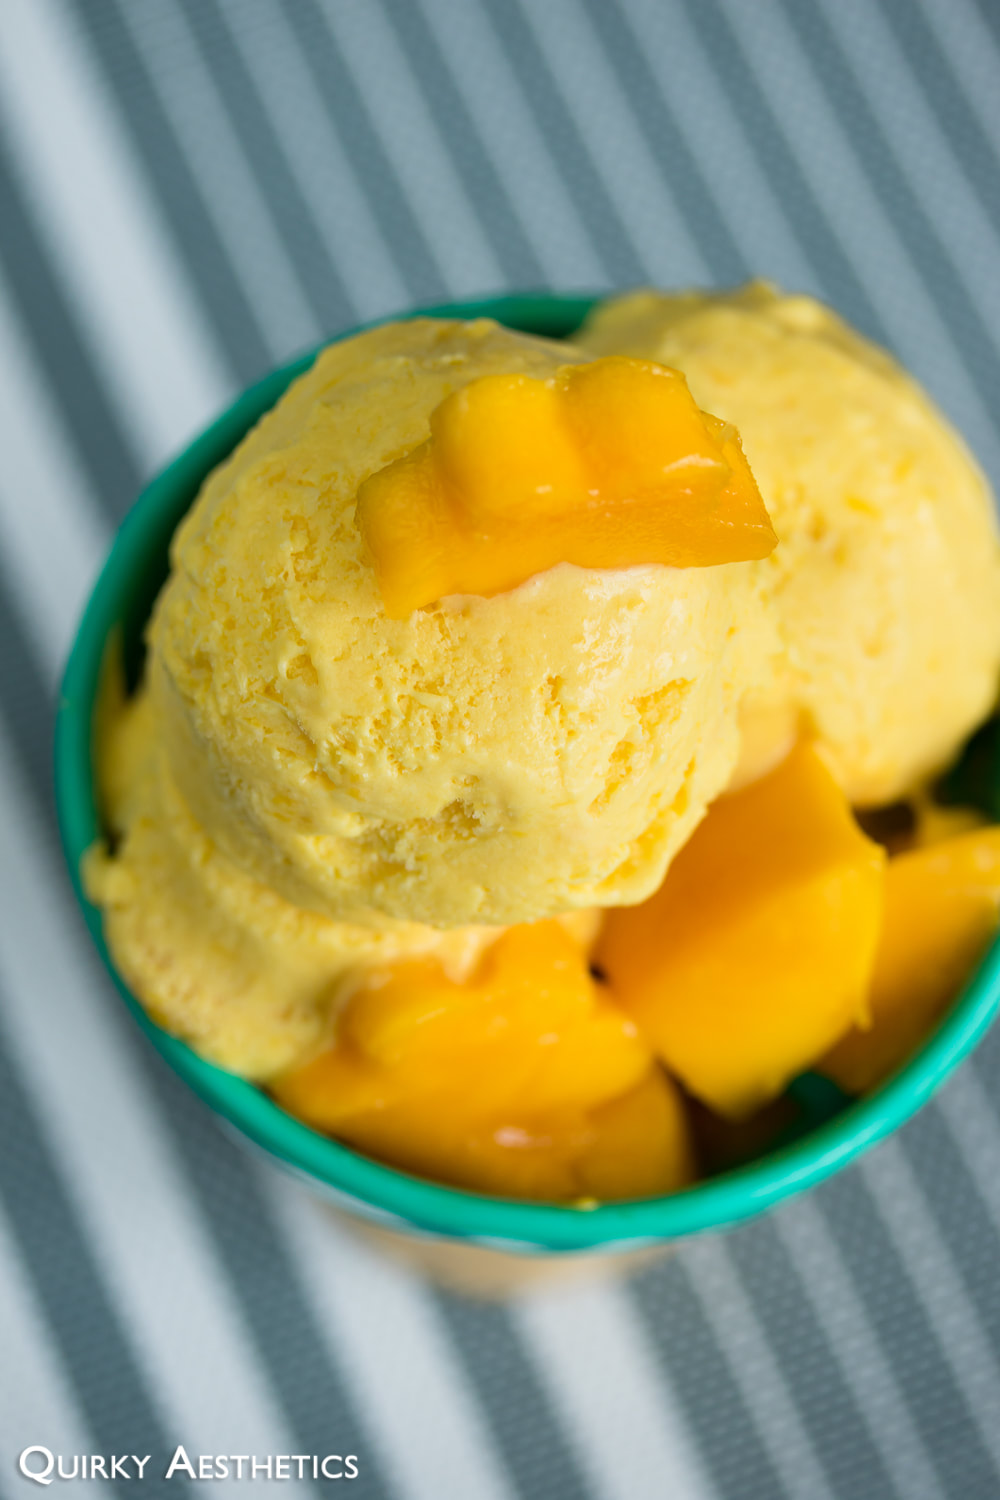
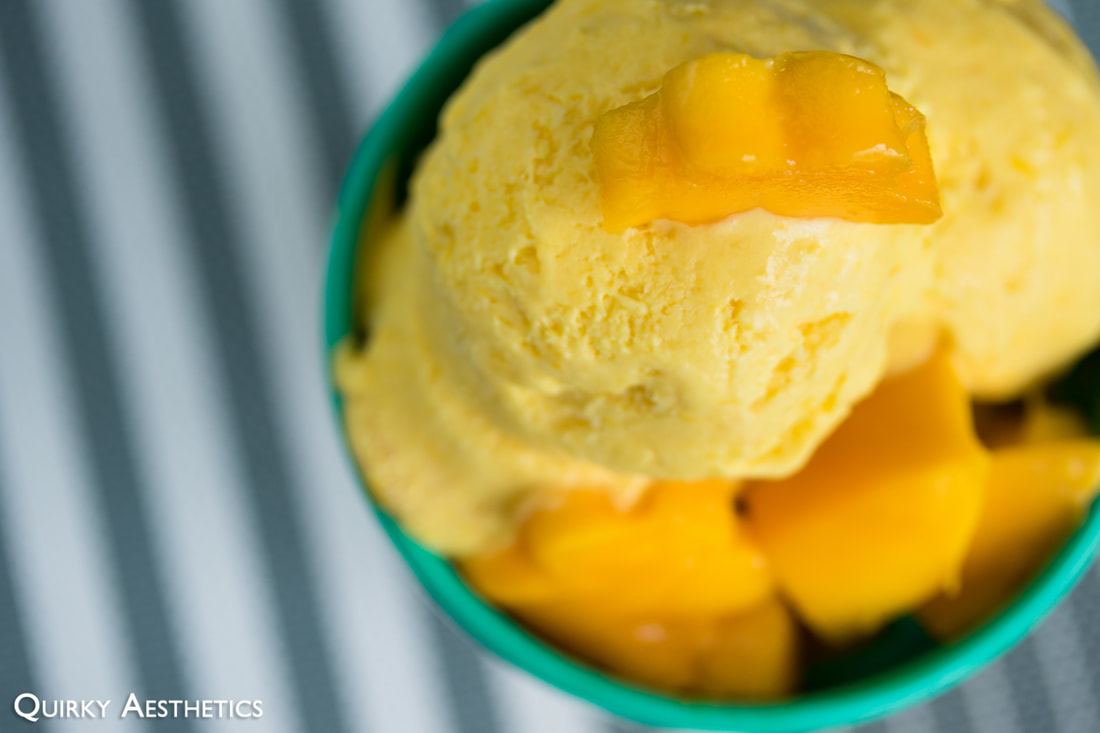
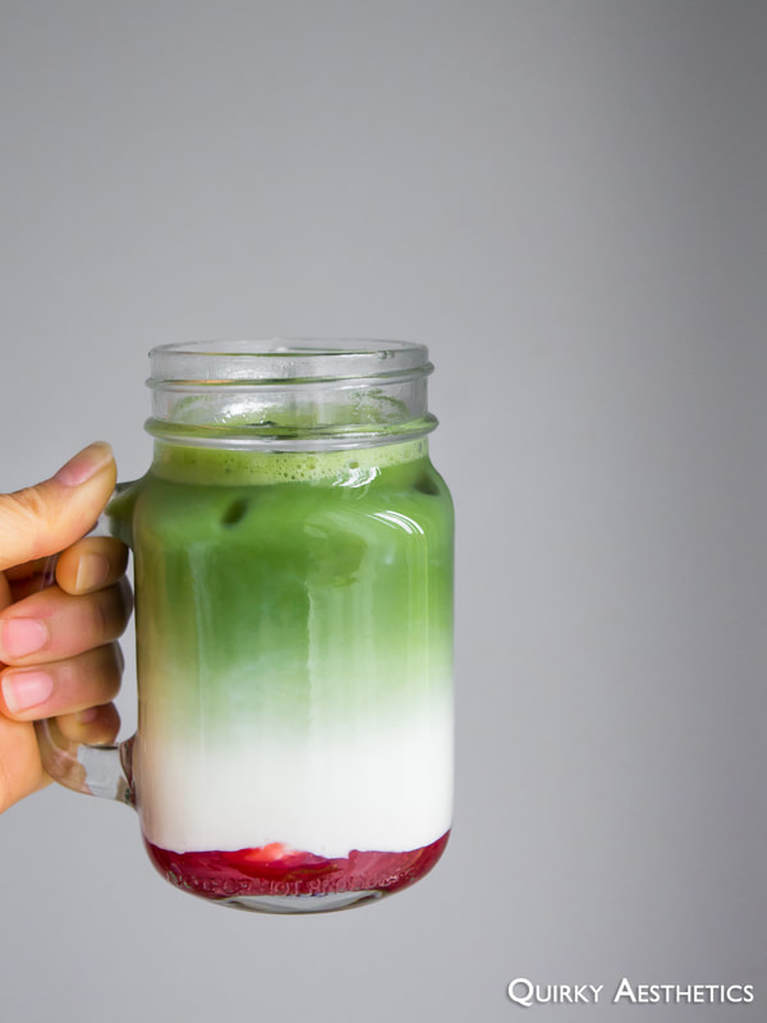
5) Serve with waffle cones and/or fresh fruit. Enjoy!
Notes
- This recipe utilizes the Cuisinart ICE-30BC model and serves only as a rough guideline. Prior to commencing any ice cream or soft serve project, it is imperative that one familiarize oneself with the respective manual before proceeding.
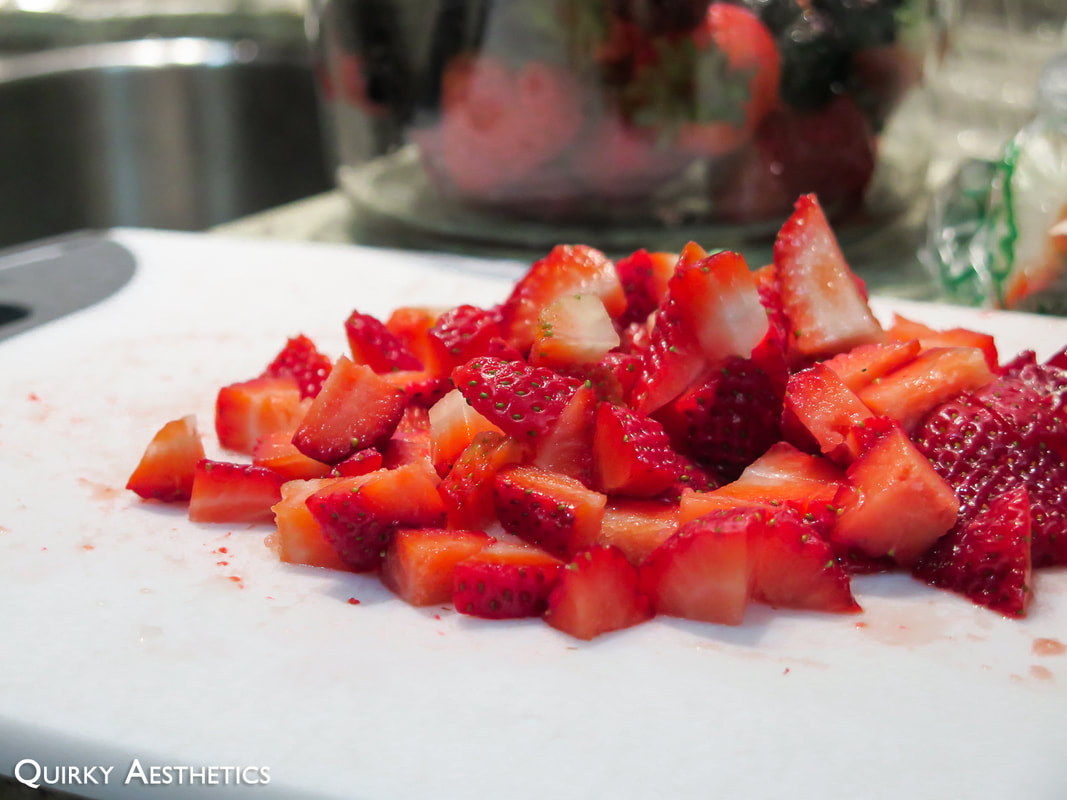
- Cherries were the seasonal fruit of choice, however mango chunks, coconut, and pineapple have similar applications. Frozen fruit is another convenient option.
- Adapted from Cuisinart ICE-30BC's Chocolate Cherry Chocolate Cherry Frozen Yogurt, this rendition employs 35% fat whipping cream Instead of whole milk and flash frozen cherries instead of maraschino. The higher fat content, regrettably, did not act as a catalyst for solidification; instead of the 2-hour chill time, the entire batch averaged a total of 10 hours for thorough thickening. It remains unknown whether the issue lay with freezer temperature (- 14 C vs. the suggested - 17 C) or the omission of pre-churning refrigeration. That said, for best results, it is advised to let the ice cream base rest in the refrigerator for roughly two hours before proceeding.
i) Cherry Compote (approximate quantities)
- 5 cups cherries, pitted
- 1 cup granulated sugar
- 1/3 cup lemon juice
- 1 tbsp glutinous rice flour
- 50 ml water
ii) Ice Cream Base (Recipe adapted from Cuisinart's ICE-30BC Recipe Booklet, pg. 8)
- 95 ml heavy cream
- 66 g sweetened condensed milk
- 650 ml heavy cream
- 310 g plain yogurt
iii) Chocolate Ripple
- 51g dark chocolate couverture
- 50 ml whipping cream
Directions:
i) Cherry Compote
1) Combine cherries, sugar, and lemon juice in a medium saucepan. Simmer until only a few chunks of cherry remain. Blending the mixture is not recommended as the final product is intended to retain bites of fruit.
2) Mix glutinous rice flour with water and stir into the mixture. Continue to reduce.
3) Once thickened, remove from heat and let cool.
4) Allow the mixture to come to room temperature before transferring to the refrigerator. Chill until ready to use.
ii) Ice Cream Base
1) Churning directions shall differ between ice cream makers, so it is highly advised to familiarize oneself with the respective manual before proceeding.
2) Using either a low heat setting on a microwave or over a bain-marie, dissolve sweetened condensed milk into 95 ml of heavy cream. Mix until fully combined. Allow this mixture to cool before using.
3) Whisk heavy cream and yogurt together in a large bowl. Add in the condensed milk mixture and combine well. At this point, it would be beneficial to let the base rest in the refrigerator for roughly two hours before proceeding.
4) Remove the ice cream maker from the freezer and follow the manual for churning instructions.
5) Once visibly thicker, add in the cherry compote as the machine continues to churn.
6) Continue churning until the paddle does not budge.
iii) Chocolate Ripple
1) Commence on the Chocolate Ripple as soon as the ice cream maker begins churning.
2) Over a bain-marie, allow chocolate couverture and heavy cream to melt slowly.
3) Remove from heat once partially dissolved and continue to stir to incorporate completely.
4) Allow the ripple to cool completely, stirring every so often to prevent hardening.
iv) Assembly
1) Once the paddle of the ice cream maker no longer budges, transfer the ice cream to a freezer-safe, airtight container, drizzling the Chocolate Ripple formula in between layers. Glass containers with airtight seals are ideal for this step; plastic is least resistant to drastic temperature changes and are prone to cracking upon removal, and thus is not recommended.
2) Allow to freeze for at least 8 hours. Should the centre remain soft, return to the freezer until firm.
3) Prior to scooping, remove the container from the freezer and let rest for 25 minutes at room temperature.
4) For best results, prepare a glass of hot water to dip the ice cream scoop before scooping.
5) Serve with waffle cones and/or fresh fruit. Enjoy!
Notes
- This recipe utilizes the Cuisinart ICE-30BC model and serves only as a rough guideline. Prior to commencing any ice cream or soft serve project, it is imperative that one familiarize oneself with the respective manual before proceeding.
- Cherries were the seasonal fruit of choice, however mango chunks, coconut, and pineapple have similar applications. Frozen fruit is another convenient option.
- Adapted from Cuisinart ICE-30BC's Chocolate Cherry Chocolate Cherry Frozen Yogurt, this rendition employs 35% fat whipping cream Instead of whole milk and flash frozen cherries instead of maraschino. The higher fat content, regrettably, did not act as a catalyst for solidification; instead of the 2-hour chill time, the entire batch averaged a total of 10 hours for thorough thickening. It remains unknown whether the issue lay with freezer temperature (- 14 C vs. the suggested - 17 C) or the omission of pre-churning refrigeration. That said, for best results, it is advised to let the ice cream base rest in the refrigerator for roughly two hours before proceeding.


 RSS Feed