Never one to be a fan of the watery, insipid mixtures presented at the conclusion of grease-filled Chinese family dinners, the very thought of making red bean soup had never once crossed my mind.
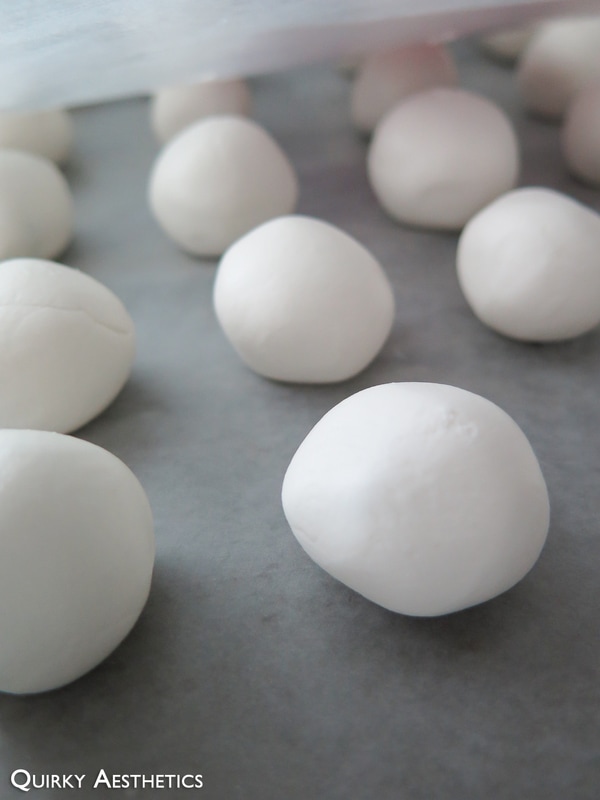
It wasn't until I made a steep overestimation in the amount of red beans and red bean paste required for a glutinous rice ball recipe that the suggestion was brought forth.
It wasn't until I made a steep overestimation in the amount of red beans and red bean paste required for a glutinous rice ball recipe that the suggestion was brought forth.
My first batch wasn't bad at all, considering I had absentmindedly omitted sugar entirely and swapped chenpi for orange zest. That said, it didn't necessarily possess the wow factor I had wanted either.
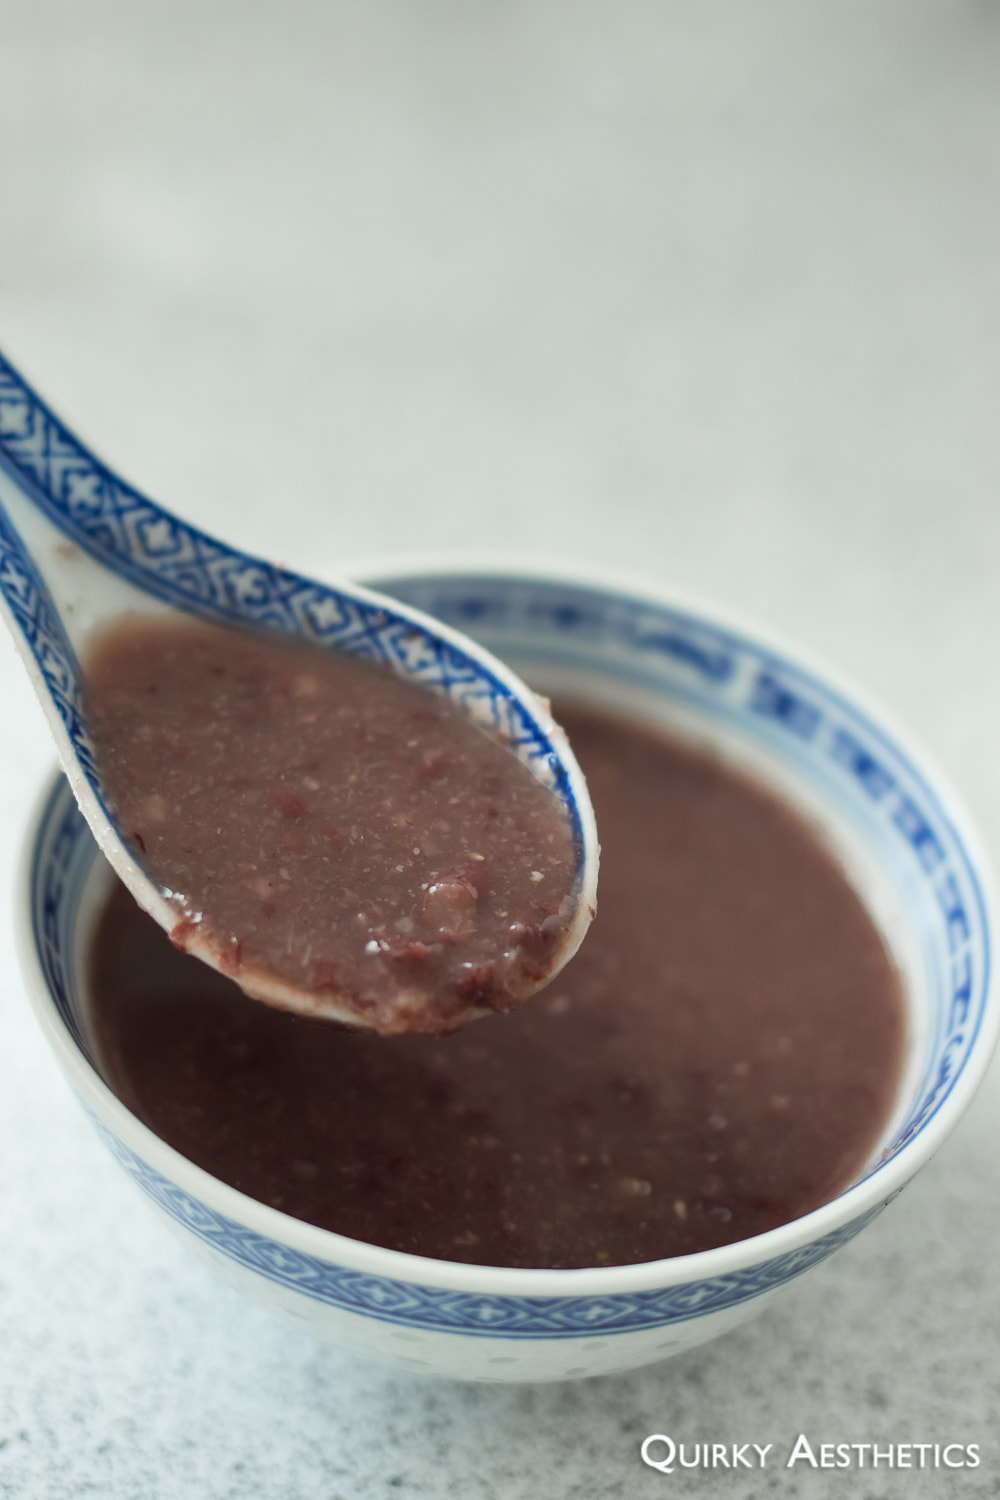
After acquiring the proper ingredients, I decided to give it another try. And, with this production, I can proudly proclaim its wonderfulness. No longer shall I need to endure the dismal, gritty formulas of Chinese diners ever again.
After acquiring the proper ingredients, I decided to give it another try. And, with this production, I can proudly proclaim its wonderfulness. No longer shall I need to endure the dismal, gritty formulas of Chinese diners ever again.


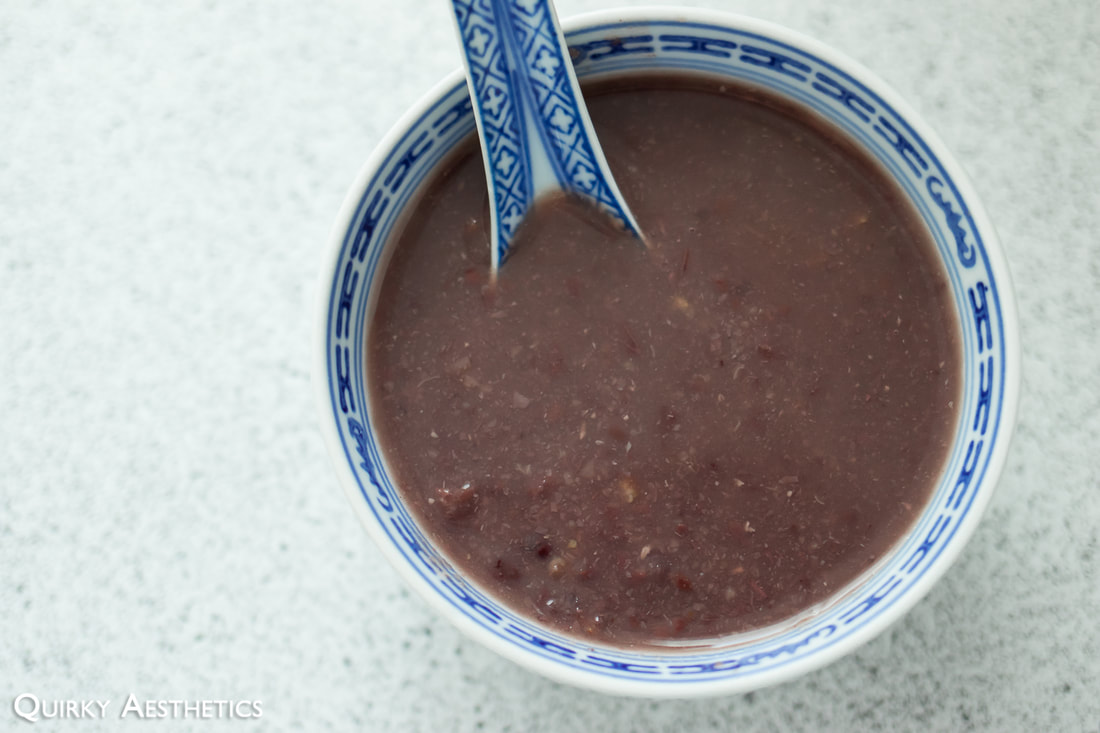
Below I have provided two versions of the dessert: The Speedy and The Traditional. Just as the names imply, one is for days when time is of the essence, while the other is conventional - free from the interference of modern devices and honoured by time.
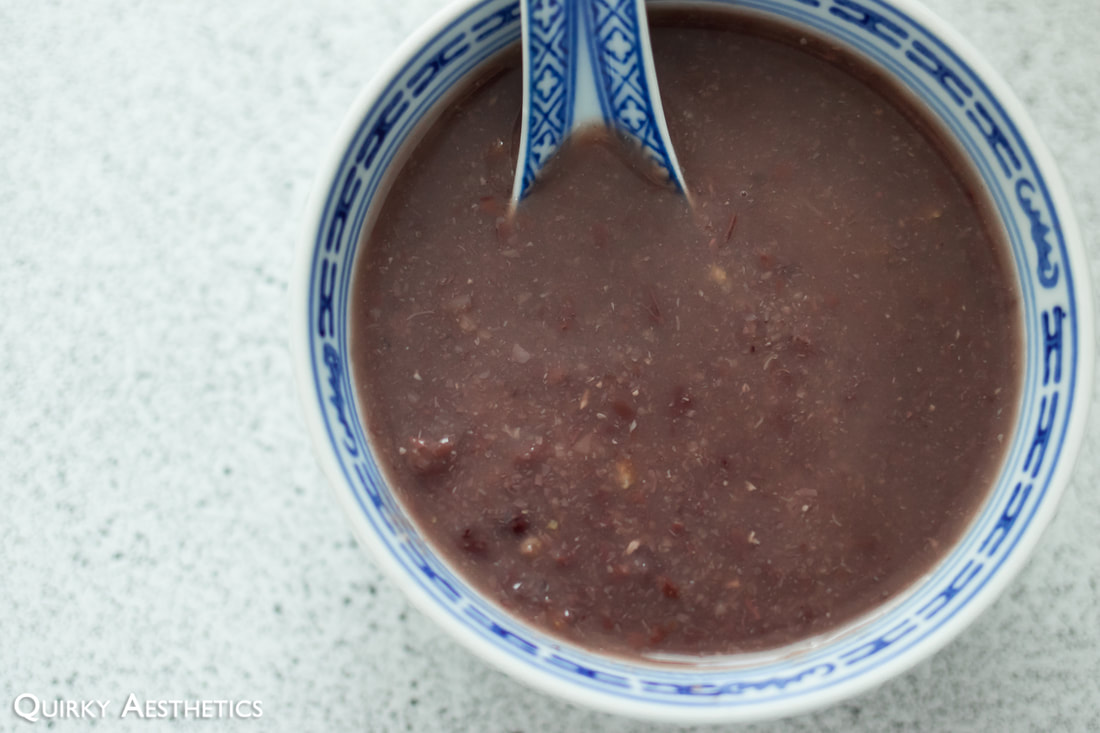
And while efficiency is key to many things in life, I'd highly suggest giving The Traditional a try at least once to attest to the different results yourself. The Speedy removes lumps and increases surface area for quickened cooking, though the latter boasts infinitely better texture and authenticity.
And while efficiency is key to many things in life, I'd highly suggest giving The Traditional a try at least once to attest to the different results yourself. The Speedy removes lumps and increases surface area for quickened cooking, though the latter boasts infinitely better texture and authenticity.
 |  |
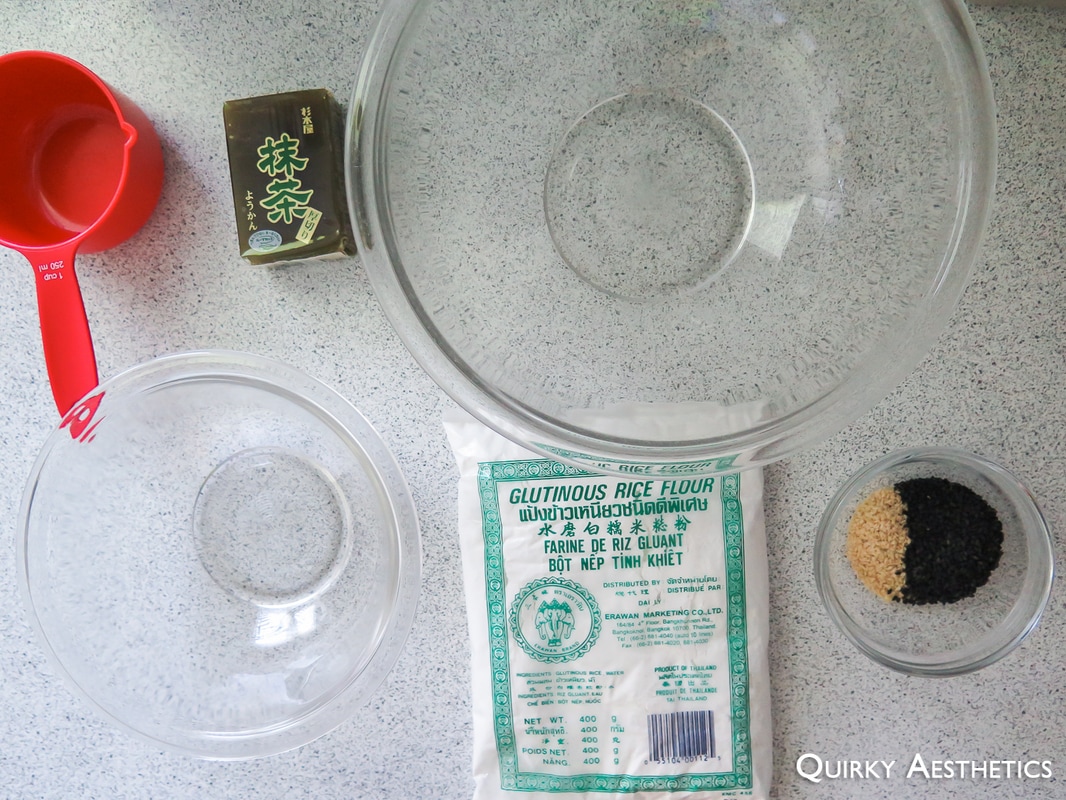
Ingredients
(Recipe inspired by and adapted from The Woks of Life)
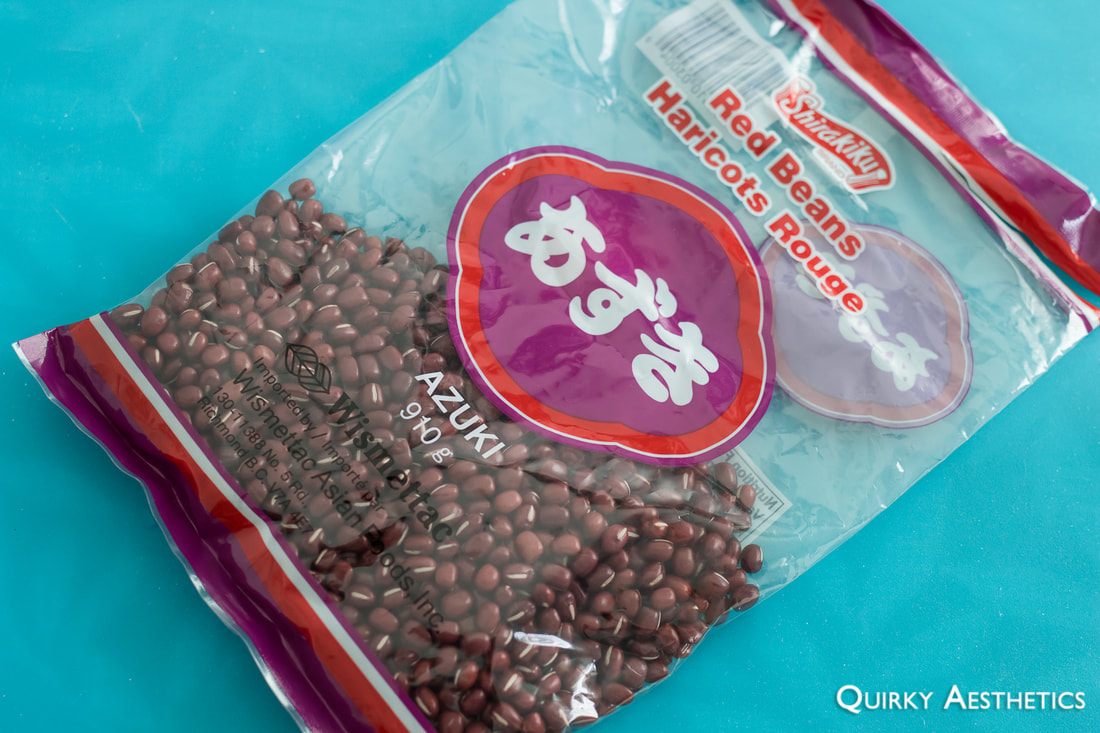
- 300g red beans
- Water
- 30g dried Chinese tangerine peel (also known as 陳皮) *
- 200g rock sugar (as desired) *
Directions:
i) Version 1: 'The Speedy'
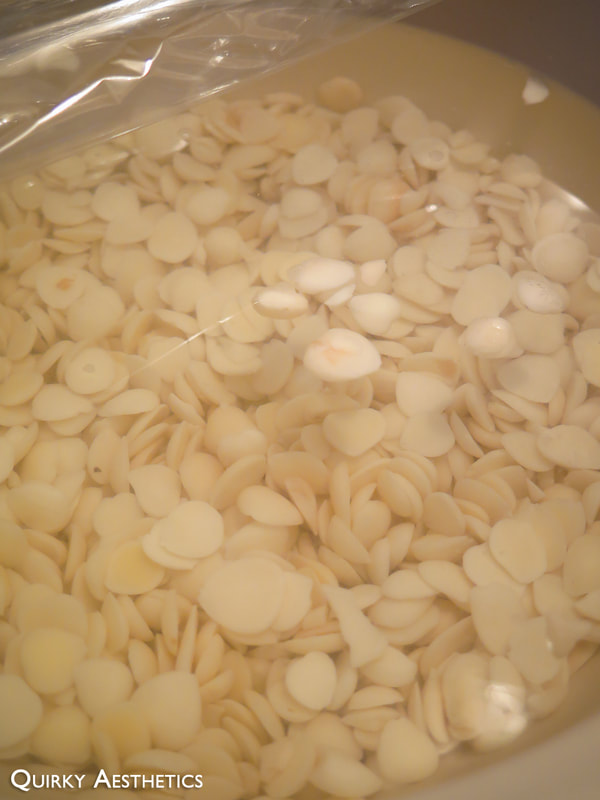
1) Allow the red beans to soak overnight.
2) Water levels should have decreased noticeably the next morning. Discard the soaking liquid and rinse thoroughly before transferring to a large pot.
3) Add water until the beans are well submerged, or until the pot is half full.
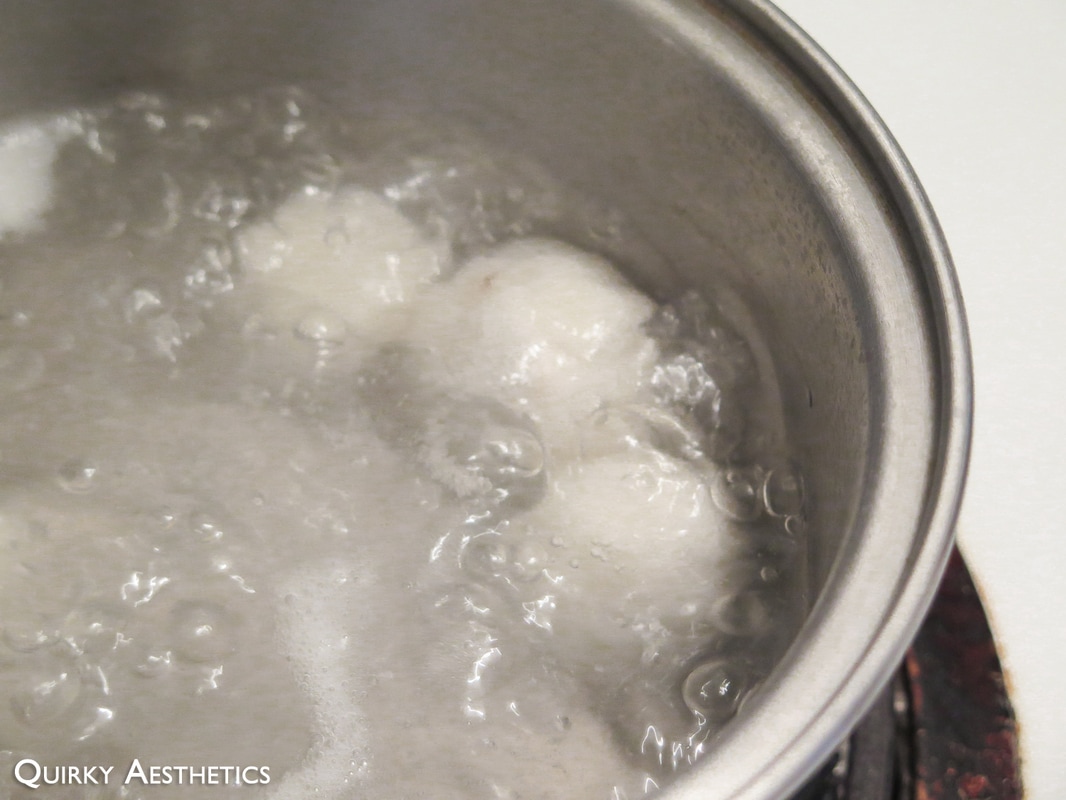
4) Over the stove, boil the beans on medium-high heat, with a lid affixed on top of the pot. Beware of overflowing due to the massive air bubbles during the initial stages.
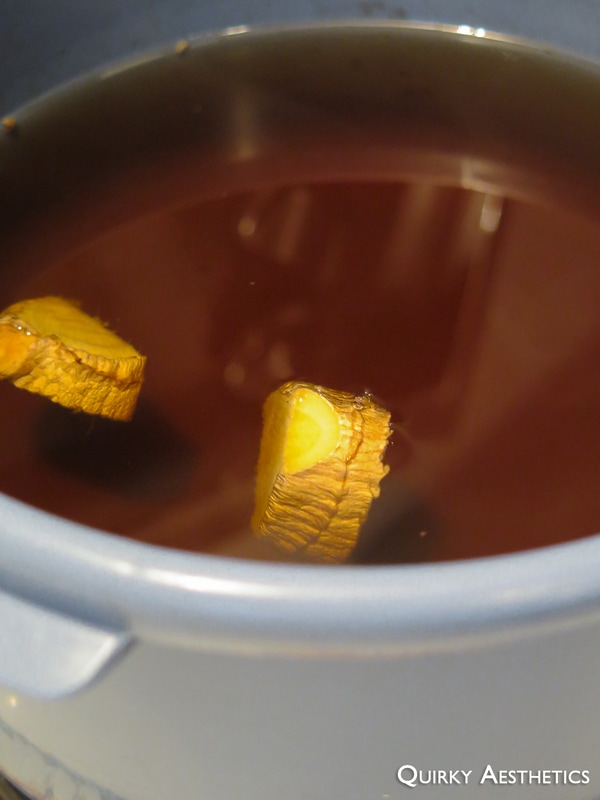
5) Once the water comes to a roaring boil, turn the heat down to low-medium. Add in the dried Chinese tangerine peel.
6) Replace the lid and continue to boil until the beans soften, stirring every often. This process takes roughly 25 minutes.
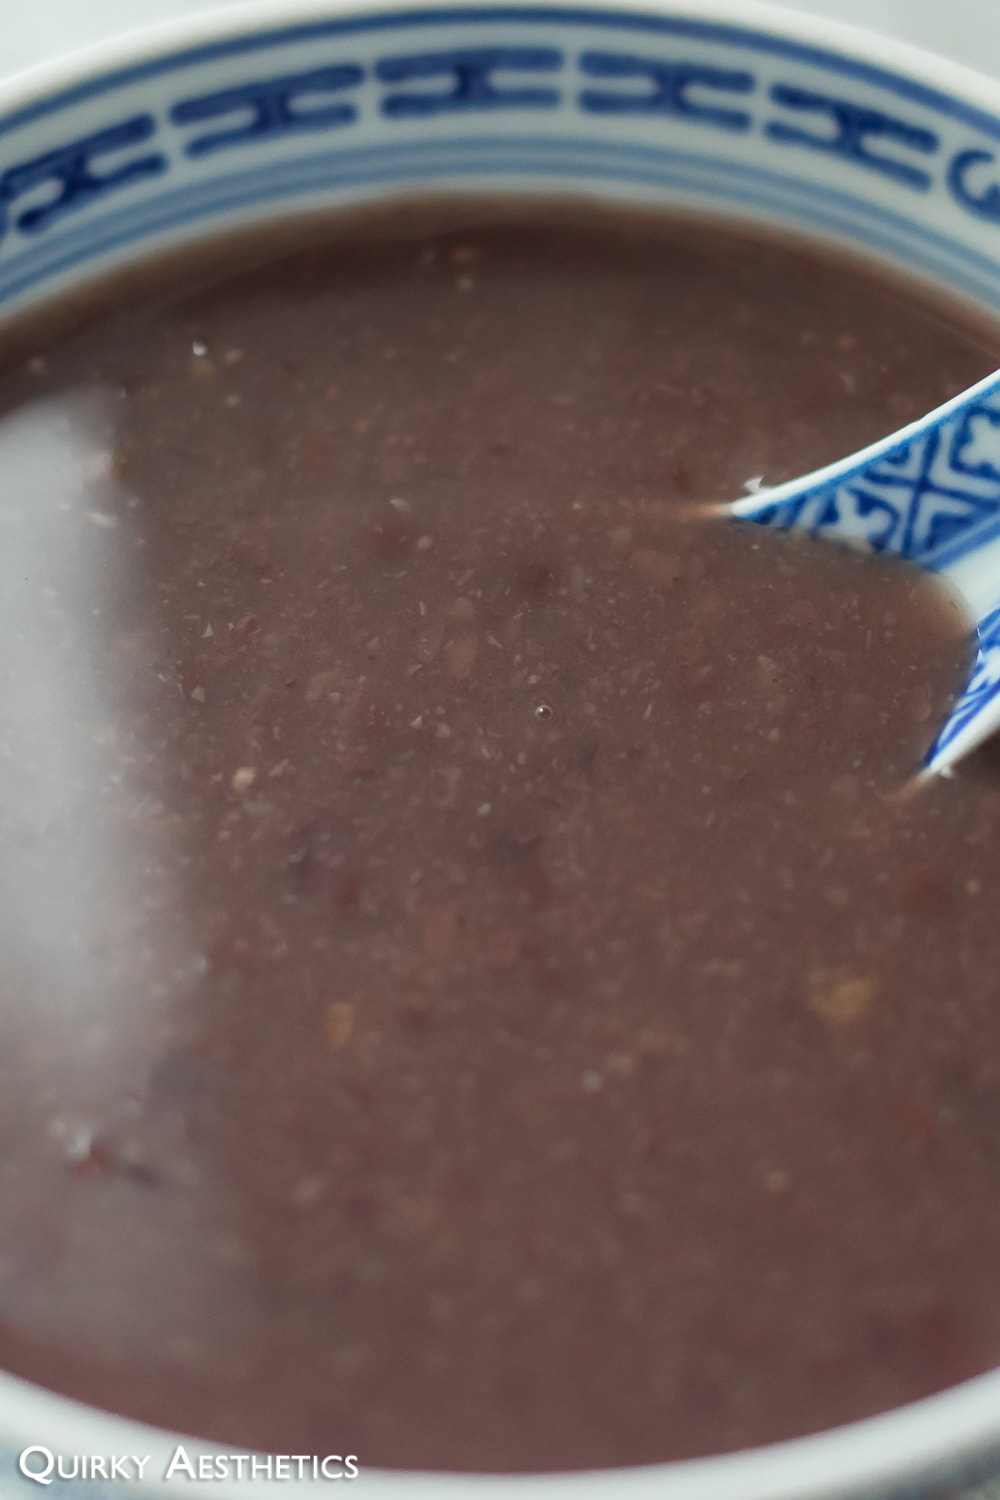
7) When the skin of the beans fall off with ease, use an immersion blender to incorporate some of the whole beans into the soup. This percentage can be adjusted based on preference; personally, the ideal ratio of smoothness to chewiness is 7:3.
8) Add in the rock sugar as well as 1-2 cups of water. Simmer over medium heat until the soup has reduced to a semi-viscous consistency.
9) Remove from the heat and let cool. Transfer to an airtight container for storage.
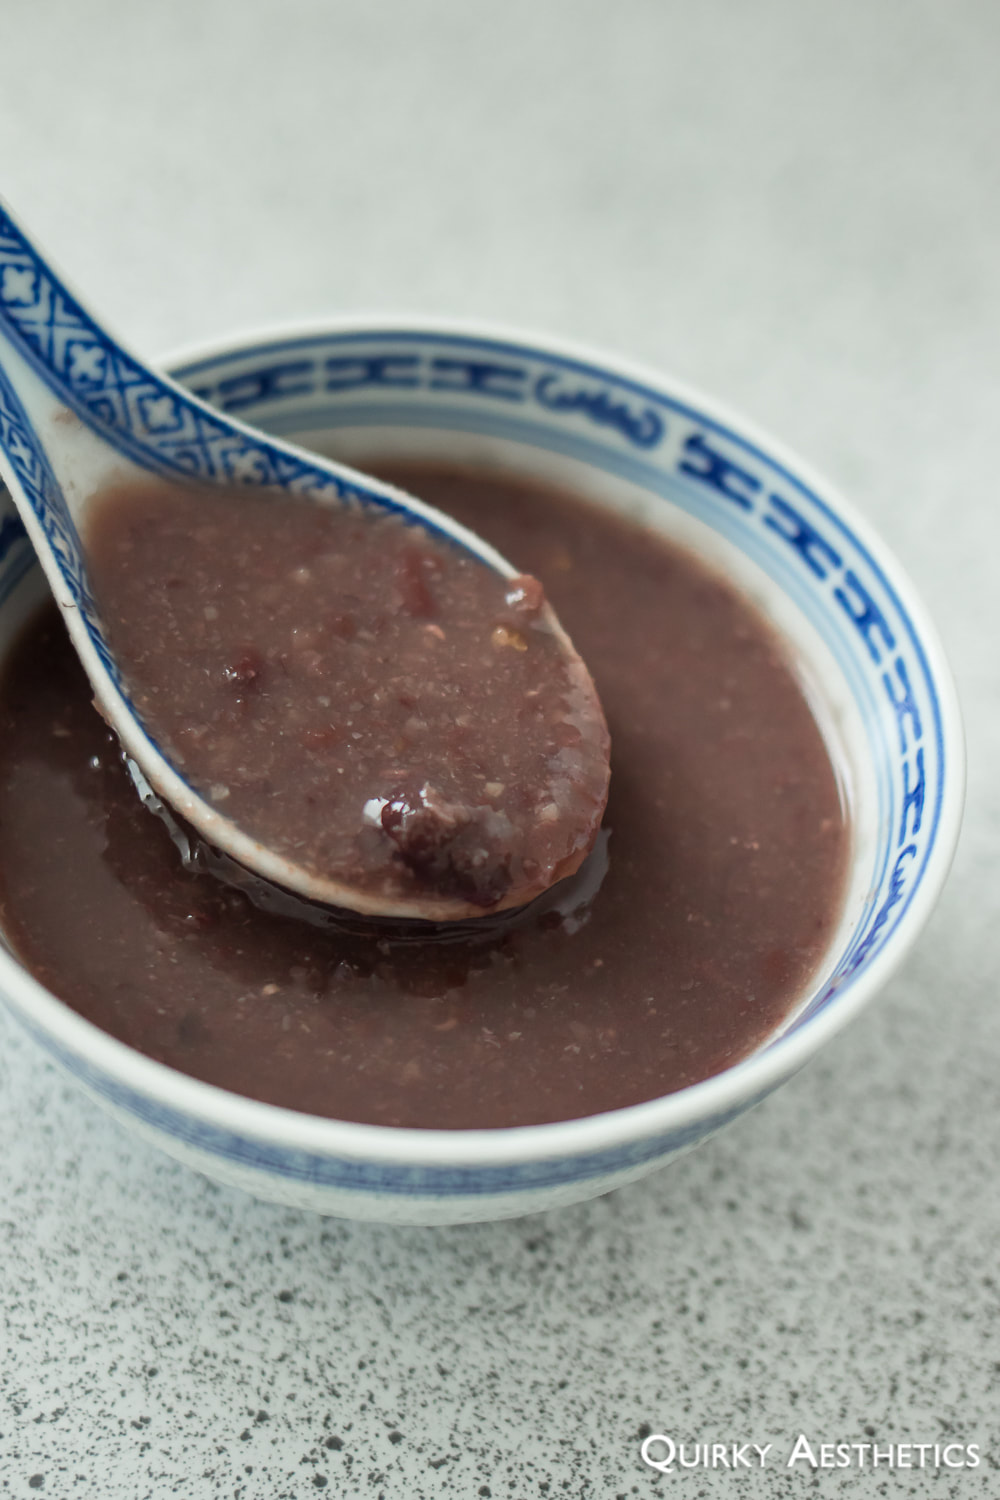
10) Serve warm or chilled. Enjoy!
ii) Version 2: 'The Traditional'
1) - 4) Refer to the same steps as 'The Speedy'
5) Once the water comes to a roaring boil, turn the heat down to low-medium.
6) Continue to simmer until mixture begins to bubble aggressively, then reduce to low heat.
7) Replace the lid and simmer for 2 - 2.5 hours, stirring occasionally and adding small quantities of water to adjust the consistency. Reduce the heat to the lowest possible level if necessary.
8) Add in the dried Chinese tangerine peel. Continue simmering for another 30 - 40 minutes.
9) Add in the desired amount of rock sugar. Simmer over low heat until the sugar has dissolved completely.
9) Remove from the heat and let cool. Transfer to an airtight container for storage.
10) Serve warm or chilled. Enjoy!
Notes
- It should be observed that the specific ingredient amounts for this recipe are not fixed. Similar to Chinese Almond Tea, all aspects can be adjusted to suit one's preferences.
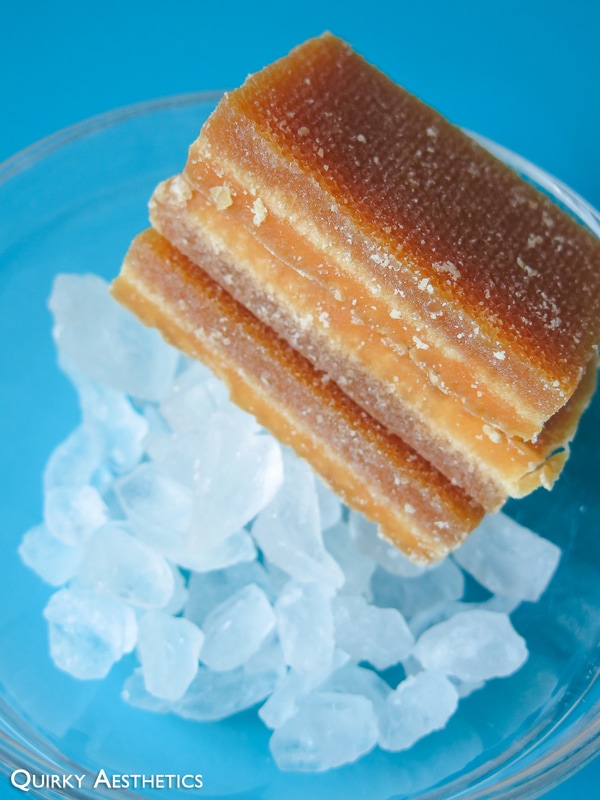
- Rock sugar (冰糖) is the recommended sweetener for this recipe, however feel free to use a blend of both rock sugar and compacted cane sugar (片糖) to achieve the desired level of slickness.
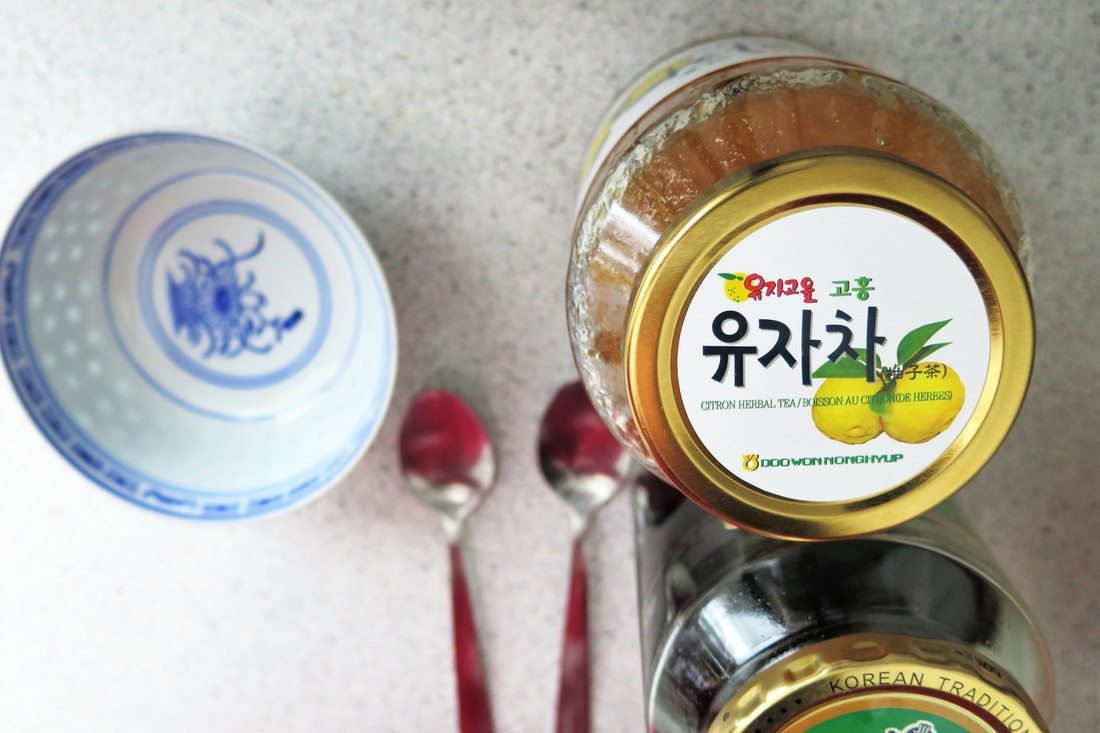
- The dried Chinese tangerine peel (陳皮 / chen pi) does not need to be soaked in advance, as they quickly become soft with boiling.
- Chen pi can be found in certain Chinese grocery stores, if not herbal shops in your local Chinese neighbourhood. Orange peels (without the white fibrous bits) can be substituted if dried tangerine peels cannot be found, however the depth of flavour will be compromised.
- Should an immersion blender not be handy, one can opt to continue boiling the beans at a low heat until they disintegrate naturally. Using the blender reduces the total active preparation time, however the tool is not mandatory for success.
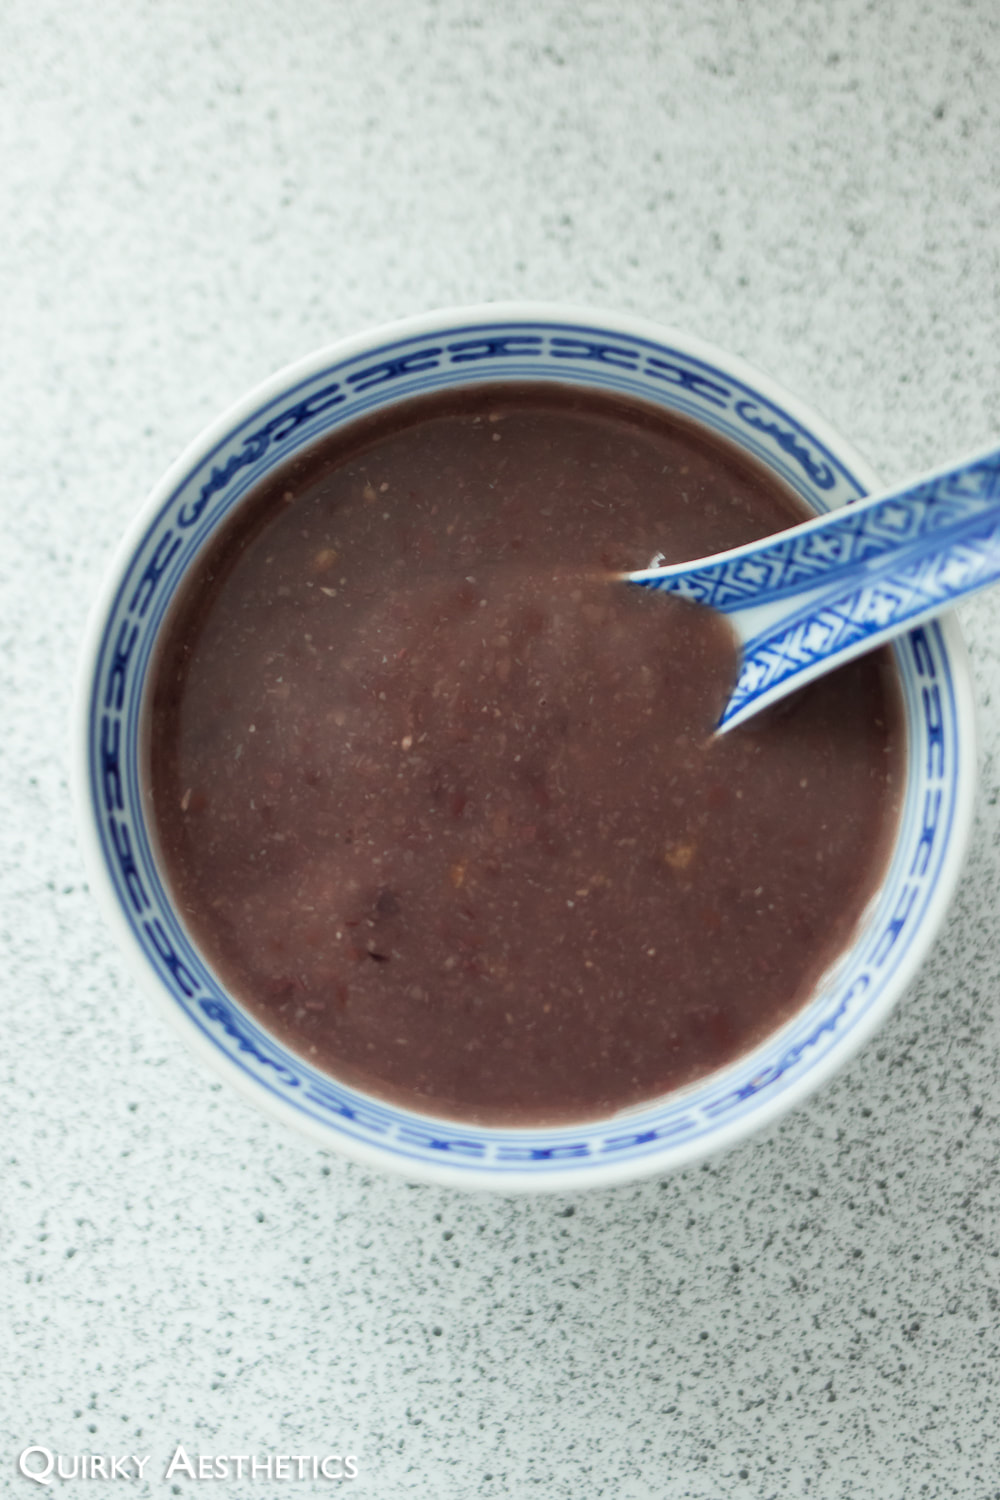
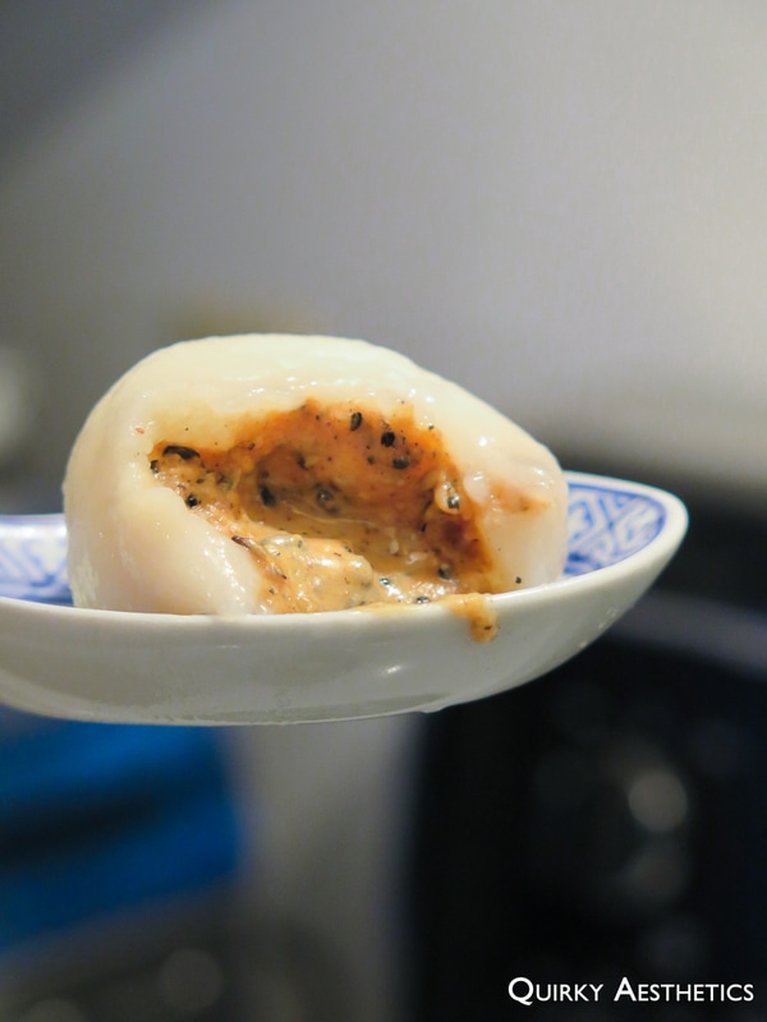
- Red bean soup is sufficiently tasty on its own, though some may prefer to consume it alongside sago pearls or purple rice. A splash of sweetened coconut milk is another delectable topping.
(Recipe inspired by and adapted from The Woks of Life)
- 300g red beans
- Water
- 30g dried Chinese tangerine peel (also known as 陳皮) *
- 200g rock sugar (as desired) *
Directions:
i) Version 1: 'The Speedy'
1) Allow the red beans to soak overnight.
2) Water levels should have decreased noticeably the next morning. Discard the soaking liquid and rinse thoroughly before transferring to a large pot.
3) Add water until the beans are well submerged, or until the pot is half full.
4) Over the stove, boil the beans on medium-high heat, with a lid affixed on top of the pot. Beware of overflowing due to the massive air bubbles during the initial stages.
5) Once the water comes to a roaring boil, turn the heat down to low-medium. Add in the dried Chinese tangerine peel.
6) Replace the lid and continue to boil until the beans soften, stirring every often. This process takes roughly 25 minutes.
7) When the skin of the beans fall off with ease, use an immersion blender to incorporate some of the whole beans into the soup. This percentage can be adjusted based on preference; personally, the ideal ratio of smoothness to chewiness is 7:3.
8) Add in the rock sugar as well as 1-2 cups of water. Simmer over medium heat until the soup has reduced to a semi-viscous consistency.
9) Remove from the heat and let cool. Transfer to an airtight container for storage.
10) Serve warm or chilled. Enjoy!
ii) Version 2: 'The Traditional'
1) - 4) Refer to the same steps as 'The Speedy'
5) Once the water comes to a roaring boil, turn the heat down to low-medium.
6) Continue to simmer until mixture begins to bubble aggressively, then reduce to low heat.
7) Replace the lid and simmer for 2 - 2.5 hours, stirring occasionally and adding small quantities of water to adjust the consistency. Reduce the heat to the lowest possible level if necessary.
8) Add in the dried Chinese tangerine peel. Continue simmering for another 30 - 40 minutes.
9) Add in the desired amount of rock sugar. Simmer over low heat until the sugar has dissolved completely.
9) Remove from the heat and let cool. Transfer to an airtight container for storage.
10) Serve warm or chilled. Enjoy!
Notes
- It should be observed that the specific ingredient amounts for this recipe are not fixed. Similar to Chinese Almond Tea, all aspects can be adjusted to suit one's preferences.
- Rock sugar (冰糖) is the recommended sweetener for this recipe, however feel free to use a blend of both rock sugar and compacted cane sugar (片糖) to achieve the desired level of slickness.
- The dried Chinese tangerine peel (陳皮 / chen pi) does not need to be soaked in advance, as they quickly become soft with boiling.
- Chen pi can be found in certain Chinese grocery stores, if not herbal shops in your local Chinese neighbourhood. Orange peels (without the white fibrous bits) can be substituted if dried tangerine peels cannot be found, however the depth of flavour will be compromised.
- Should an immersion blender not be handy, one can opt to continue boiling the beans at a low heat until they disintegrate naturally. Using the blender reduces the total active preparation time, however the tool is not mandatory for success.
- Red bean soup is sufficiently tasty on its own, though some may prefer to consume it alongside sago pearls or purple rice. A splash of sweetened coconut milk is another delectable topping.


 RSS Feed