During my Taiwan trip, I invested in quite a bit of matcha powder. And unfortunately, it expires quite soon.
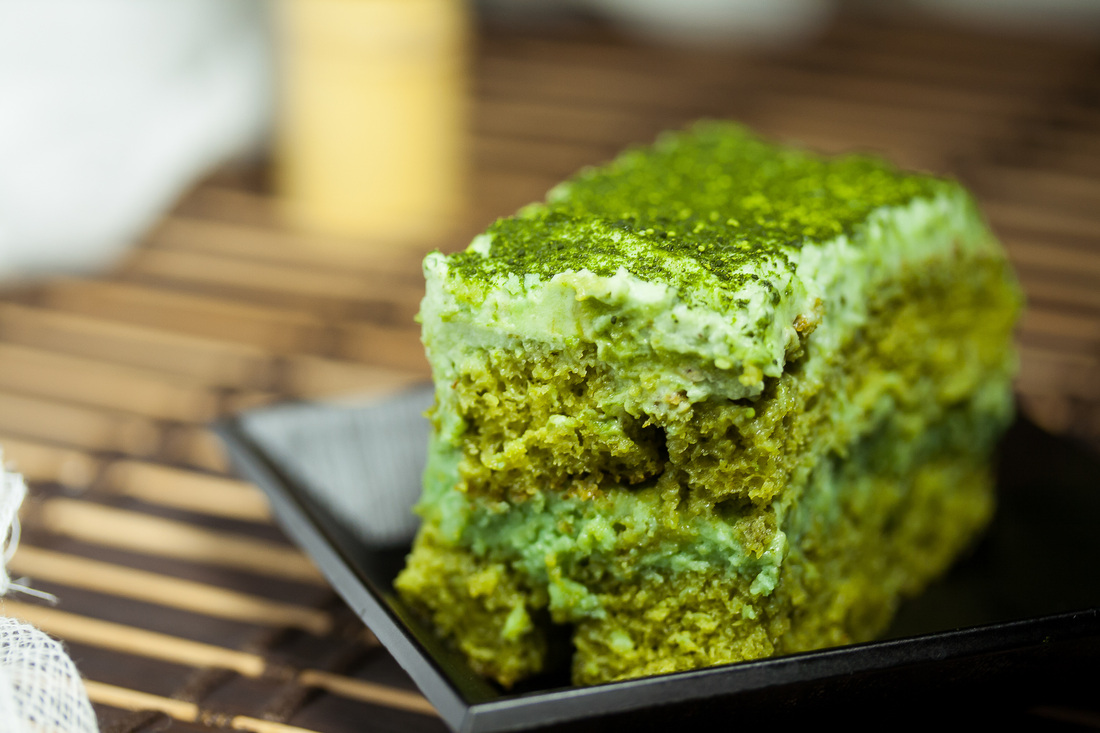
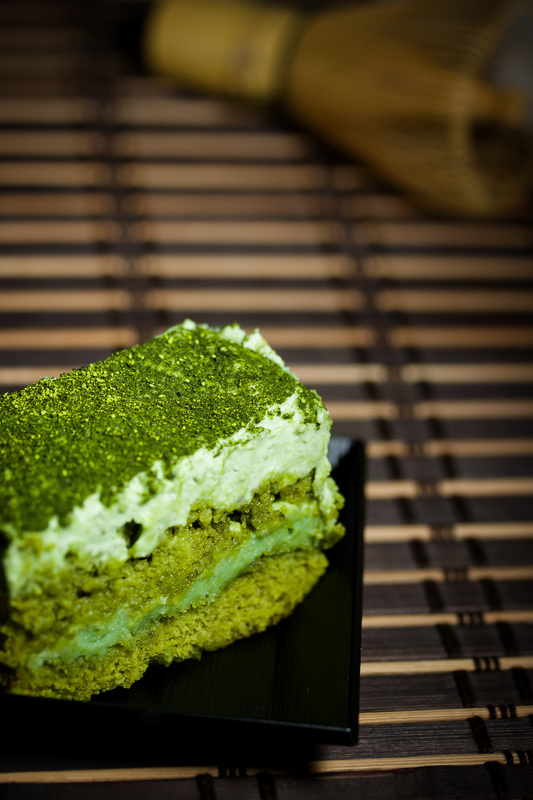
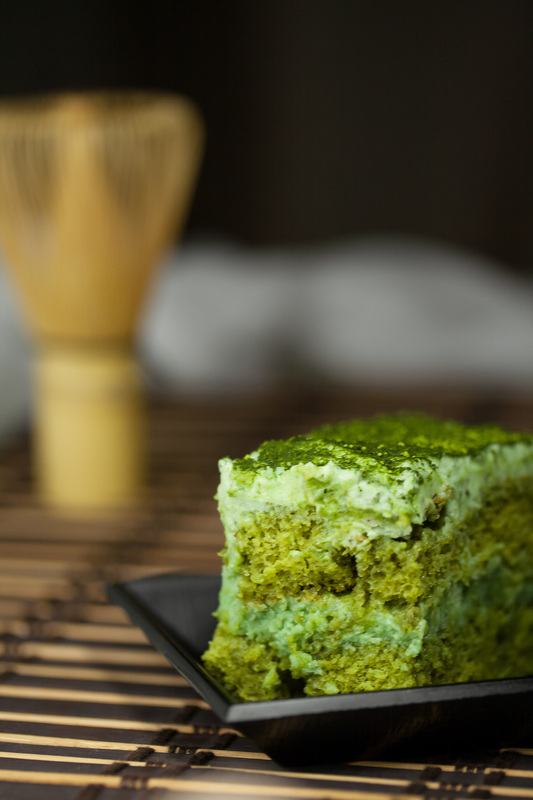
So what better way to use it up than be creating a Matcha Tiramisu? (Read: Matcha Sponge Cake soaked in Matcha Syrup + Matcha Mascarpone Layer + Matcha Dusted on Top)
So what better way to use it up than be creating a Matcha Tiramisu? (Read: Matcha Sponge Cake soaked in Matcha Syrup + Matcha Mascarpone Layer + Matcha Dusted on Top)
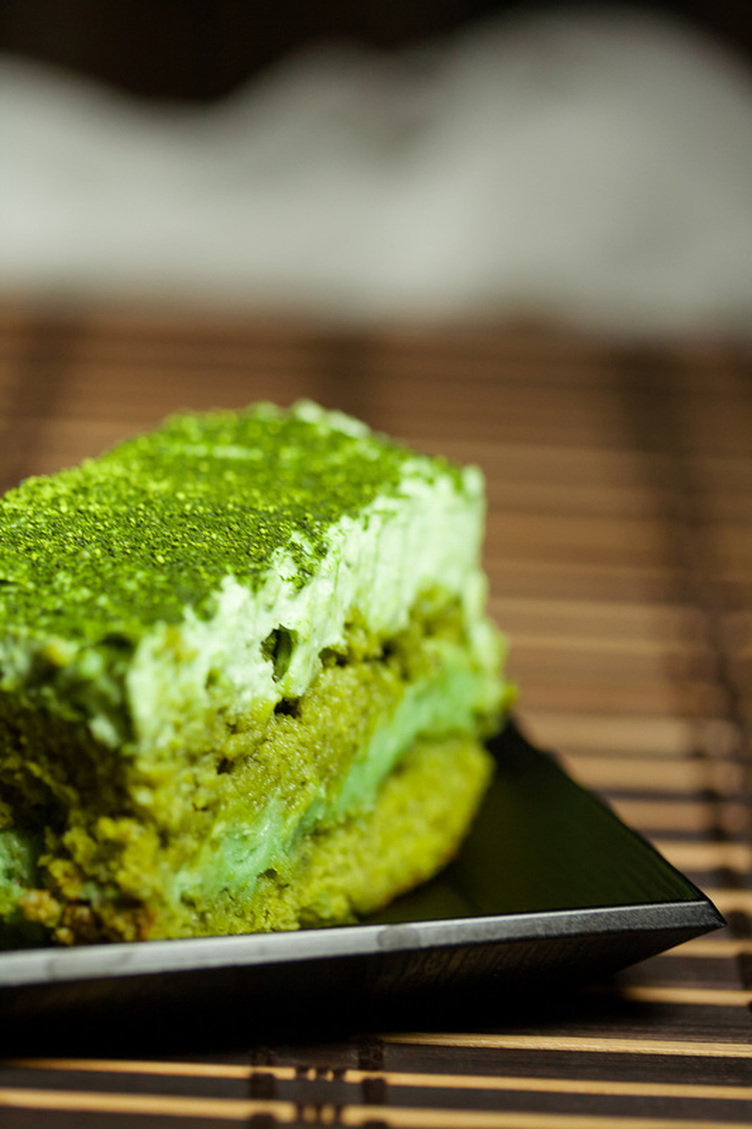

I decided to bake a matcha sponge cake as the weather outside is truly frightful and swinging by Loblaws to acquire ladyfingers isn't really an option I would find pleasure in choosing. The cake came out a bit more crumbly than I had hoped, so perhaps ladyfingers would have been a better option after all (?). During the assembly process, I also realized that I required a substantially larger amount of mascarpone in order to produce distinct layers in the cake.
Those would probably be two aspects I would recommend altering if you are to try to recipe for yourself =)
Those would probably be two aspects I would recommend altering if you are to try to recipe for yourself =)
 |  |
Ingredients
Matcha Sponge Cake (Adapted from Cooking with Japanese Green Tea)
- 2 eggs
- 1/2 cup milk
- 1/2 cup granulated sugar
- 1/2 all-purpose flour*
- 1 tbsp Uji matcha*
- 1 tbsp Izu matcha*
Matcha Mascarpone Cheese Mixture
- 300 g mascarpone cheese*
- 1-2 tbsp Uji matcha*
- 1/3 cup granulated sugar
- 1 drop of blue-green food colouring (if desired)*
Matcha Syrup
- 2 tbsp uji matcha
- 1 chunk of yellow lump rock sugar
- 1 cup of water
Directions:
The cake will be prepared in four steps:
i) Sponge Cake
ii) Mascarpone Mixure
iii) Syrup
iv) Assembly
Part i: Sponge Cake
1) Preheat oven to 355 F.
2) Separate the eggs, placing the yolks in a large bowl and the whites in a medium-sized bowl. Beat the egg whites until stiff peaks form. Then beat the egg yolks slightly; they should become paler in colour, but yet to reach a ribbon-like consistency.
2) Sift in sugar and matcha and mix well.
3) Sift in the flour and add in the milk. Combine again.
4) Gently fold in the meringue, adding in one third of the mixture to the batter at a time.
5) Pour into a greased loaf pan and bake for 15 minutes. Remove the cake and cover the top with aluminum foil if it begins to dry out.
6) Lower the temperature to 325 F and bake for another 5-7 minutes.
7) Remove from the pan and let cool.
Part ii: Mascarpone Mixture
1) Combine sugar and mascarpone, and mix until well combined.
2) Sift in matcha powder and mix again.
3) If desired, add in a drop of food colouring to enhance the colour of the mixture.
4) Cover and set aside in the refrigerator.
Part iii: Matcha Syrup
1) Place the lump sugar and matcha in a saucepan. Fill with water and heat until completely dissolved.
2) Let cool and set aside in the refrigerator until chilled.
3) Alternatively, the syrup can be made by adding hot water to the lump sugar and matcha in a microwaveable bowl and mixing until fully dissolved.
Part iv: Assembly
1) Cut sponge cake until an even number of slices, each roughly 3/4 inch in thickness. Further halve each slice to create strips of cake.
2) Saturate each strip with the matcha syrup and line the bottom of a shallow dish using half of the strips. Smooth half of the mascarpone mixture on top. Continue this process with the rest of the sponge cake strips and mascarpone.
Dust the top with a thin layer of matcha powder.*
3) Chill until ready to serve.
Notes
- Feel free to use any type of all purpose flour (white, enriched, etc.) except whole wheat; the wheaty bits will be difficult to seamlessly incorporate into the batter, thus weighing the cake down.
- For this cake, I have utilized two different grades of matcha: Uji (from Japan) and Izu (from China). These are the types of matcha that I currently have on hand, however, it is not imperative to use two different varieties in this recipe. Feel free to substitute with whatever grade of matcha you are able to find.
Also, feel free to add more (or less) matcha for a stronger/more subtle taste. I personally prefer a stronger taste, which is why I added a little over one tablespoon of each type.
- I used mascarpone from Silani, but again, feel free to choose whichever brand you desire to work with.
- To enhance the colour of the mascarpone cheese mixture, I added a hint of blue food colouring. However, I would advise adding a little less than this amount (or skipping the step altogether) as the resulting hue appeared a tad too artificial for my liking.
- It is up to your discretion to dust the top of the tiramisu with matcha powder prior to refrigerating or prior to serving.
 RSS Feed