Random Thoughts of a Quirky Blogger
  • ~ Home ~
  • ~ What I Think ~
  • ~ What I See ~
    • Events
    • Food
    • People
    • Places
  • ~ What I Make ~
  • Blog Series
  • Terms and Conditions
  • Disclaimer

Yuzu Plum Iced Tea

4/20/2017

0 Comments

 
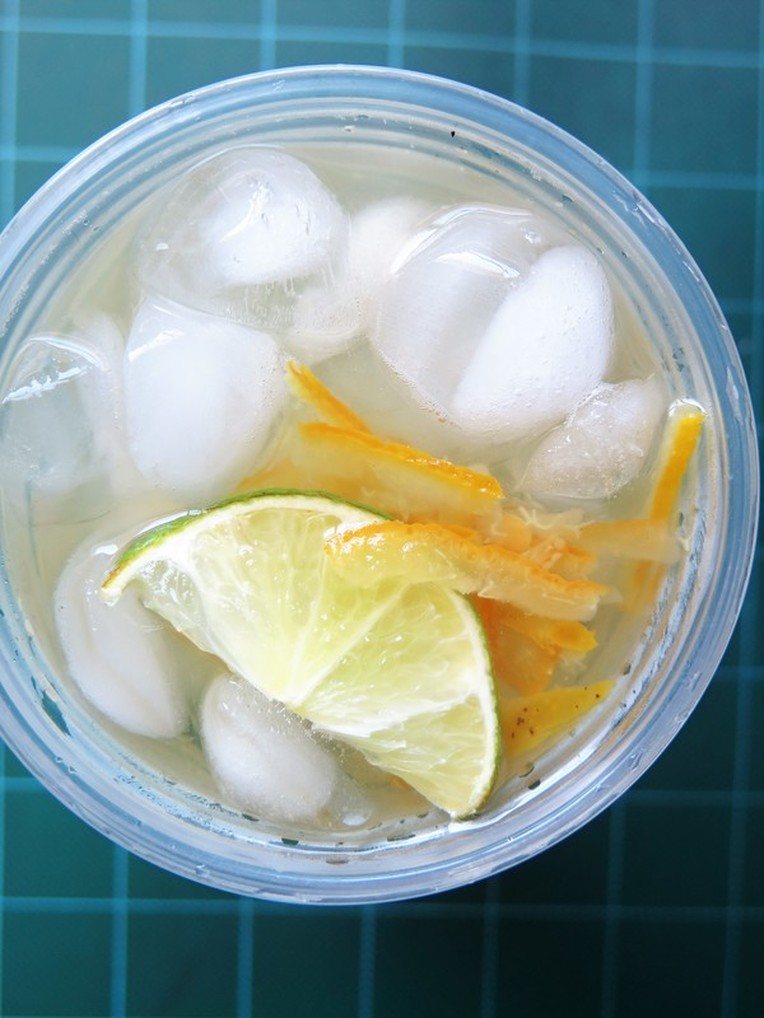
Frigid winter temperatures mean steamy, spicy sips, but spring calls for refreshing glasses of fruity iced teas.

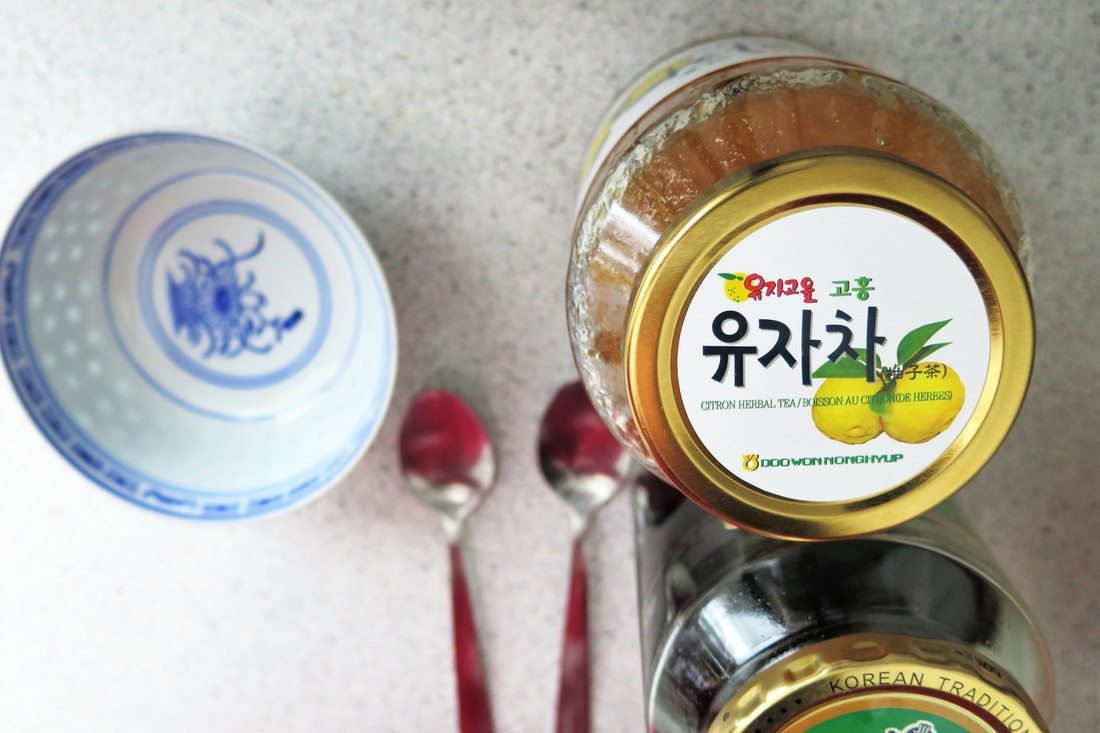
Mixing yuzu, also known as Honey Citron, and Korean sour plum (매실) with cold green tea has been a consistent favourite as of late. It transitions well from the season of showers to the summer months, and can even be transformed into a slushie for added cooling relief.

Once again, I've attempted to illustrate the steps in video format (sans music for the sake of maintaining my copyright strike profile clean). As the video recipe is text-less, please refer to the ingredient list below for approximate proportions.
Picture
Picture
Ingredients
​
- 1 lime wedge
- 1/2 cup ice
- 1-2 tsp yuzu/honey citron tea
- 2 tsp sour plum concentrate
- 1/3 cup hot water
- 2/3 cup green tea, chilled *​

Directions:

0) Brew preferred variety of green tea, then let cool and refrigerate for at least four hours.
1) Place lime wedge and ice cubes in a cup. Puncture lime wedge to release juices.
2) Pour chilled green tea over the lime wedge and ice cubes until cup is one third full.
3) Dissolve yuzu and sour plum concentrate in hot water. Pour over tea.
4) Fill the remainder of the cup with green tea. Stir to combine well.
5) Serve and enjoy!​

Notes
- For this recipe, I have opted to use DAVIDsTEA's Organic Sweet Almond Green, a floral green tea with strong almond influence. However, feel free to use your desired tea variety. (This recipe could also be crafted with a bergamot-based black tea, though I have yet to experiment with this combination.)
- Based on personal preferences, a 1:1 ratio of yuzu and sour plum have been found to yield the most pleasing results. Should one deduce the need to increase either of these proportions, please feel free to do so, as this recipe is merely a guideline.
- For those adhering to a vegan diet, I would suggest double-checking the labels of the Honey Citron Tea and Sour Plum Concentrate, though chances of animal interference are low.
0 Comments

Fluffy Matcha Pancakes

4/12/2017

2 Comments

 
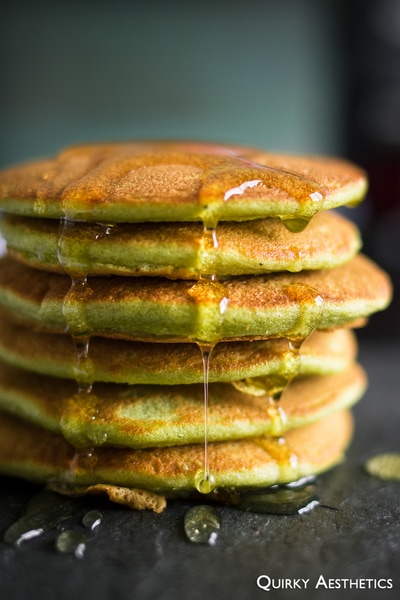
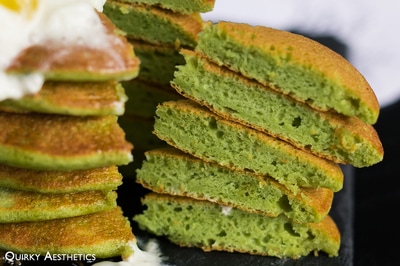
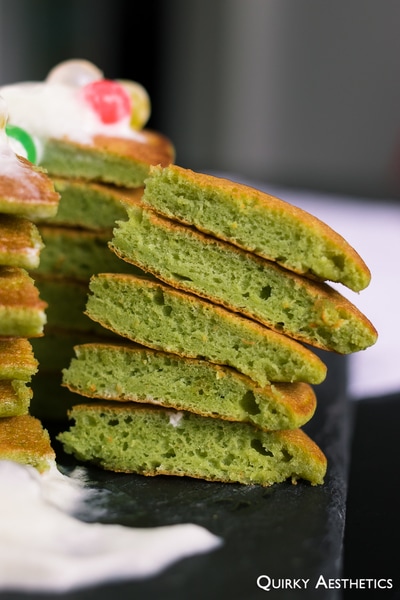
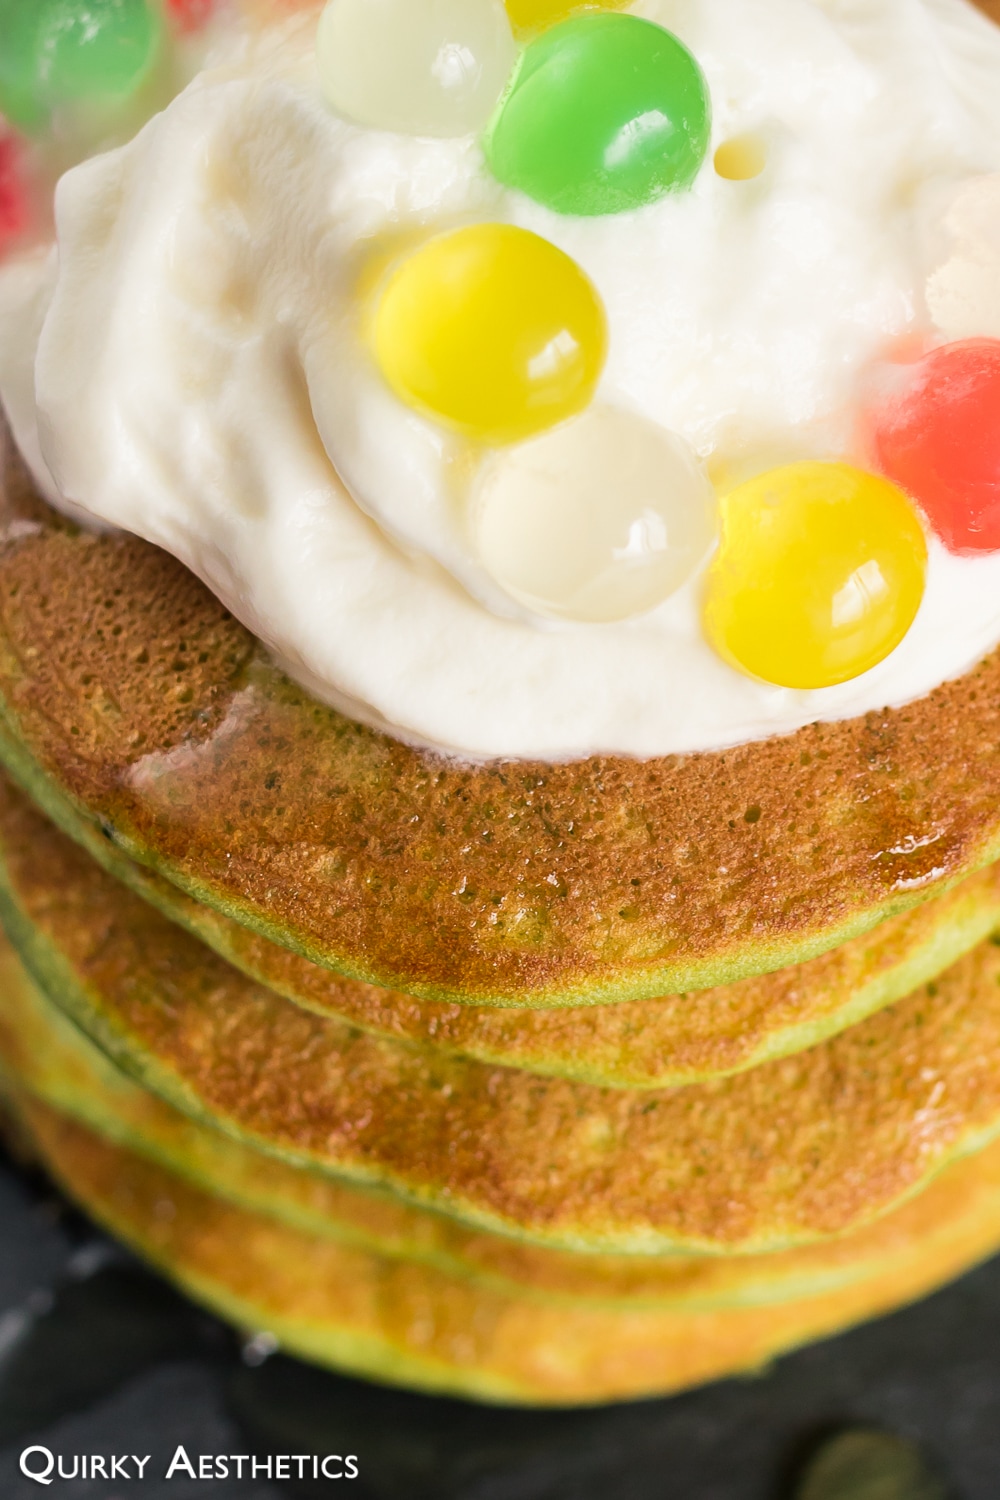
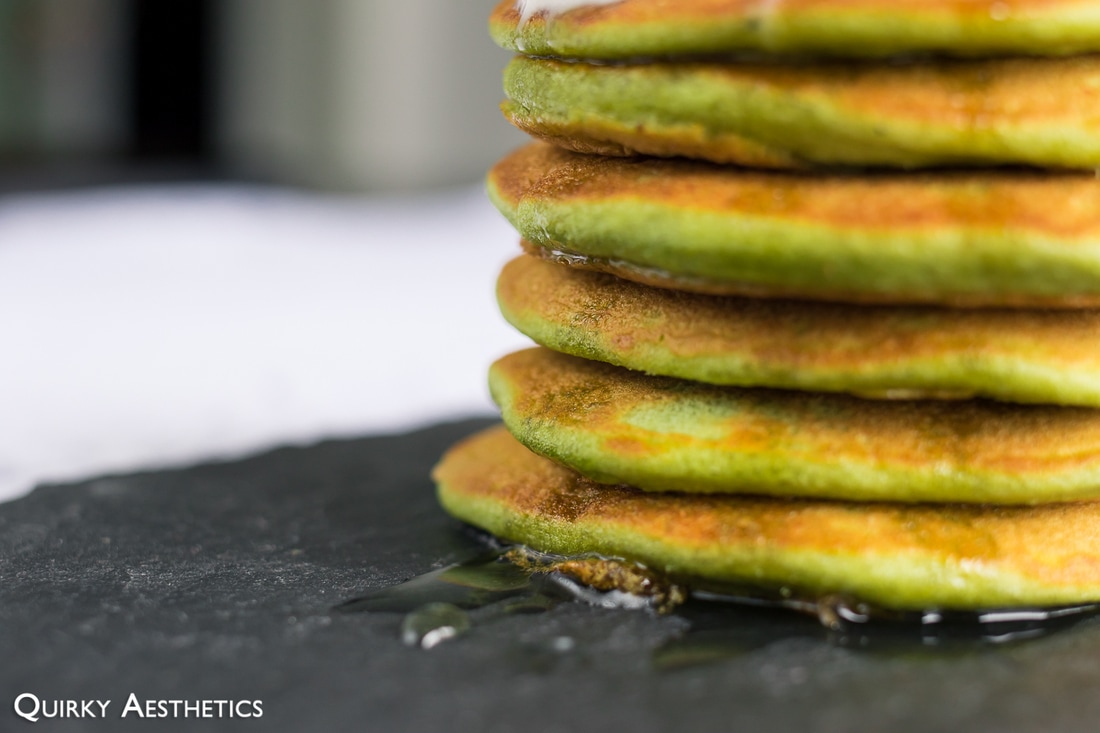
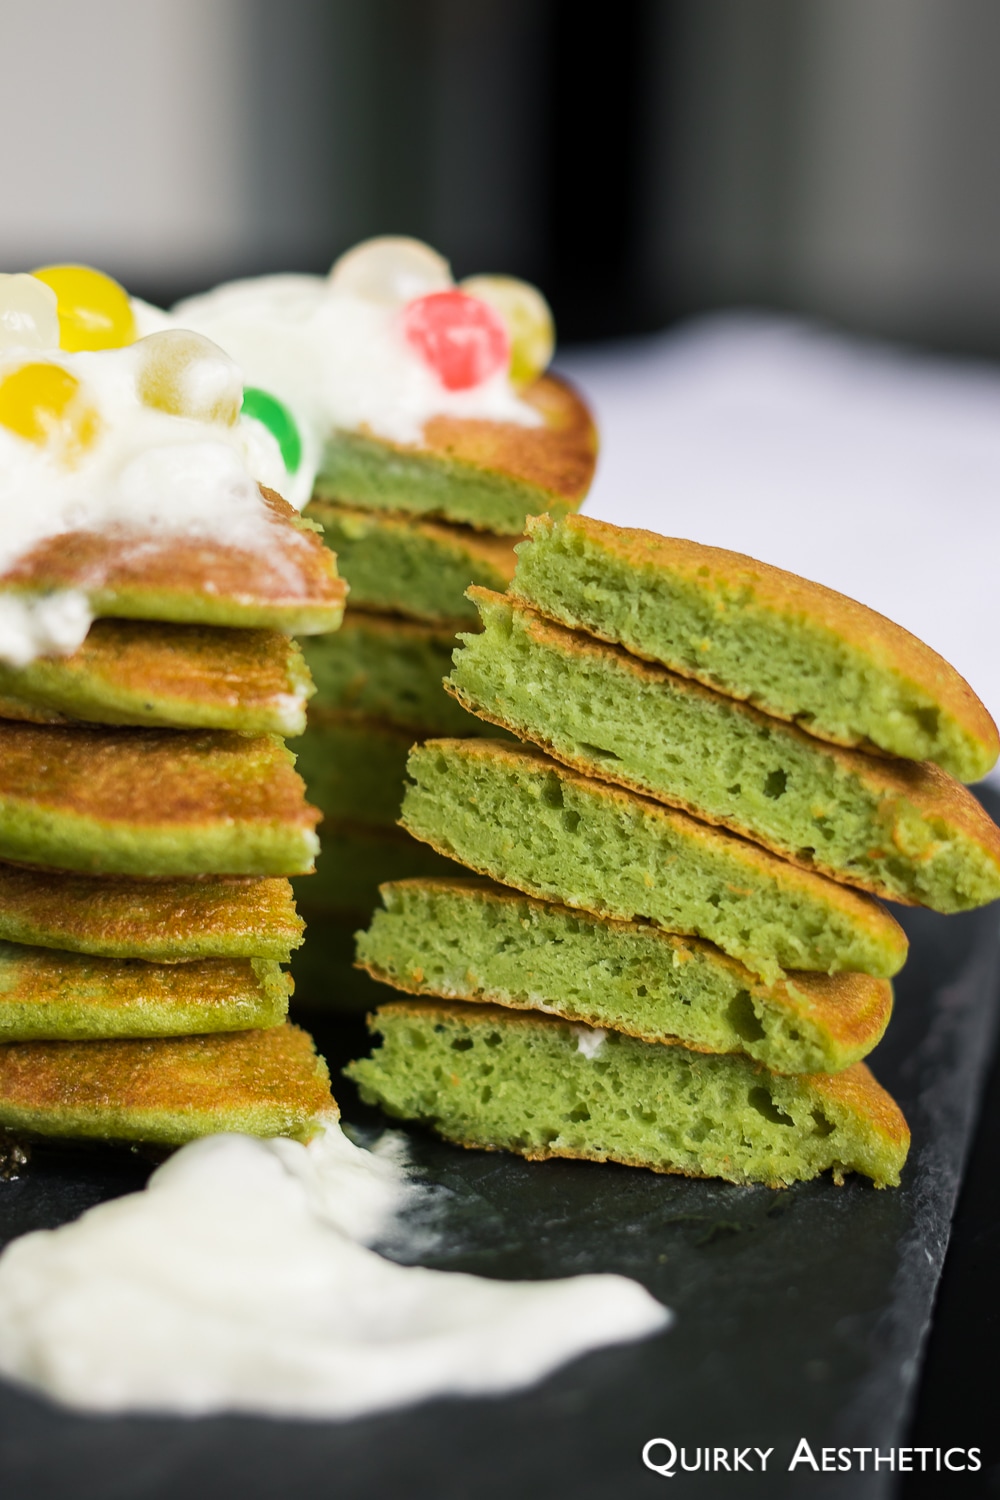
After a previous failed attempt, courtesy of SteepedTea's horrendous mutant-green substance that could never possibly earn the title of "matcha", I decided to stick with a tried-and-true recipe (thanks honeykki!) and my go-to Ceremonial Matcha.

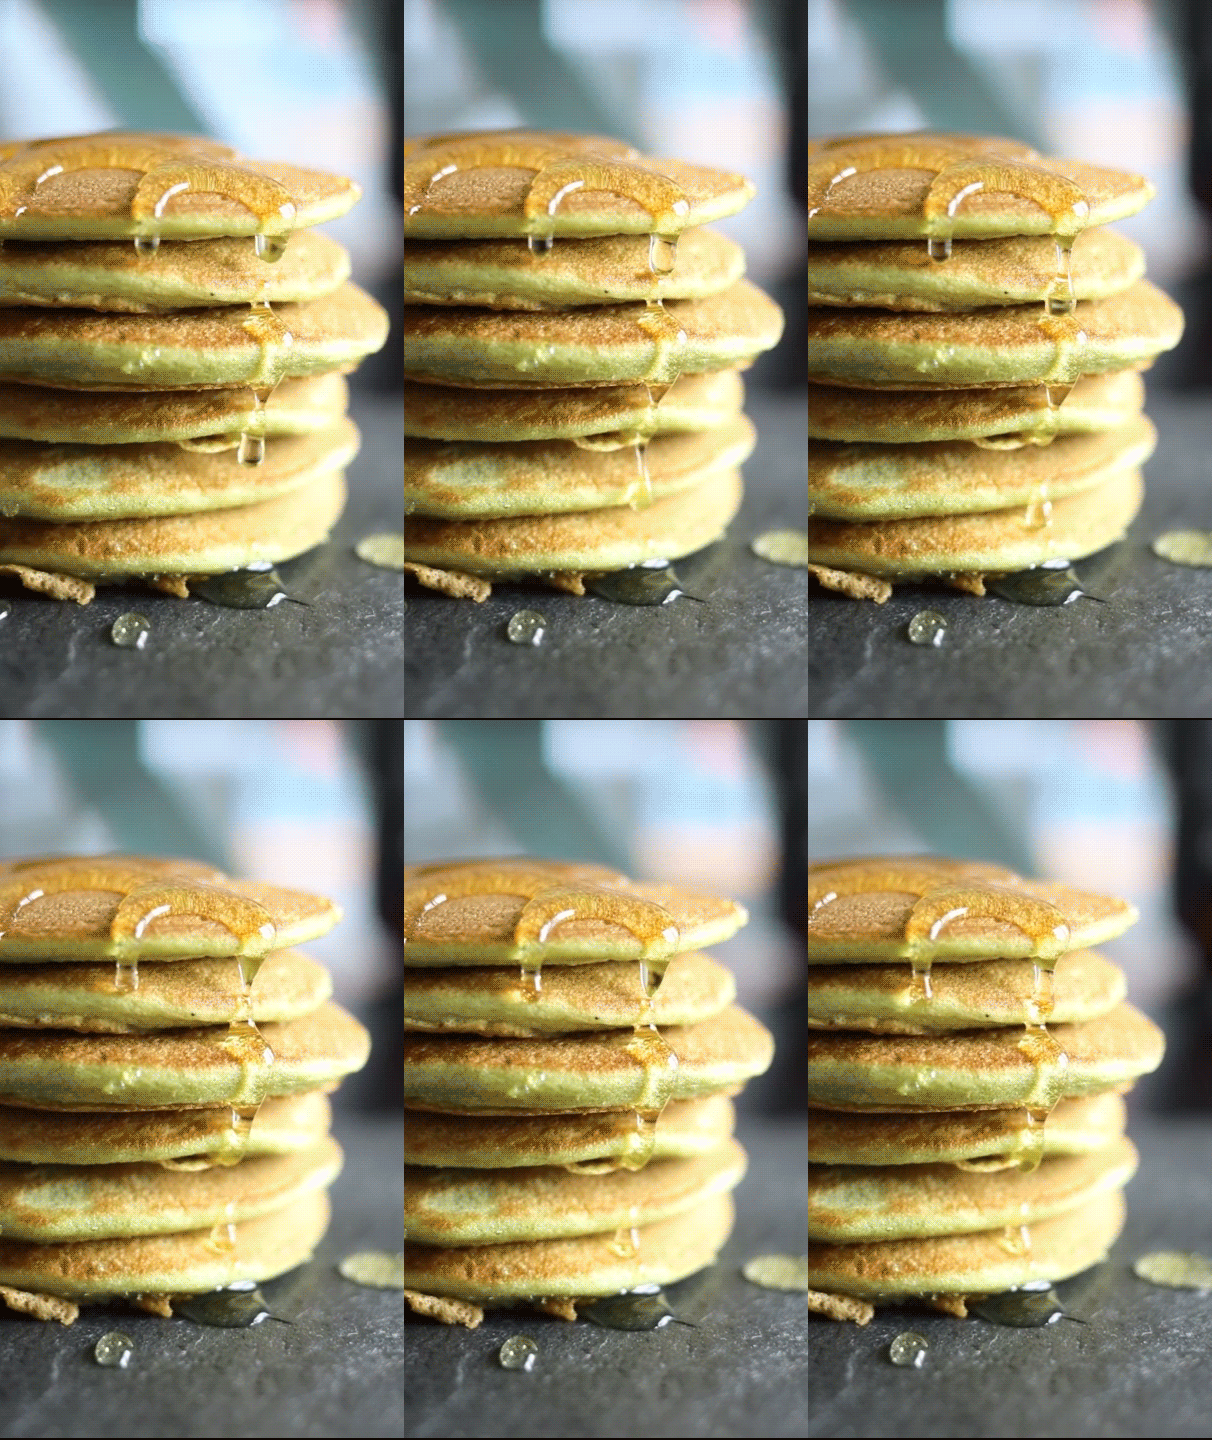
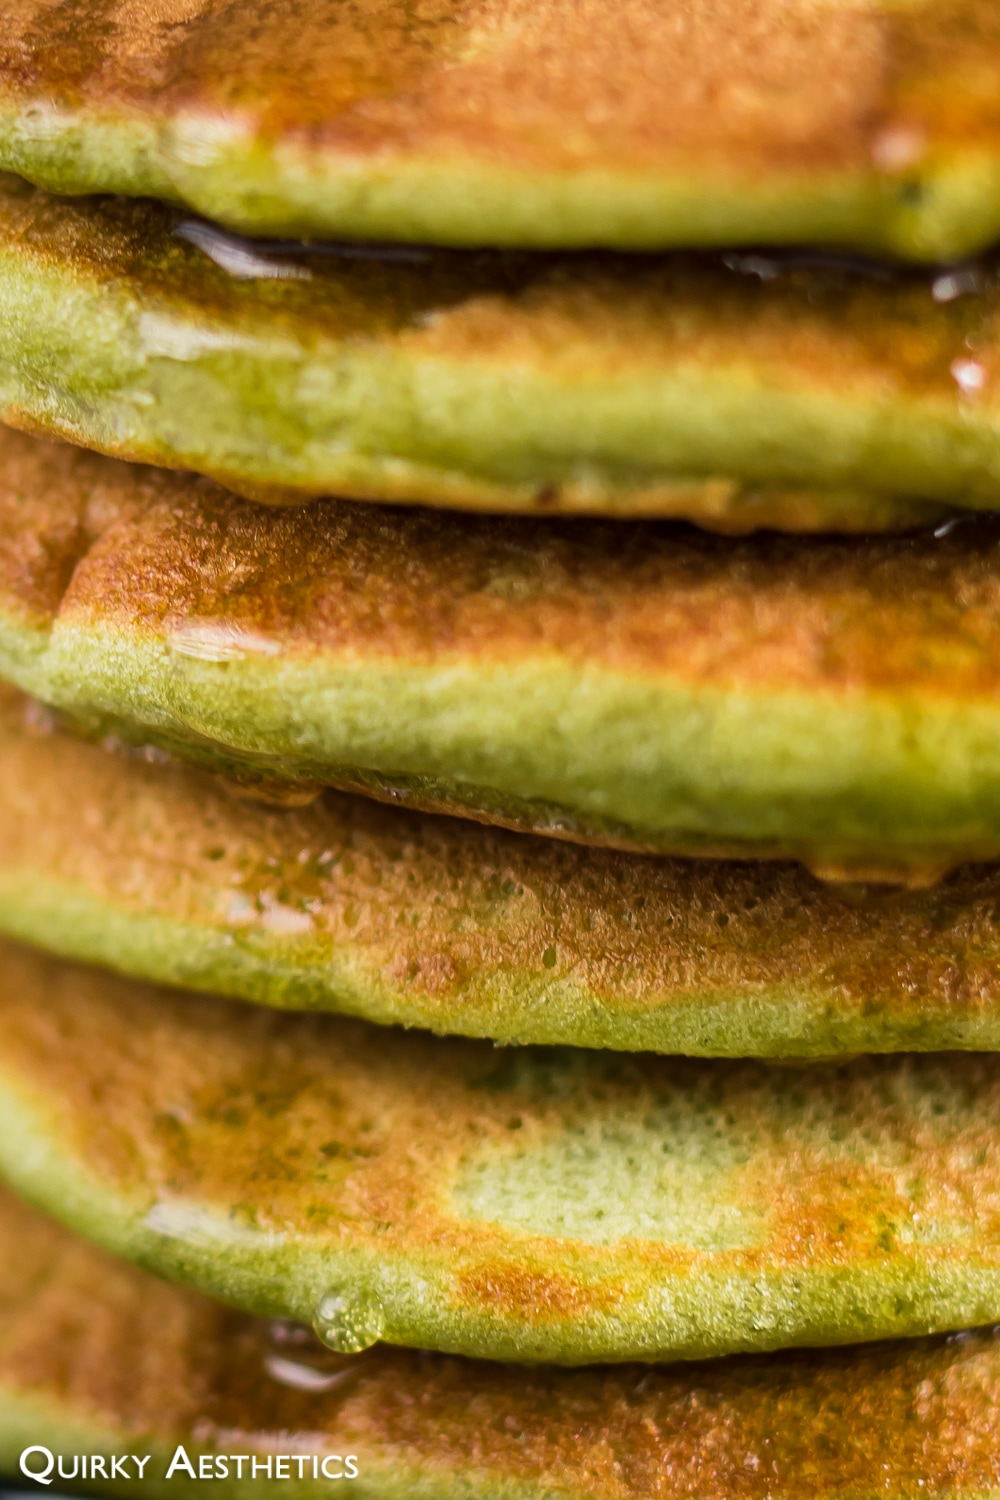
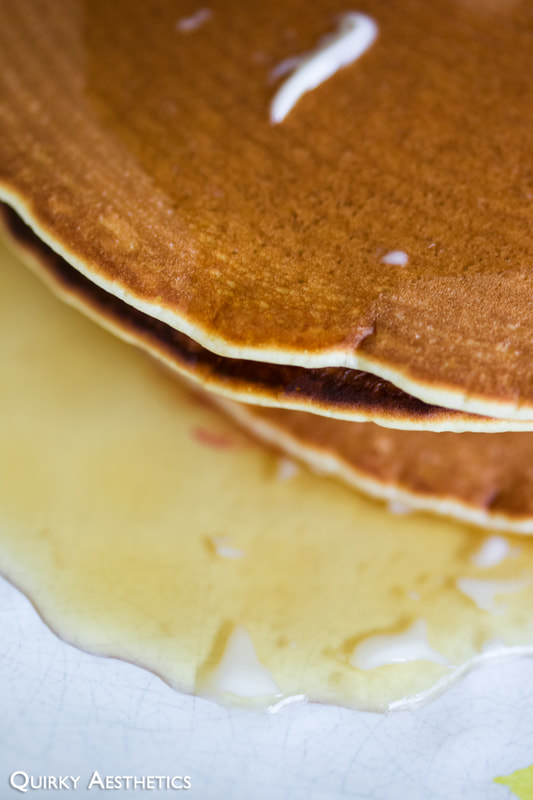
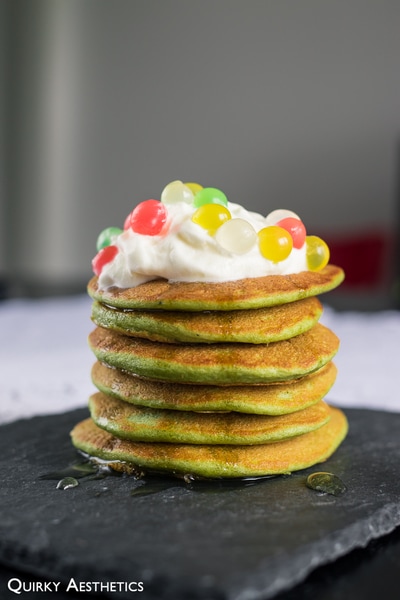
The result wasn't exactly soufflé-like, but definitely fluffy enough for my liking. Behold the final result!
Picture
Picture
Picture
Picture
Picture
Picture
Picture
Picture
Ingredients
(Recipe inspired by and adapted from honeykki)
​

- 3 egg whites
- 1 egg yolk
- 75 g granulated sugar
- 150 g all-purpose flour
- 160 ml milk
- 1 tsp baking powder
- 1 - 2 tsp matcha powder
- 1 tsp vanilla extract
- vegetable oil
- whipped cream + syrup (opt.)

Directions:

1) Whisk egg yolk and 2 tbsp (25 g) of sugar in a large bowl. Continue to combine until well incorporated and the mixture is slightly sticky and capable of forming thin ribbons.
2) Sift in flour, matcha powder, and baking soda. Mix gently.
3) Add in milk, 1 tbsp vegetable oil, and vanilla. Combine well.
4) Beat egg whites until glossy, stiff peaks form, adding 4 tbsp (50 g) of granulated sugar to the mix in three stages.
5) Gently combine the meringue into the batter in two to three additions, spooning and cutting through with a spatula.
6) Grease and heat a shallow pan over medium heat. Once the oil becomes less viscous, reduce to low-medium heat.
7) Ladle batter into the pan to form mounds approximately three to  four inches in diameter. Let cook for 2 minutes, or until evenly browned, before gently flipping over. There will be a greater number of bubbles travelling to the surface as opposed to regular pancakes; fear not, as this will simply add to the fluffiness factor.
8) Allow the reverse side to cook for 1-2 minutes. It should be able to be removed from the pan with ease.
9) Grease the pan again and continue this process until no batter remains. As the pan becomes increasingly warm, adjust the temperature of the heat accordingly to prevent burning.
10) Let cool and top with syrup, whipped cream, and/or toppings of choice.
11) Serve and enjoy!

Notes
- honeykki's original recipe utilized two eggs, separated, and 100 g of sugar; I've altered these measurements as I wished to achieve a pancake that was more airy than sweet. Unit conversions were conducted to ensure that the correct metric units were being used.
- 75 g of granulated sugar yielded a sufficiently sweet pancake for my liking, and actually nixed the need for any additional syrup. Feel free to adjust this amount according to your preference and desired topping choices.
- Greasing the pan is crucial to prevent the pancakes from losing air and shape. Those using non-stick pans may skip this step.​
2 Comments

Curry Japchae

4/1/2017

0 Comments

 
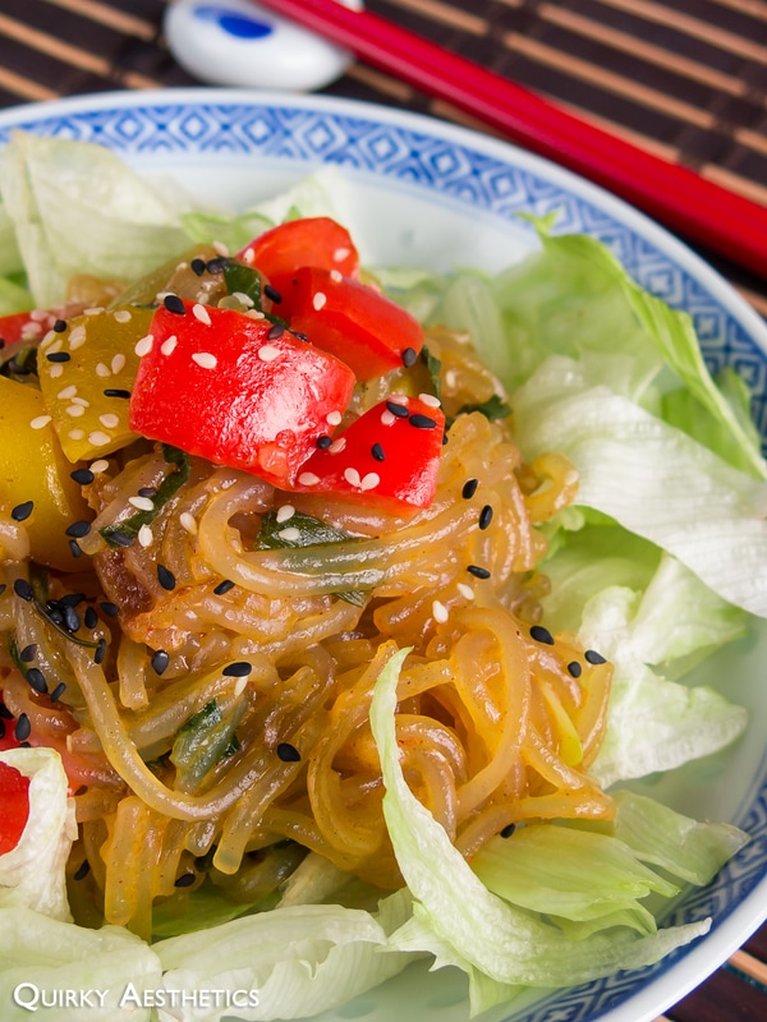
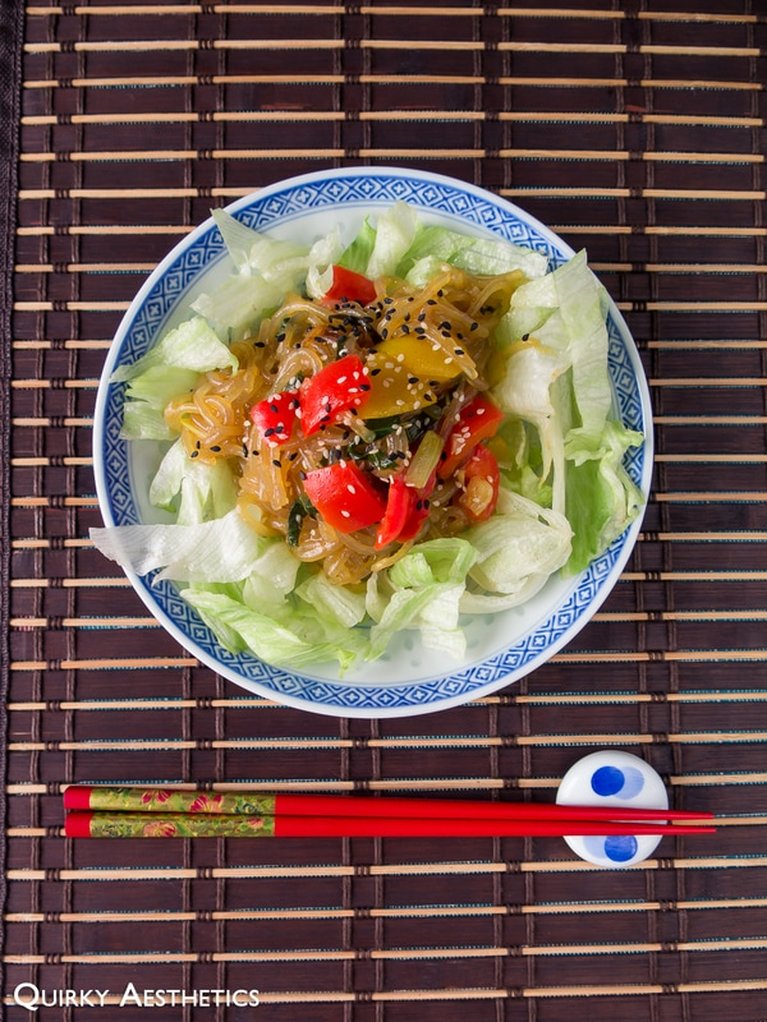
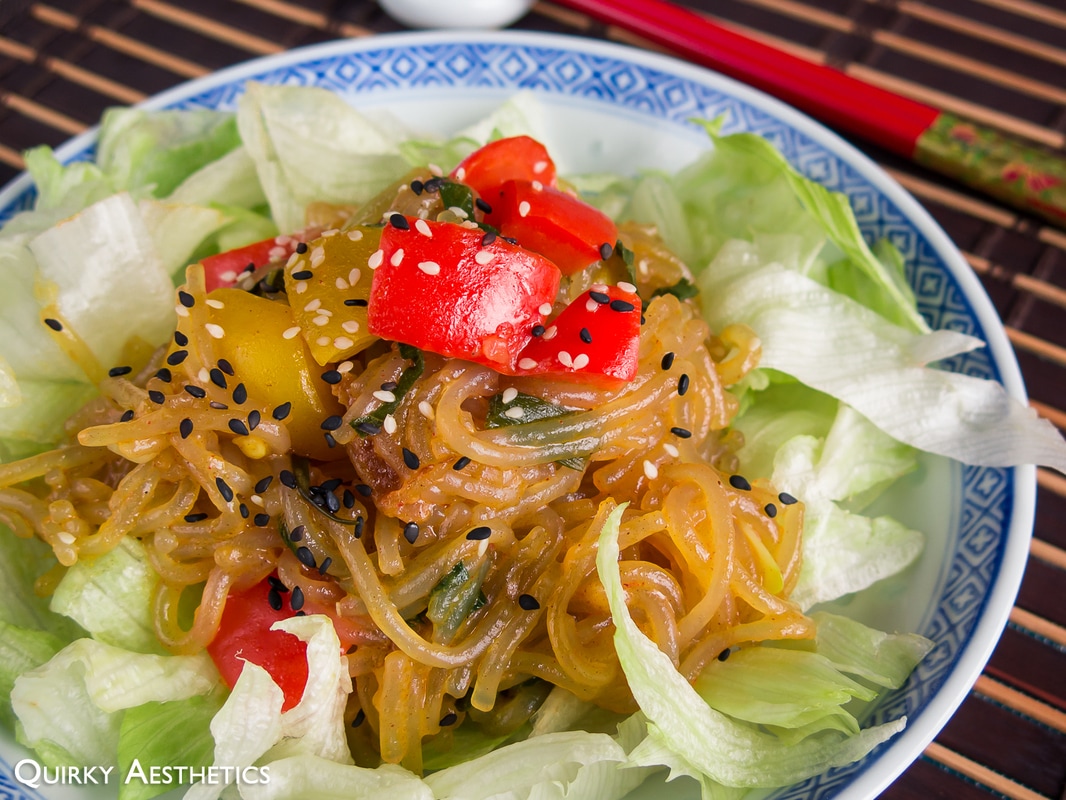
The box of curry on our countertop has been beckoning for my attention for some time now. With some unattractive leftovers in the fridge and an enormous bag of unopened japchae noodes peeking out from behind, I set to work combining the two to create a predominantly Korean-inspired dish with an injection of Japanese-style yellow curry.
Picture
Picture
Picture
Ingredients

Japchae
- 1 bunch japchae (sweet potato) noodles
- 2 bell peppers, roughly diced
- 1 onion, chopped
- 1 shallot, chopped
- 1 small knob ginger
- 4 perilla leaves, thinly sliced
- 1/3 cup vegetable oil
- 2 tbsp sesame oil
- sesame seeds (opt.)

Sauce
- 1 quarter block Golden Curry mild curry roux *
- 2 tbsp bulgogi sauce
- 1-2 tbsp kimchi base sauce
- 1 tbsp cane syrup *
- 1 tbsp light soy sauce
- 1 tbsp whipped peanut butter
- 1 tsp rice wine vinegar
- 1 tsp cornstarch (opt.)
​
Directions:

1) Bring a pot of water to a roaring boil. Add in japchae noodles and mix quickly. Remove and rinse with cold water before it softens. (See note.) Set aside.
2) Blanch the diced peppers until partially cooked. The colours will become a tad more vibrant, but shouldn't be able to be easily pierced by a fork. Rise with cold water and set aside.
3) In a medium bowl, dissolve the curry block with a small amount of hot water. Add in all sauce ingredients and mix well. Set aside.
4) Heat vegetable oil in a large pot. Over high heat, stir fry chopped onion, shallot, and ginger until fragrant and slightly golden.
5) Add in japchae and peppers, stirring to make sure that nothing adheres to the bottom of the pot.
6) Quickly add in the sauce mixture and toss to coat the japchae evenly. Feel free to add water at this stage to make the mixing process easier.
7) Add in sesame oil and any other sauce modifications if desired. Add perilla leaves.
8) Reduce heat to medium and continue stirring until sauce thickens. If too much water was added during the previous steps, mix cornstarch with a small amount of water and add it into the pot.
9) Remove from heat once sauce has thickened.
10) Let cool and top with sesame seeds (if desired).
11) Serve and enjoy!

Notes
- Admittedly, I overcooked the japchae noodles, causing the strands to disintegrate and adopt a mushy texture once the sauce was mixed in. As such, I would advise cooking the noodles only briefly, or simply rinsing them once before stir-frying.
- Rice wine vinegar is an optional ingredient, however I find that the tartness helps to balance the creamness of the peanut butter and curry roux. If available, fresh lime juice would be an even better alternative.
- Feel free to substitute cane syrup with sugar or honey.
- This recipe is versatile and can be altered based on one's dining preferences. Bits of ham or sausage can be added to the pot for a source of protein. It can also be made vegan with curry roux that is free of animal byproucts - Golden Curry contains "edible oil and fat" (derived from unspecified sources).
- While japchae noodles themselves are gluten-free, please be aware that the curry roux used in this recipe contains wheat.
- I used a mild curry block for this recipe, however feel free to adjust the spiciness to your liking.

0 Comments
    The Sweet
    The Savoury

    Archives

    July 2020
    March 2020
    January 2020
    April 2019
    August 2018
    June 2018
    April 2018
    February 2018
    December 2017
    November 2017
    August 2017
    July 2017
    May 2017
    April 2017
    February 2017
    January 2017
    December 2016
    April 2016
    March 2016
    October 2015
    September 2015
    July 2015
    January 2015
    December 2014
    June 2014
    March 2014
    February 2014
    January 2014
    December 2013
    November 2013
    October 2013
    September 2013
    August 2013


    Categories

    All
    Brownie
    Chocolate
    Christmas Recipes
    Easy Recipes
    Gluten Free
    High Fibre
    High Potassium
    High Protein
    Ice Cream
    Japanese Style
    Low Carb
    Low Cholestrol
    Low Fat
    Low Sodium
    Matcha
    Microwave Recipe
    Quick Recipes
    Savoury Recipes
    Sweet Recipes
    Vegan
    Vegetarian
    Yuzu


    RSS Feed

WHAT DOES "QUIRKY AESTHETICS" MEAN?

Quirky =  a term that commonly refers to something/someone distinctly different and unique
Aesthetics = the visual aspect of things


Together, Quirky Aesthetics refers to the things, events, and happenings seen and perceived by this blog's creator - quirky perspectives in a visual form.

Contact ME

​Subscribe

Join our mailing list today!
Join Now
© Quirky Aesthetics. All rights reserved. Last modified: August 10, 2015.