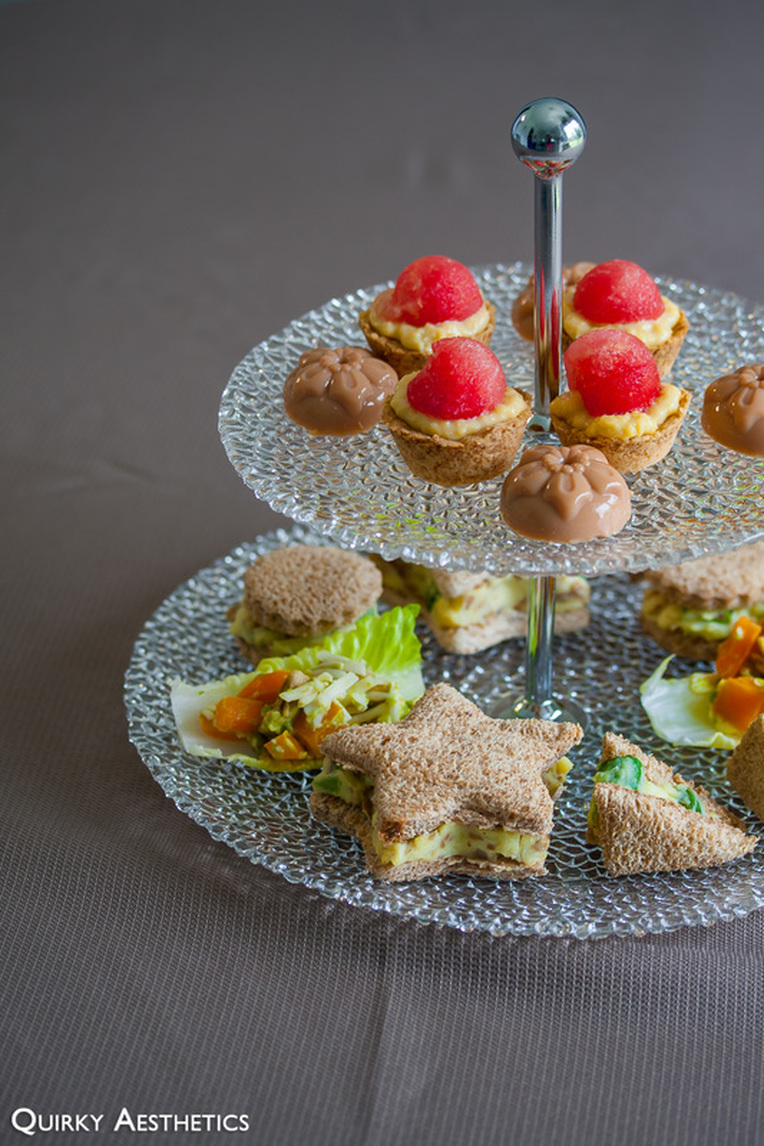
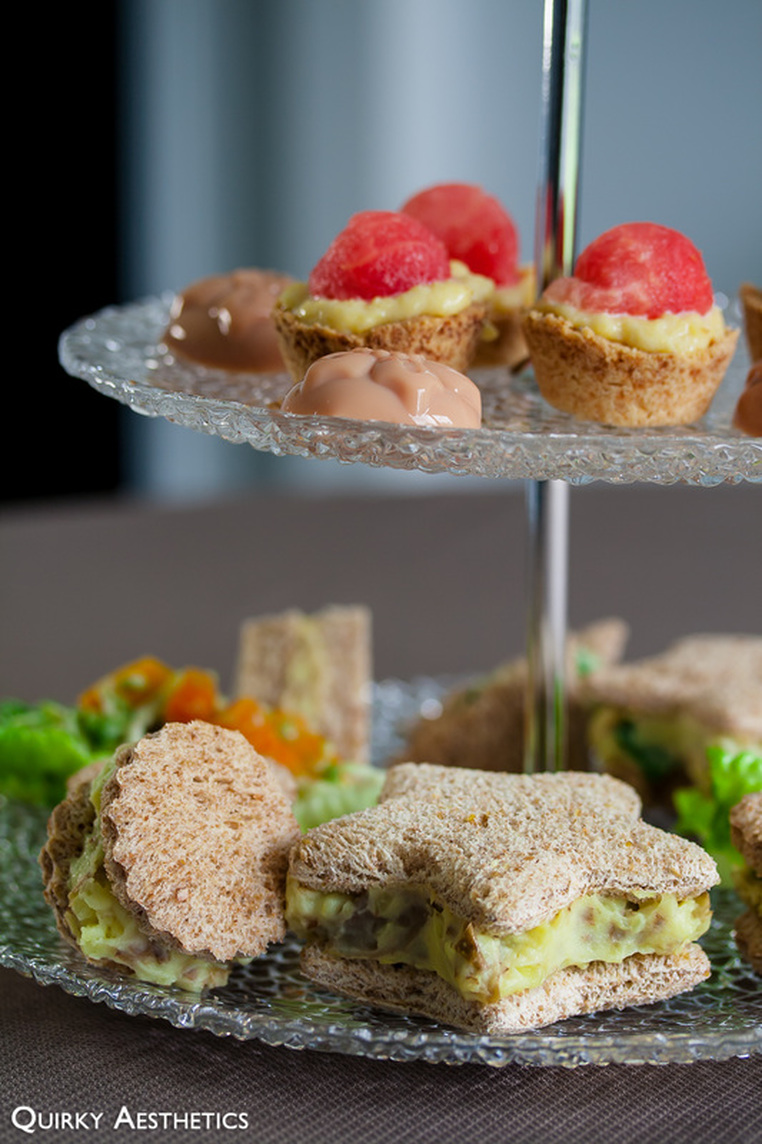
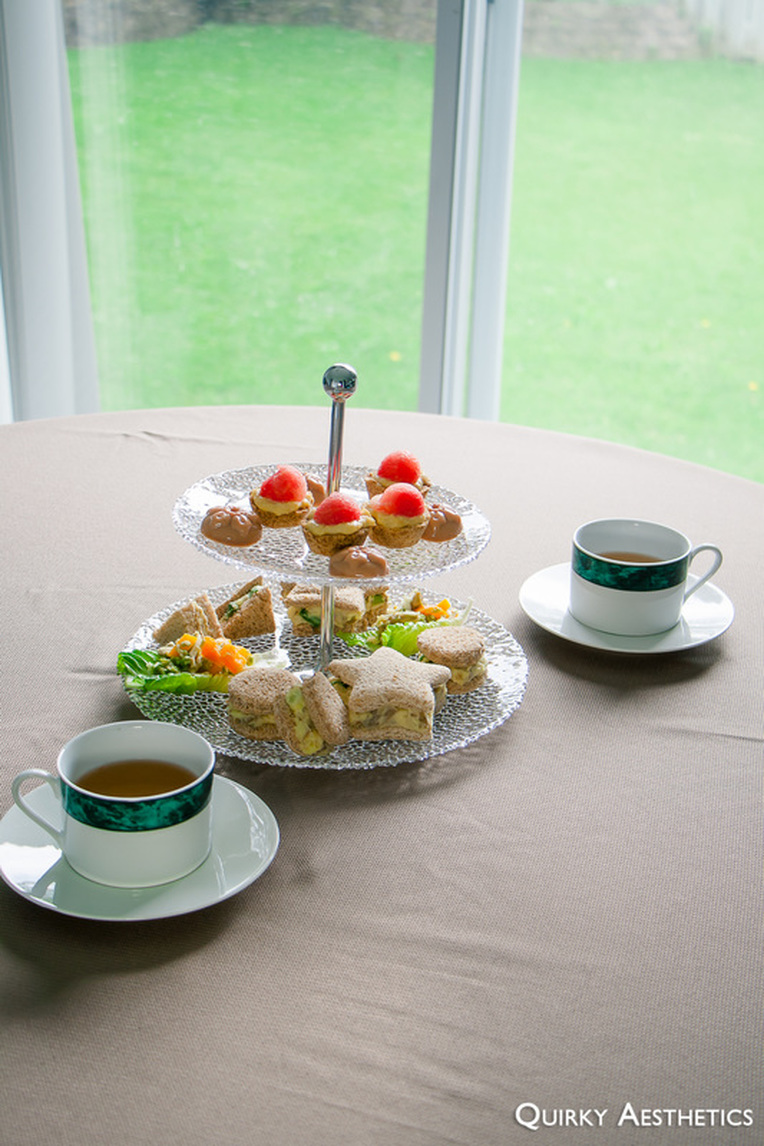
I've been coveting an afternoon tea set (sometimes called a "high tea set" if it consists of three tiers) for what's seemed like years.
There's just something about the tiers and overall design of the food presentation apparatus that enhances the visual appeal of the items placed on it. Needless to say, I got to work creating a few items to photograph on the set as soon as I possibly could. (It was also incredibly hot outside, making it an unseemly decision to shoot Ribfest happenings.)
Confession: an authentic afternoon tea set should consist of a greater variety of food items, though the level of difficulty to craft delicate finger sandwiches and dainty English-style desserts wasn't apprehended until midway through the cooking process. From this, I would highly recommend planning the sequence in which the items are made and suggest to prepare desserts in advance.
Ingredients
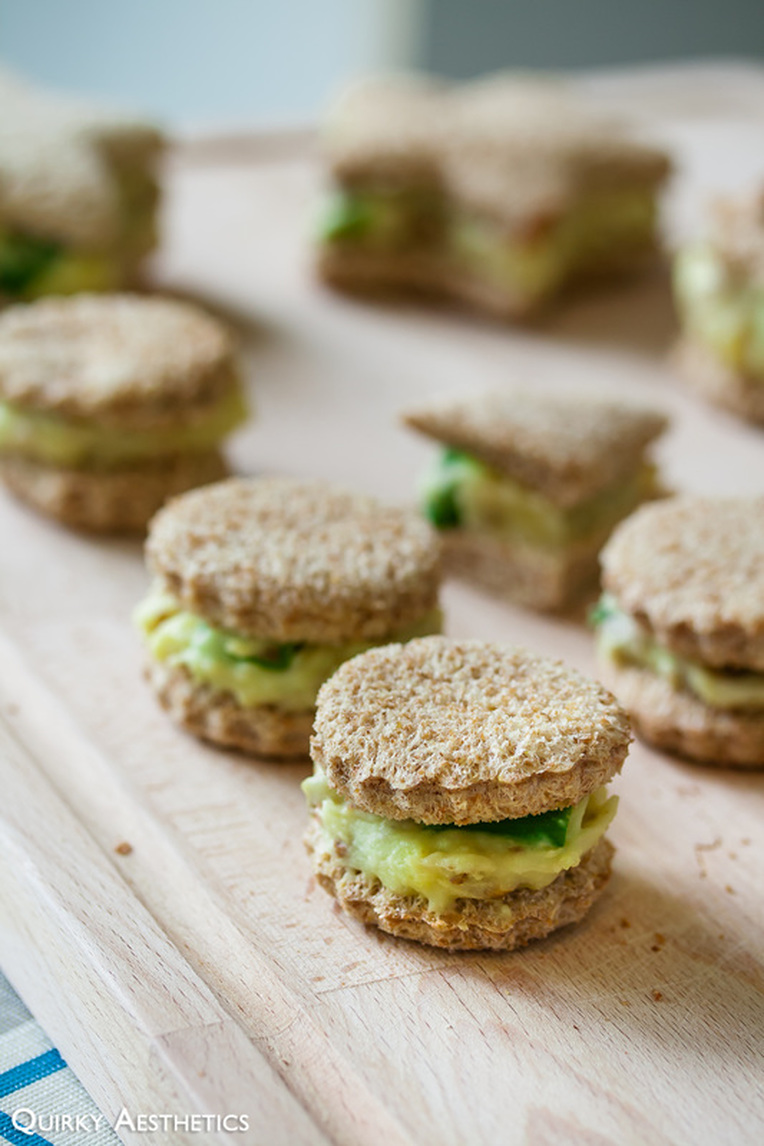
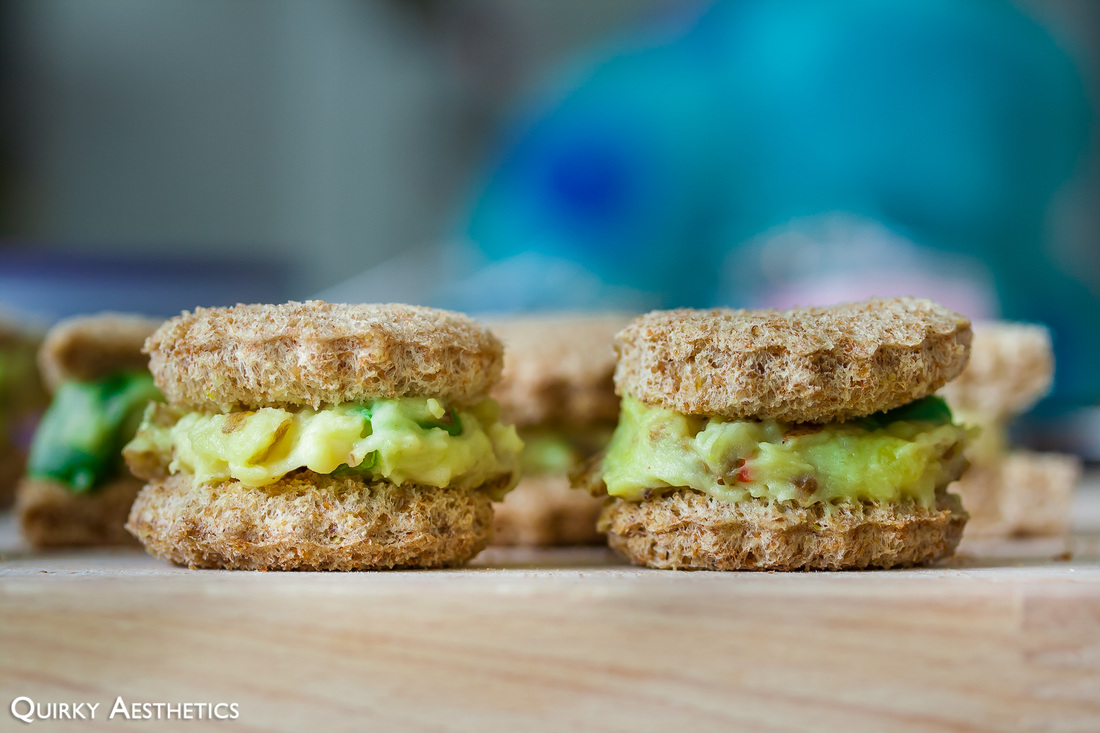
Finger Sandwiches
- 3-4 slices of whole wheat bread*
- 1 cup baby potatoes, mashed and chilled
- 1 stalk green onion
- 1 tbsp wasabi*
- 2 tbsp half & half cream
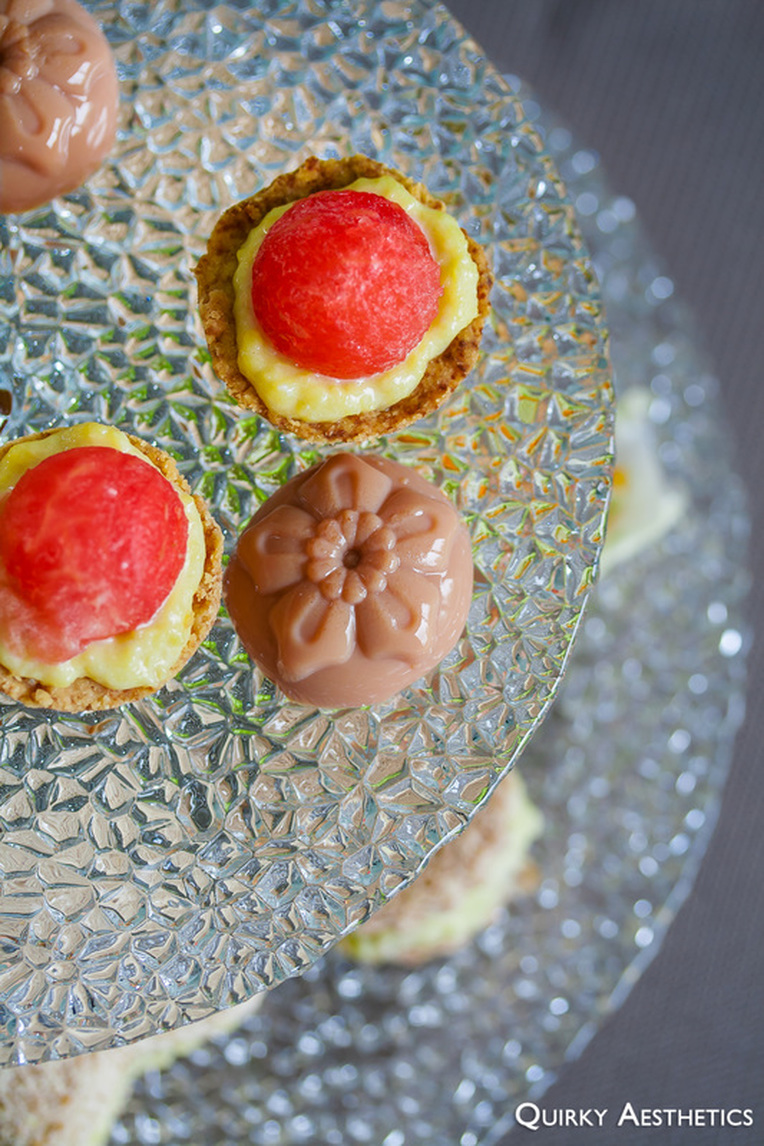
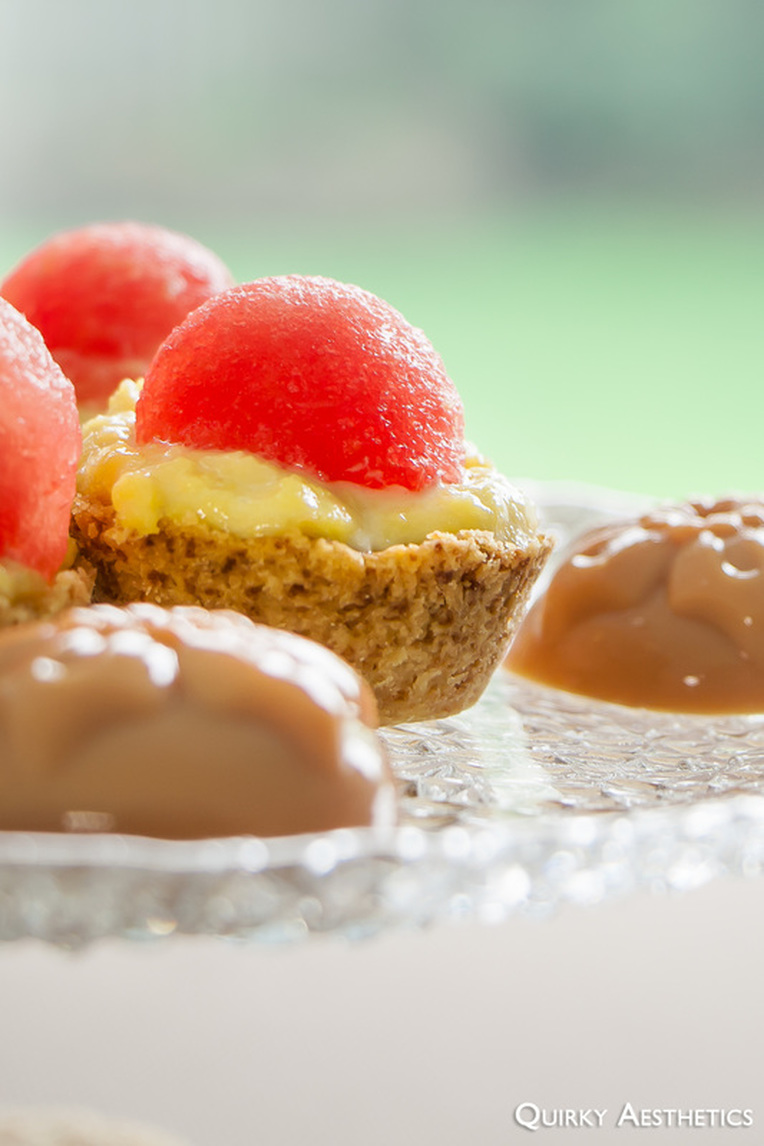
Watermelon Tarts
- 1/2 cup unsalted butter*
- 2/3 cup all-purpose flour
- 2/3 cup of watermelon
- 2 eggs
- 1/3 cup milk
- 1/4 cup granulated sugar
Earl Grey Jelly
- 4 tbsp Earl Grey loose tea leaves
- 2 1/2 - 3 cups milk
- 1 package Knox gelatin powder
- sweetener*
Directions:
Part i: Finger Sandwiches
1) Chop green onion into 1/4 inch to 1/2 inch pieces. Add to mashed potatoes and mix well.
2) Add cream to mashed potatoes and mix well. Add wasabi and mix again, ensuring that the contents are thoroughly combined.
3) Chill in the fridge for about half an hour.
4) Meanwhile, cut the bread into various (crust-less) shapes using cookie cutters of varying sizes. I have chosen a large star cookie cutter, as well as a small, scalloped one.
5) Spread mashed potato mixture between the bread layers. Set aside.
Part ii: Watermelon Tarts
1) To make the crusts of the tarts, mix cold, unsalted butter with the flour. Gradually incorporate the butter into the flour using your fingertips. Continue 'kneading' until a cohesive property is witnessed.
2) Preheat the oven to 350 F and thoroughly grease a mini cupcake pan. Spoon the butter-flour mix into the pan and press until the mix covers compartment uniformly. Ensure that the centre is at a lower elevation than the rest of tart crust so that the fillings will not spill.
3) Bake the tart crusts for 20-25 minutes.
4) During this time, make the custard filling by whisking two eggs with granulated sugar and milk.
5) Float the mixture over a bain marie (aka hot water bath) until it thickens, forming a custard. Chill the custard in the fridge until ready to use.
6) Using a melon baller, make about twelve small watermelon spheres, or as many as there are tart crusts.
7) Remove the tart crusts once golden brown and let sit for 2-3 minutes. Remove from the pan and let completely cool.
8) Remove the custard filling from the fridge and place into a piping bag, or a Ziploc bag with one end snipped off. Pipe the mixture onto the tart crust in a circular motion, working from the edges of the crust towards the centre. Repeat this for each tart crust.
9) Carefully pat the watermelon spheres with a paper towel to absorb excess moisture. Place on top of the custard filling.
10) Serve immediately, or chill to enjoy at a later date.
Part iii: Earl Grey Jelly
1) Add milk and tea leaves into a small saucepan. Bring the saucepan over a stove turned on medium heat.
2) Steep the Earl Grey tea leaves in milk for about 30-40 minutes, stirring constantly and making sure that the milk does not boil.
3) Gradually add in sweetener of choice. (Note: In my haste, the need to add sweetener completely skipped my mind. For your own purposes, use your preferred solid or liquid sweetener to enhance the flavour of the jelly to your desired taste.)
4) Dissolve the gelatin powder with a small amount of hot water, and add into the saucepan once the milk has reduced to half and the mixture has turned a rustic orange hue. Stir to mix completely.
5) Stir well and remove the stove and let cool completely. Remove the tea leaves using a strainer once cooled, or simply toss the tea filter bag if using one. Feel free to transfer the mixture to a bowl and float over an ice water bath to reduce cooling time.
6) Pour the mixture into jelly molds and let sit in the fridge for at least 2 hours.
7) Remove the jelly from the molds and refrigerate until ready to serve.
Notes
- Whole wheat bread was used in this recipe, though it can also be substituted with enriched white bread or multi-grain bread depending on preference.
- The amount of wasabi to be added to the mashed potato mixture can be adjusted to taste. 1 tbsp is enough to distinguish the flavour, but not so strong that it will cause nasal congestion.
- It is recommended to keep the skin on the baby potatoes for added texture and flavour; a small knob of butter can also be added to the mashed potatoes for a creamier finish.
- For the tart crusts, one can choose to add more butter for a less crumbly crust and richer flavour. The shells that were made utilizing this recipe stayed intact, though the edges did crumble slightly.
- As mentioned above, it is important that sweetener is added to the Earl Grey jelly mixture prior to refrigerating.
Finger Sandwiches
- 3-4 slices of whole wheat bread*
- 1 cup baby potatoes, mashed and chilled
- 1 stalk green onion
- 1 tbsp wasabi*
- 2 tbsp half & half cream
Watermelon Tarts
- 1/2 cup unsalted butter*
- 2/3 cup all-purpose flour
- 2/3 cup of watermelon
- 2 eggs
- 1/3 cup milk
- 1/4 cup granulated sugar
Earl Grey Jelly
- 4 tbsp Earl Grey loose tea leaves
- 2 1/2 - 3 cups milk
- 1 package Knox gelatin powder
- sweetener*
Directions:
Part i: Finger Sandwiches
1) Chop green onion into 1/4 inch to 1/2 inch pieces. Add to mashed potatoes and mix well.
2) Add cream to mashed potatoes and mix well. Add wasabi and mix again, ensuring that the contents are thoroughly combined.
3) Chill in the fridge for about half an hour.
4) Meanwhile, cut the bread into various (crust-less) shapes using cookie cutters of varying sizes. I have chosen a large star cookie cutter, as well as a small, scalloped one.
5) Spread mashed potato mixture between the bread layers. Set aside.
Part ii: Watermelon Tarts
1) To make the crusts of the tarts, mix cold, unsalted butter with the flour. Gradually incorporate the butter into the flour using your fingertips. Continue 'kneading' until a cohesive property is witnessed.
2) Preheat the oven to 350 F and thoroughly grease a mini cupcake pan. Spoon the butter-flour mix into the pan and press until the mix covers compartment uniformly. Ensure that the centre is at a lower elevation than the rest of tart crust so that the fillings will not spill.
3) Bake the tart crusts for 20-25 minutes.
4) During this time, make the custard filling by whisking two eggs with granulated sugar and milk.
5) Float the mixture over a bain marie (aka hot water bath) until it thickens, forming a custard. Chill the custard in the fridge until ready to use.
6) Using a melon baller, make about twelve small watermelon spheres, or as many as there are tart crusts.
7) Remove the tart crusts once golden brown and let sit for 2-3 minutes. Remove from the pan and let completely cool.
8) Remove the custard filling from the fridge and place into a piping bag, or a Ziploc bag with one end snipped off. Pipe the mixture onto the tart crust in a circular motion, working from the edges of the crust towards the centre. Repeat this for each tart crust.
9) Carefully pat the watermelon spheres with a paper towel to absorb excess moisture. Place on top of the custard filling.
10) Serve immediately, or chill to enjoy at a later date.
Part iii: Earl Grey Jelly
1) Add milk and tea leaves into a small saucepan. Bring the saucepan over a stove turned on medium heat.
2) Steep the Earl Grey tea leaves in milk for about 30-40 minutes, stirring constantly and making sure that the milk does not boil.
3) Gradually add in sweetener of choice. (Note: In my haste, the need to add sweetener completely skipped my mind. For your own purposes, use your preferred solid or liquid sweetener to enhance the flavour of the jelly to your desired taste.)
4) Dissolve the gelatin powder with a small amount of hot water, and add into the saucepan once the milk has reduced to half and the mixture has turned a rustic orange hue. Stir to mix completely.
5) Stir well and remove the stove and let cool completely. Remove the tea leaves using a strainer once cooled, or simply toss the tea filter bag if using one. Feel free to transfer the mixture to a bowl and float over an ice water bath to reduce cooling time.
6) Pour the mixture into jelly molds and let sit in the fridge for at least 2 hours.
7) Remove the jelly from the molds and refrigerate until ready to serve.
Notes
- Whole wheat bread was used in this recipe, though it can also be substituted with enriched white bread or multi-grain bread depending on preference.
- The amount of wasabi to be added to the mashed potato mixture can be adjusted to taste. 1 tbsp is enough to distinguish the flavour, but not so strong that it will cause nasal congestion.
- It is recommended to keep the skin on the baby potatoes for added texture and flavour; a small knob of butter can also be added to the mashed potatoes for a creamier finish.
- For the tart crusts, one can choose to add more butter for a less crumbly crust and richer flavour. The shells that were made utilizing this recipe stayed intact, though the edges did crumble slightly.
- As mentioned above, it is important that sweetener is added to the Earl Grey jelly mixture prior to refrigerating.
 RSS Feed