Random Thoughts of a Quirky Blogger
  • ~ Home ~
  • ~ What I Think ~
  • ~ What I See ~
    • Events
    • Food
    • People
    • Places
  • ~ What I Make ~
  • Blog Series
  • Terms and Conditions
  • Disclaimer

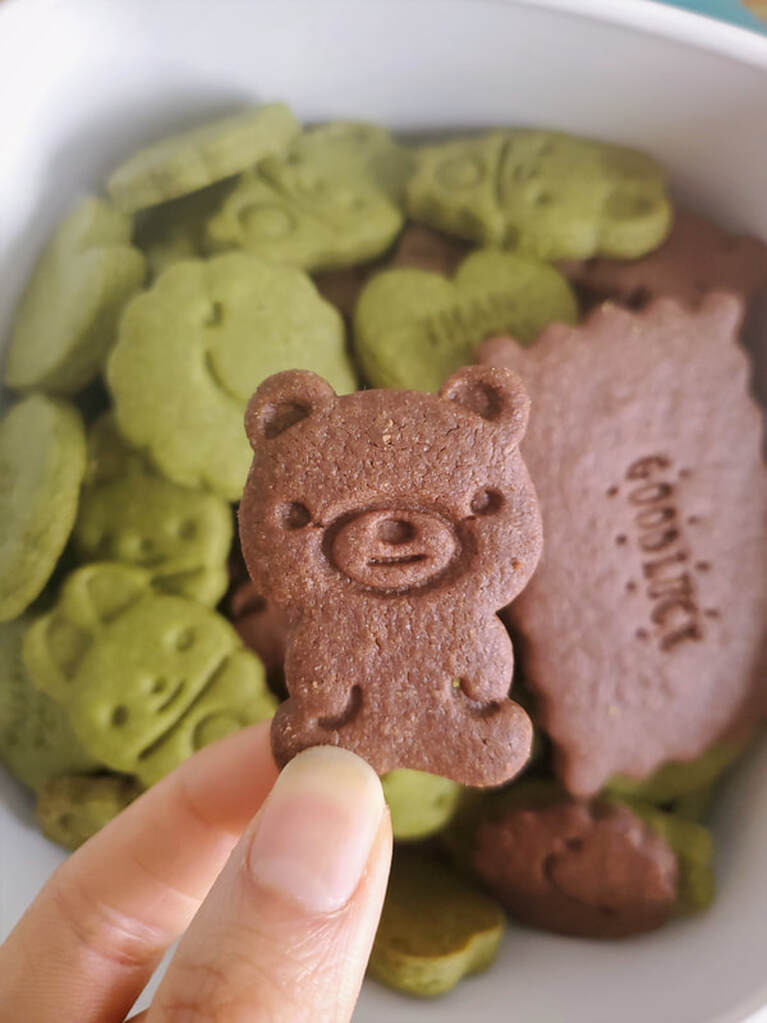
Matcha & Cocoa Sugar Cookies: The Bear and the Bunny

3/20/2020

1 Comment

 
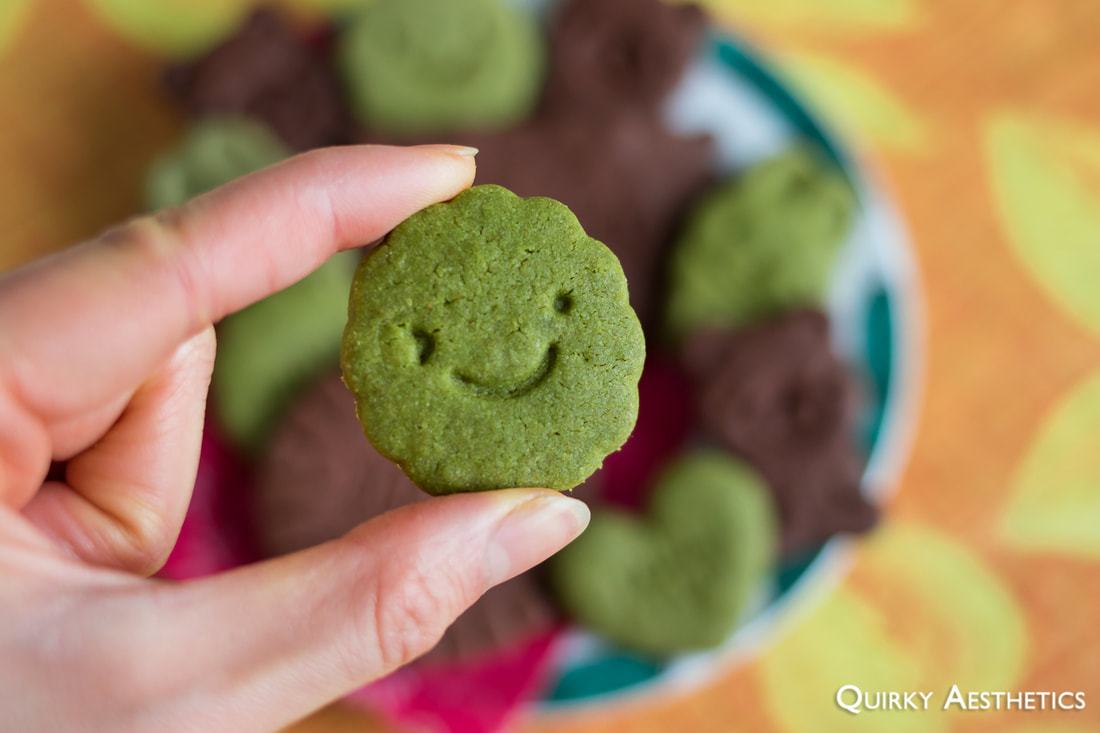
​For the longest time, it hadn't occurred to me that cookies were my go-to guilty pleasure. Made known to me by none other than the ever-observant orangecane, I began to unravel a world of baking possibilities within my kitchen, specifically in the realm of cookie testing.
Picture
Smitten Kitchen is highly commended by my fellow baker and tea-fanatic, with the acts of scaling and substituting strictly spurned. While I had halved the recipe in previous iterations), nevertheless maintaining a single unit of egg, and achieved beyond satisfactory results, I opted to reassess this recipe's egg-to-butter ratio with post-vacation quarantine time on my hands.
Picture
Picture
Picture
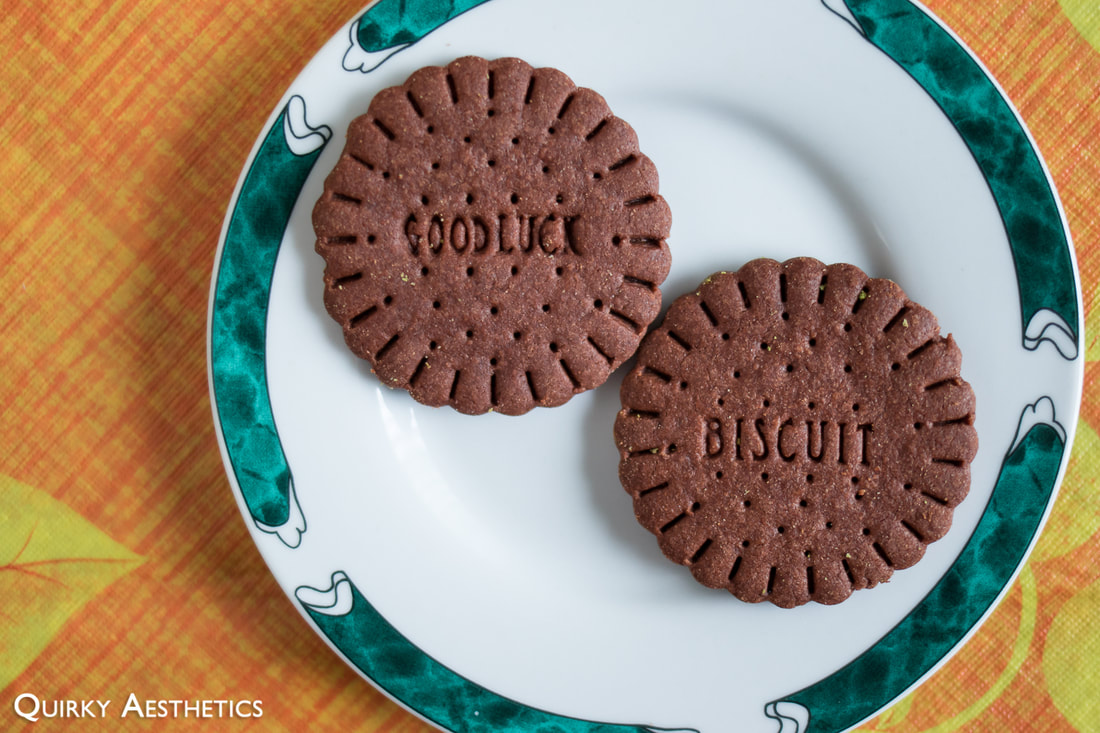
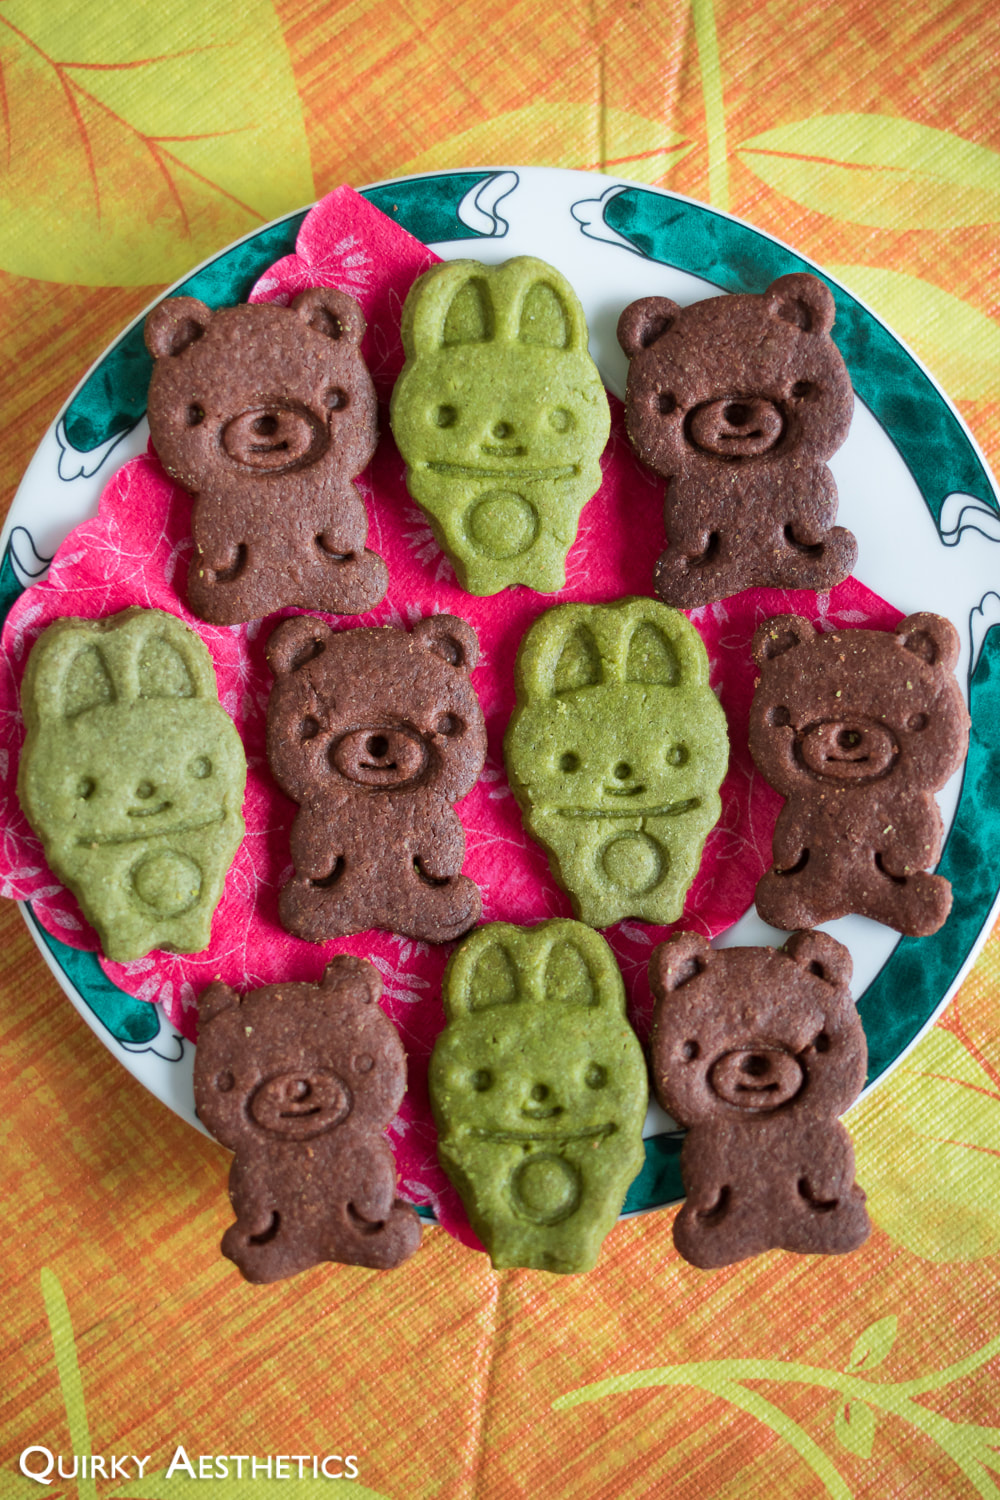
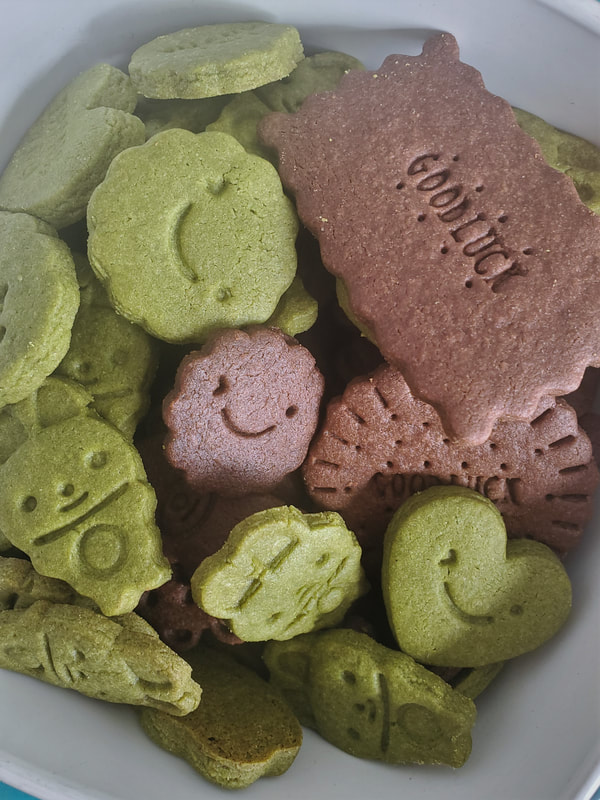
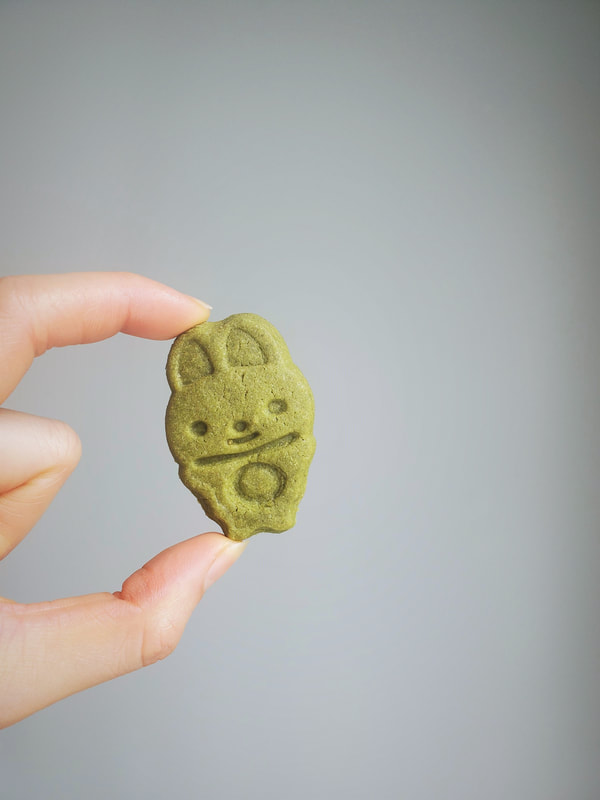
​Oomomo cookie cutters now in possession, I took to the three-hour ordeal of ingredient incorporation, refrigerating, rolling, cutting, stamping, and rolling and cutting again. The tips included in the original post could not be fully utilized in the face of character-shaped cookie cutters (with message stamps), so the traditional, non-time-saving methods were used.
Picture
Picture
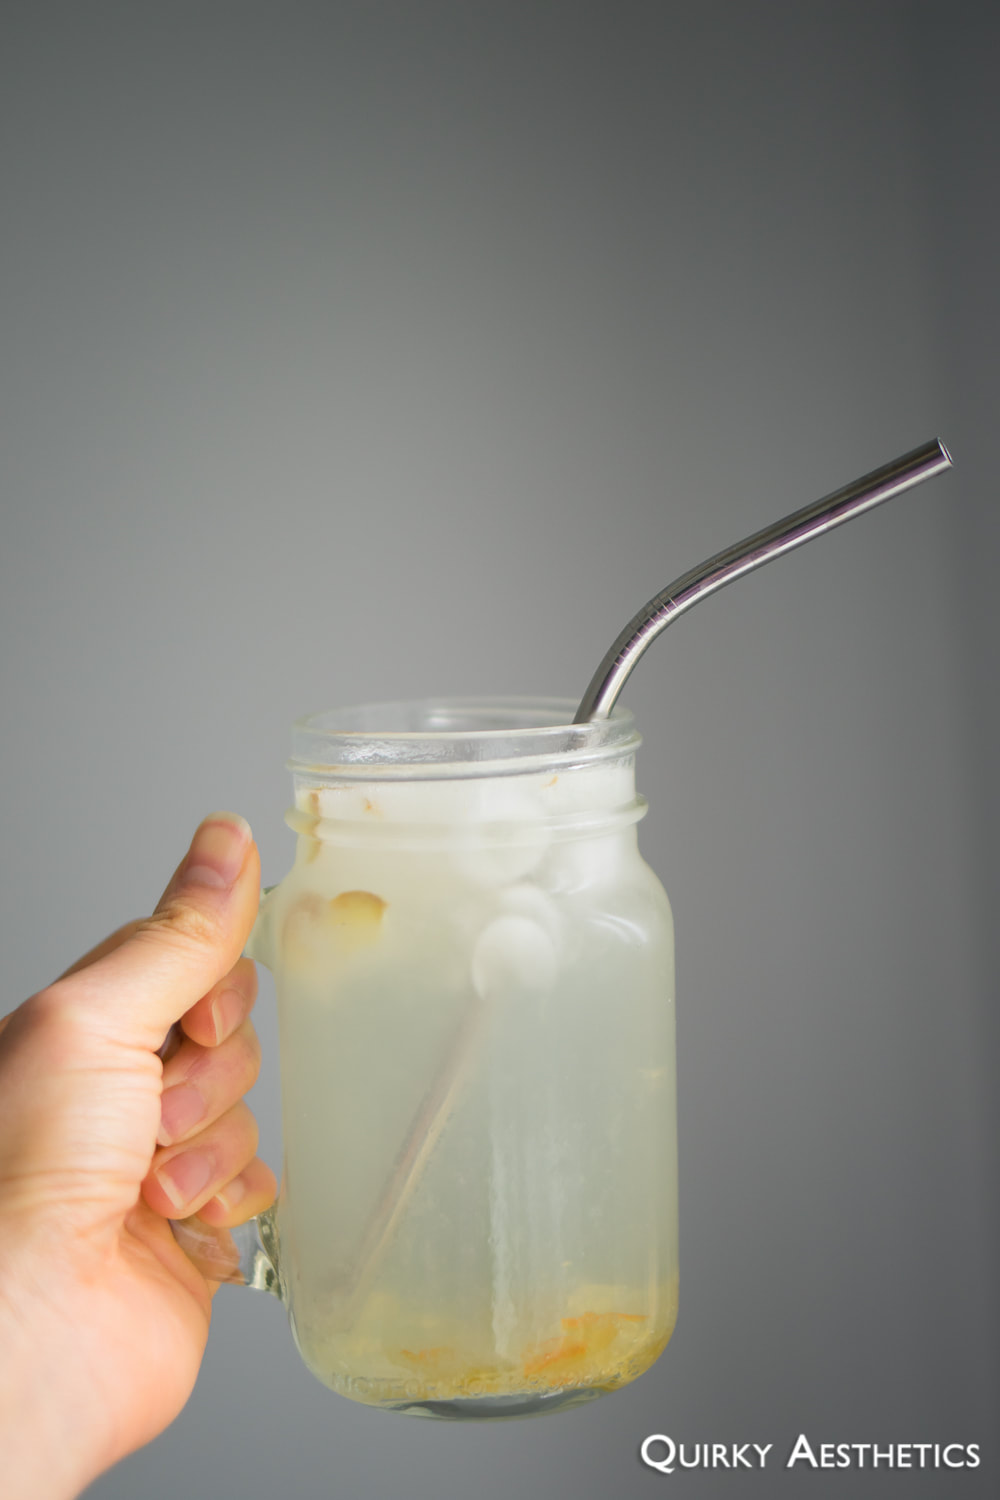
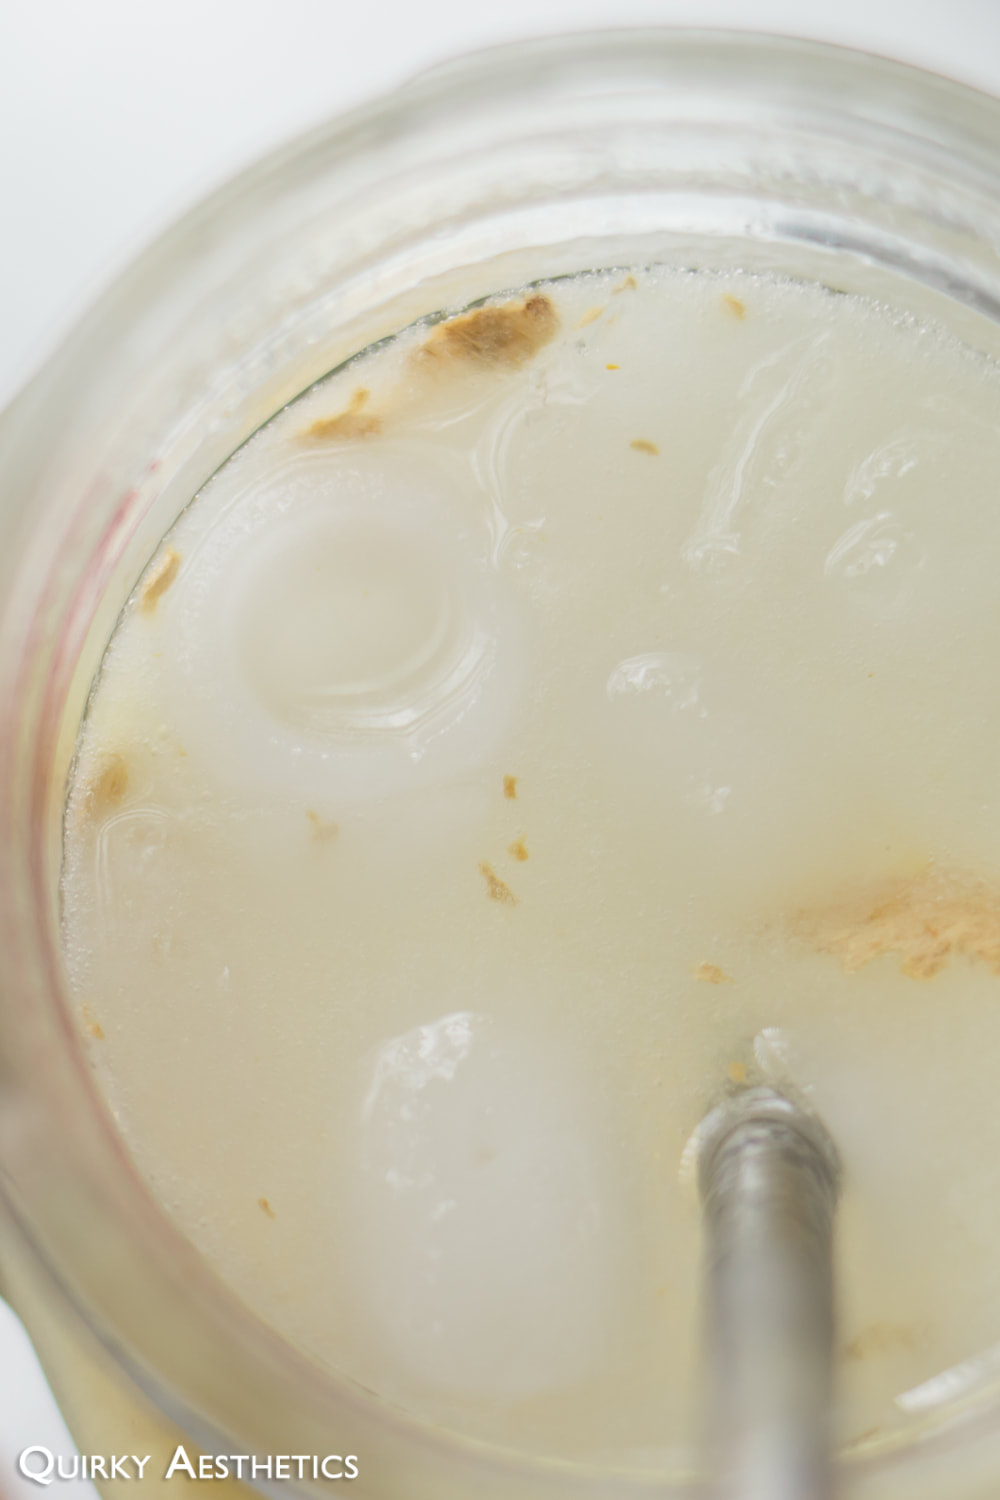
For maximum enjoyment, pair alongside a freshly-brewed cup of joe or refreshing homemade yuzu ginger ale!
Picture
Picture
Ingredients
(Recipe inspired by and adapted from smitten kitchen)

i) Matcha Sugar Cookies ("The Bunny")
- 183 g all-purpose flour
- 11 g matcha powder *
- 2 g baking powder
- 80 g granulated sugar
- 112 g unsalted butter
- 0.5 egg, beaten
- 1 tsp vanilla extract
- pinch of salt

ii) Chocolate (Cocoa) Sugar Cookies ("The Bear")
-175 g all-purpose flour
- 20 g unsweetened cocoa powder *
- 2 g baking powder
- 80 g granulated sugar
- 112 g unsalted butter
- 0.5 egg, beaten
- 1 tsp vanilla extract
- pinch of salt

Directions:

The same steps apply to both versions.
​
1) Whisk dry ingredients (flour, salt, and baking powder) together in a medium bowl.
2) Beat egg in a small bowl and set aside.
3) Beat softened butter with sugar until fluffy.
4) Add in vanilla and carefully measure out half a portion of beaten egg using a digital scale. Combine well.
5) Sift in dry ingredients and fold using a spatula.
6) Once completely incorporated, let chill for 1 hour in the refrigerator. Using the freezer to quicken firming is <i> not </i> recommended in this case.
7) Remove from fridge and roll out the dough to 0.5 cm thickness. Cut shapes and stamp surfaces as desired.
8) Bake at 350 F for 15 minutes. Depending on the size of your cookies, baking time may be reduced (for smaller, daintier pieces) or increased (for larger slabs). Keep a watchful eye over the cookies and remove from oven when the edges just begin to brown.
9) Let cool for 5-10 minutes before transferring to a wire rack to cool completely. Once cool, the cookies will exhibit crispiness with undertones of earthy matcha or bitter cocoa.
10) Serve and enjoy!

Notes
- Smitten Kitchen's recipe was divided into two equal portions with a great deal of precision, with my implemented adjustments noted below:
  • The amount of granulated sugar was reduced from 100 g per batch to 80 g; this quantity was decided on to maintain the shape of the cookies while preventing an overly sweet finish.
  • The amount of all-purpose flour was reduced from 195 g per batch to 183 g and 175 g in the Matcha and Cocoa versions respectively; please keep in mind that the total weight of dry ingredients remains unaltered.

- Take care to prevent adding too much baking soda to the mix, whether intentional or not, as it will cause the cookies to puff and spread more. Consequentially, they will be more friable and susceptible to breakage. Surface stamping will also be less noticeable.
- Doubling the amount of egg, as I did in my first two trials, will result in a smoother surface and thicker, cakier consistency. Minimal changes to flavour were observed.​
Dealing with Dough - Warnings and Recommendations

i) Too soft/warm
  • Makes stamping difficult and cookie will not retain shape
  • Segments of dough may get stuck in the cookie cutter/stamp, ruining the overall design
  • Method of rectification: Place back into fridge to chill for 30 mins and warm up with hands prior to rolling out.

ii) Too stiff/cold
  • Cracking will occur and surface will reject stamping
  • Method of rectification: Allow the dough to warm up at room temperature, then slowly began to knead with hands to disperse body temperature until ready to roll.
1 Comment

Yuzu Plum Iced Tea

4/20/2017

0 Comments

 
Frigid winter temperatures mean steamy, spicy sips, but spring calls for refreshing glasses of fruity iced teas.

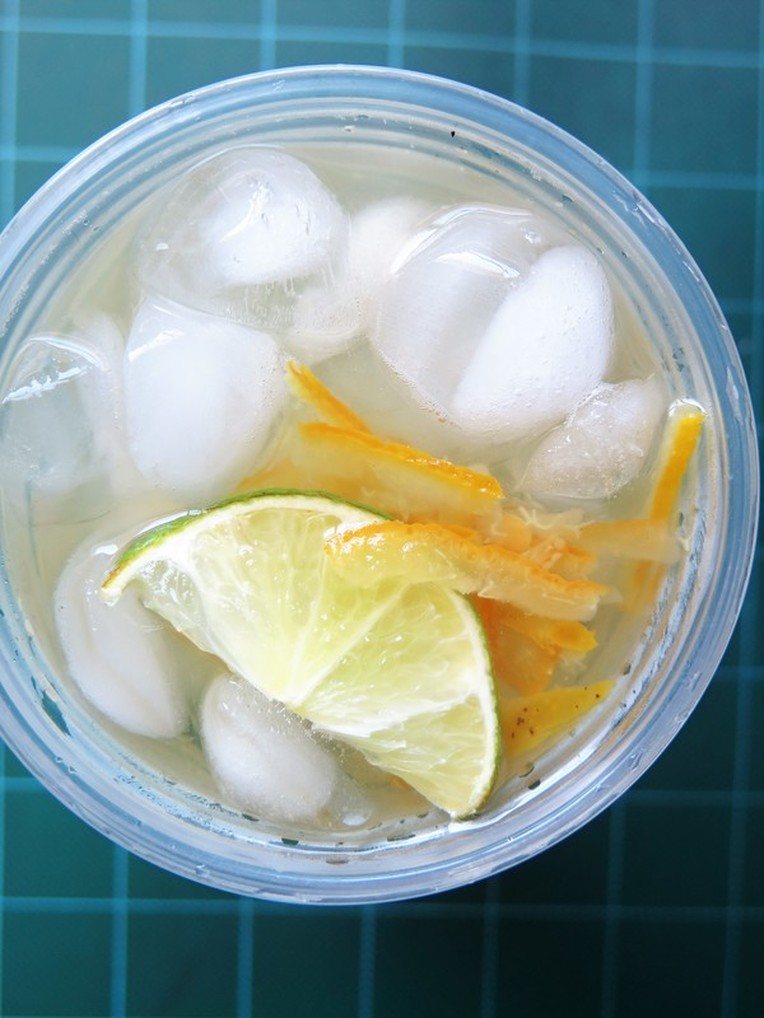
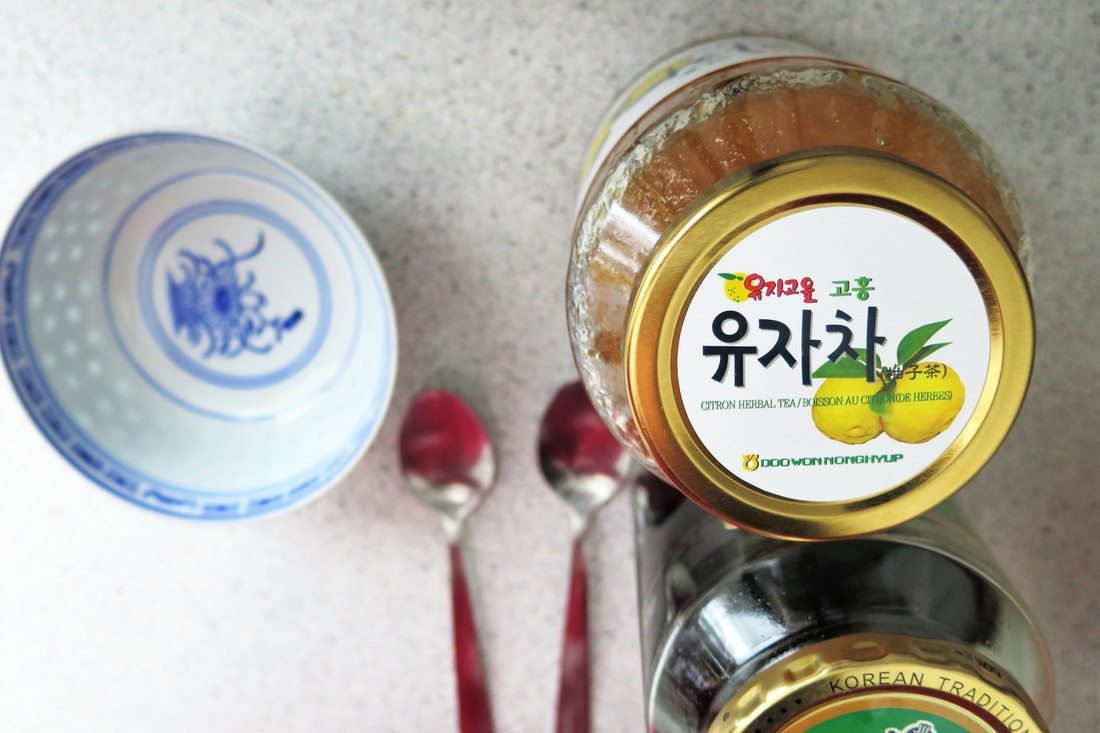
Mixing yuzu, also known as Honey Citron, and Korean sour plum (매실) with cold green tea has been a consistent favourite as of late. It transitions well from the season of showers to the summer months, and can even be transformed into a slushie for added cooling relief.

Once again, I've attempted to illustrate the steps in video format (sans music for the sake of maintaining my copyright strike profile clean). As the video recipe is text-less, please refer to the ingredient list below for approximate proportions.
Picture
Picture
Ingredients
​
- 1 lime wedge
- 1/2 cup ice
- 1-2 tsp yuzu/honey citron tea
- 2 tsp sour plum concentrate
- 1/3 cup hot water
- 2/3 cup green tea, chilled *​

Directions:

0) Brew preferred variety of green tea, then let cool and refrigerate for at least four hours.
1) Place lime wedge and ice cubes in a cup. Puncture lime wedge to release juices.
2) Pour chilled green tea over the lime wedge and ice cubes until cup is one third full.
3) Dissolve yuzu and sour plum concentrate in hot water. Pour over tea.
4) Fill the remainder of the cup with green tea. Stir to combine well.
5) Serve and enjoy!​

Notes
- For this recipe, I have opted to use DAVIDsTEA's Organic Sweet Almond Green, a floral green tea with strong almond influence. However, feel free to use your desired tea variety. (This recipe could also be crafted with a bergamot-based black tea, though I have yet to experiment with this combination.)
- Based on personal preferences, a 1:1 ratio of yuzu and sour plum have been found to yield the most pleasing results. Should one deduce the need to increase either of these proportions, please feel free to do so, as this recipe is merely a guideline.
- For those adhering to a vegan diet, I would suggest double-checking the labels of the Honey Citron Tea and Sour Plum Concentrate, though chances of animal interference are low.
0 Comments

Fluffy Matcha Pancakes

4/12/2017

2 Comments

 
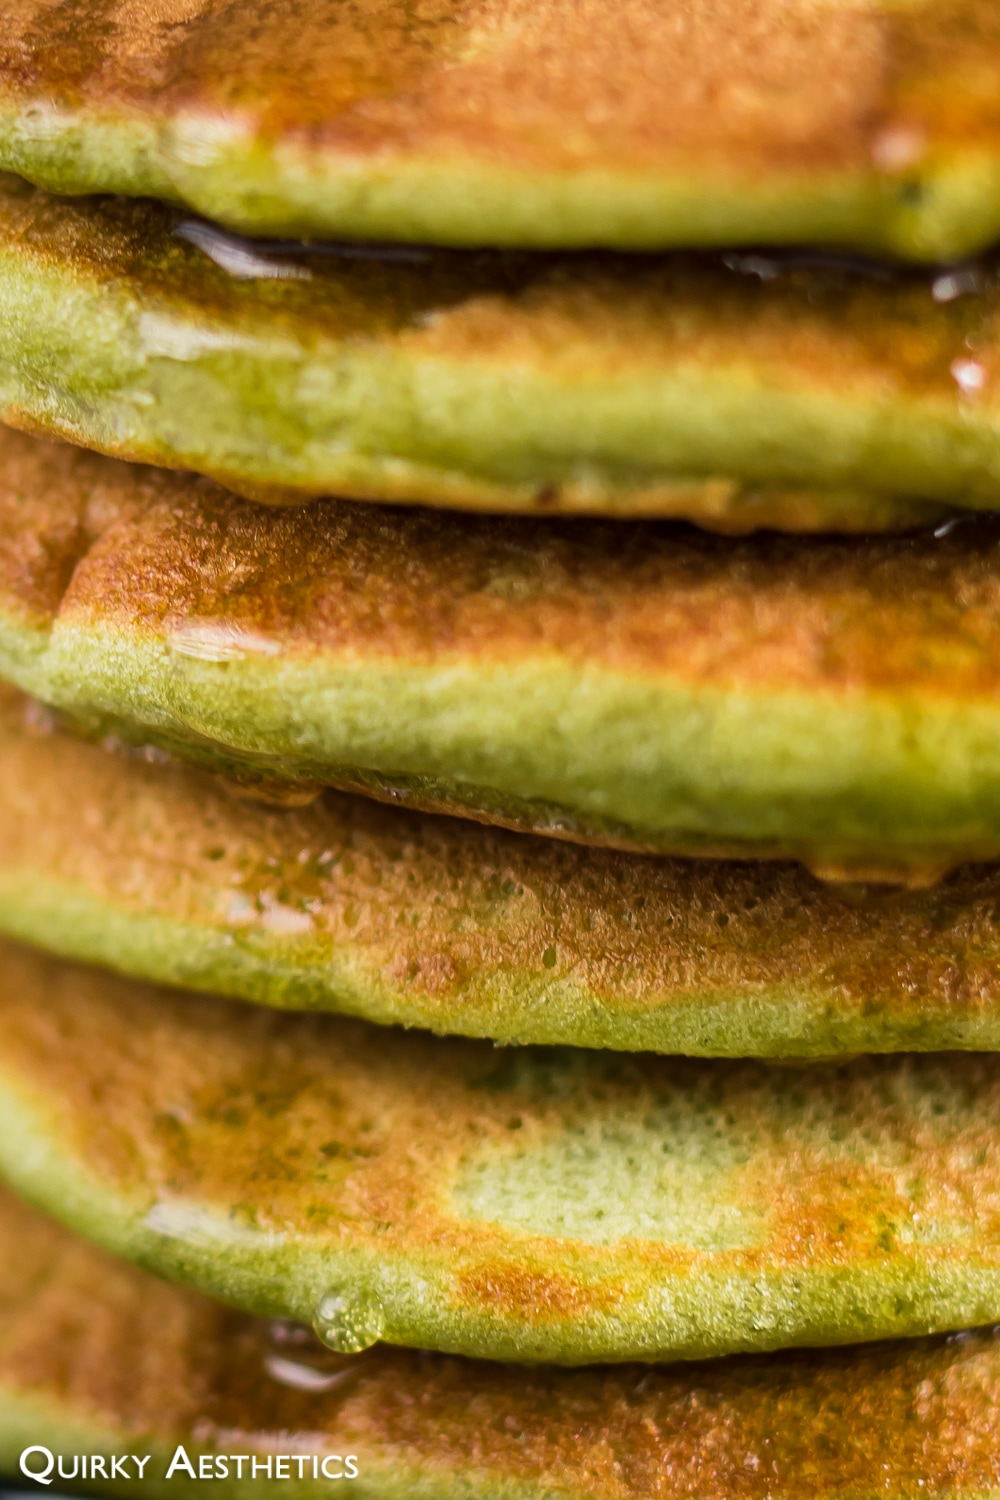
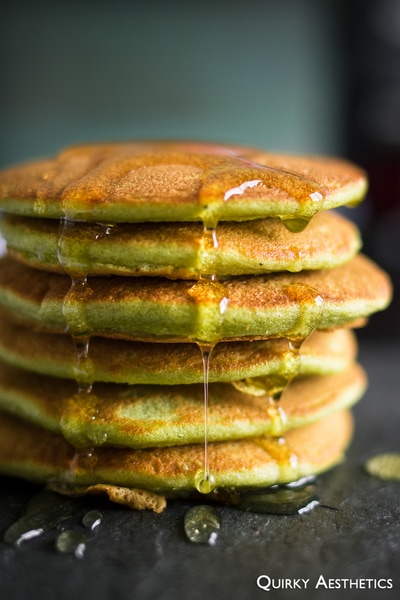
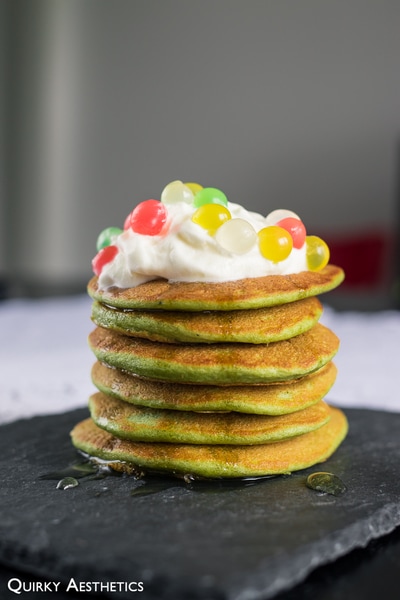
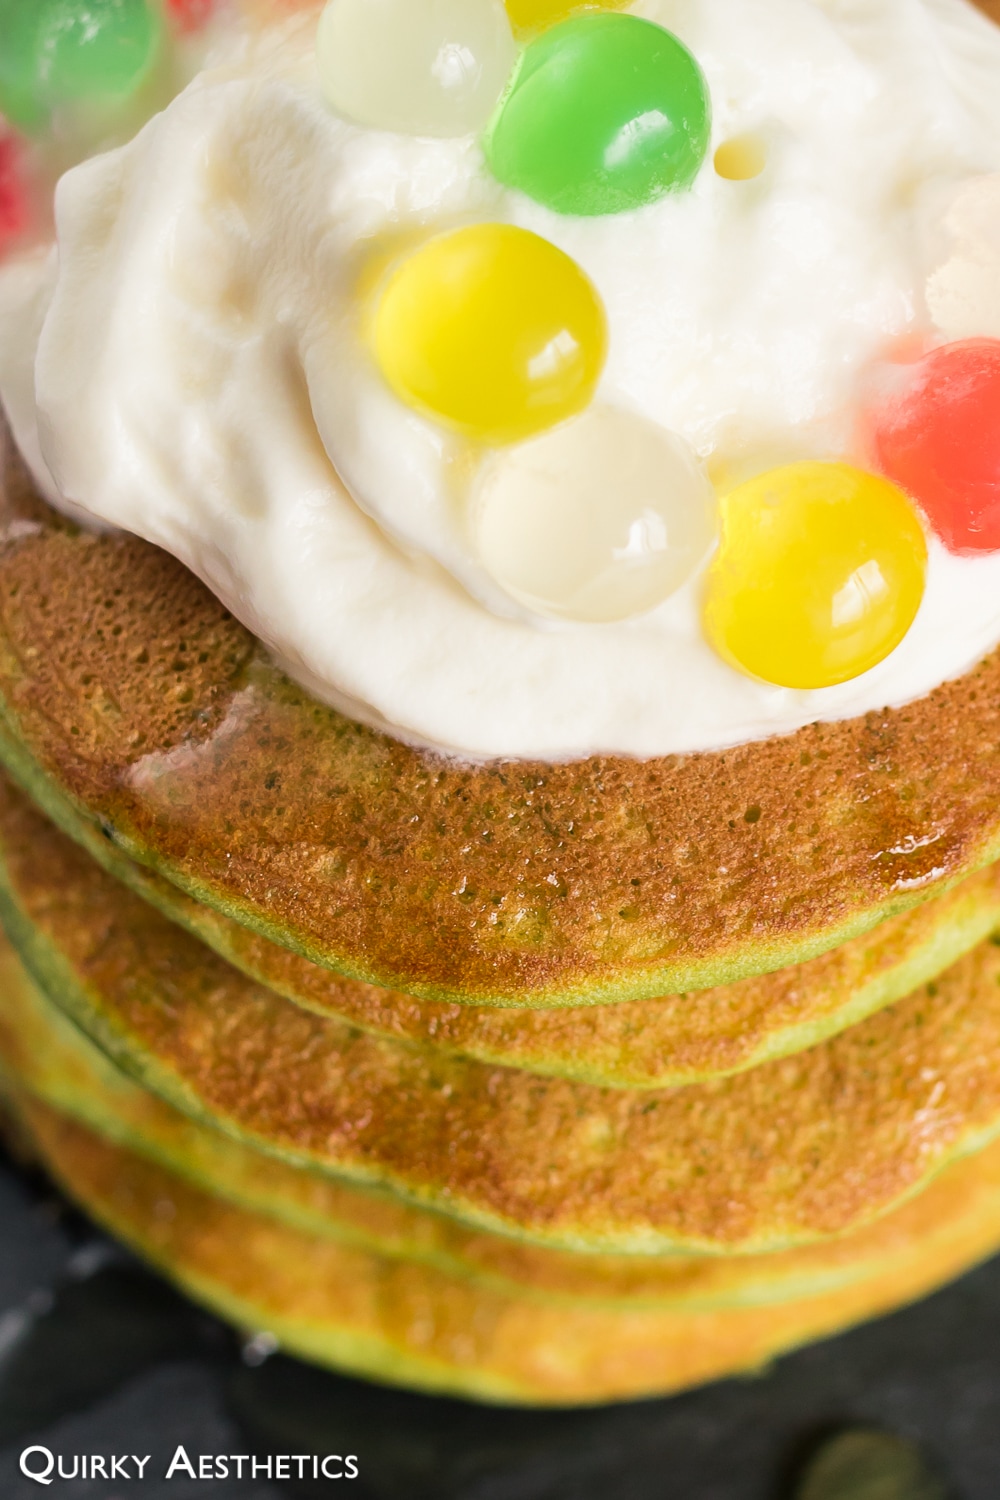
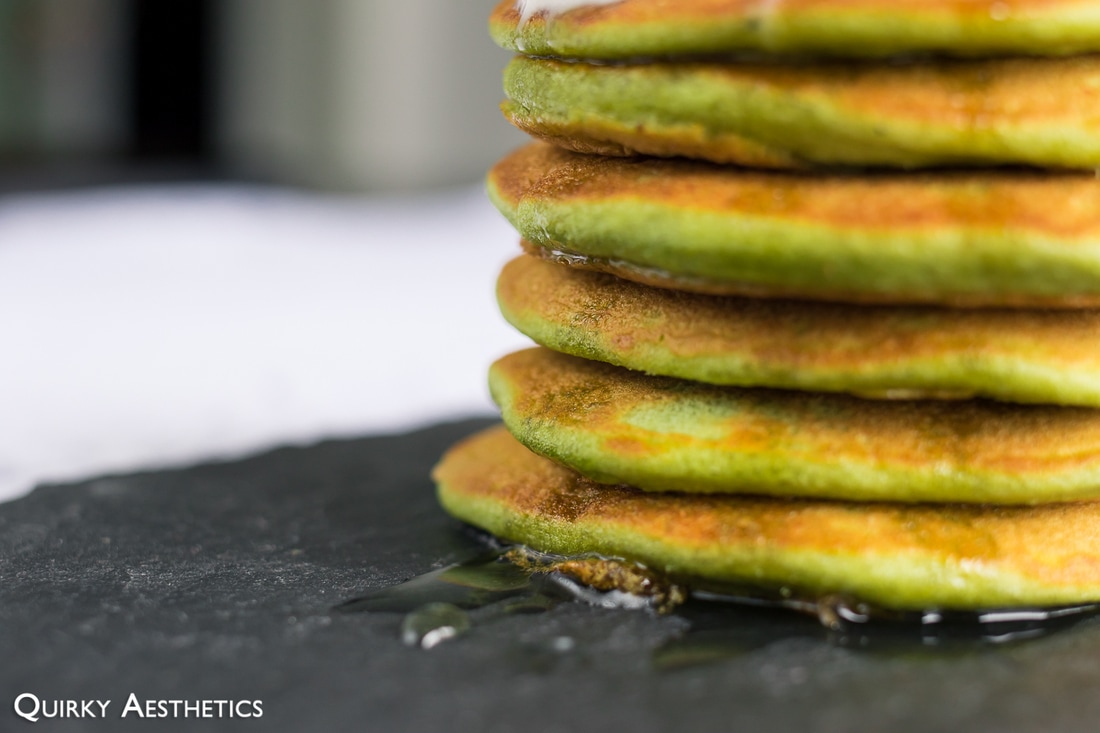
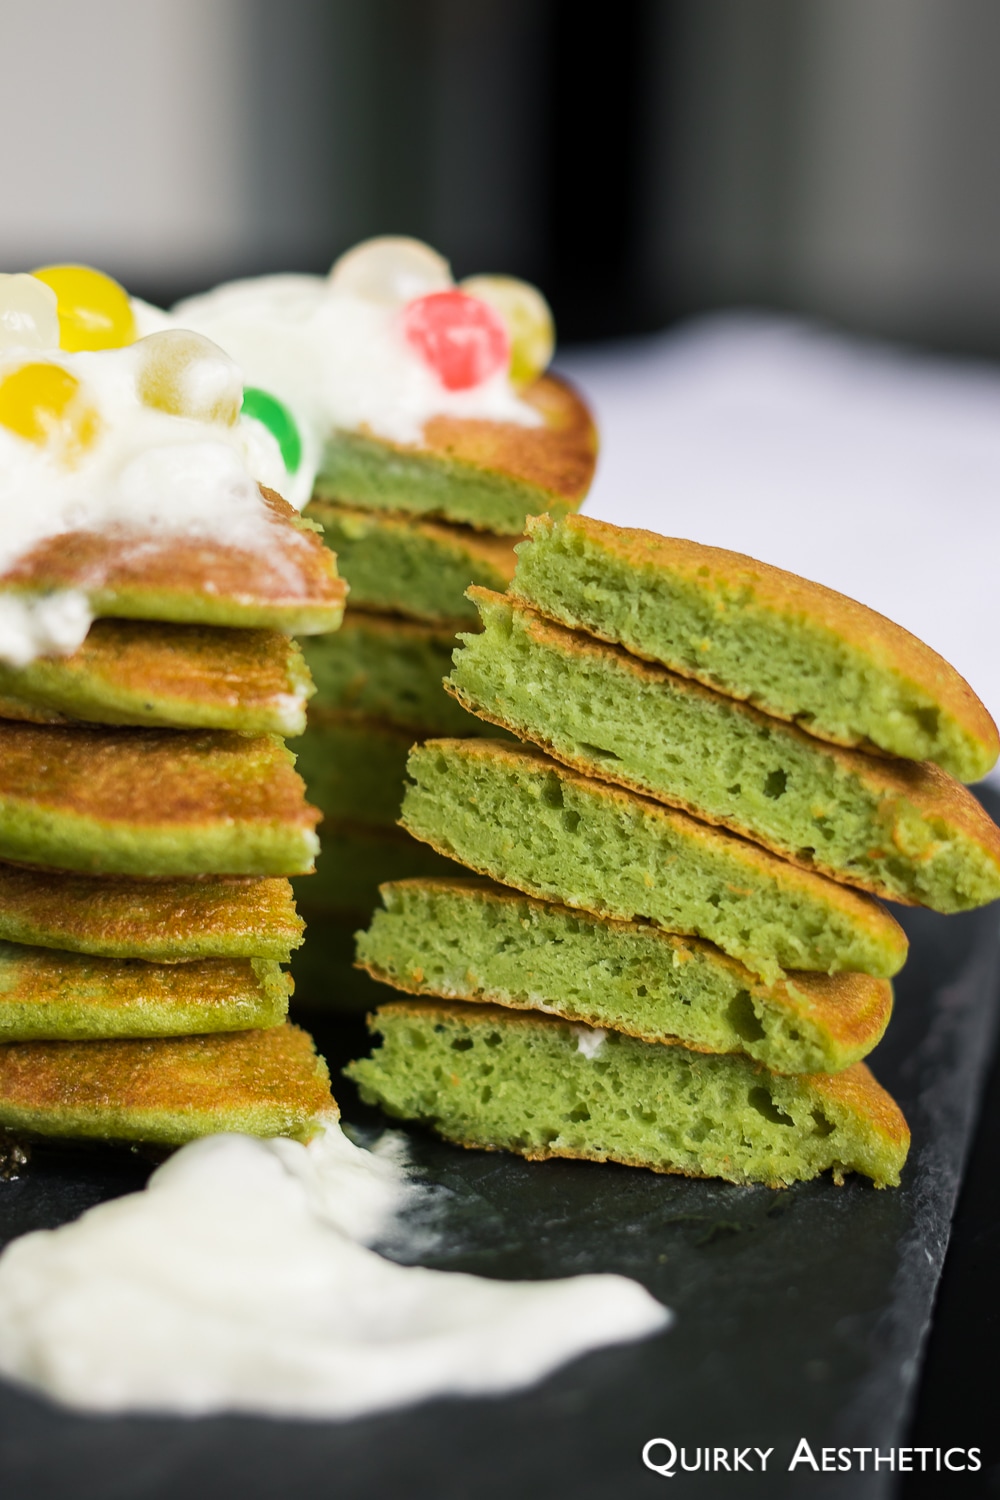
After a previous failed attempt, courtesy of SteepedTea's horrendous mutant-green substance that could never possibly earn the title of "matcha", I decided to stick with a tried-and-true recipe (thanks honeykki!) and my go-to Ceremonial Matcha.

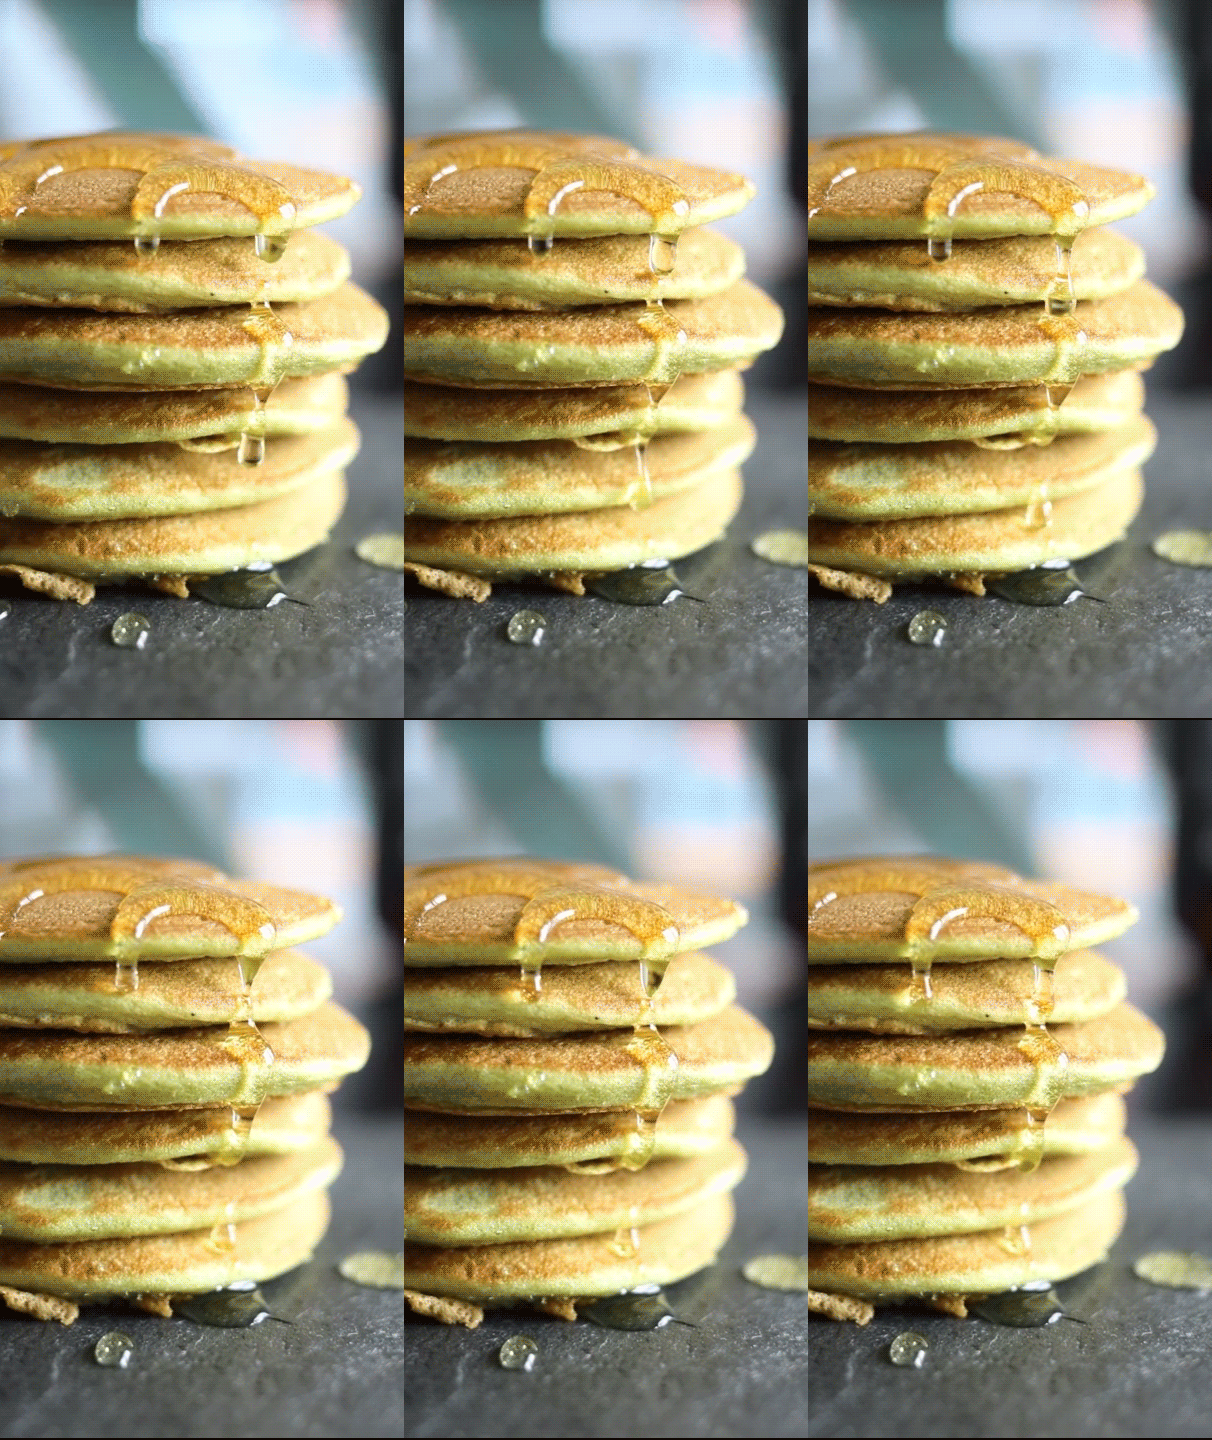
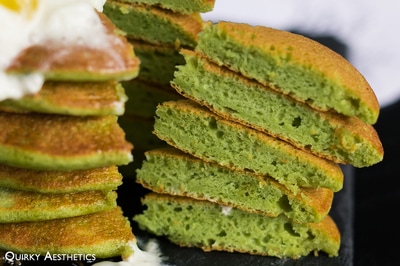
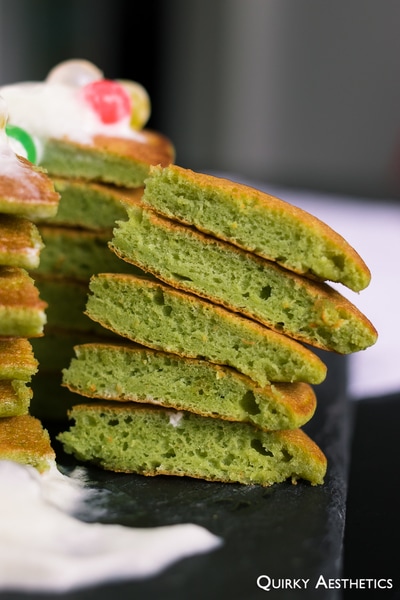
The result wasn't exactly soufflé-like, but definitely fluffy enough for my liking. Behold the final result!
Picture
Picture
Picture
Picture
Picture
Picture
Picture
Picture
Ingredients
(Recipe inspired by and adapted from honeykki)
​

- 3 egg whites
- 1 egg yolk
- 75 g granulated sugar
- 150 g all-purpose flour
- 160 ml milk
- 1 tsp baking powder
- 1 - 2 tsp matcha powder
- 1 tsp vanilla extract
- vegetable oil
- whipped cream + syrup (opt.)

Directions:

1) Whisk egg yolk and 2 tbsp (25 g) of sugar in a large bowl. Continue to combine until well incorporated and the mixture is slightly sticky and capable of forming thin ribbons.
2) Sift in flour, matcha powder, and baking soda. Mix gently.
3) Add in milk, 1 tbsp vegetable oil, and vanilla. Combine well.
4) Beat egg whites until glossy, stiff peaks form, adding 4 tbsp (50 g) of granulated sugar to the mix in three stages.
5) Gently combine the meringue into the batter in two to three additions, spooning and cutting through with a spatula.
6) Grease and heat a shallow pan over medium heat. Once the oil becomes less viscous, reduce to low-medium heat.
7) Ladle batter into the pan to form mounds approximately three to  four inches in diameter. Let cook for 2 minutes, or until evenly browned, before gently flipping over. There will be a greater number of bubbles travelling to the surface as opposed to regular pancakes; fear not, as this will simply add to the fluffiness factor.
8) Allow the reverse side to cook for 1-2 minutes. It should be able to be removed from the pan with ease.
9) Grease the pan again and continue this process until no batter remains. As the pan becomes increasingly warm, adjust the temperature of the heat accordingly to prevent burning.
10) Let cool and top with syrup, whipped cream, and/or toppings of choice.
11) Serve and enjoy!

Notes
- honeykki's original recipe utilized two eggs, separated, and 100 g of sugar; I've altered these measurements as I wished to achieve a pancake that was more airy than sweet. Unit conversions were conducted to ensure that the correct metric units were being used.
- 75 g of granulated sugar yielded a sufficiently sweet pancake for my liking, and actually nixed the need for any additional syrup. Feel free to adjust this amount according to your preference and desired topping choices.
- Greasing the pan is crucial to prevent the pancakes from losing air and shape. Those using non-stick pans may skip this step.​
2 Comments

Jasmine Tea Latte

1/3/2017

0 Comments

 
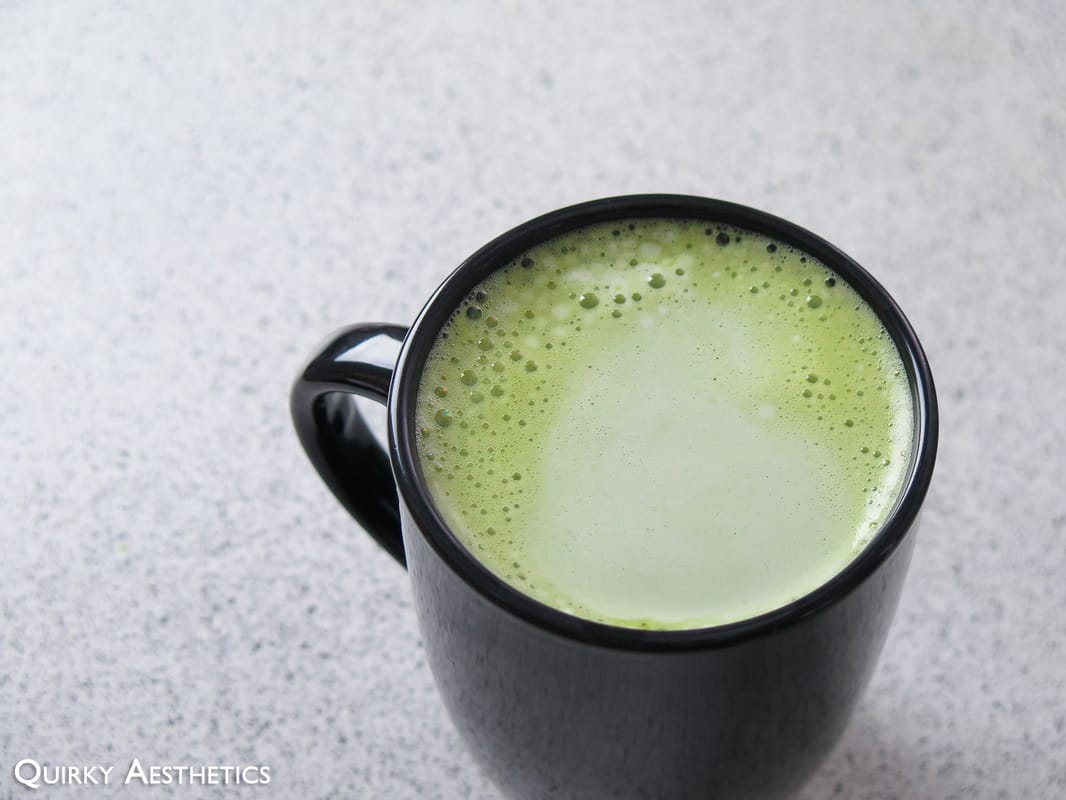
Let's try something new this time! As opposed to my regular recipe posts, I've attempted a video tutorial depicting the steps I normally take to make a green tea latte.

Despite my usual preference for DAVIDsTEA's Ceremonial Matcha, I opted to try SteepedTea.com's variation as I had received it as a gift. The results were less optimal than my regular brew and retained a lingering floral flavour more reminiscent to Jasmine Tea than Matcha. Nonetheless, the final product was still tasty.

(Please be welcome to leave constructive criticism, as videography remains a relatively unexplored field to me.)
Picture
Picture
Ingredients

- 1 -2 tsp green tea powder
- 1 cup hot water
- 1/3 cup milk *
- 1 tsp honey (opt.)


Directions:

1) Sift green tea powder into a Pyrex measuring cup (or heat-safe container of choice).
2) Add hot water and whisk with an electric frother. Should your selected type of green tea powder already contain sugar (ie. drink mixes), it will dissolve easily and will not require the use of a frother to remove lumps.
3) Add in honey to taste. Alternate choices of sweeteners such as agave or maple syrup may also be used based off of personal preferences.
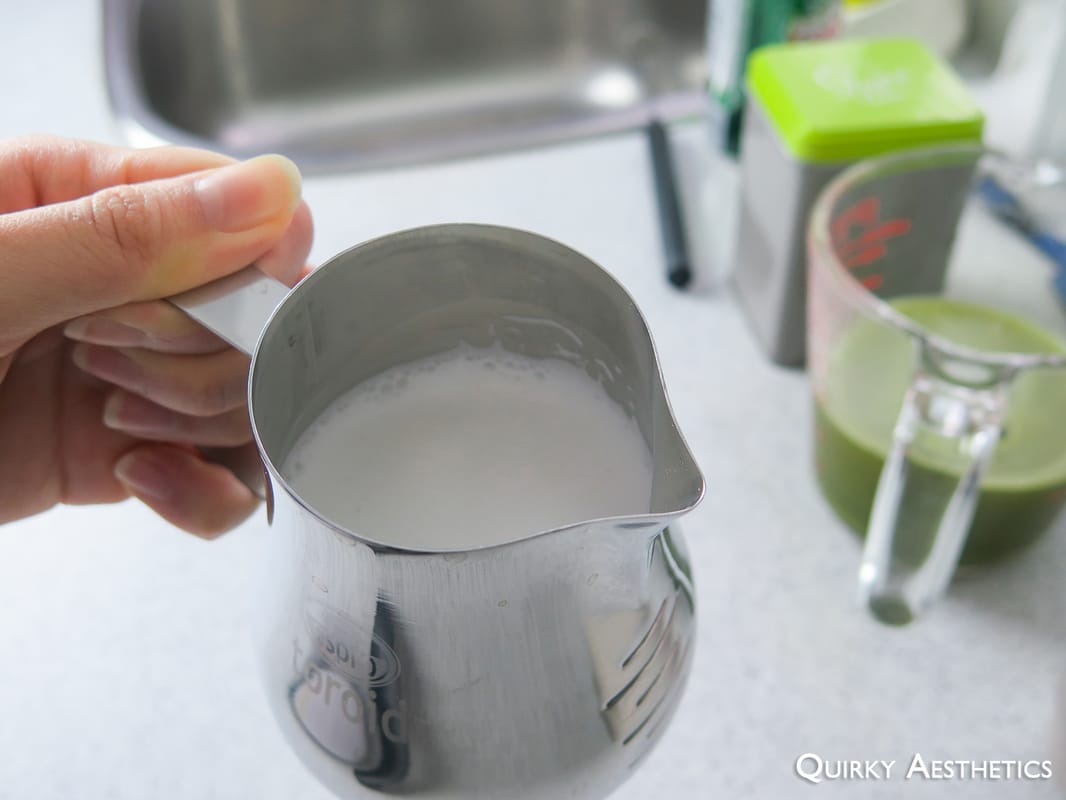
4) Heat and froth milk in a Stainless steel pitcher, then combine the tea and frothed milk in a mug. Top with additional green tea powder if desired.
5) Serve while warm and enjoy!


Notes
- A 1:3 ratio of milk and brewed green tea was used to obtain the final product, however feel free to adjust the amount of water used to the dissolve the tea powder based on preference. Less water will contribute to a more intense flavour, and vice versa.
- 2% milk was utilized in this recipe, though both dairy and non-dairy milks will work equally well. It should be noted that frothing time and temperature may require minor adjustments; the resulting consistency may also vary depending the quantity and type of milk used.
- Upon dissolving my green tea powder, it was discovered that the substance was not pure Japanese matcha as the label had stated. Consequently, latte art could not be easily created. Thus, it was more accurate to describe the finished beverage as a Jasmine Tea Latte instead, especially considering that its aroma was more floral than grassy.
0 Comments

Matcha Cheese Tarts

12/9/2016

4 Comments

 
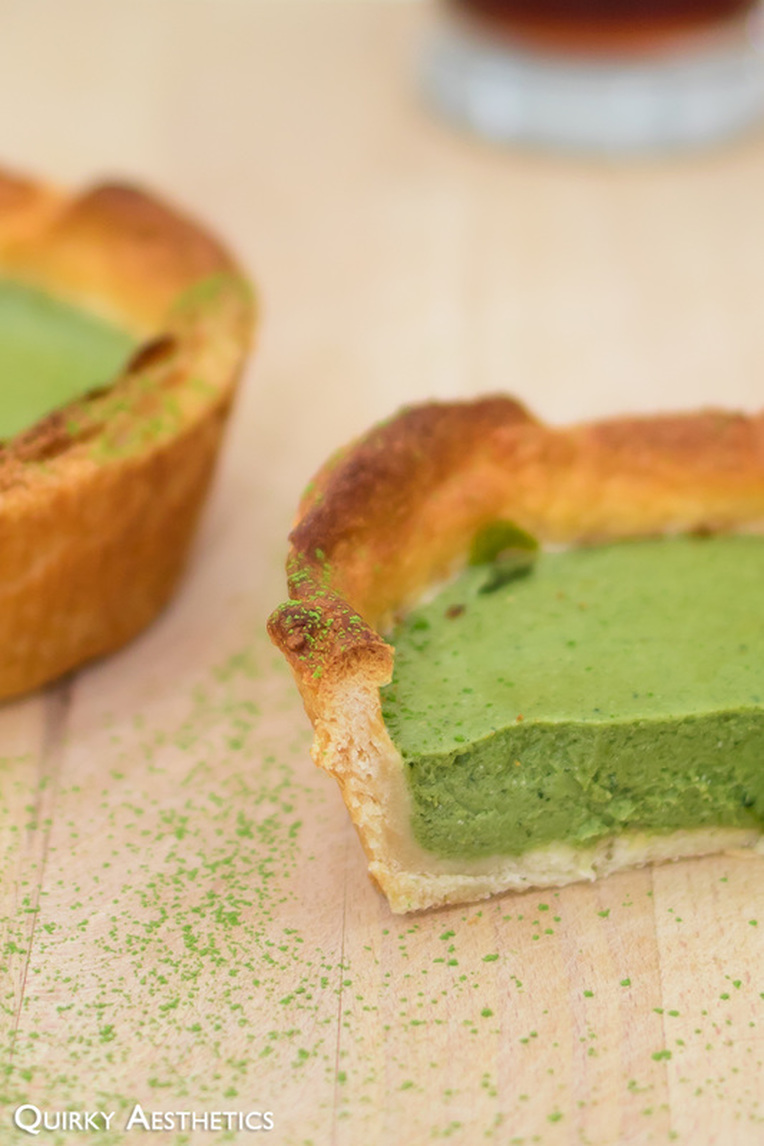
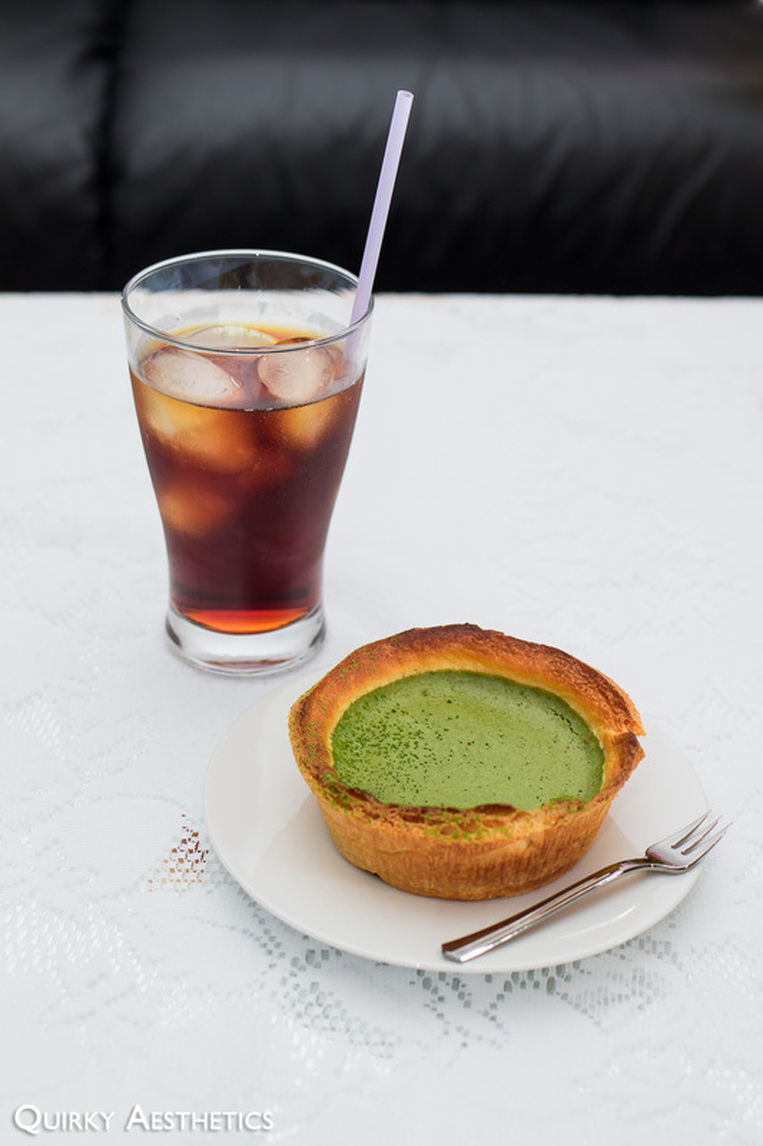
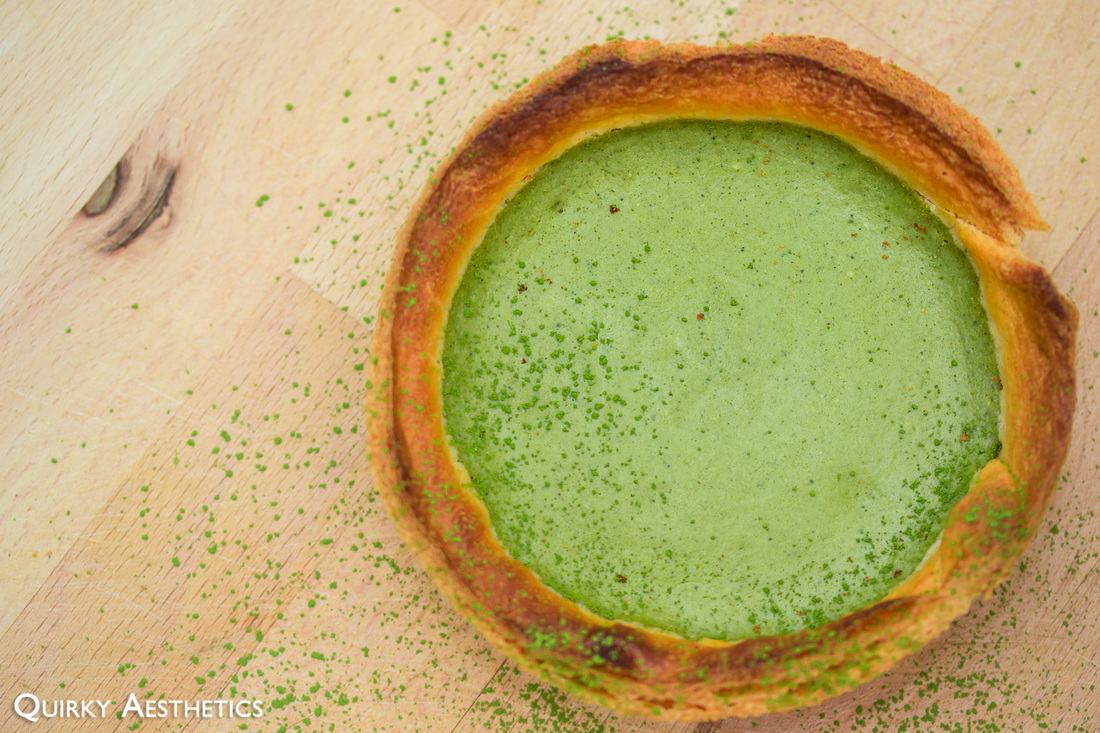
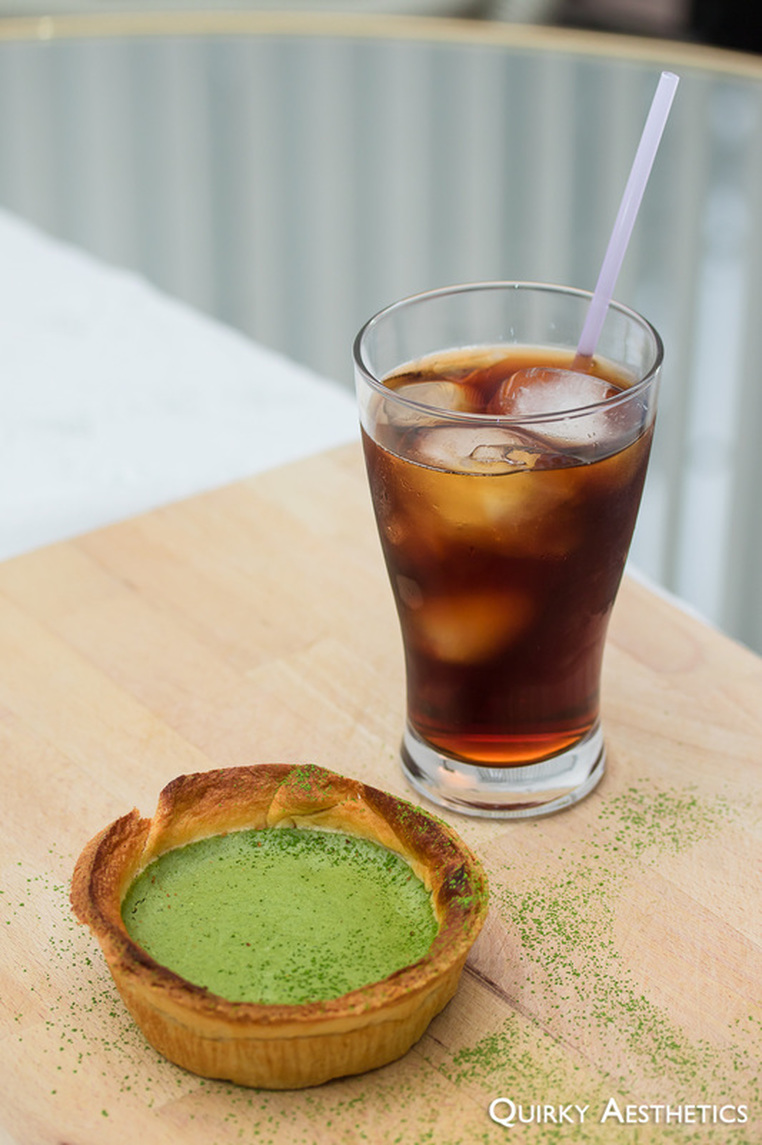
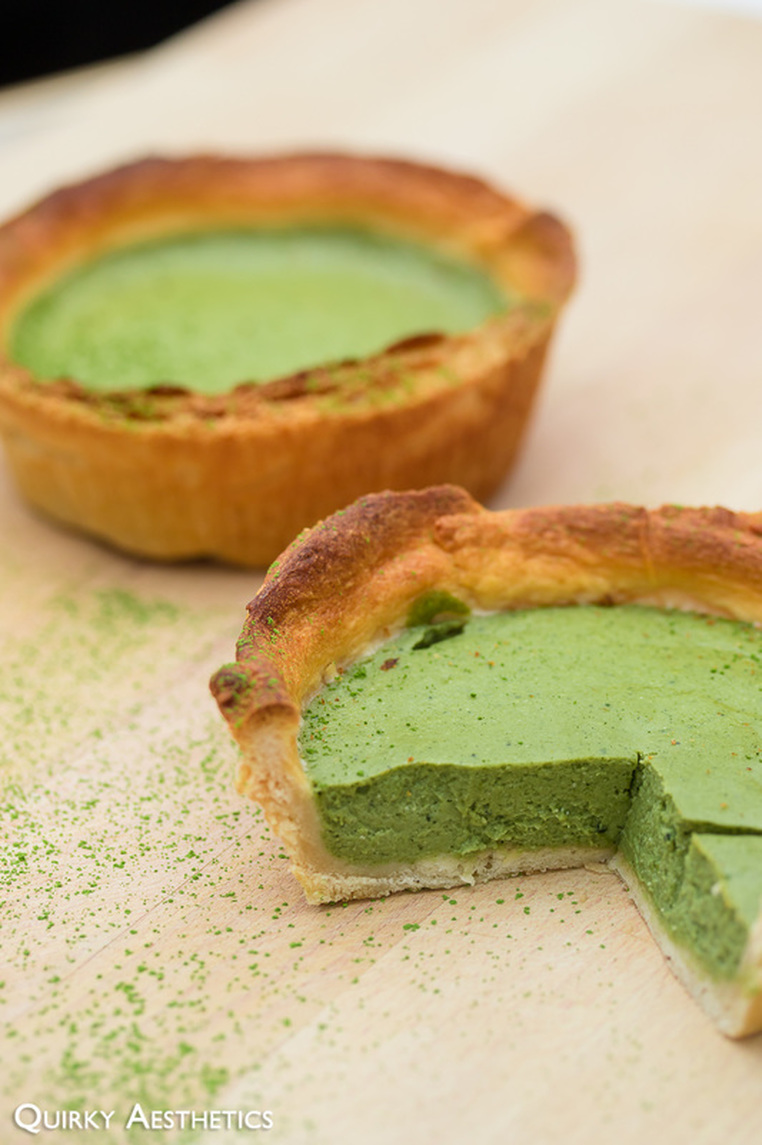
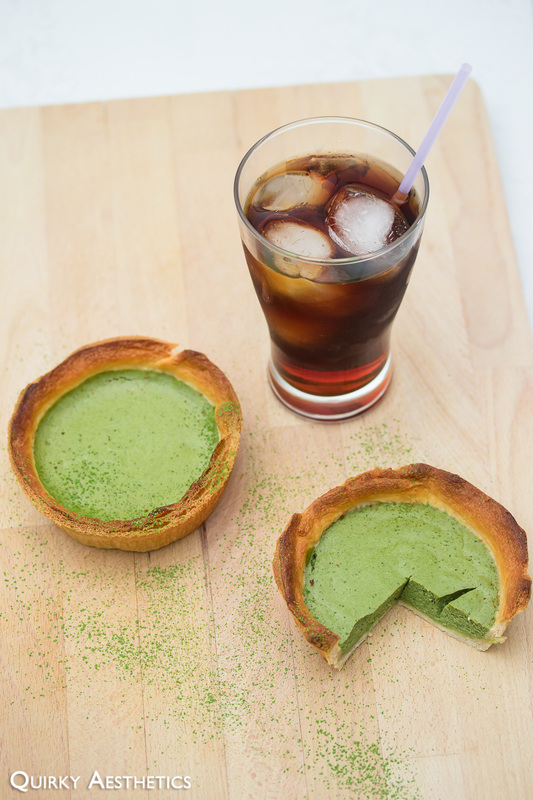
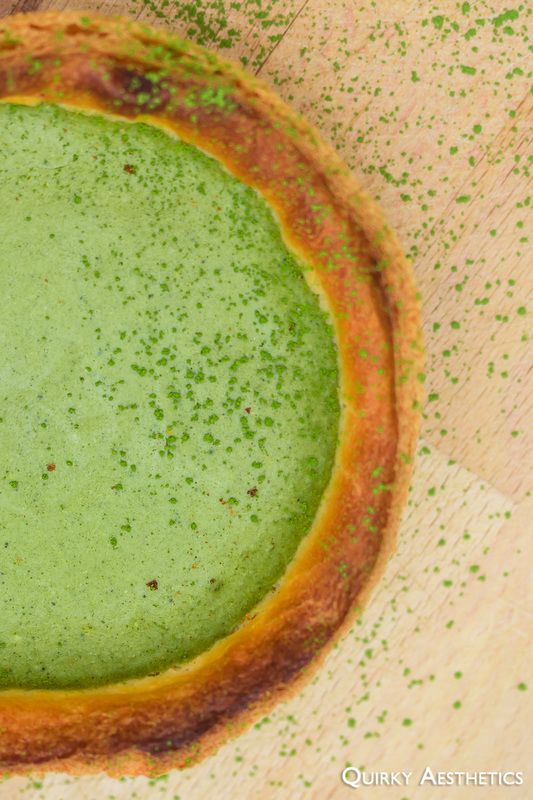
Not to be mistaken with molten cheese tarts, these indulgent pastries are more representative of a cheesecake baked in a crispy croissant shell and omit the small dosage of Parmesan typically used in Japanese-style lava tarts.

Honestly speaking, I have a fear of leaking batter, which is why it's always difficult to picture something of high viscocity turning solid once slow-baked. As a consequence of this phobia, I allowed the mixture to congeal over a hot water bath - reminiscent of forming a custard - before pouring the filling into the shell for baking.
Picture
Picture
Peachy Bunny's video served as a great guide. Those knowing me, though, will know that I have a hard time adhering to a recipe in its entirety. Eventually, my mind trailed off and found this cheese tart recipe. Combined, the methods (miraculously) yielded this successful product.
Picture
Picture
Picture
Picture
Picture
Ingredients
(Recipe inspired by and adapted from Peachy Bunny)

- 1 pkg original Philadelphia Cream Cheese (8 oz. / 226 g), softened
- 2 tbsp granulated sugar
- 3 eggs
- pinch of salt
- 1/4 cup half & half cream*
- 1/4 milk*
- 1 tbsp corn starch
- 2 tbsp matcha/green tea powder *
- 1/2 tsp vanilla extract
- 1 pkg Pillsbury original Crescent Roll (225 g)


Directions:

1) Preheat oven to 375 F. 
2) Line aluminum trays with puff pastry dough as desired. (I opted to line some in their entirety and others solely on the bottom.)
3) Beat softened cream cheese until smooth. Add in sugar and mix again.
4) Add in the pinch of salt, vanilla extract, cream, and milk. Beat lightly to combine.
5) Sift in cornstarch and matcha powder, then gently mix.
6) Add in eggs and beat until well combined.
7) Bring a small pan of water to a roaring boil, then reduce to medium heat.
8) Place matcha cheese filling over the pot of simmering water, stirring constantly as the mixture thickens.
9) Remove from heat once the mixture achieves a runny custard consistency. When lifted with a spatula, the mixture should drip back into the bowl very slowly.
10) Allow the mixture to rest for 1-2 minutes before carefully filling each puff pastry-lined tin. Gently drop on a sturdy surface to remove any air bubbles.
11) Bake for 10 minutes, or until the edges of the puff pastry become a rich copper shade. Let cool on a wire rack, then refrigerate. Allow the tarts to chill for at least 4 hours.
12) Serve and enjoy!


Notes
- I commited the dreaded mistake of baking my puff pastry tart shells once before pouring in the filling. As a result, the shell drastically puffed up and was required to be flattened before the second baking process. When using storebought puff pastry, I would recommend baking at the same time as the filling to prevent burning.
- Both cream and milk were utilized in this recipe, however it should be noted that either form of dairy is fine. The type of milk (1%, 2%, or whole) can be varied to your preference. If substituting with skim milk though, please add a splash of cream to maintain the required fat content.
- As opposed to Peachy Bunny's rendition, I opted to use a much smaller amount of matcha powder. Personally, I found that two tablespoons' worth was sufficient in obtaining the desired flavour and colour intensity, but feel free to adjust this amount to suit your preferences.

4 Comments

Homemade Poke Bowl

12/3/2016

0 Comments

 
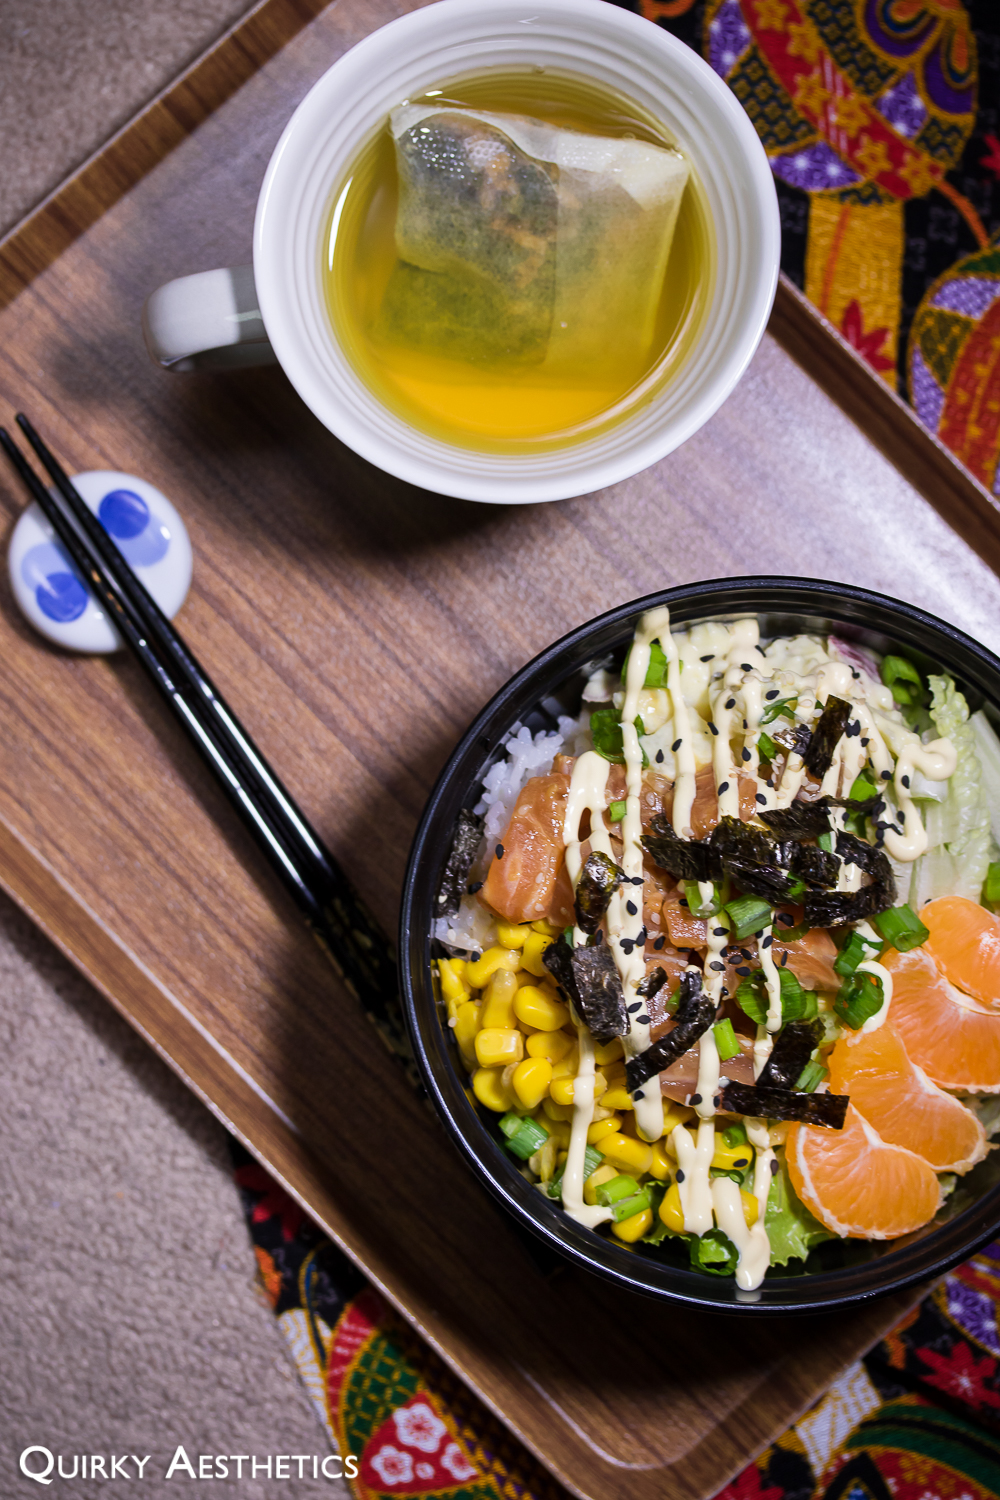
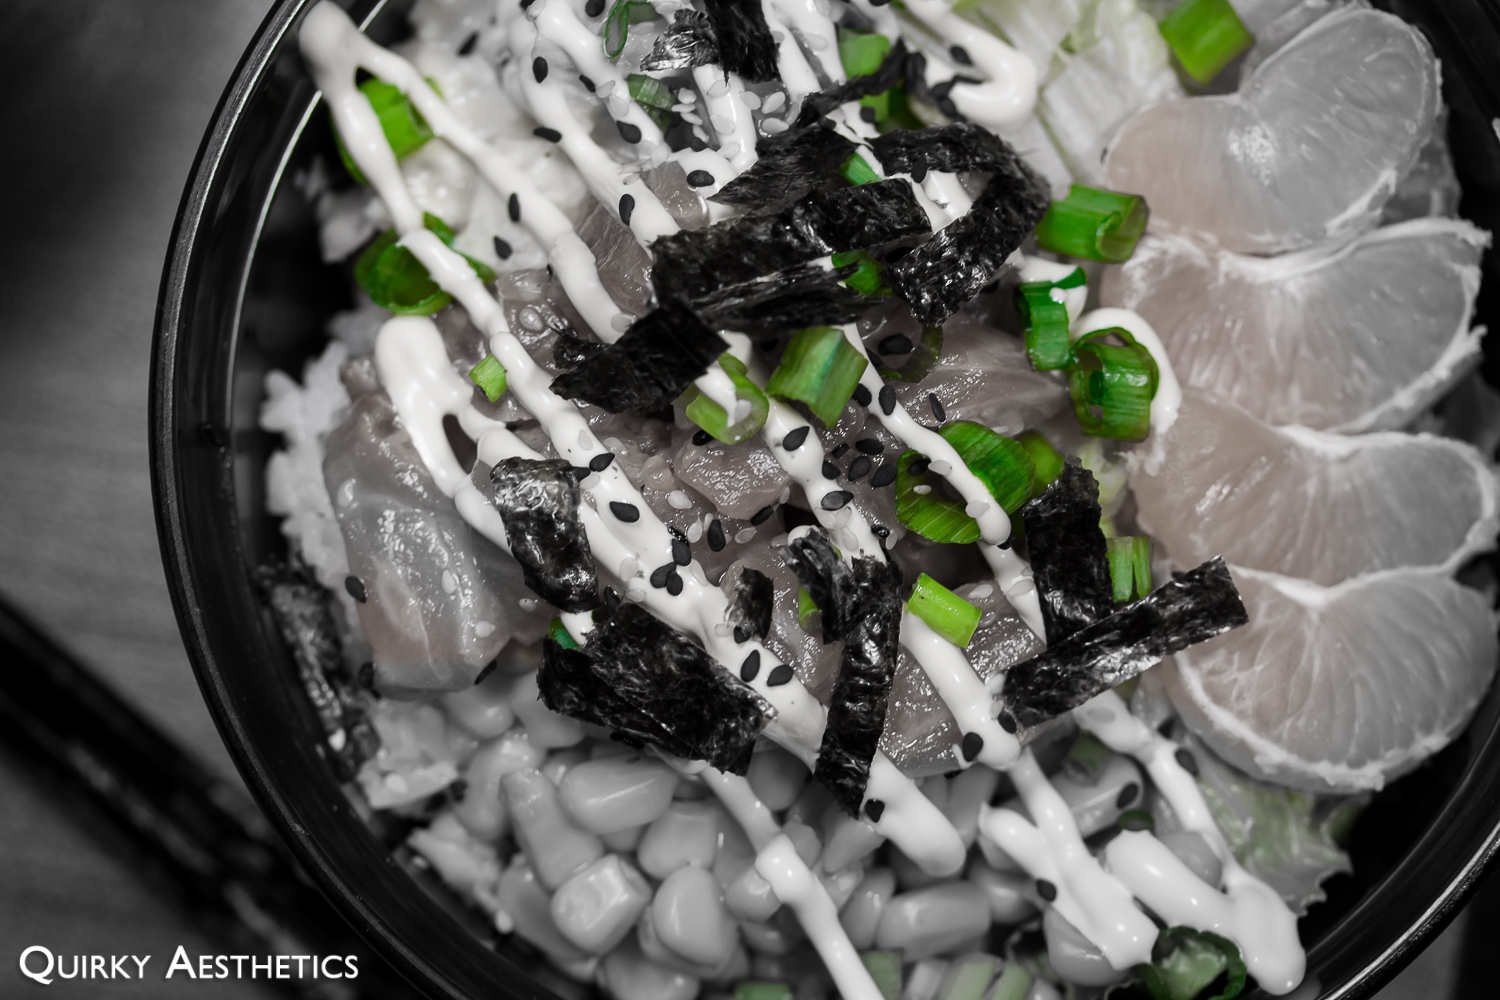
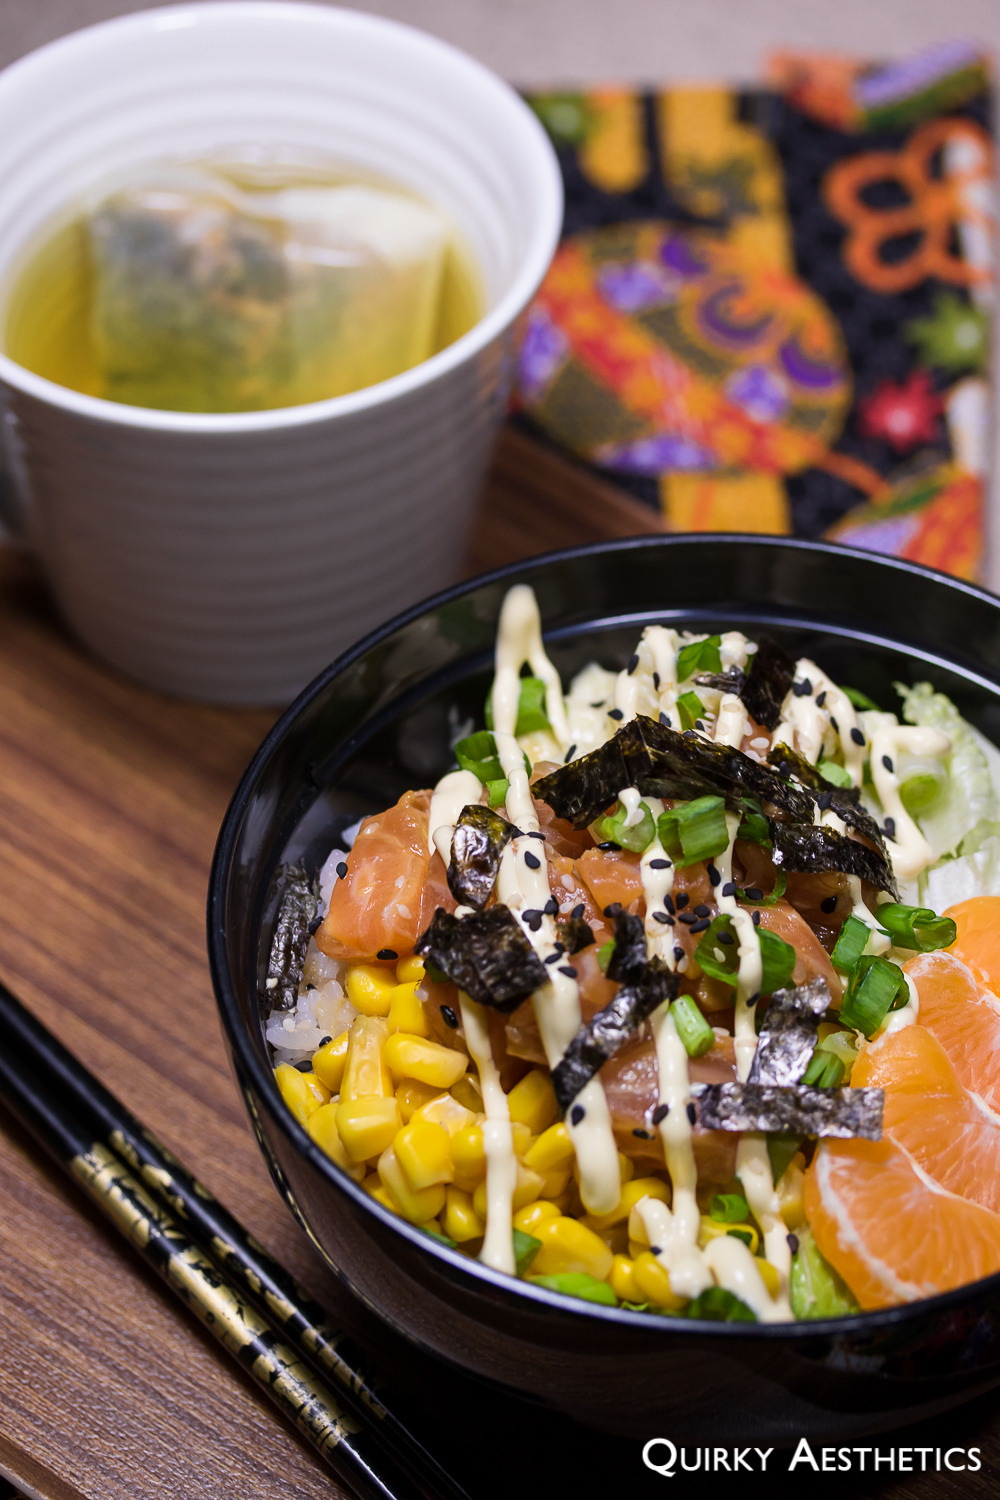
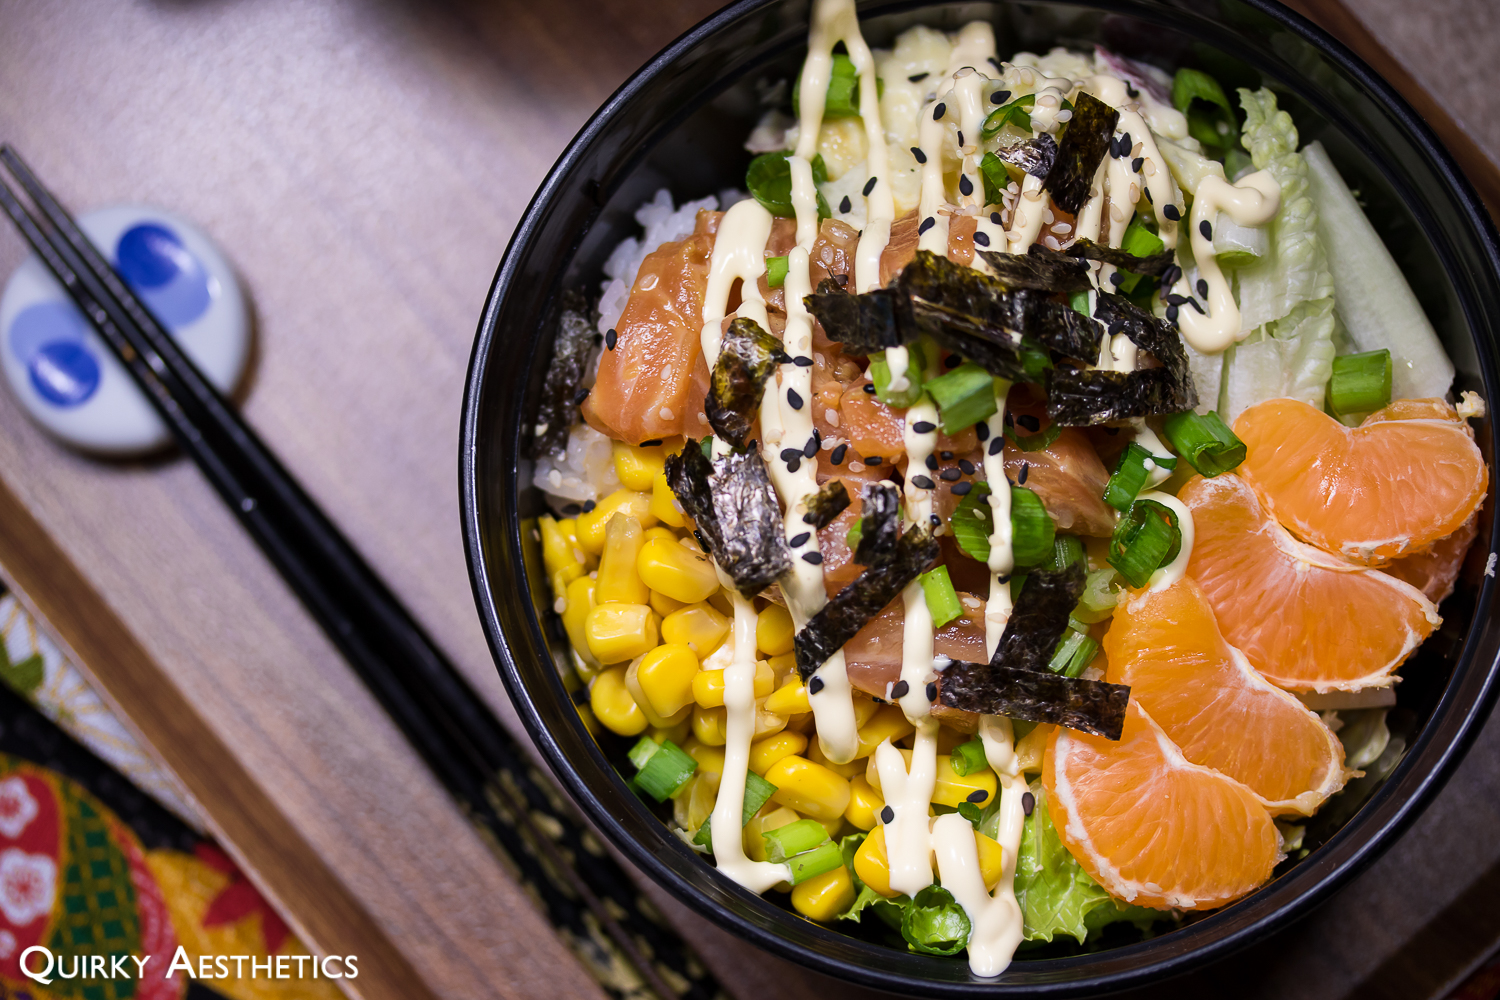
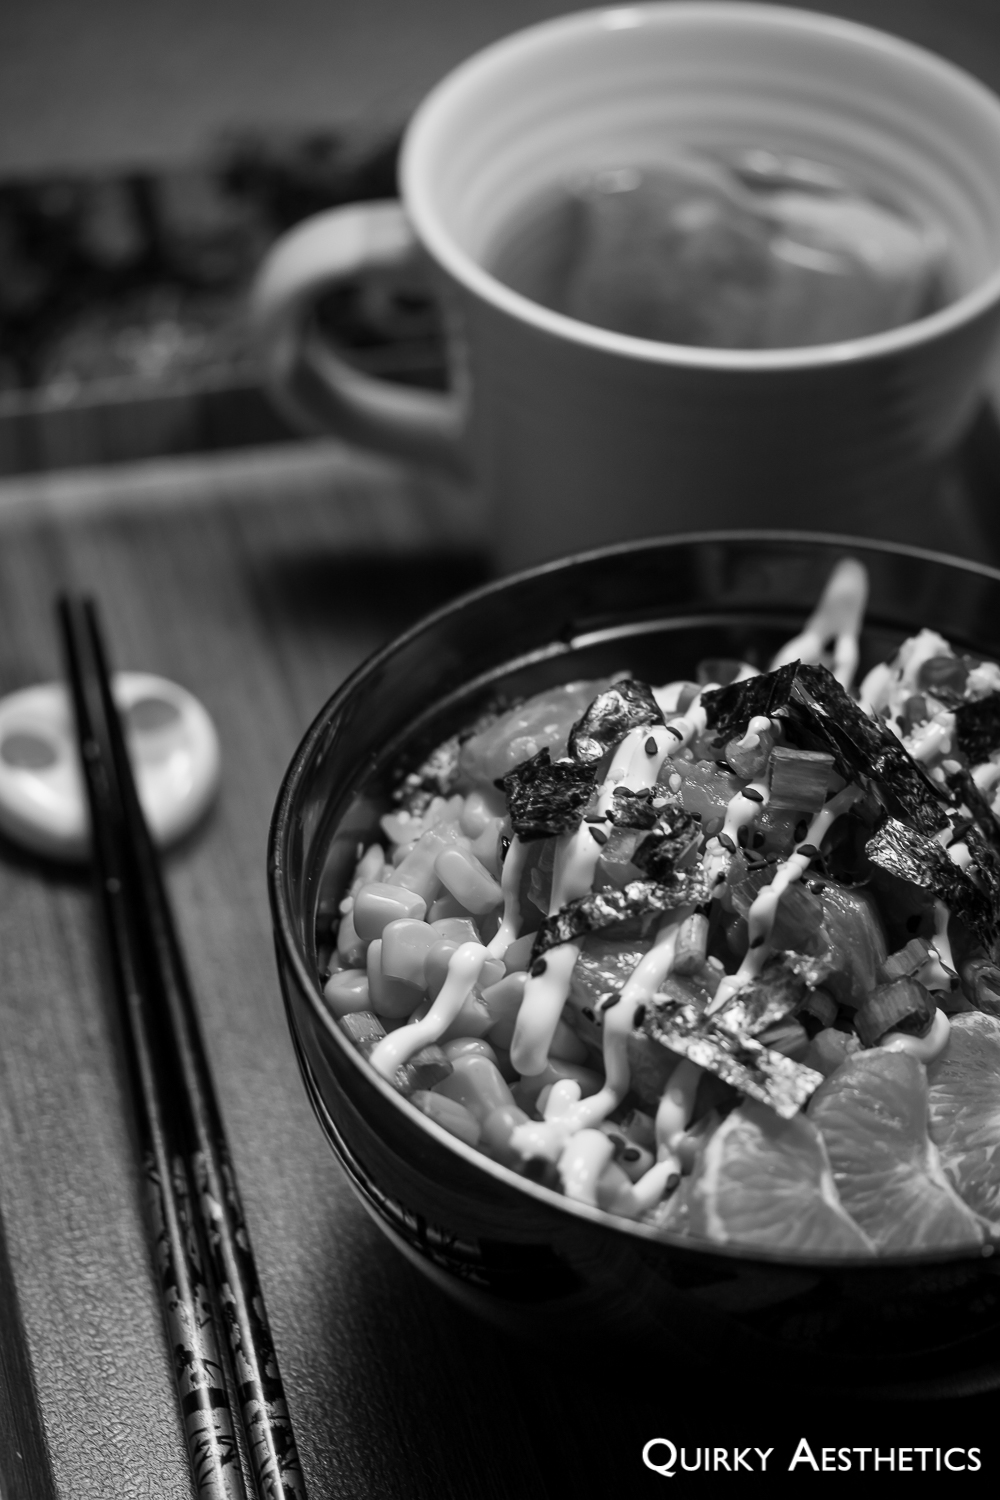
Poke bowls are to me as what Chipotle burrito bowls are to our neighbours in the south: an incurable addiction. I'd like to revel in the fact that protein-topped rice and veggie combinations are far more nutritious and provide supreme post-consumption satisfaction though.

Several poke restaurants throughout the GTA (1, 2) , as well as Vancouver, already allow meals to be fully personalized to customers' preferences, but attempting to compile one's own rendition at home literally hands over the baton of customization.
The concept is simple, really, but the resouce allocation and preparation processes themselves are quite time-consuming.
Picture
Picture
Picture
Picture
Picture
Ingredients

Marinade:
- 1 tbsp sesame oil
- 1 tsp wasabi
- 1 tsp rice wine vinegar
- juice of half of a lime
- 2 tbsp light soy sauce
- 2 tbsp maple syrup
- 1 tsp white sesame seeds
- 1 tsp black sesame seeds
- pinch of sea salt
- pinch of granulated sugar

Poke Bowl*:
- 1/2 fillet salmon sashimi
- 2 tbsp corn kernels
- 1 cup romaine lettuce, roughly chopped
- 1 tbsp potato salad
- 1 stalk green onion, finely chopped
- Jeju mandarin wedges
- dried seaweed strips (to taste)
- black and white sesame seeds (to taste)
- 1/3 cup cooked white rice

- 1-2 tbsp rice wine vinegar
- pinch of sea salt
- pinch of granulated sugar
- Kewpie mayonnaise


Directions:

Part i:  Salmon Poke
1) Using a sharp knife, carefully slice sashimi-grade salmon fillet into small cubes of approximately 2 cm each.
2) Mix marinade ingredients in a medium bowl and coat cubed salmon well.
3) Let sit covered while the other components of the poke bowl are prepared.


Part ii: Poke Bowl
1) Combine white rice with rice wine vinegar, sea salt, and sugar. Mix well.
2) Place sushi rice and/or romaine lettuce at the bottom of a shallow, wide bowl. Top with potato salad, corn kernels, and Jeju mandarin wedges. Spoon marinated salmon poke to the centre of the bowl.
3) Garnish with green onion, sesame seeds, nori strips, and mayonnaise.
4)
Serve and enjoy!

Notes
- Poke bowls allow for complete customization; this being stated, it should be noted that the items utilized in this recipe should be viewed as a mere guideline for variance in nutritional properties. White sushi rice can easily be substituted for quinoa, brown rice, or soba noodles; sunomono (crab meat salad) and pineapple chunks can be used in place of potato salad and mandarin wedges respectively. Feel free to let your creativity guide you!
- It is crucial that sashimi-grade fish is obtained for this recipe, as raw salmon and tuna fillets cannot be handled in the same manner and may induce disease if not treated properly.
- For a vegetarian or vegan option, tofu (or any other plant-based protein of choice) can be utilized in place of salmon.

0 Comments

Wafu-Style Salad & Green Tea Soba with Black Sesame Paste Sauce

4/2/2016

0 Comments

 
Creating combinations with uncommon flavour pairings is always an enticing mission. Fusion cuisine, when executed successfully, exude the same unique appeal.

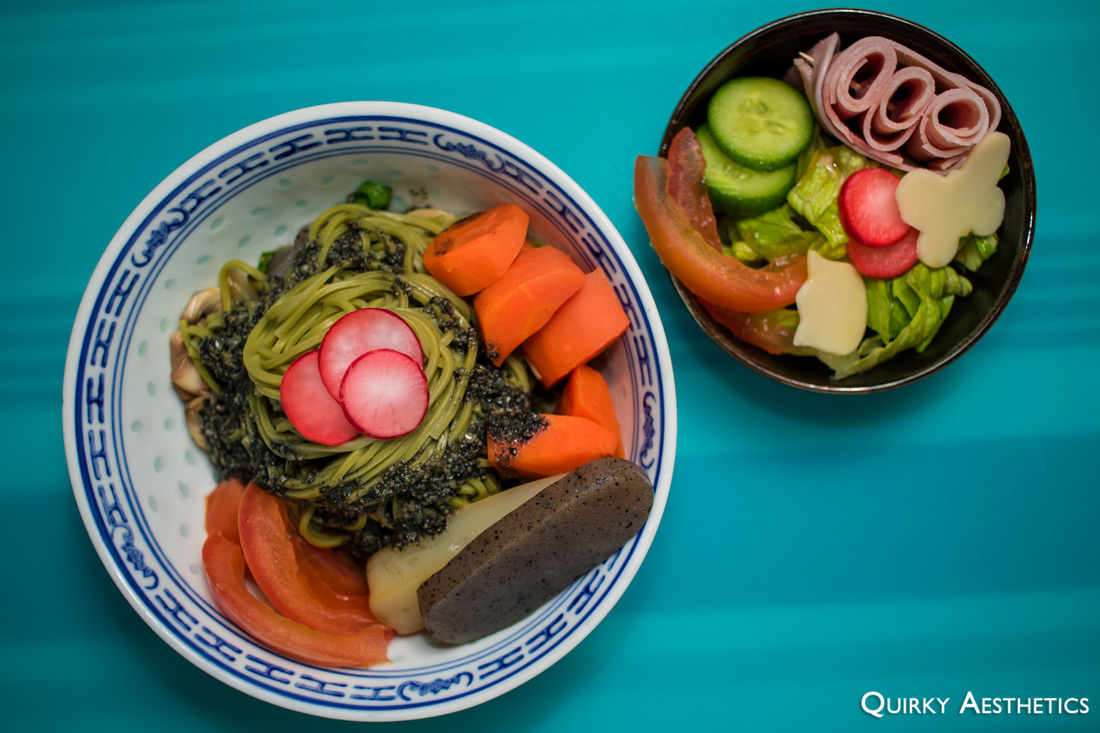
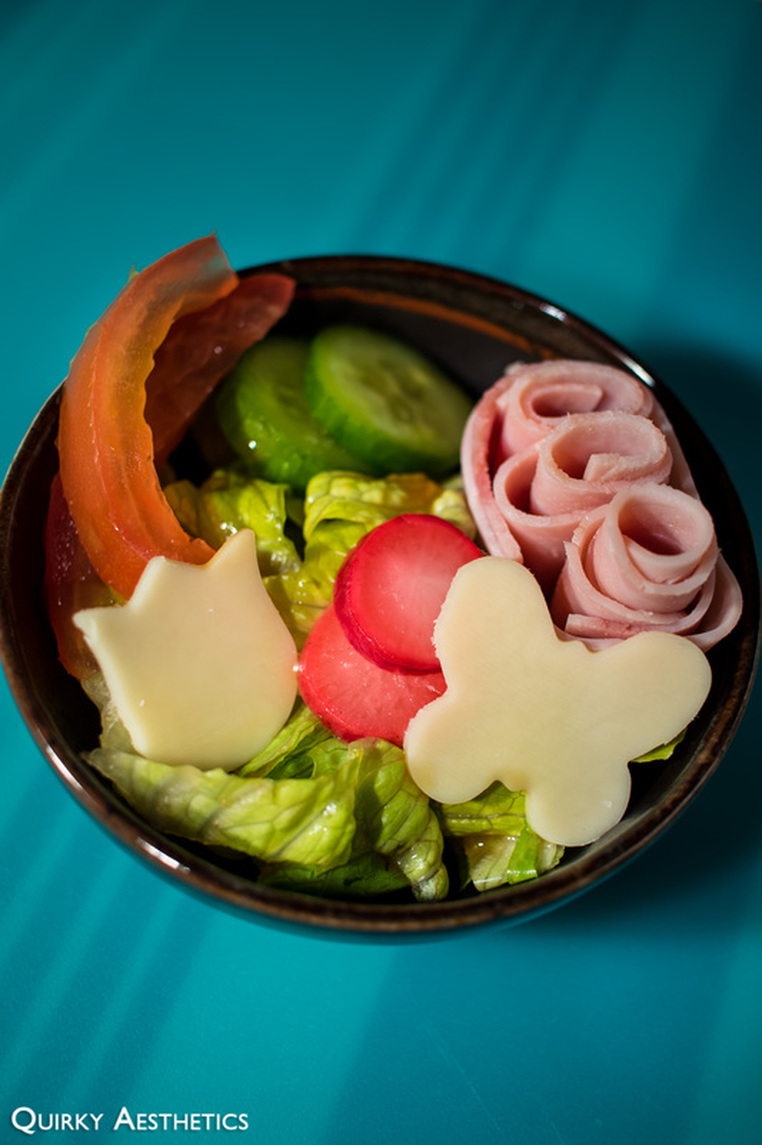
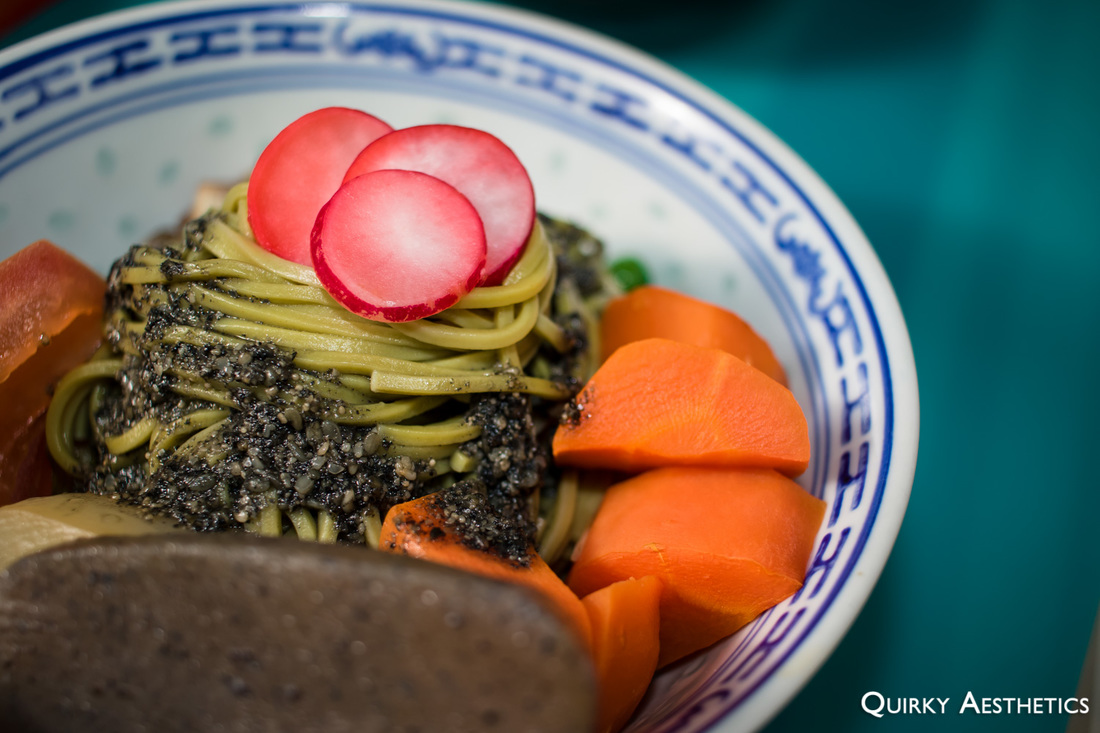
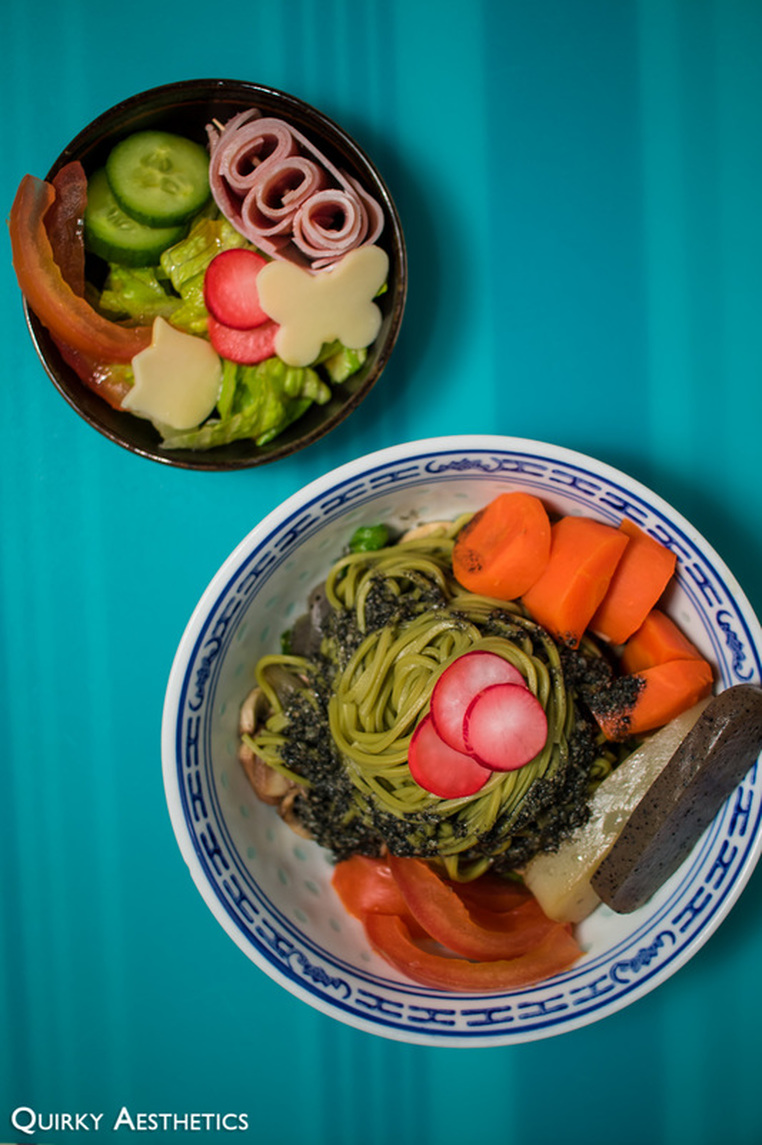
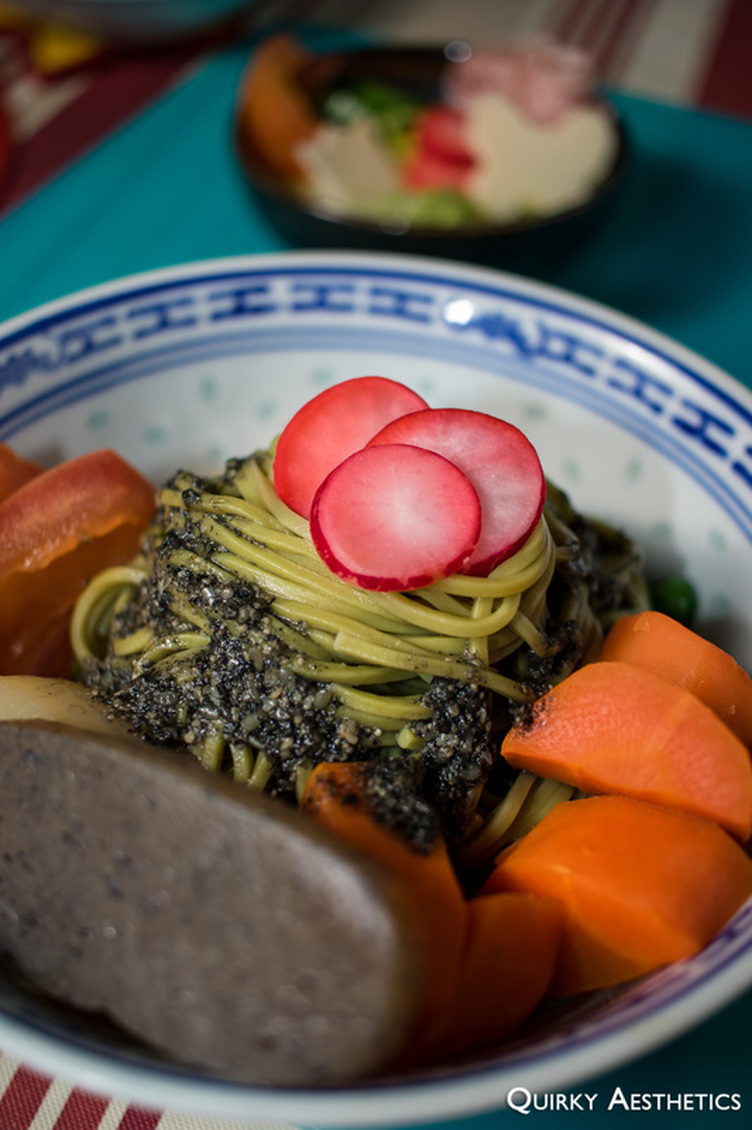
The original mission was to create a creamy carbonara with the remaining ingredients in the fridge; but after the ingredients had been prepped, I came to the conclusion that they suited wafu-style dishes much more. A side salad with tangy vinaigrette dressing and a multi-toned bowl of Green Tea Soba with Black Sesame Paste Sauce resulted from this decision.
Picture
Picture
Picture
The dishes comprises of a significant number of components, through which preparation actually requires a lengthier prep time than the cooking process. It would wise to allow two hours for this project, with 30 minutes worth of slack should you find yourself unsure of the next steps. 
Picture
Picture
Ingredients

Pickled Radishes (for topping)
- 1 cup red radishes
- 3/4 lime
- 2 tbsp honey
- pinch of salt
- 2 tbsp granulated sugar

Wafu-Style Salad
- 1 head romaine lettuce
- 2 tomatoes
- 2 mini cucumbers, sliced
- 1-2 slices of deli ham (optional)
- 1-2 slices Swiss cheese (optional)
- 2 tbsp rice wine vinegar
- 2 tbsp corn syrup
- 1/4 cup soy sauce
- 1/4 cup water
- 2 tsp wasabi

Green Tea Soba with Black Sesame Paste Sauce
- 3 bunches green tea soba
- 3 carrots, diced
- 2 packages shirataki (optional)
- 10 cremini mushrooms, thinly sliced
- 1 head romaine lettuce
- 4 shallots, thinly sliced
- 1/2 cup black sesame seeds
- 2 tbsp white sesame seeds
- 2 tbsp sesame oil
- 1 tbsp rice wine vinegar
- 2-3 tbsp maple syrup
- 2 tbsp light soy sauce

Directions:

Part i:  Pickled Radishes
1) Thinly slice the red radishes and place into a medium-sized bowl.
2) Add in the juice of 3/4 of a lime, honey, salt, and sugar to taste.
3) Mix thoroughly and set aside for at least 1 hour to pickle.
4) Chill before serving.

Part ii: Wafu-Style Salad
1) Wash and thoroughly drain the romaine lettuce, discarding any wilted sections in the process. Chop into strips and allow to drain well as the other ingredients are prepared.
2) Slice tomatoes into wedges and discard the seeds. Set aside.
3) Use cookie cutters to form small decorative pieces of cheese for topping. (Optional)
4) Slice deli ham into 1-inch sections. Roll three sections and secure with a toothpick. Use the remaining two strips to cover the edges of the toothpick. (Optional)
5) Make the the vinaigrette dressing by combining the rice wine vinegar, corn syrup, soy sauce, water, and wasabi in a small bowl. Whisk to combine and chill before serving. (Alternatively, ponzu sauce could be used in place of soy sauce and rice wine vinegar.)
6) Arrange tomatoes, cucumbers, cheese cutouts, and deli ham on top of lettuce strips just before serving. Drizzle with wafu-style dressing and top with pickled radishes if desired.
7) Serve and enjoy!

Part iii: Black Sesame Paste Sauce
1) Soak black sesame seeds in water for approximately one hour. In a separate bowl, soak the white sesame seeds for an equal duration of time.
2) Drain well and spoon into a shallow pan. Over medium-high tea, toast until the white sesame seeds change colour. Be sure to keep the seeds in constant motion such that they do not burn.
3) Remove from heat and place into a food processor. Grind until the seeds are largely pulverized, adding in small amounts of water to ease the process if necessary.
4) Place mixture into a large bowl and add in sesame oil, rice wine vinegar, maple syrup, and soy sauce. Whisk well to combine.
5) Serve with Green Tea Soba.


Part iv: Green Tea Soba 
1) Cook green tea soba according to package directions. Strain and rinse with cold water once cooked. Set aside.
2) Rinse shirataki and slice into 1 cm-thick pieces.
3) Wash and thoroughly drain the romaine lettuce, discarding any wilted sections in the process. Chop into strips.
4) Arrange peeled and diced carrots onto a baking tray. Using a Bake/Steam function, cook for 12-15 minutes at 375 F. If your oven does not have this setting, steam until the carrot pieces have a gleaming orange surface. Ideally, the carrots should be 80% cooked. Set aside.
5) Over medium-high heat, sautee shallots in sesame oil until fragrant. Add in shirataki and approximately 1 tbsp soy sauce to taste. 6) Reduce heat slightly and add in lettuce strips and mushrooms. Continue sauteeing until the mushrooms become a light grey-brown hue.
7) Place at the vegetable sautee at the bottom of a shallow serving bowl and top with green tea soba. Arrange carrots, shirataki, and pickled radishes (if desired) on top. Drizzle black sesame paste sauce.
8) Serve and enjoy!


Notes
- The ingredient ratios in the serving and dipping sauces were adjusted to my preferred degree of tartness. Feel free to modify these proportions according to your preferences.
- These dishes can be rendered vegetarian by omitting the ham slices, and also vegan by substituting tofu cheese for Swiss cheese.
- The method for preparing the black sesame paste sauce was partially derived from Mama Cheung's Kitchen.
0 Comments

Baked Tofu Fries with Sriracha Mayo Sauce

3/20/2016

0 Comments

 
I have a sad addiction to carb-heavy foods when I'm feeling haggard, so I tend to prevent myself from indulging in bread, rice, and other starchy foods once I'm back to regular sleeping patterns.
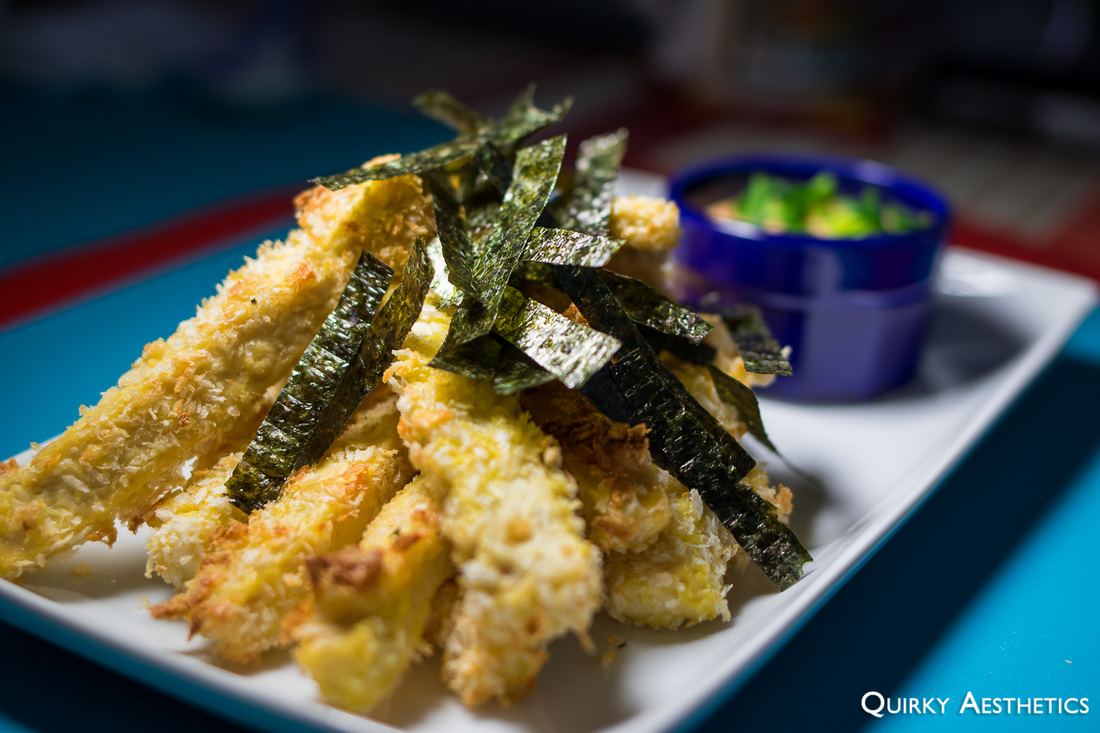
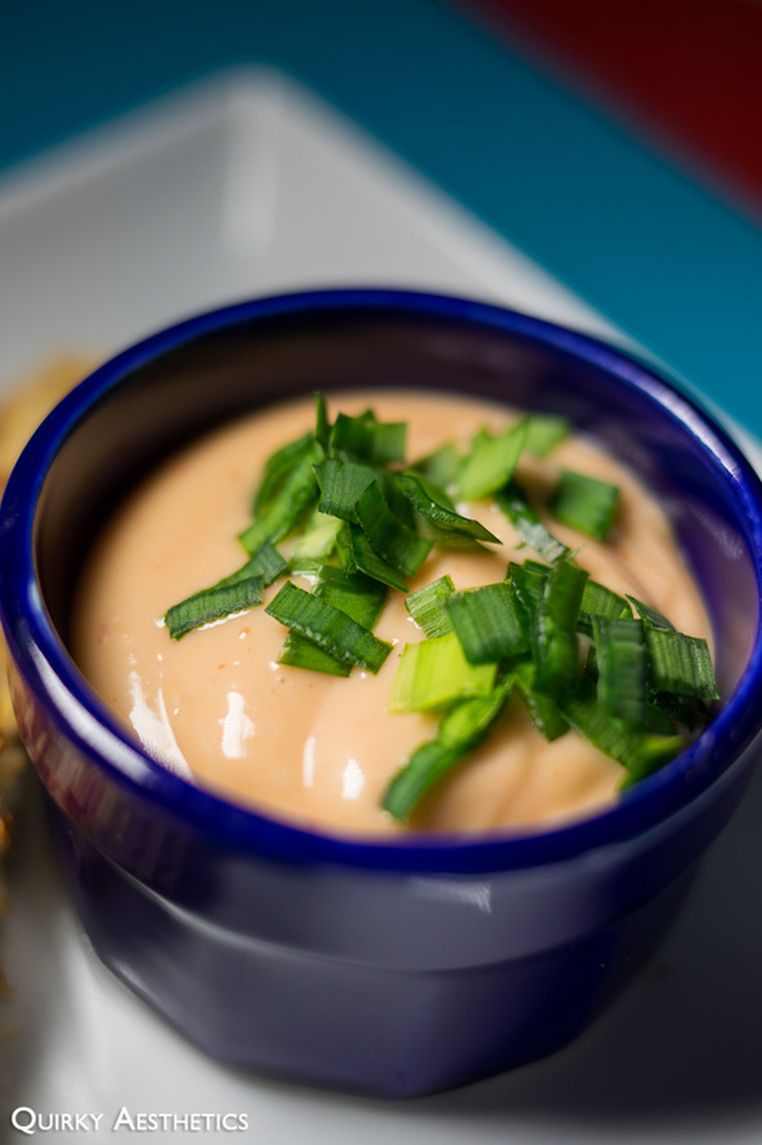
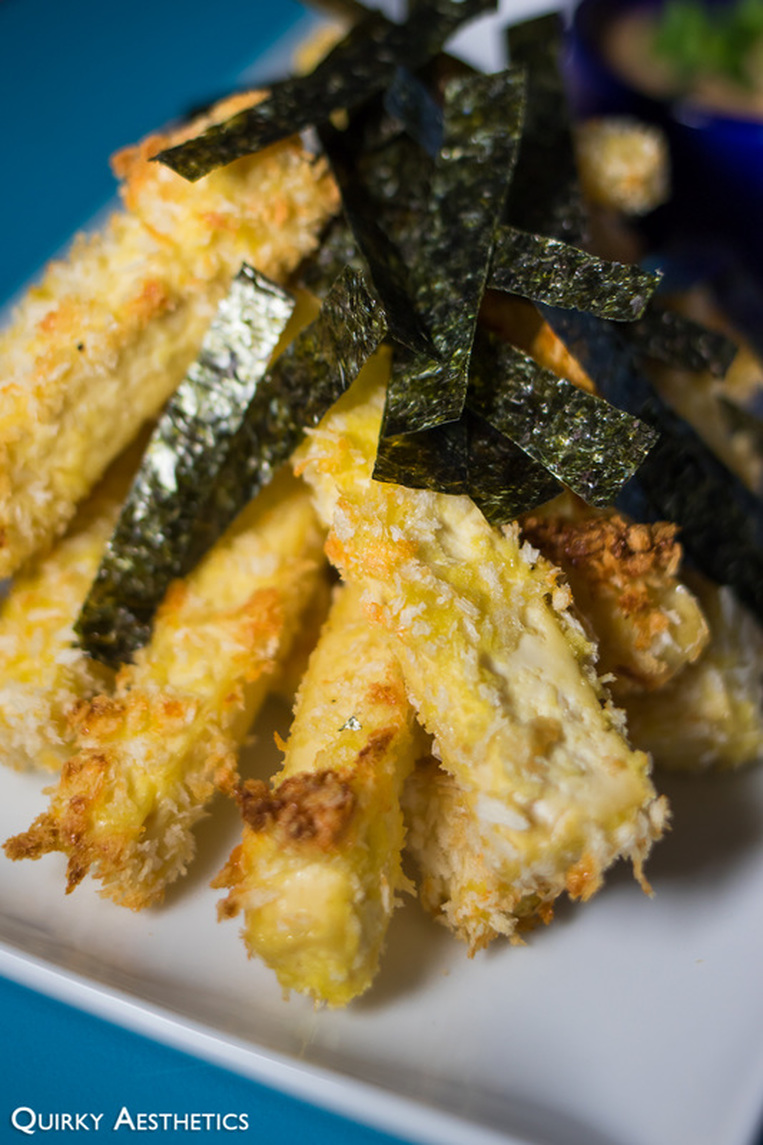
But there are days when one hankers for fries and tangy dipping sauce, so I've proposed a guilt-free solution: Baked Panko-Crusted Tofu Fries with a tangy Sriracha Mayo sauce.

Combining the satisfying crunchiness of McD's, fusion flavours of bar appetizers, and unique blend of izakaya-like spicy mayo, here's a great alternative to the greasy, fast-food classic. It's a relatively simple dish to prepare, albeit a bit time-consuming and procedure-intensive.
Picture
Picture
Picture
Ingredients

Tofu Fries
- 2 packs firm tofu *
- 2-3 cups panko
- 3 eggs
- 1/4 to 1/3 cup olive oil
- sea salt
- black pepper
- herbs/seasonings of choice *
- 1/8 cup nori strips (optional)


Sriracha Mayo Sauce
- 1 tbsp Sriracha sauce
- 3 heaping tbsp mayonnaise *
- 1 tbsp honey *
- 1 tbsp wasabi
- 1 tbsp rice wine vinegar
- 2 tbsp light soy sauce
- 2 tbsp chives, finely chopped


Directions:

Part i:  Tofu Fries
1) Drain and thoroughly dry tofu blocks. Wrap individually in paper towels and allow to drain in the refrigerator overnight (or for at least 5 hours) while placing a light weight on top.
2) Remove paper towels from tofu and pat dry. Slice into 3- to 4-inch strips roughly 1 cm in thickness. Set aside.
3) Place eggs in a medium bowl and beat well. Spoon panko into a large bowl and add in salt, pepper, and seasonings of choice (I used garlic powder and seasoned salt).
4) Preheat oven to 400 F. Line baking tray with aluminum foil and grease well with olive oil.
5) Carefully dip tofu strips into the beaten egg before coating with the panko mixture. Place strips onto the baking tray, spacing each at roughly 1.5 cm apart.
6) Bake for 10-12 minutes, or until the surface turns a golden, coppery brown hue. Remove from oven, flip over, and continue baking for another 10 minutes at the same temperature. For additional crispiness, toast for 1-2 minutes after baking.
7) Repeat 5) and 6) until all the tofu strips have been used up.
8) Let cool and prepare the dipping sauce.


Part ii: Sriracha Mayo Sauce
1) Combine all ingredients and mix well.
2) Top with chopped chives and serve with tofu fries.


Notes
- Firm tofu was used in this recipe, though it is highly recommended to obtain Very Firm tofu if possible to decrease chances of crumbling during cooking.
- In addition, or in substitution of, seasoned salt and garlic powder, other dried herbs such as thyme or basil can also be used for enhanced aroma.
- I have used a tabletop convection oven for this recipe; cooking times may differ on a full-scale oven so it is suggested to check frequently and adjust baking times accordingly.
- Feel free to modify the sriracha-mayo ratio to your preferred liking and degree of spiciness.
- An egg-free mayonnaise or specialty vegan mayonnaise can be used in place of regular mayonnaise to render this recipe vegan.

- If honey is not available, feel free to substitute with 1-2 tbsp of granulated sugar.
0 Comments

Somen in Lemongrass Coconut Broth

3/8/2016

0 Comments

 
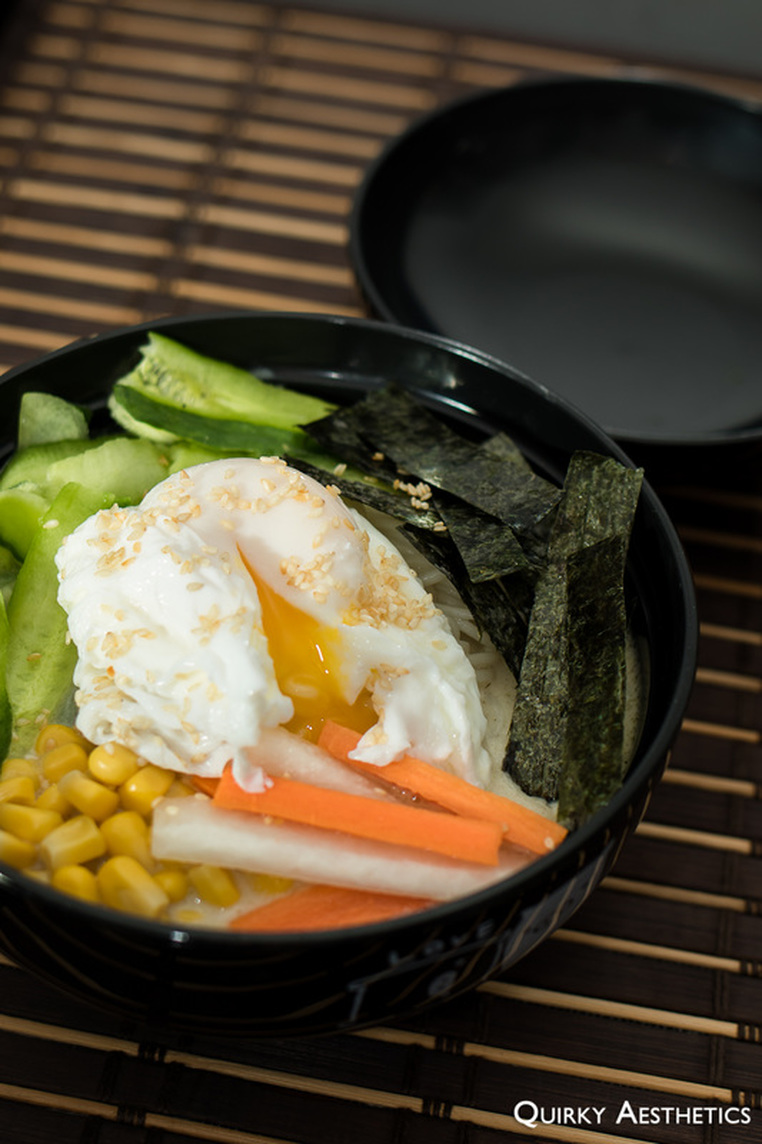
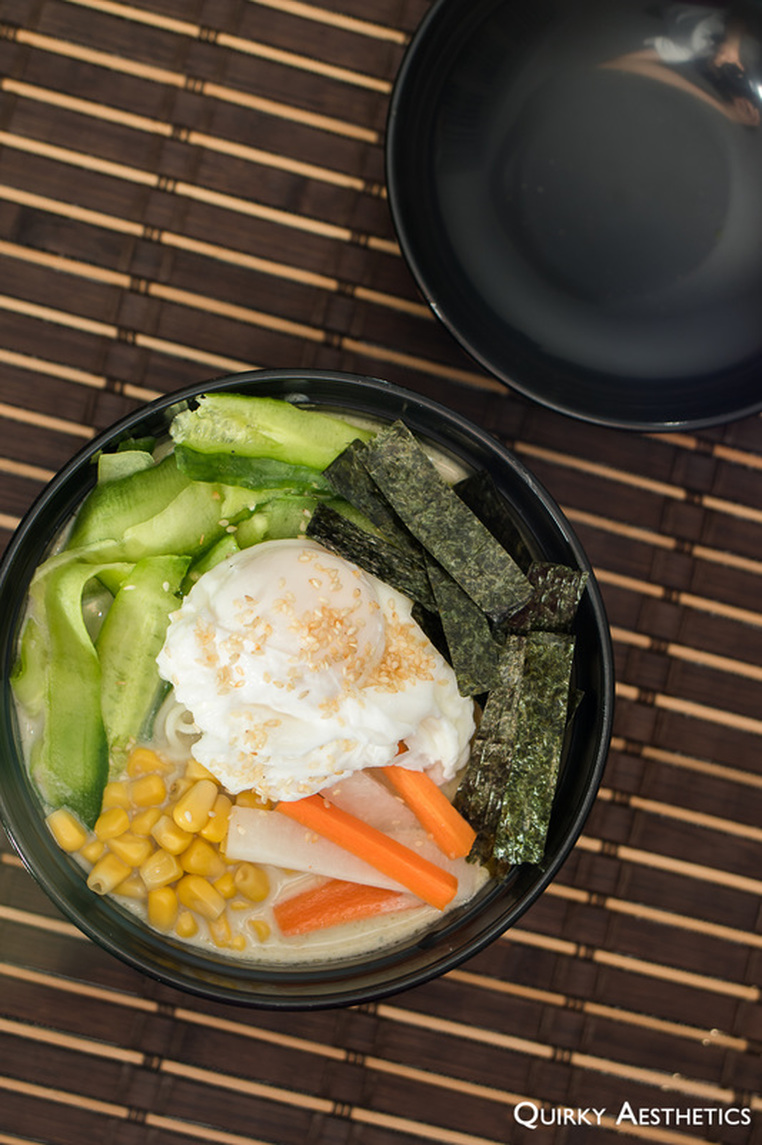
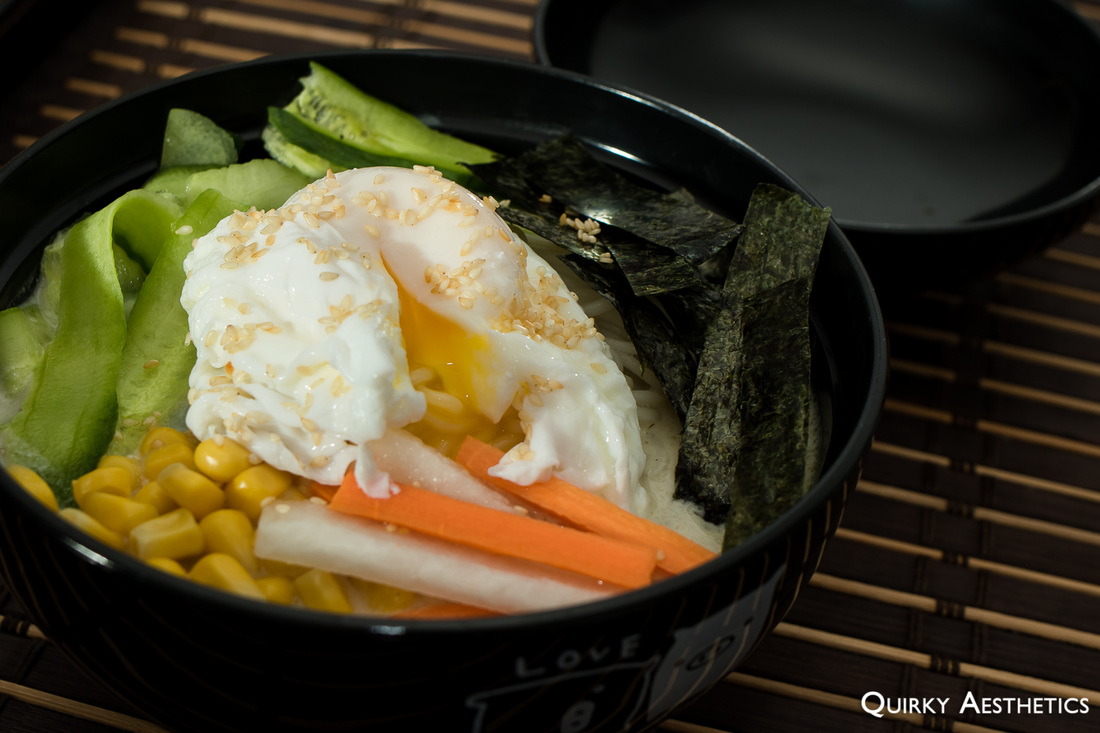
What's better than ramen? DIY somen!

Pricey bowls of cold ramen salad have never been my thing (I mean, $12 for canned corn and tacky noodles?!?), and neither have greasy, slick portions of pork bone soup. In celebration of the weather finally making a turn for the positive (literally so), I present to you  a tangy, refreshing noodle dish that can be served either hot or cold.
Picture
Picture
Picture
Ingredients

Broth (Recipe inspired by and adapted from La Fuji Mama)
- 2 cans coconut milk
- 2-3 cups water
- 3 tbsp olive oil
- 2 tbsp lemongrass powder
- 1 stalk leek, chopped
- 1 bunch cilantro*
- 5 cloves garlic, minced
- 1.5 tbsp thyme
- 3 limes, juiced*
- 1/4 cup soy sauce
- 1 tbsp granulated sugar
- 3 tbsp sea salt (or as required)

Somen Noodles
- 4 bunches uncooked somen noodles
- 3-4 mini cucumbers
- 1/2 can corn kernels
- 2 nori sheets
- 1/3 cup sesame seeds
- 2 eggs
- other toppings of choice*

Pickled veggies (optional) (Recipe adapted from White on Rice Couple)
- 1 medium daikon
- 3 large carrots
- 1 cup white vinegar
- 1/3 granulated sugar*
- 1 cups water

Directions:

Part i:  Broth
1) Clean cilantro thoroughly and remove any wilted stalks. Pat dry and set aside.
2) In a large pot, sautee leek and garlic in olive oil over medium-high heat for several minutes or until fragrant.
2) Add in lemongrass powder, thyme, granulated sugar, and approximately one cup of water. Allow to simmer gently.
3) Combine coconut milk, water, and lime juice. Add into the pot.
4) Allow the mixture to simmer for a few minutes before stirring. Mix and reduce the heat immediately if the mixture begins to boil vigorously.
5) Add in soy sauce and salt. If necessary, adjust the amount of salt to your preference.
6) Remove from heat and set aside.
7) Add in cilantro several minutes before serving to prevent excessive wilting. (Please note: I added in the cilantro while preparing the broth, but would recommend performing this step later on instead.)

Part ii: Somen Noodles
1) In a shallow pot, bring water to a boil and add in somen noodles. Cook for 5-8 minutes, or as directed on the packaging, and remove from heat. Drain and rinse with cold water before floating over an ice water bath until ready to serve.
2) Thoroughly wash and skin mini cucumbers, leaving thin trails of skin on each strip. Discard the centres (or reserve for smoothie-making). Transfer cucumber strips into a serving bowl.
3) Cut nori into thin rectangular strips, roughly 1 in in length and 1 cm in width. Transfer to a serving bowl.
4) Place sesame seeds in a shallow pan and toast over low heat, mixing every so often. Once lightly browned, remove from heat and transfer to a serving bowl.
5) In a shallow pan (or medium-sized skillet), bring water a roaring boil. Immediately reduce the heat until only a few bubbles float to the surface.
6) Crack one egg into a shallow dish and slowly lower into the water. Allow the egg to poach for 3-4 minutes. Remove and cool in a bowl of water. Repeat with the remaining egg.
7) Transfer corn kernels into a serving bowl.
8) Set aside cucumber strips, nori strips, toasted sesame seeds, poached eggs, and corn kernels until ready to serve.

Part iii: Pickled veggies (optional)
1) Thinly slice daikon and carrot into strips. Place into a large bowl and cover with white vinegar and sugar. Add water and allow to pickle for about one hour.
2) Set aside until noodles are ready to serve.

Part iv: Compilation
1) Combine broth and somen noodles at the desired ratio and add toppings.
2) Enjoy!

Notes
- Try to obtain the freshest cilantro possible in order to maintain a grassy hue even after submerging in steamy broth.
- Pickled veggies should be served as an appetizer. Refrain from fully submerging them into the broth as it can cause the broth to become unnecessarily sour.
- I added 3 tbsp of granulated sugar and two cups of water to my pickled veggie mix and the outcome was lacking in flavour. The amounts in this recipe have since been adjusted to yield a more desirable finish.
- The resulting broth was found to be a bit bland, therefore I would highly suggest adding in a greater amount of salt than indicated above in Part i). For optimal results, taste the broth after the addition of lime juice and adjust as needed. Alternatively, feel free to reduce the amount of lime juice.
- During the egg poaching process, a shallow pot was utilized instead of a shallow pan/skillet. However, after experiencing a frenzy of egg whites roaming wild within the water, I would highly recommend using a skillet instead.
- Omit the egg for a low cholesterol variation or an entirely vegan option.
- Feel free to add whichever other toppings you desire, whether that be miso marinated eggplant, sweet potato, etc.
- I have opted to omit any spicy elements, but feel free to add chili flakes to render the dish to your liking.
0 Comments

Canada Day Mille Crepe Cake

7/7/2015

0 Comments

 
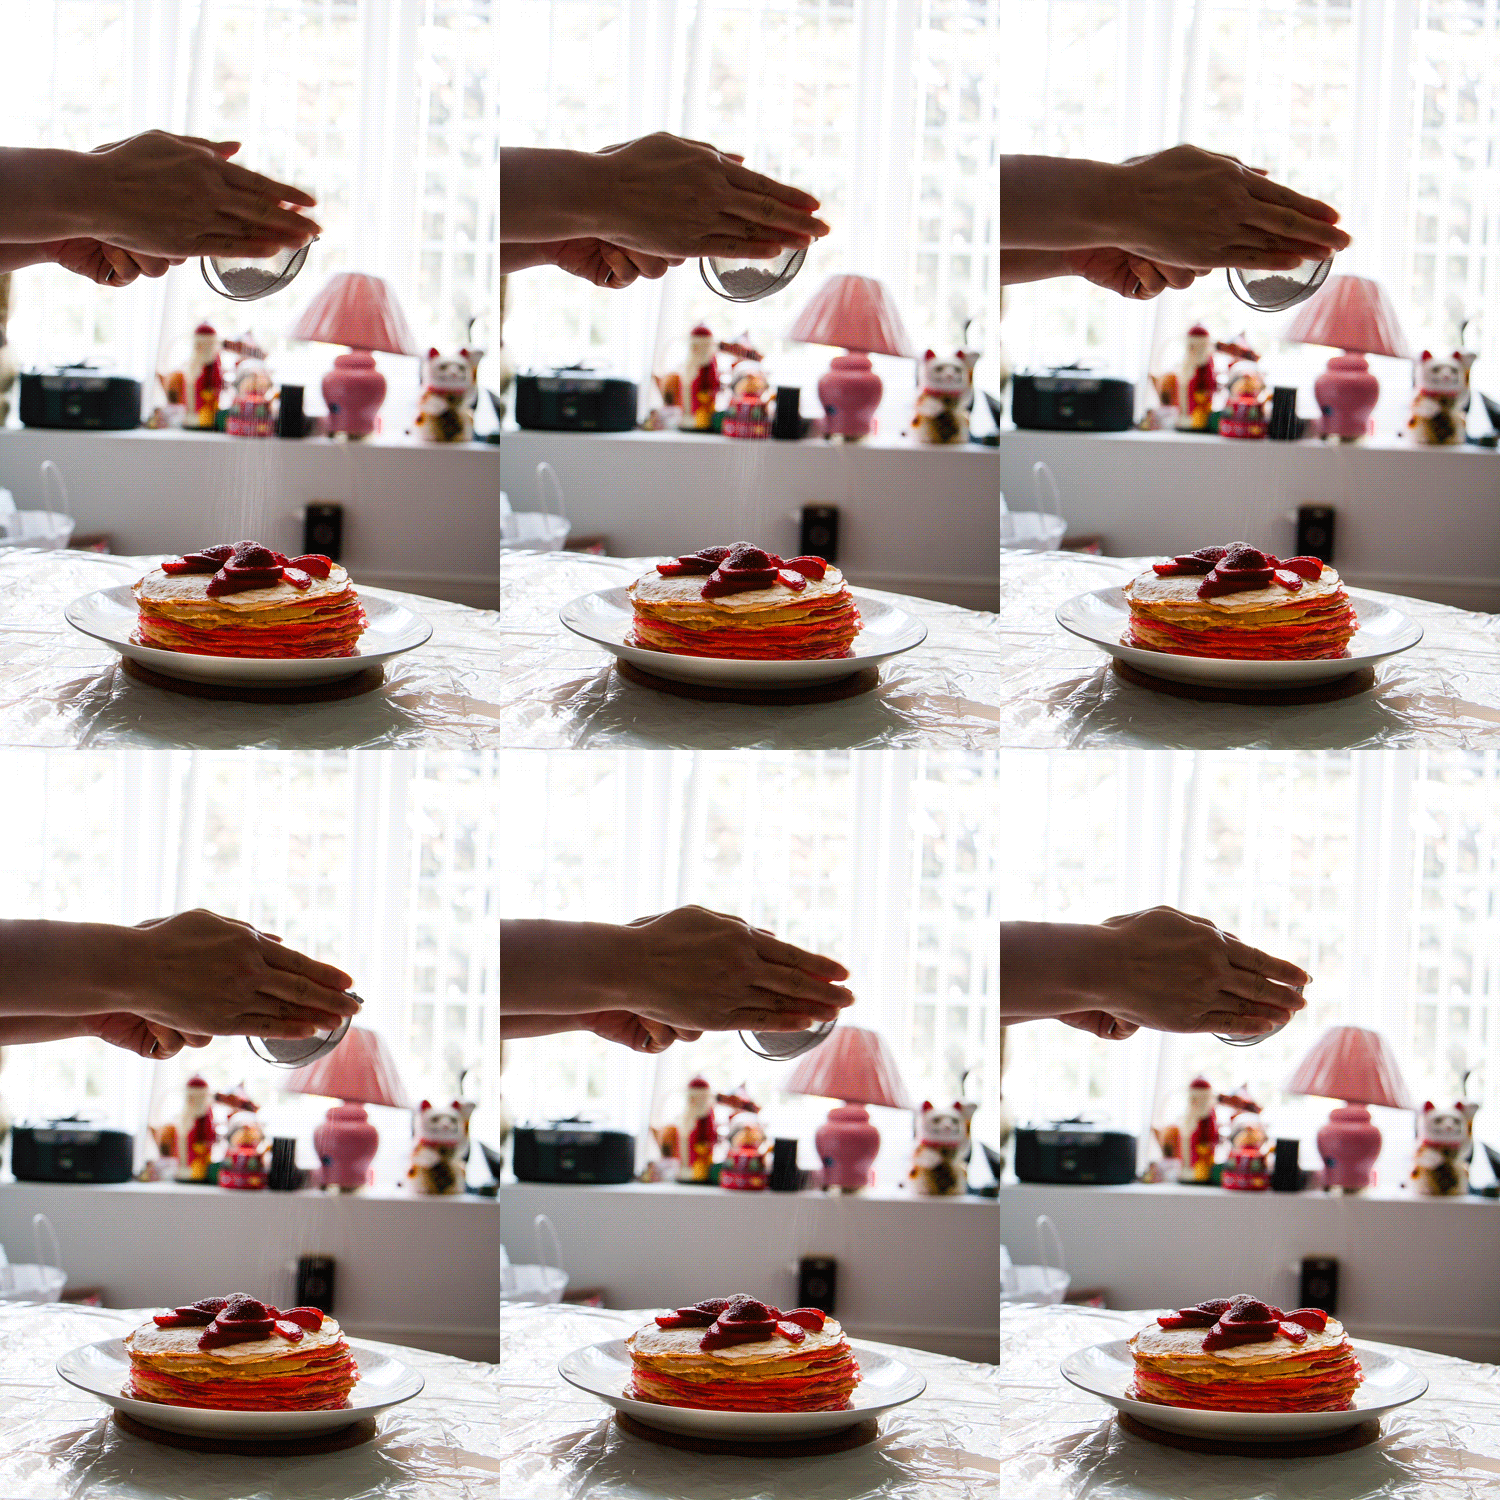
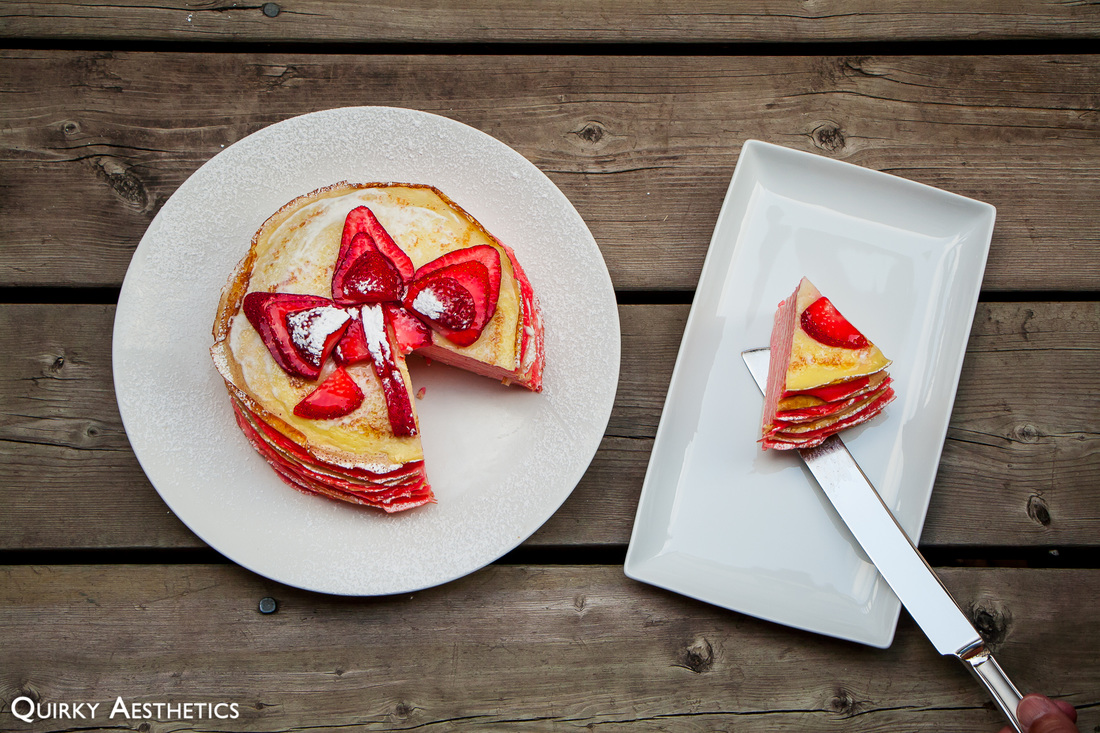
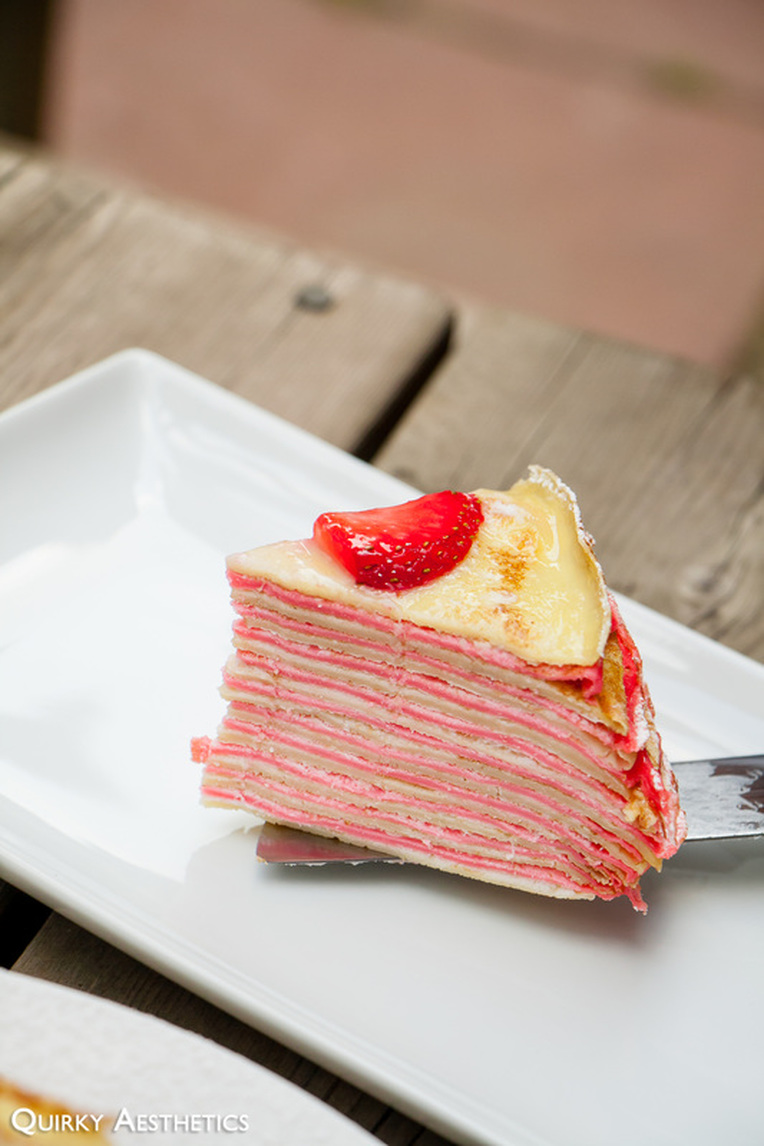
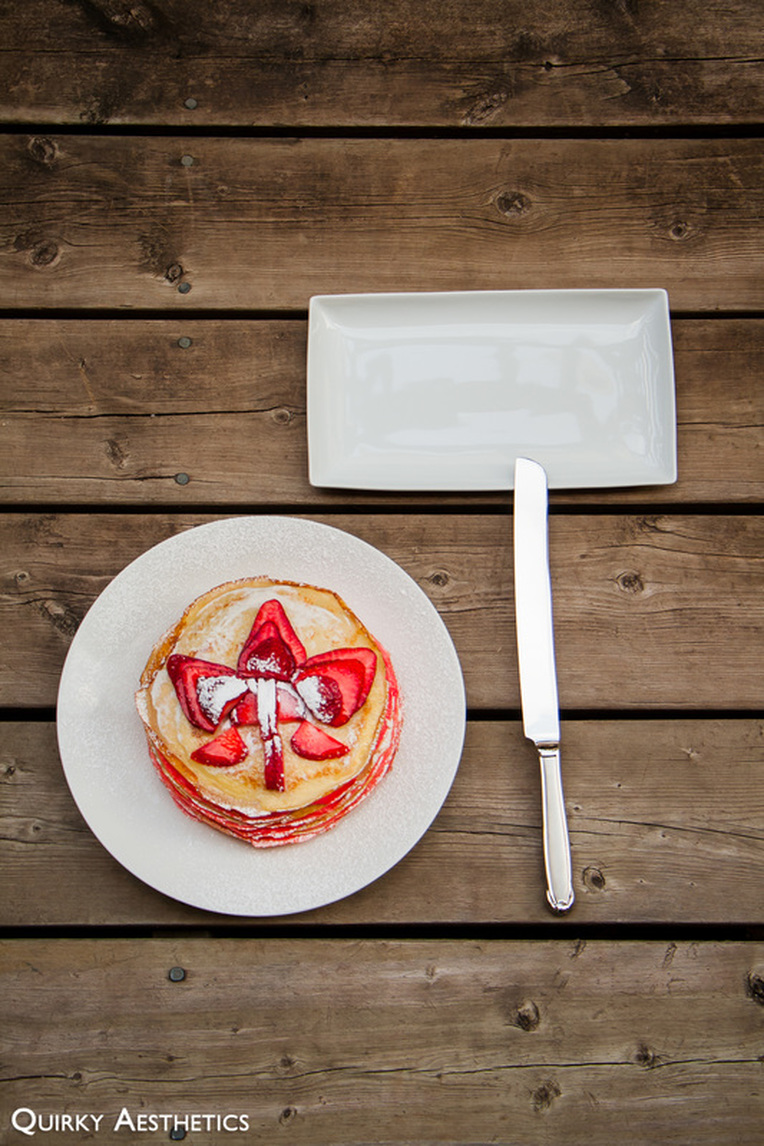
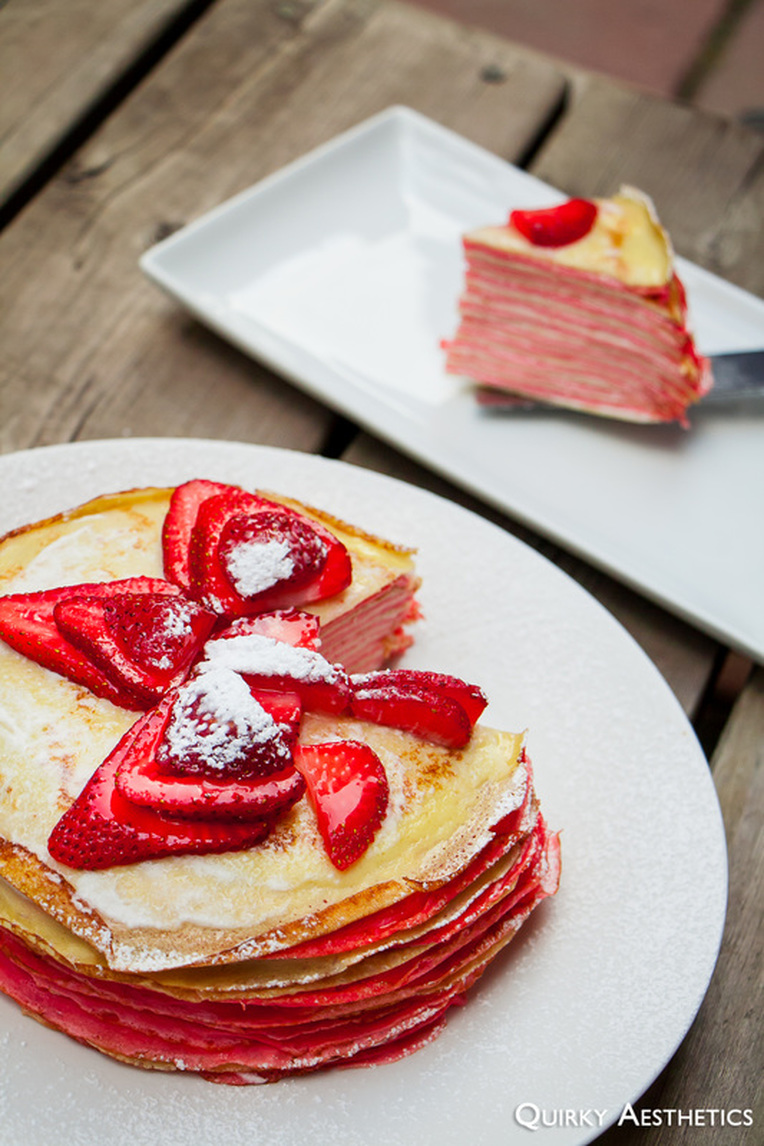
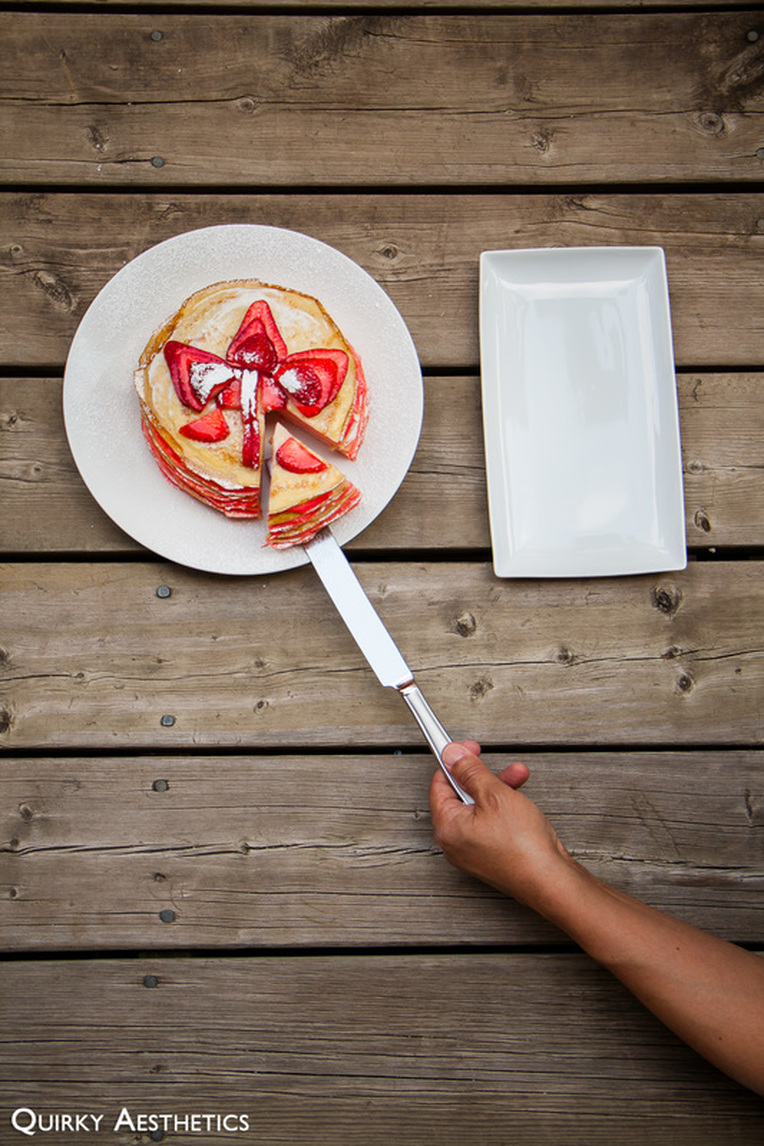
Mille Crêpe cakes are awesome, when they're made correctly that is. Regardless of accuracy, though, these layered sweets tend to be on the pricier side due to the extensive procedure that much be followed to create them.

This was my first attempt at making a crêpe cake; results had turned out better than expected, though I have included a number of notes as to better prepare for a second trial.
Picture
Picture
Picture
Picture
Picture
Picture
Picture
Ingredients

- 6 eggs
- 1 cup of unsweetened vanilla almond milk*
- 1/3 cup granulated sugar
- 1/2 cup unsalted butter, melted*
- 1 to 1 1/2 cups all-purpose flour
- 1 tsp vanilla extract
- 4-5 drops red food colouring
- 1 cup strawberries, thinly sliced
- pinch of salt
- splash of half & half cream
- 1/3 cup of vegetable oil*
- 1 can full-fat coconut milk*

Directions:

1) Add sugar to melted butter and whisk to combine.
2) Sift in flour and salt.
3) Add in eggs, three at a time. Whisk to combine well. Add in cream, and gradually pour in milk until a consistency thinner than pancake batter is attained.
4) Spoon half of the batter into a separate bowl and add in red food colouring until desired degree of vibrancy is reached.
5) Add in vanilla extract to the uncoloured batter. Set both bowls aside.
6) Thoroughly grease a small pan after setting it on high heat. Immediately reduce the heat once the oil starts to evaporate slightly.
7) Fill half a ladle with either crepe batter and pour it into the pan, quickly swirling to ensure uniform thickness. When the edges start to bubble and turn a golden tan hue, slowly lift the edges of the crepe and flip over. Allow the opposite side of the crepe to cook for about 10 seconds before removing it from the pan.
8) Repeat 7) until the batter is used up, greasing the pan with a generous amount of vegetable oil between each turn; create two stacks of crepes for each colour. The first two crepes will likely turn out unevenly cooked, or maybe even burnt. This is to be anticipated as the temperature of the pan is unsteady at the beginning of the cooking process.
9) Chill the crepes while preparing the cream layer.
10) Without shaking the can beforehand, carefully open the coconut milk and remove the congealed coconut cream. Mix with a teaspoon of granulated sugar and chill in the fridge. 
11) Remove both crepe stacks and the coconut cream after 30 minutes. Lay a plain crepe onto a large, presentable plate and smooth the coconut cream on top in a uniform layer. This layer should be approximately 1/6" inch in thickness. Lay a coloured crepe on top and spread the coconut cream once again. Repeat until the last plain crepe has been used.
12) Spread a thin layer of the cream and arrange the previously-sliced strawberries on top to form a maple leaf.
13) Chill in the fridge for at least 2 hours.
14) Serve and enjoy!

Notes
- The amount of liquid, in this case milk, used in this recipe should be added in accordance to the desired thickness of the crepes. For a thinner crepe, feel free to add a bit more milk, and vice versa.
- Almond milk is not a necessary element of this recipe. Feel free to substitute with skim milk, or even 2% milk for a richer taste.
- For those that prefer to avoid artificial colours, a natural food colouring can be extracted from red beets the decision to pursue such a mission is deemed necessary.
- Ensure that the butter is thoroughly melted before the sugar is added. Clumps may appear in the batter later if this step is neglected, consequently resulting in an extra step of sieving the mixture before dividing the batter between two bowls.
- It is essential to grease the pan after each crepe is made, as this reduces chances of burning and that the crepe can be easily removed.
- One can save the unused coconut "water" from the canned coconut milk for mixing into a smoothie, or simply discard if desired.
- The coconut cream layers added a nice touch of flavour to the cake, but feel free to use any  flavour of cream. As there was a shortage of cream in the house, I opted for coconut cream instead. The cream layers in my mille crepe were on the thin side, especially evident after chilling. Thus, it is highly recommended to use a larger amount of cream for a 20-piece (or more) mille crepe cake.
0 Comments
<<Previous
    The Sweet
    The Savoury

    Archives

    July 2020
    March 2020
    January 2020
    April 2019
    August 2018
    June 2018
    April 2018
    February 2018
    December 2017
    November 2017
    August 2017
    July 2017
    May 2017
    April 2017
    February 2017
    January 2017
    December 2016
    April 2016
    March 2016
    October 2015
    September 2015
    July 2015
    January 2015
    December 2014
    June 2014
    March 2014
    February 2014
    January 2014
    December 2013
    November 2013
    October 2013
    September 2013
    August 2013


    Categories

    All
    Brownie
    Chocolate
    Christmas Recipes
    Easy Recipes
    Gluten Free
    High Fibre
    High Potassium
    High Protein
    Ice Cream
    Japanese Style
    Low Carb
    Low Cholestrol
    Low Fat
    Low Sodium
    Matcha
    Microwave Recipe
    Quick Recipes
    Savoury Recipes
    Sweet Recipes
    Vegan
    Vegetarian
    Yuzu


    RSS Feed

WHAT DOES "QUIRKY AESTHETICS" MEAN?

Quirky =  a term that commonly refers to something/someone distinctly different and unique
Aesthetics = the visual aspect of things


Together, Quirky Aesthetics refers to the things, events, and happenings seen and perceived by this blog's creator - quirky perspectives in a visual form.

Contact ME

​Subscribe

Join our mailing list today!
Join Now
© Quirky Aesthetics. All rights reserved. Last modified: August 10, 2015.