Random Thoughts of a Quirky Blogger
  • ~ Home ~
  • ~ What I Think ~
  • ~ What I See ~
    • Events
    • Food
    • People
    • Places
  • ~ What I Make ~
  • Blog Series
  • Terms and Conditions
  • Disclaimer

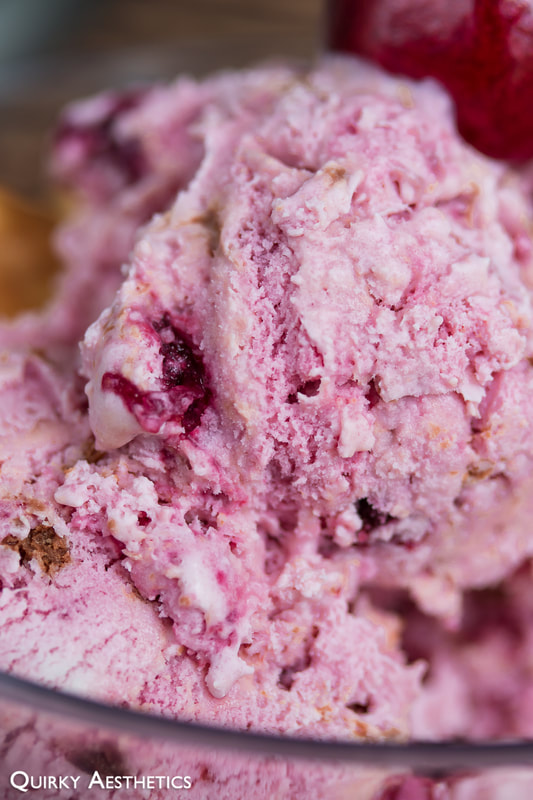
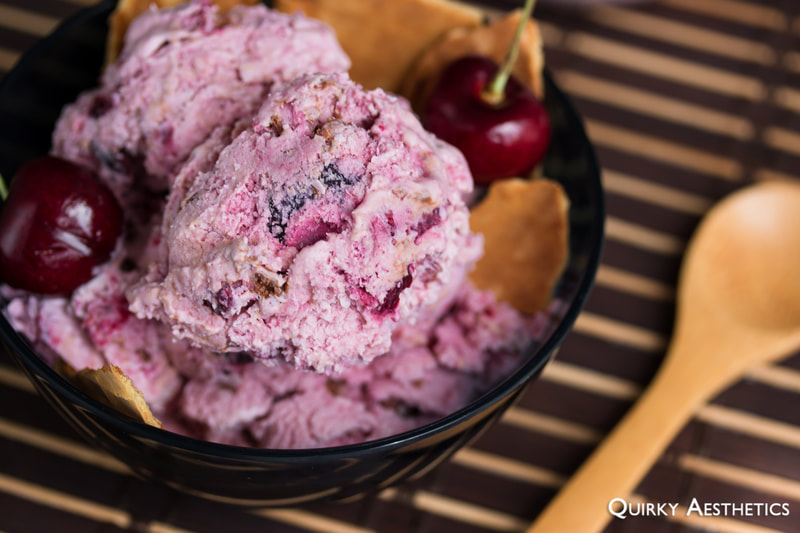
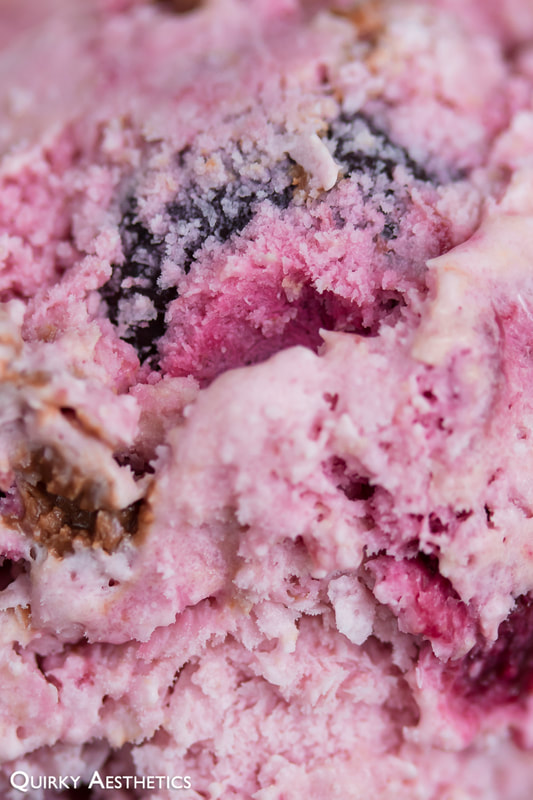
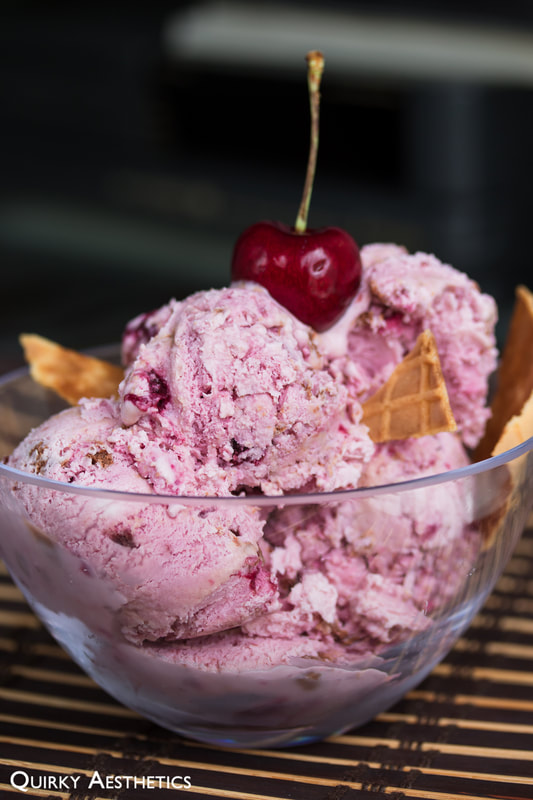
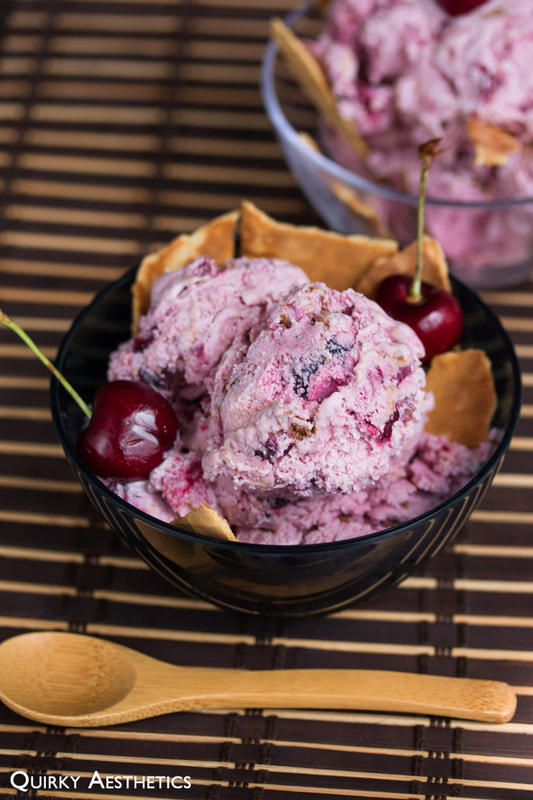
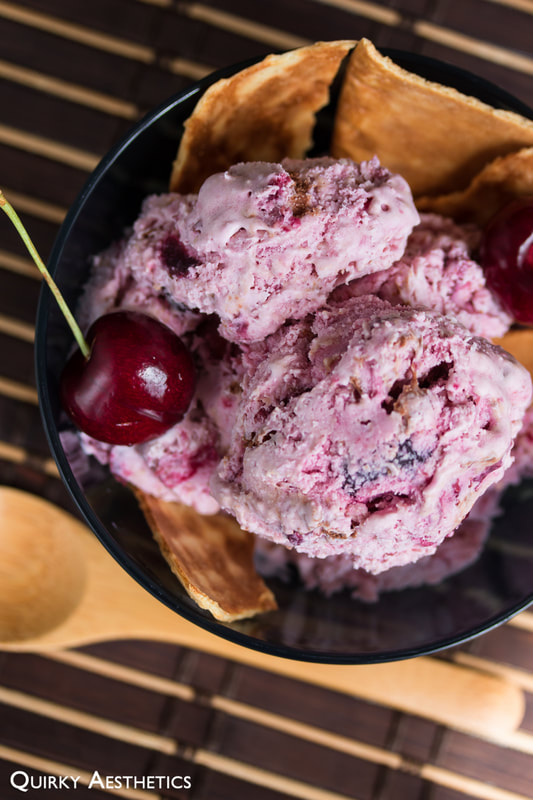
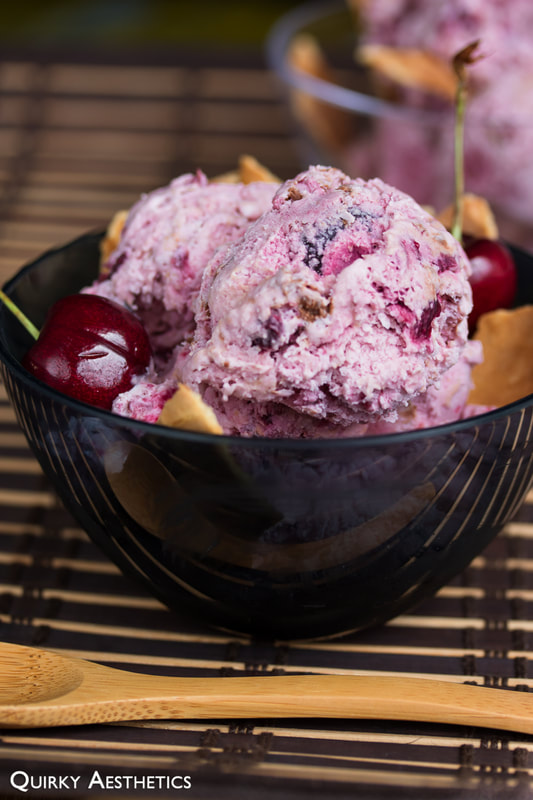
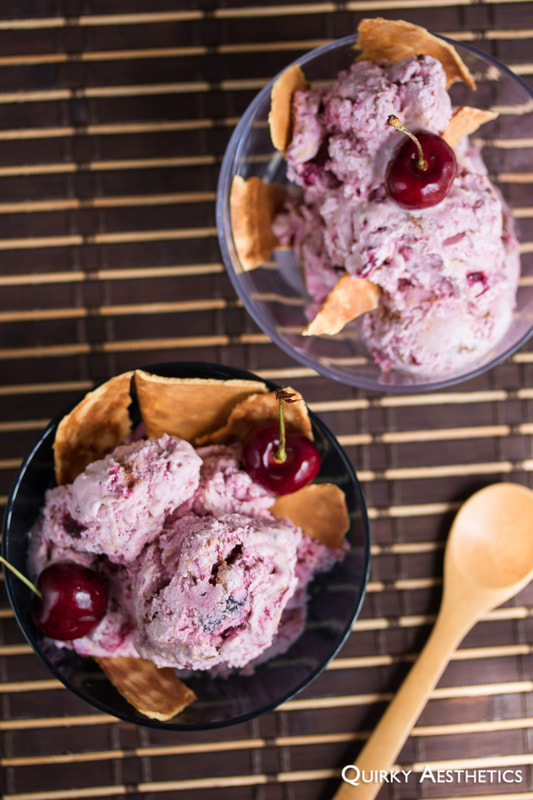
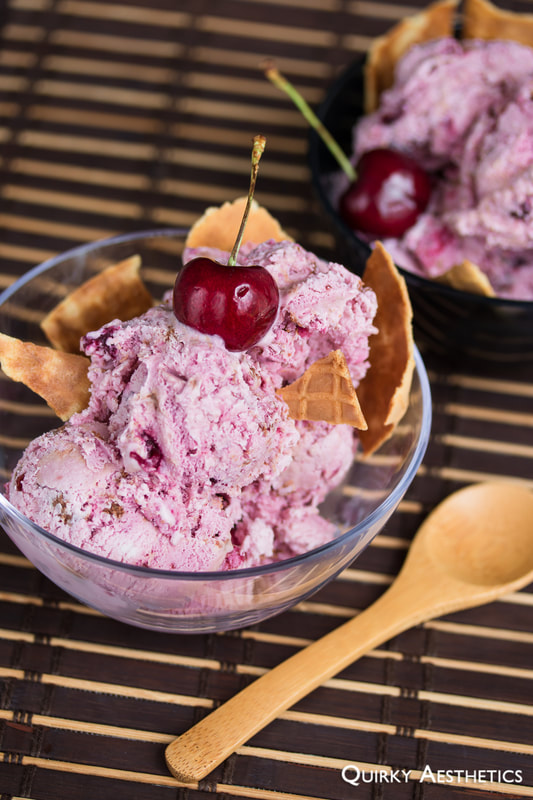
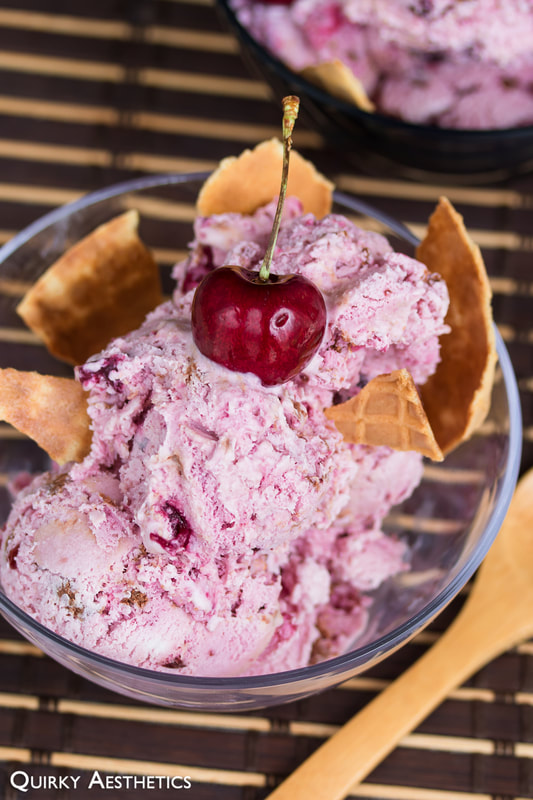
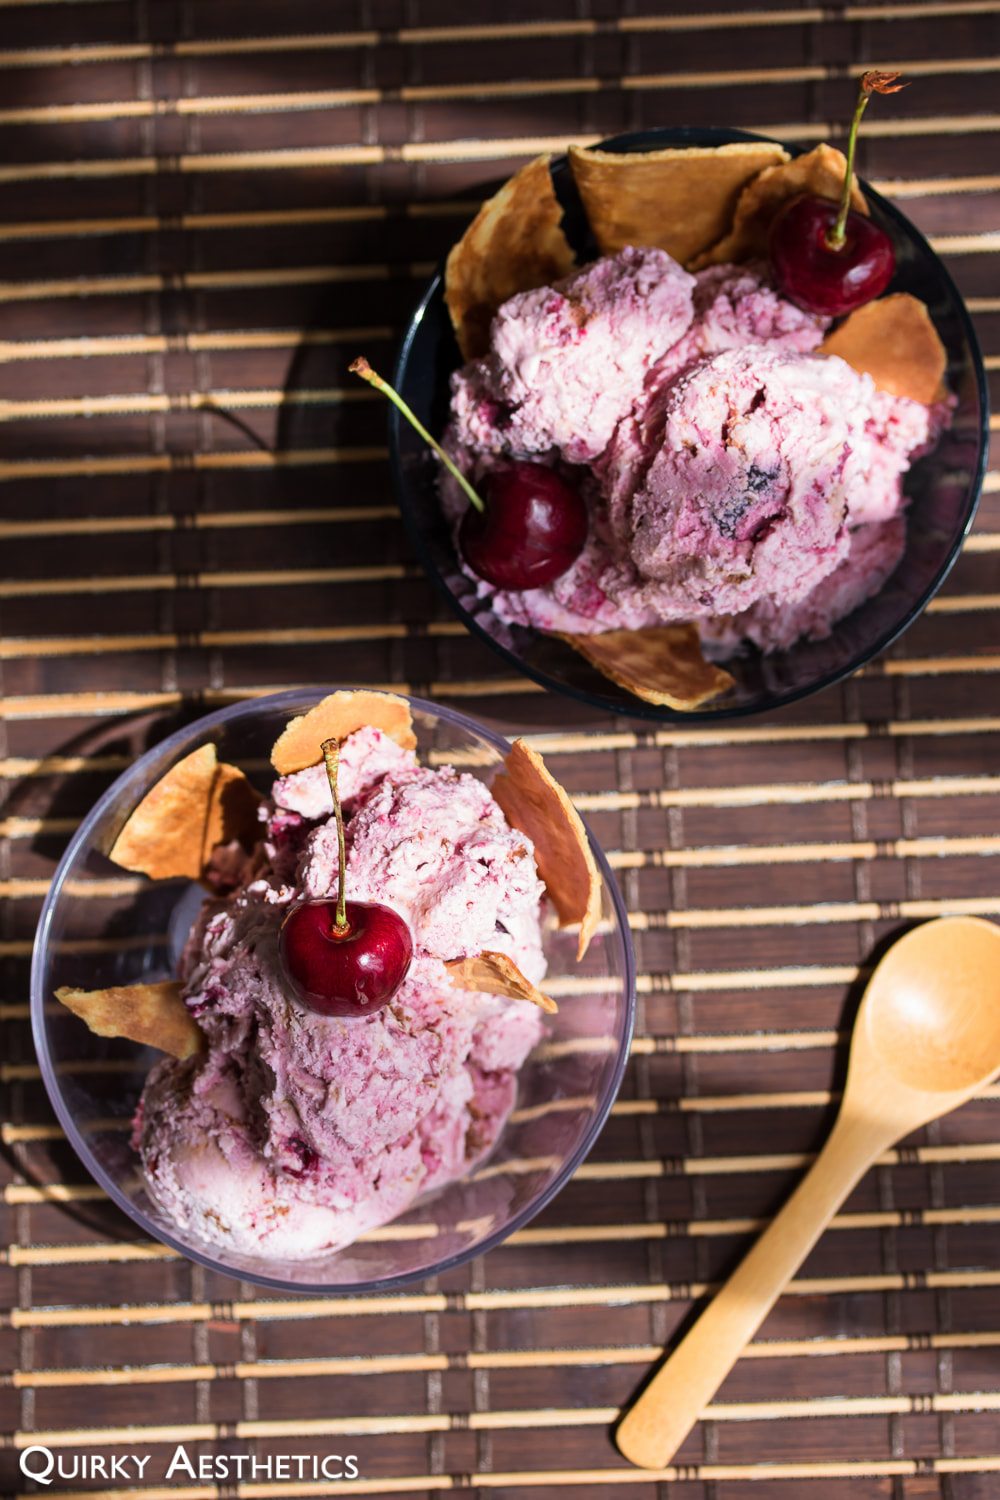
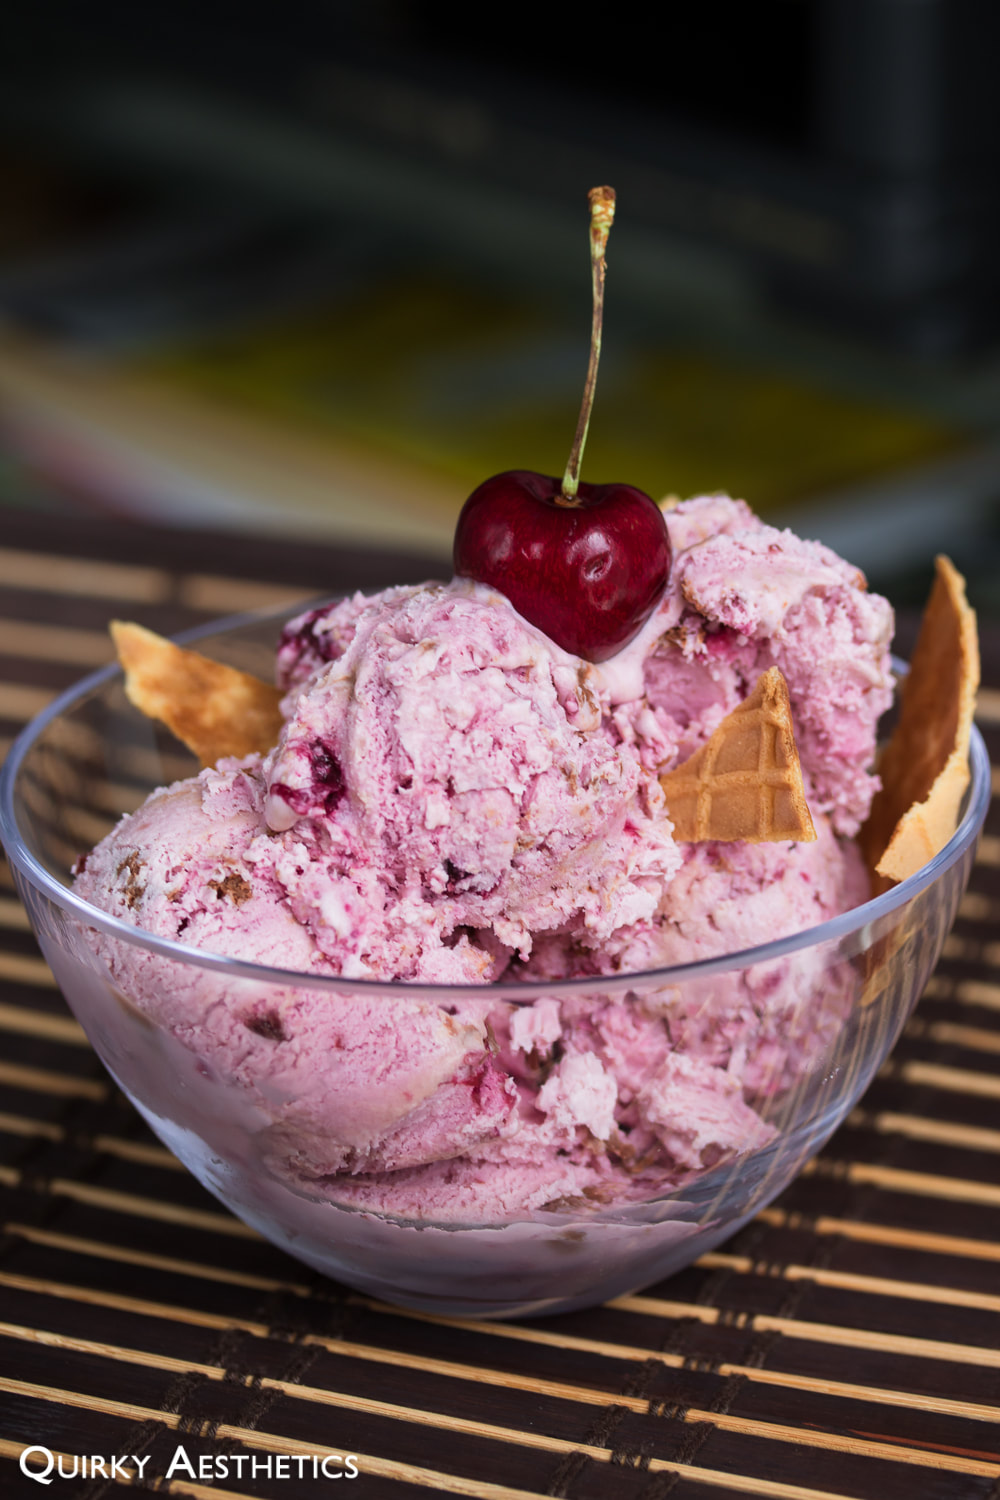
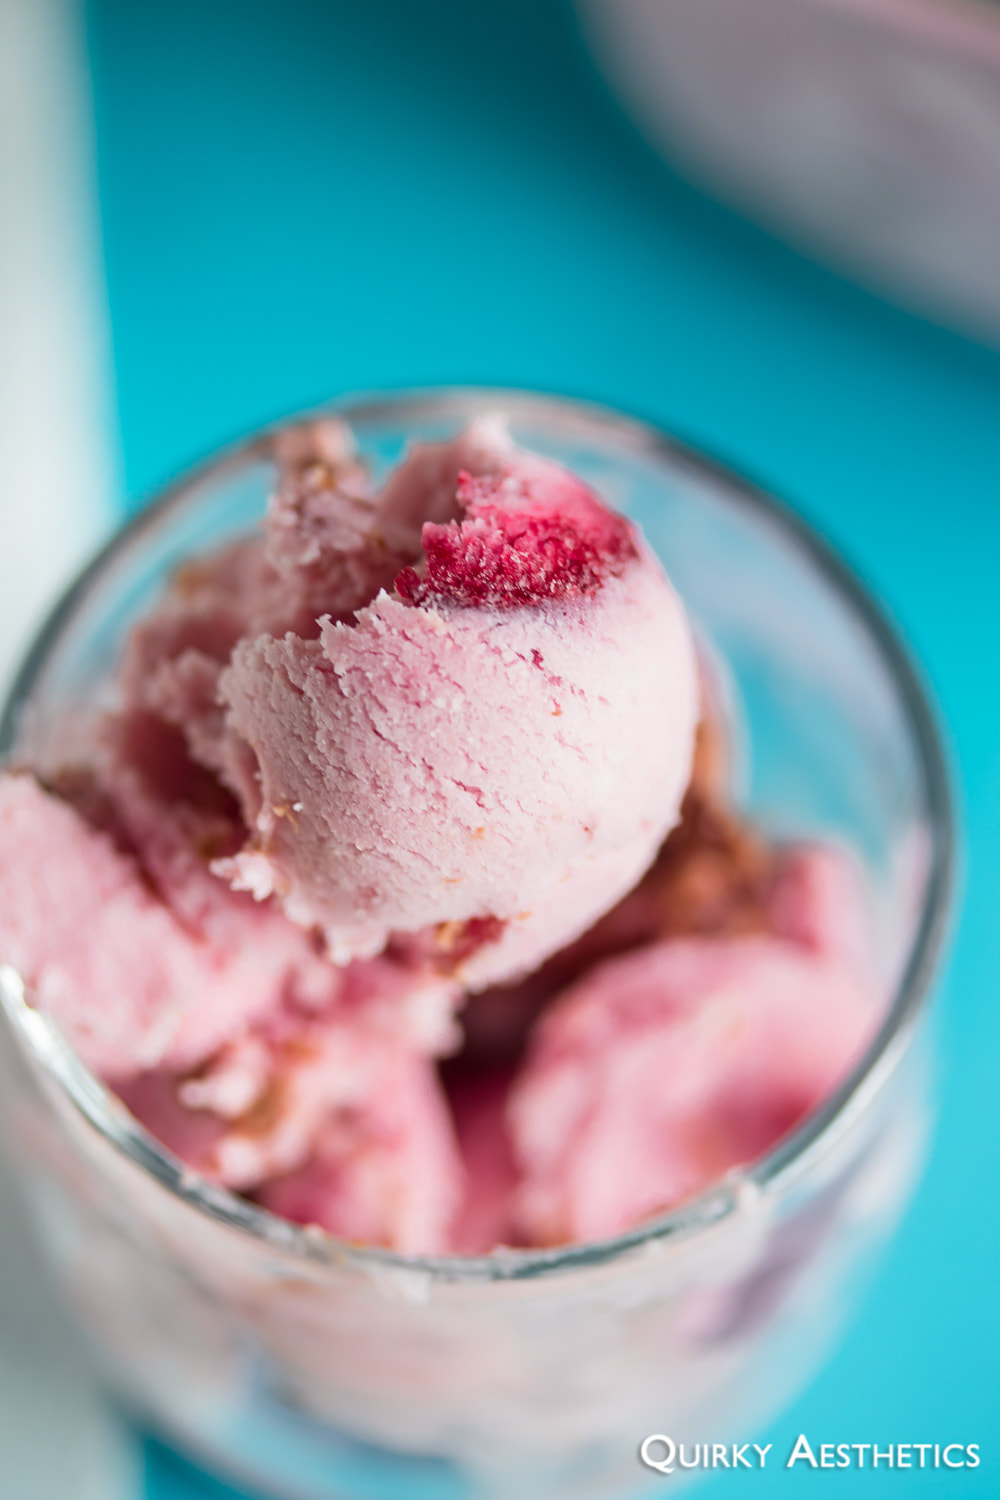
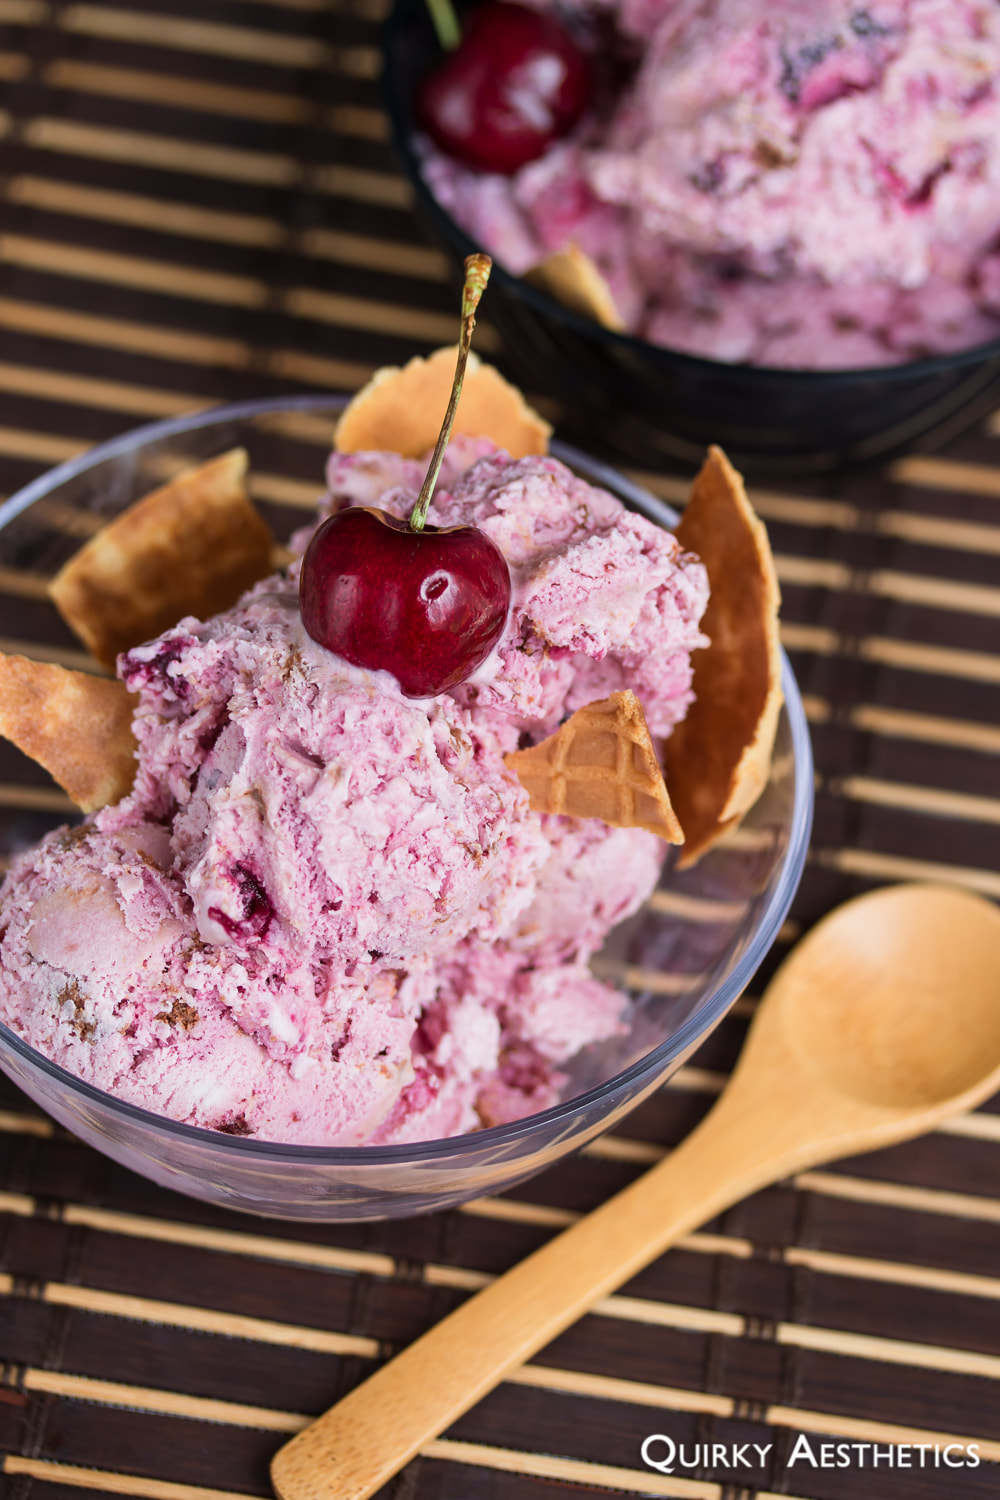
Chocolate Cherry Yogurt Ice Cream

7/12/2020

0 Comments

 
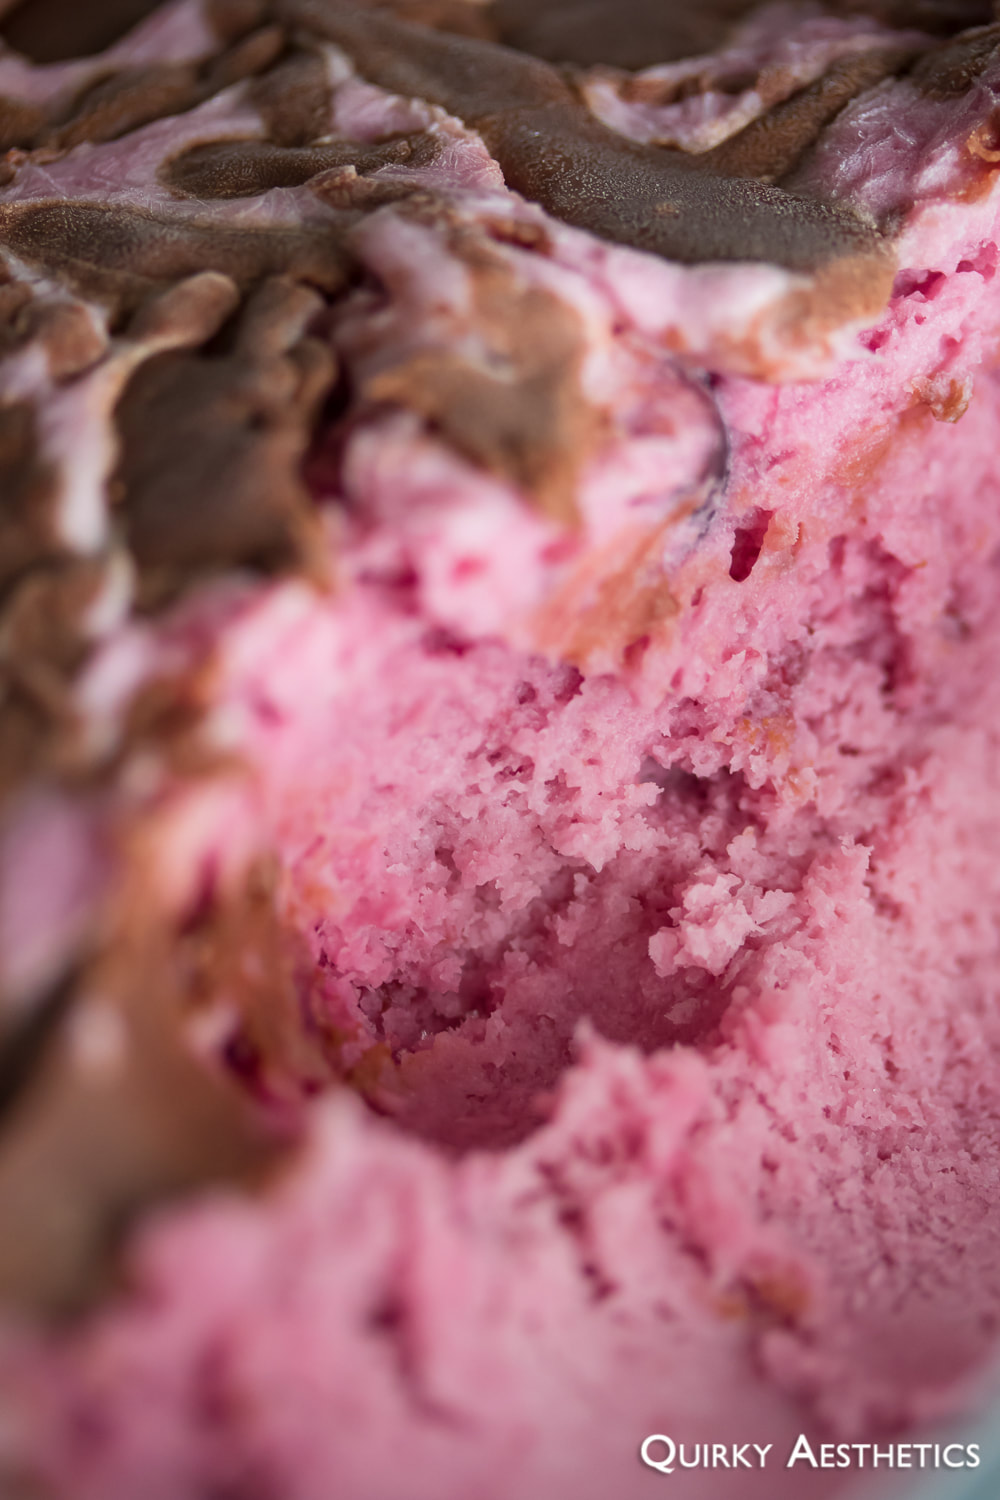
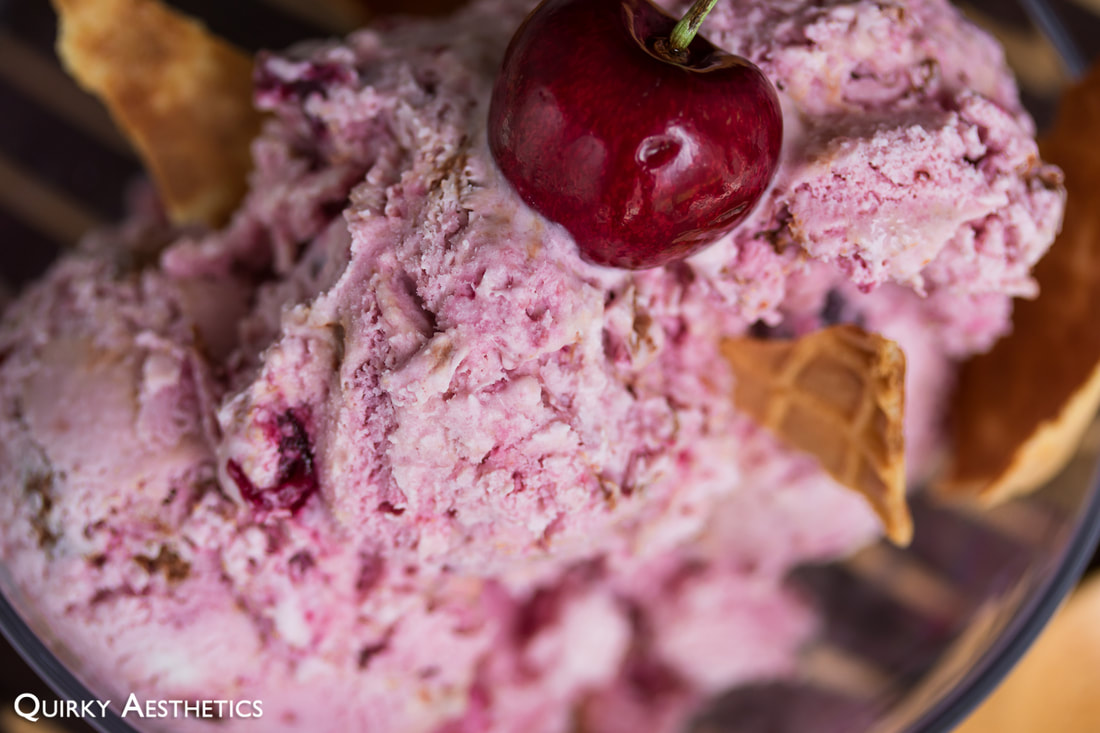
I won't lie and say that this surpasses my Mango Ice Cream.  The plain truth is that it doesn't, however tangy and delicious. Though, the fact remains that "someone bought too much".
Picture
Picture
Seasonal fruit is to be cherished, and sometimes - just sometimes - there happens to be freezer space available for the ice cream machine.
Picture
Picture
Picture
Picture
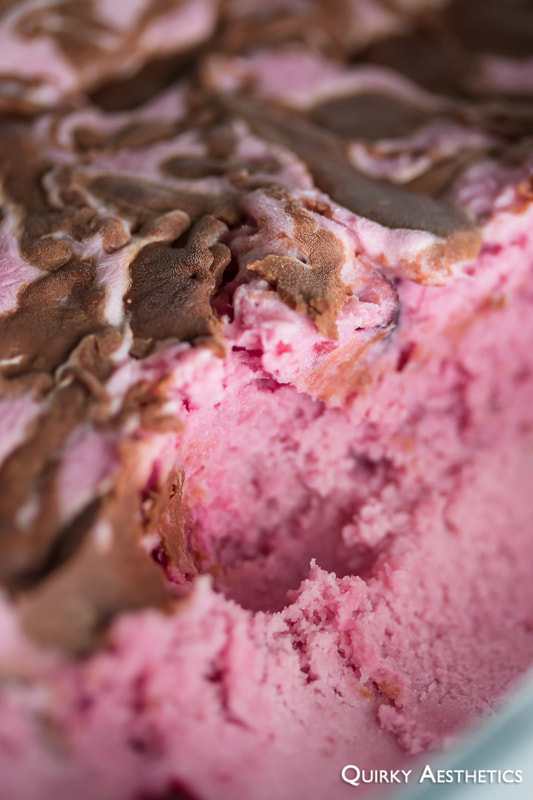
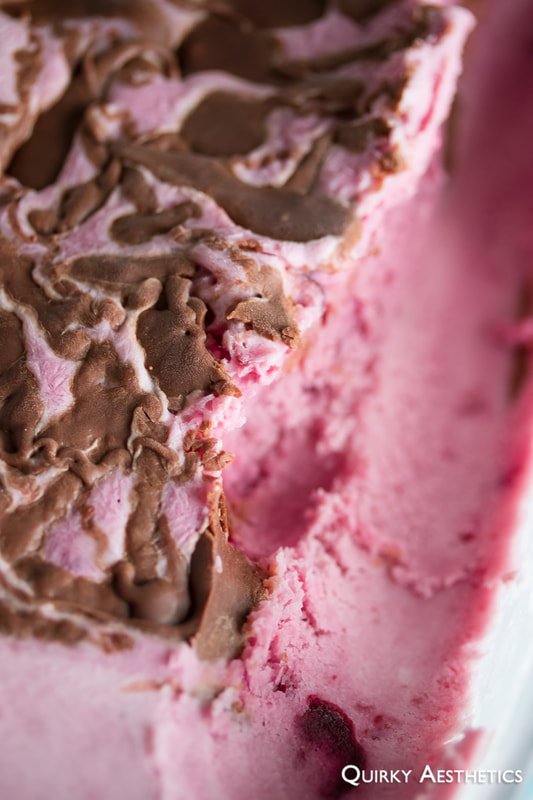
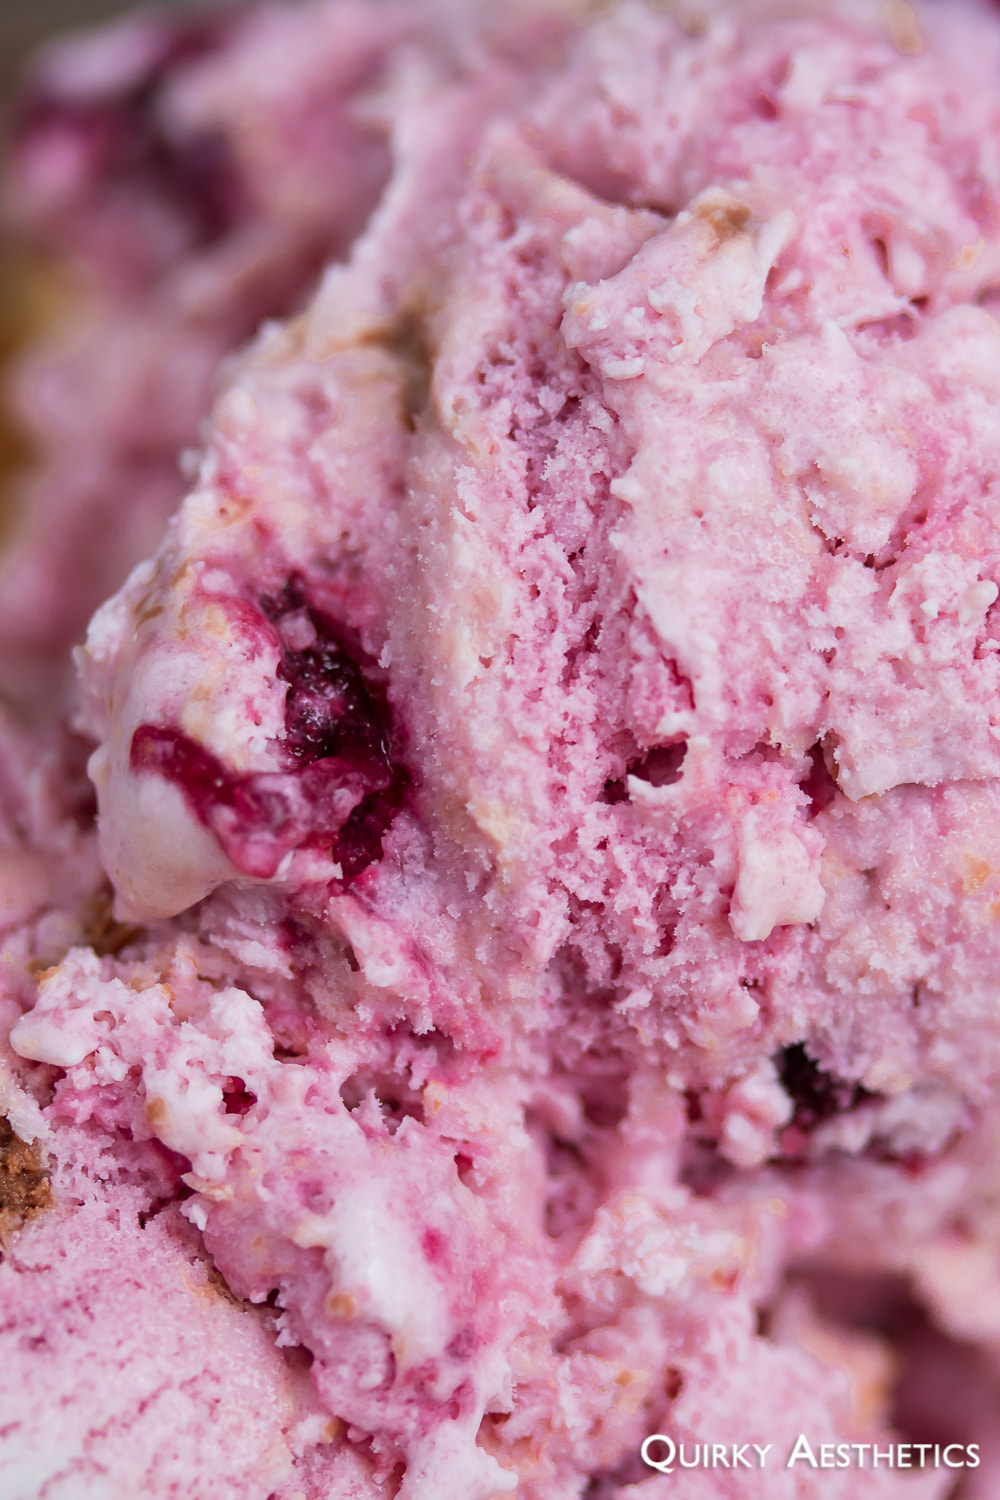
​An ice cream scoop had been acquired for the occasion, for I feared the consequences to be borne by my melon baller with repeated digs. Nonetheless, smooth trails failed to be formed, in spite of the dessert's true, creamy consistency. This icy concoction requires a minimum of twenty-five minutes to loosen its edges, so heed my words: please be patient.
Picture
Ingredients

i) Cherry Compote (approximate quantities)
- 5 cups cherries, pitted 
- 1 cup granulated sugar
- 1/3 cup lemon juice
- 1 tbsp glutinous rice flour
- 50 ml water
​
ii) Ice Cream Base​ (Recipe adapted from Cuisinart's ICE-30BC Recipe Booklet, pg. 8)
- 95 ml heavy cream
- 66 g sweetened condensed milk
- 650 ml heavy cream
- 310 g plain yogurt​

iii) Chocolate Ripple
- 51g dark chocolate couverture
- 50 ml whipping cream
​

Directions:

 i) Cherry Compote

1) Combine cherries, sugar, and lemon juice in a medium saucepan. Simmer until only a few chunks of cherry remain. Blending the mixture is not recommended as the final product is intended to retain bites of fruit.
2) Mix glutinous rice flour with water and stir into the mixture. Continue to reduce.
3) Once thickened, remove from heat and let cool.
4) Allow the mixture to come to room temperature before transferring to the refrigerator. Chill until ready to use.

ii) Ice Cream Base

1) Churning directions shall differ between ice cream makers, so it is highly advised to familiarize oneself with the respective manual before proceeding.
2) Using either a low heat setting on a microwave or over a bain-marie, dissolve sweetened condensed milk into 95 ml of heavy cream. Mix until fully combined. Allow this mixture to cool before using.
3) Whisk heavy cream and yogurt together in a large bowl. Add in the condensed milk mixture and combine well. At this point, it would be beneficial to let the base rest in the refrigerator for roughly two hours before proceeding.
4) Remove the ice cream maker from the freezer and follow the manual for churning instructions.
5) Once visibly thicker, add in the cherry compote as the machine continues to churn.
6) Continue churning until the paddle does not budge.

iii) Chocolate Ripple

1) Commence on the Chocolate Ripple as soon as the ice cream maker begins churning.
2) Over a bain-marie, allow chocolate couverture and heavy cream to melt slowly.
3) Remove from heat once partially dissolved and continue to stir to incorporate completely.
4) Allow the ripple to cool completely, stirring every so often to prevent hardening.

iv) Assembly

1) Once the paddle of the ice cream maker no longer budges, transfer the ice cream to a freezer-safe, airtight container, drizzling the Chocolate Ripple formula in between layers. Glass containers with airtight seals are ideal for this step; plastic is least resistant to drastic temperature changes and are prone to cracking upon removal, and thus is not recommended.
2) Allow to freeze for at least 8 hours. Should the centre remain soft, return to the freezer until firm.
3) Prior to scooping, remove the container from the freezer and let rest for 25 minutes at room temperature.
4) For best results, prepare a glass of hot water to dip the ice cream scoop before scooping.
5) Serve with waffle cones and/or fresh fruit. Enjoy!

Notes
- This recipe utilizes the Cuisinart ICE-30BC model and serves only as a rough guideline. Prior to commencing any ice cream or soft serve project, it is imperative that one familiarize oneself with the respective manual before proceeding.
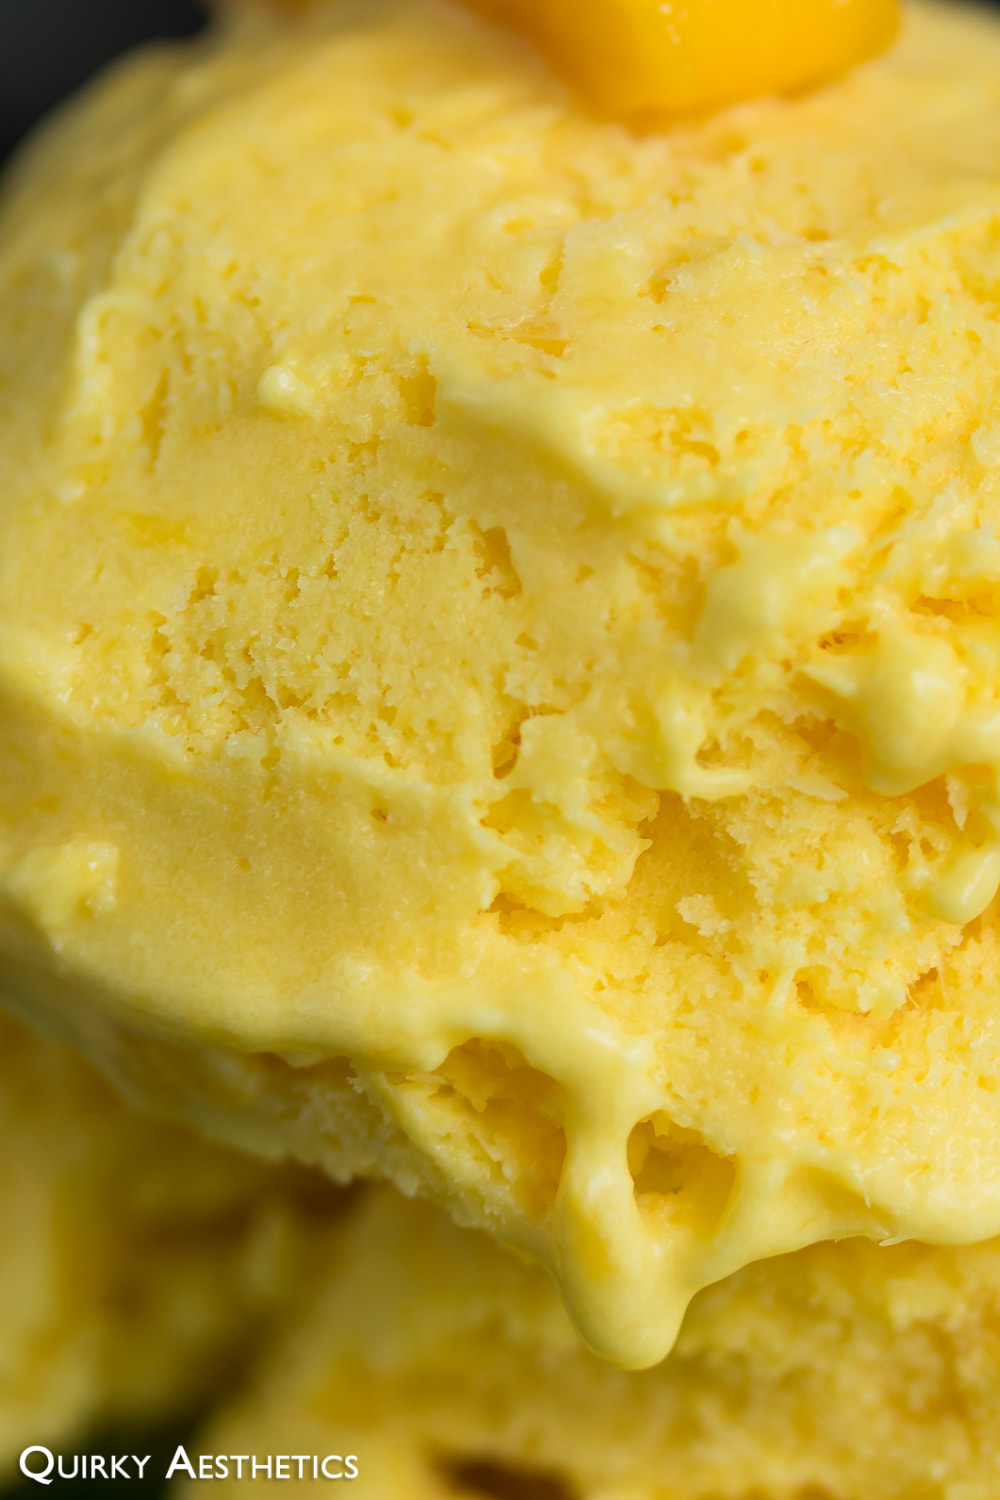
- Cherries were the seasonal fruit of choice, however mango chunks, coconut, and pineapple have similar applications. Frozen fruit is another convenient option.
- Adapted from Cuisinart ICE-30BC's Chocolate Cherry Chocolate Cherry Frozen Yogurt, this rendition employs 35% fat whipping cream Instead of whole milk and flash frozen cherries instead of maraschino. The higher fat content, regrettably, did not act as a catalyst for solidification; instead of the 2-hour chill time, the entire batch averaged a total of 10 hours for thorough thickening. It remains unknown whether the issue lay with freezer temperature (- 14 C vs. the suggested - 17 C) or the omission of pre-churning refrigeration. That said, for best results, it is advised to let the ice cream base rest in the refrigerator for roughly two hours before proceeding.​
0 Comments

Homemade Mango Ice Cream

8/4/2018

0 Comments

 
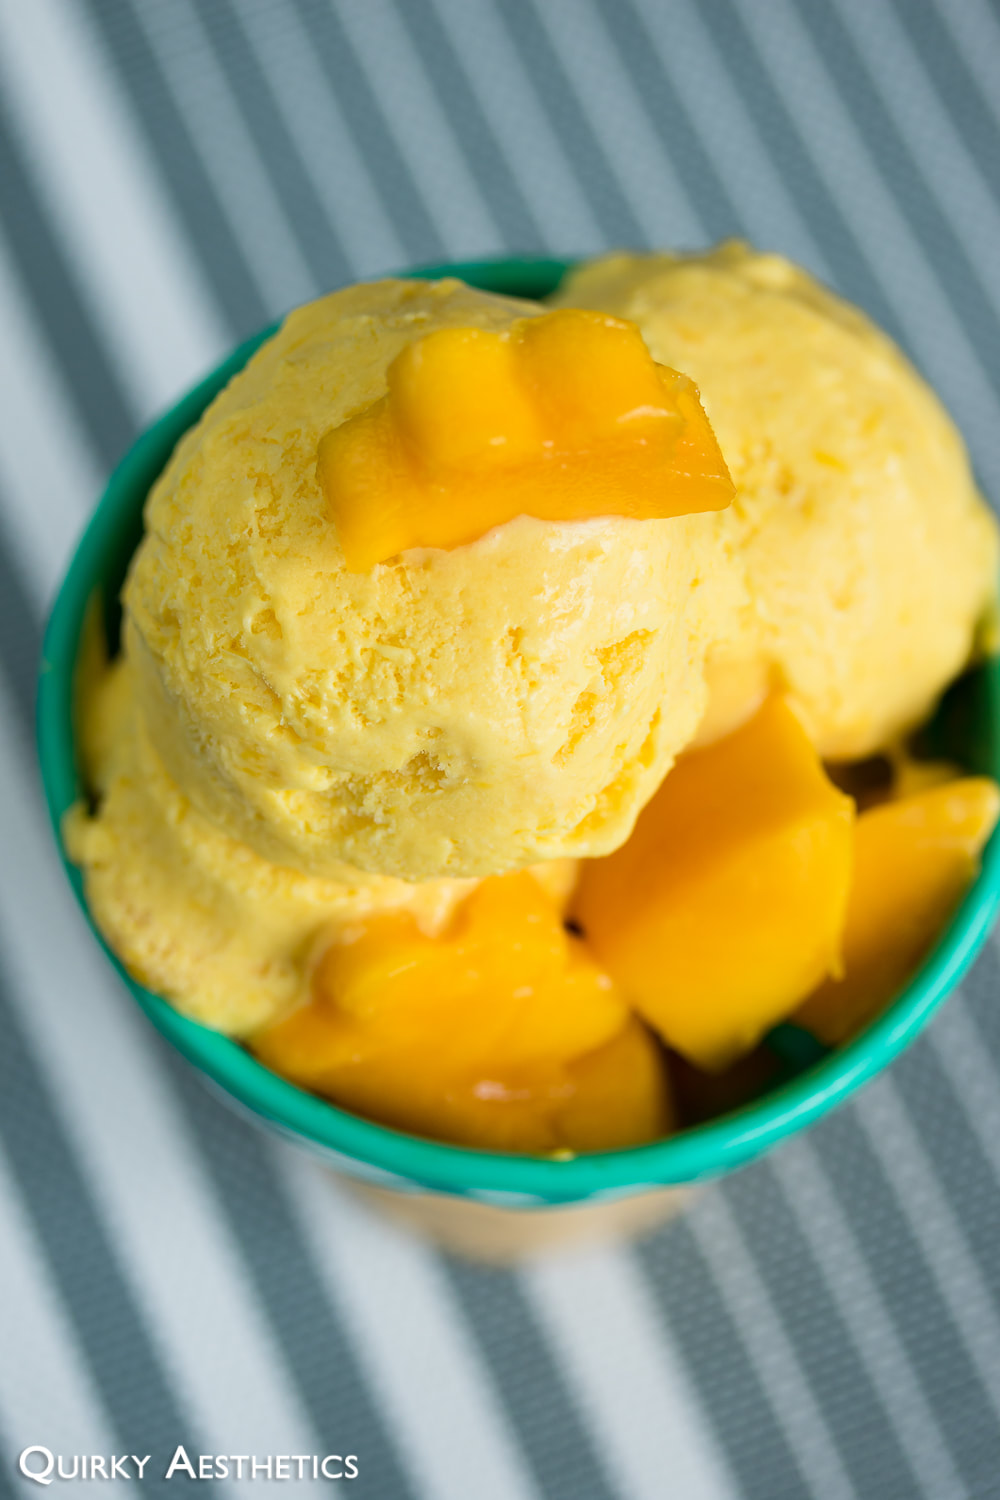
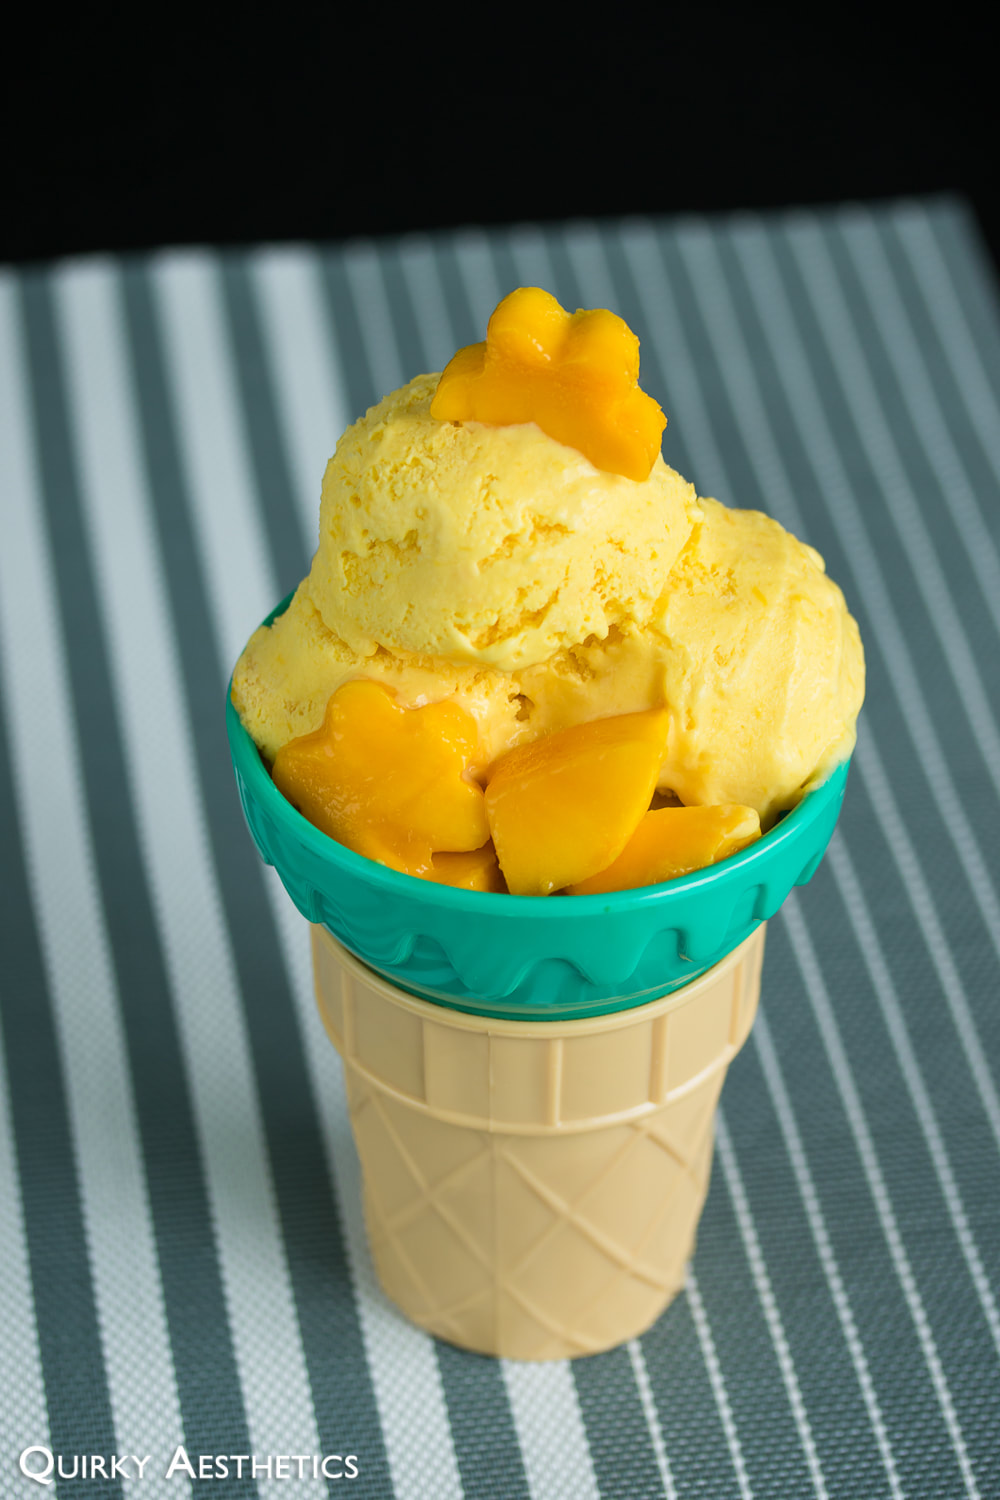
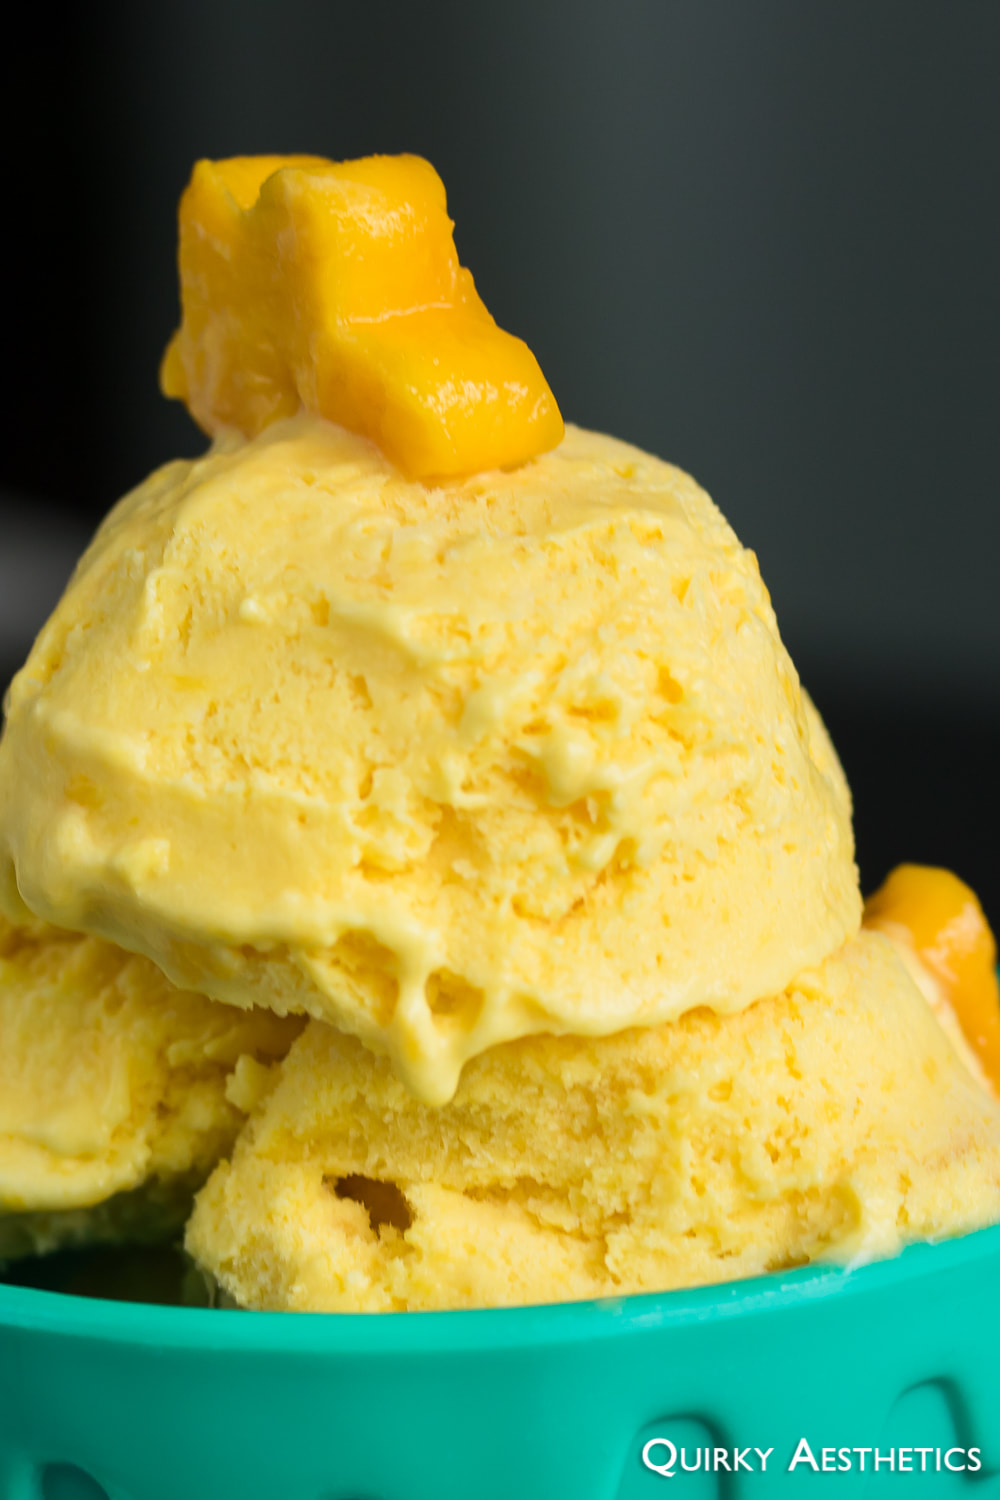
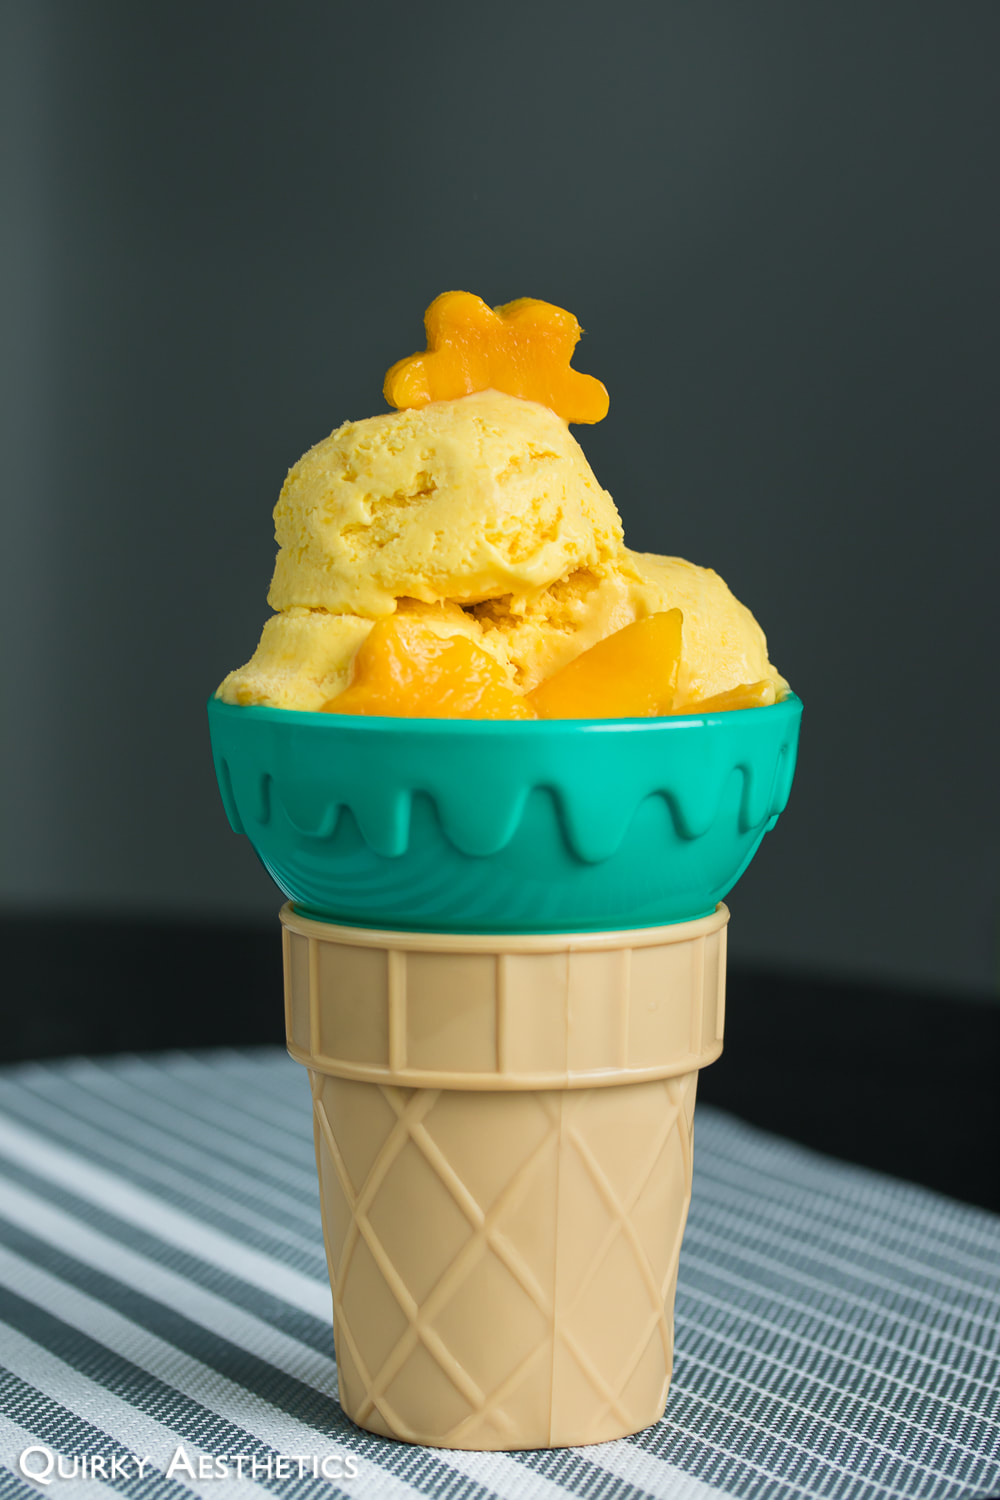
​This post is another spin-off of the classic "someone bought too many mangoes" story. A case of ripe Ataulfo mangoes were secured too easily too quickly, which meant that there was minimal reaction time to conjure up a method of utilizing these fresh ingredients while still at their prime.

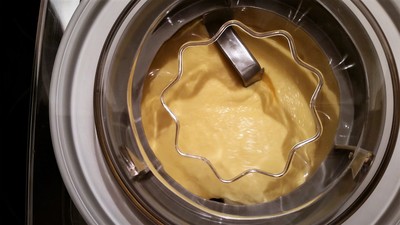
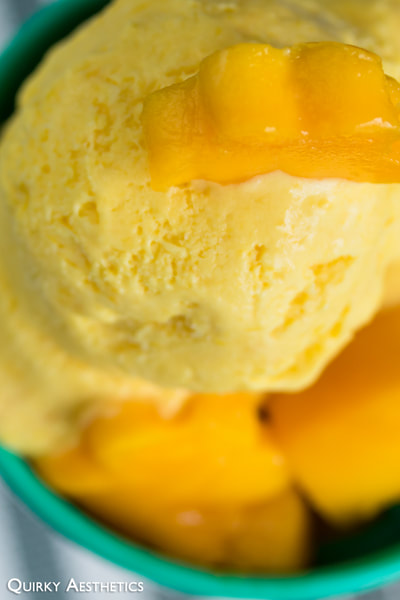
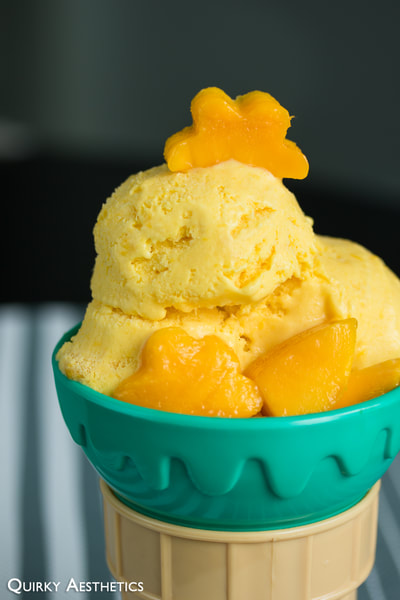
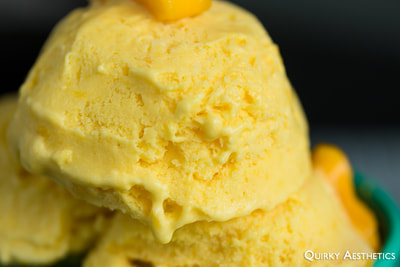
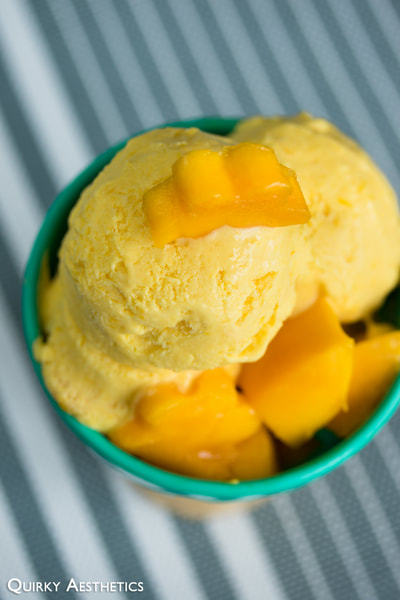
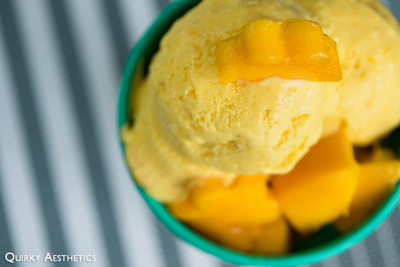
Mango Ice Cream was the result. Hence, the ice cream-maker was dug out of the cupboard and put to use.
Picture
Picture
​Like multi-purpose bread-makers, the purpose of these machines is to assist with repetitive, time-consuming actions. One can opt to churn ice cream manually (by freezing a container and retrieving it to slosh its contents around every few hours), or invest in a device that partially does this for you.

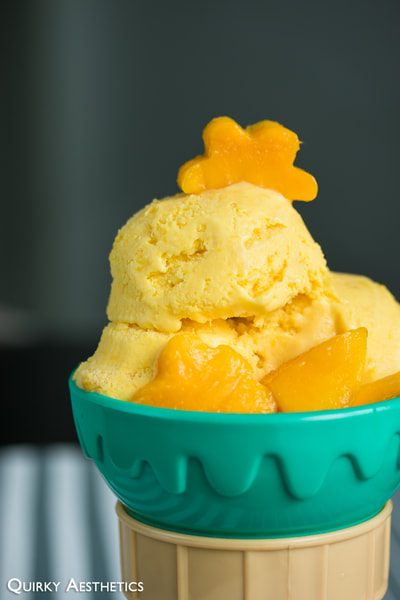
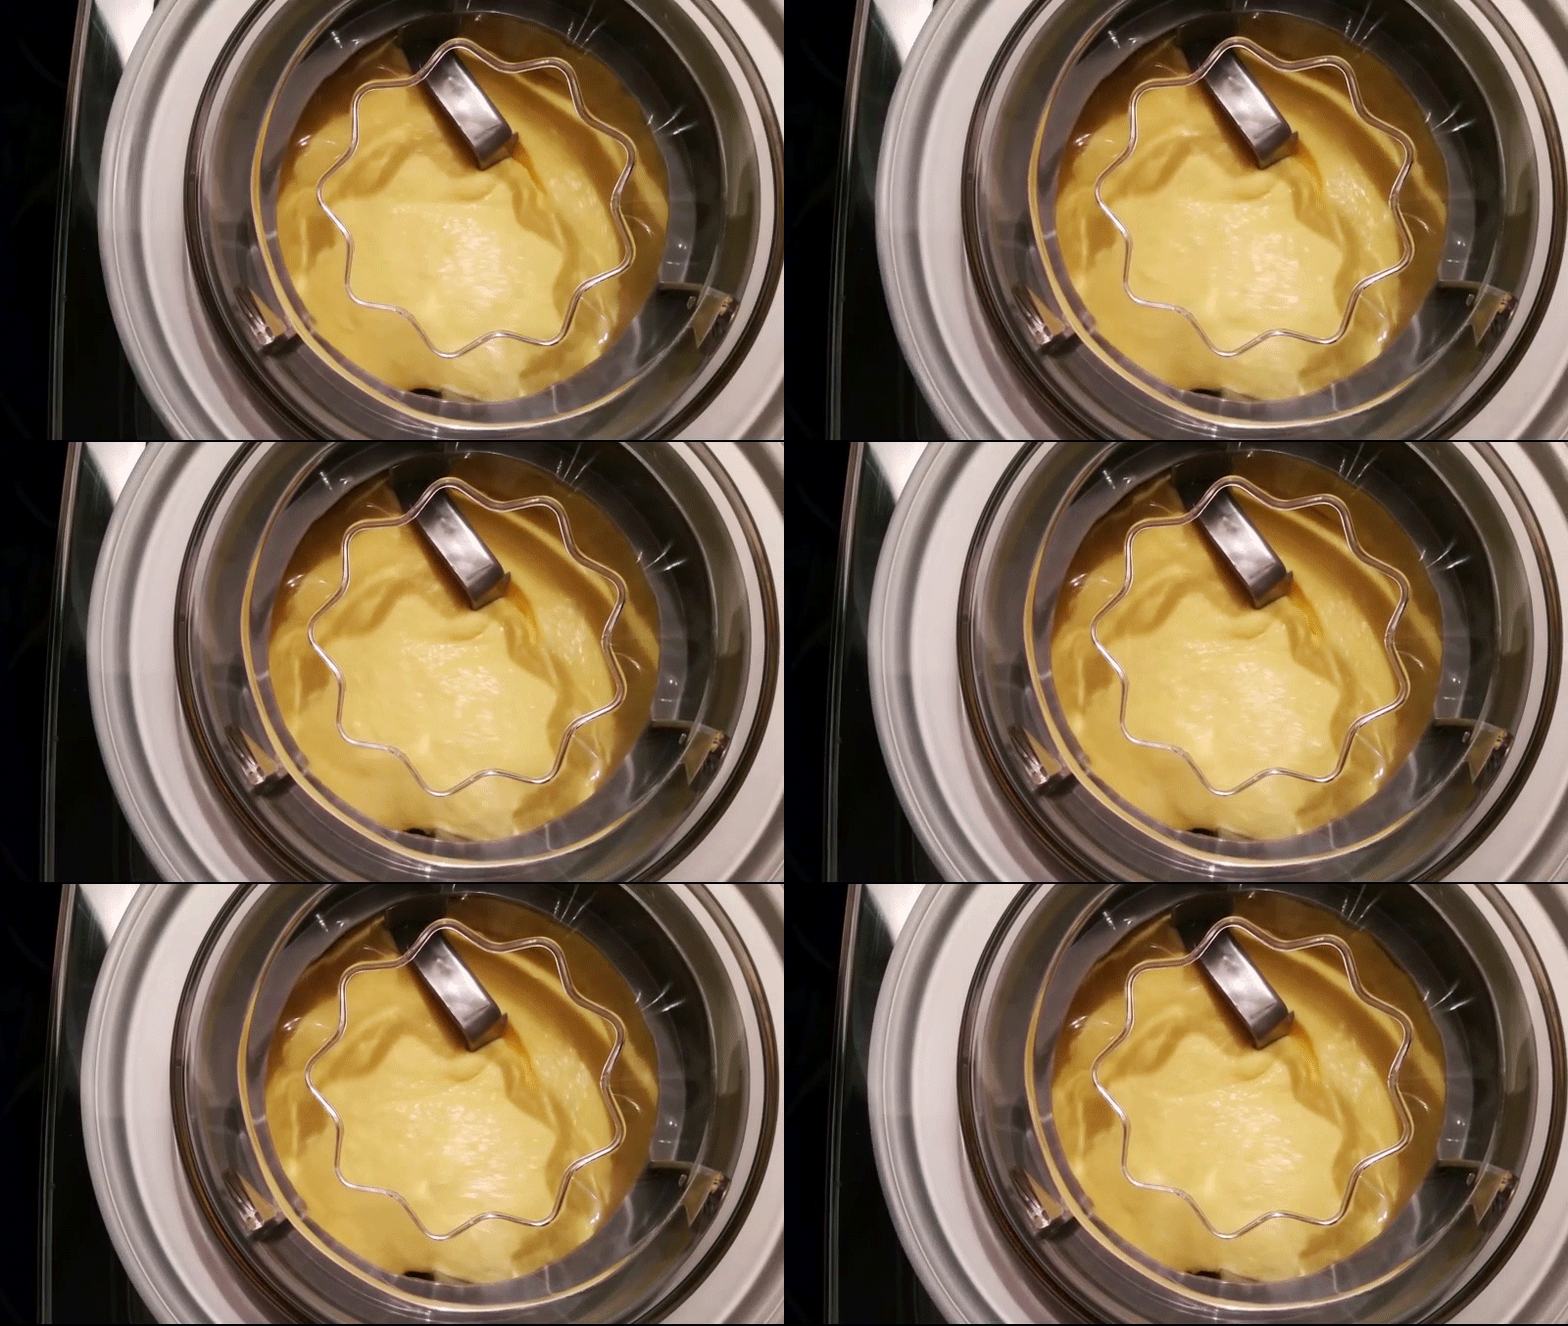
Ten minutes of mango-peeling, two hours of refrigerating, twenty-five minutes of churning, and overnight freezing later, we had Mango Ice Cream!
Picture
Picture
Picture
Picture
Ingredients
​​(Recipe inspired by and adapted from the Cuisinart manual)

- 4 ripe Ataulfo mangoes
- 2 cups whipping cream
- 2 tbsp half-and-half cream
- 4 tbsp (1/4 cup) granulated sugar *
- 1 tsp vanilla extract
- pinch of salt

Directions:

1) Familiarize oneself with the Cuisinart ICE-30BC (or your ice cream maker of choice), paying special attention to safety precautions and operating instructions.
2) Place churning bowl into freezer several hours before commencing preparations. 
3) Peel and dice mangoes. Place into a large bowl
4) Add in half-and-half cream, sugar, vanilla extract, and salt.
5) Add in 1 cup whipping cream.
6) Pulverize using an immersion blender. The mixture should be thick with a slight chunkiness. (Alternatively, blend mangoes in a food processor first, then transfer to a large bowl and combine with dry ingredients and vanilla.)
7) Fold in remaining 1 cup whipping cream. Mix well.
8) Refrigerate for 2 hours (or as according to your ice cream maker's manual).
9) Retrieve churning bowl from freezer and secure in ice cream maker.
10) Remove mango mixture from fridge and pour into freezer bowl. Allow the mixture to churn and thicken in accordance to the ice cream maker's manual.
11) Observe the mixture as it churns. A creamy consistency should be achieved by the 25-minute mark. Continue churning if a thicker texture is desired.
12) Once the desired consistency is achieved, stop the ice cream maker and transfer the contents of the churning bowl to a shallow, airtight dish. Freeze for 5 hours or overnight.
13) Allow ice cream to defrost for 10-15 minutes before serving.
14) Serve and enjoy!

Notes
prior to refrigerating and adjust the amount of sugar as needed.
- The Cuisinart manual did not call for the addition of a stabilizer, though I predict a smoother finish and greater cohesion if one was employed. This has yet to be verified, though most commercially-made ice creams utilize various stabilizers (and preservatives) to achieve a satisfying, sublime scoop.​
0 Comments

Matcha Yuzu Cheesecake Ice Cream

9/11/2013

0 Comments

 
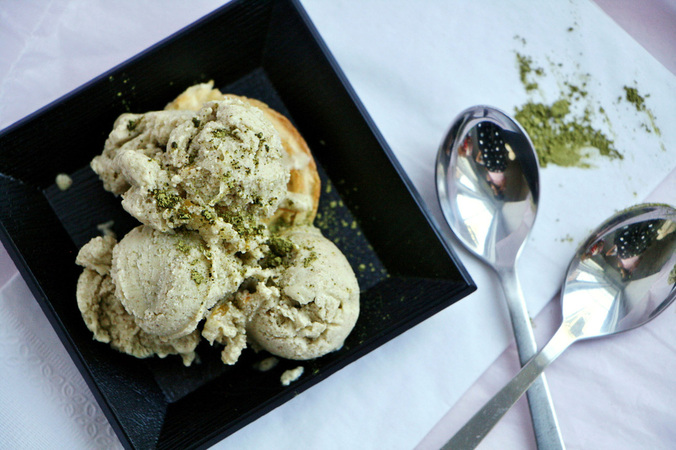
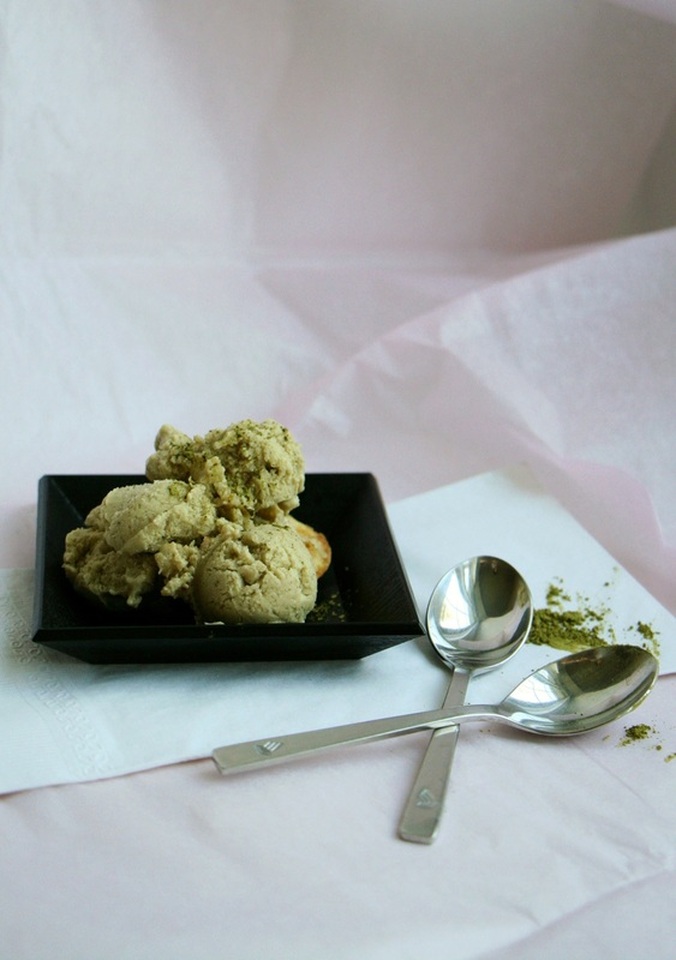
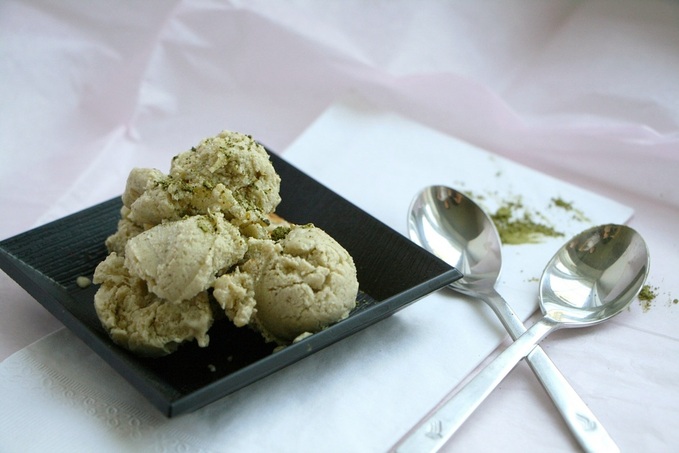
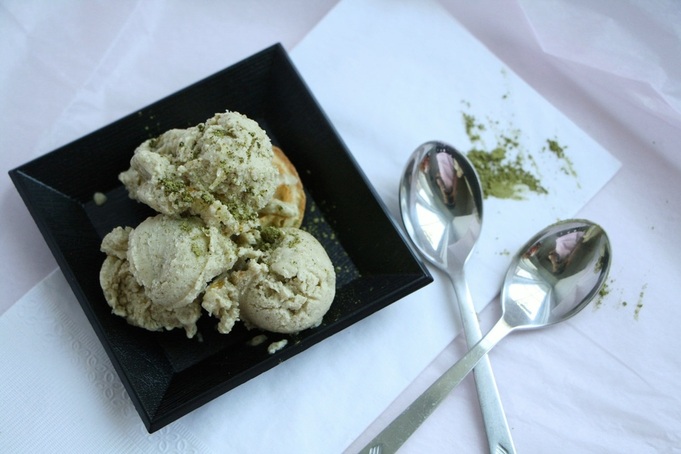
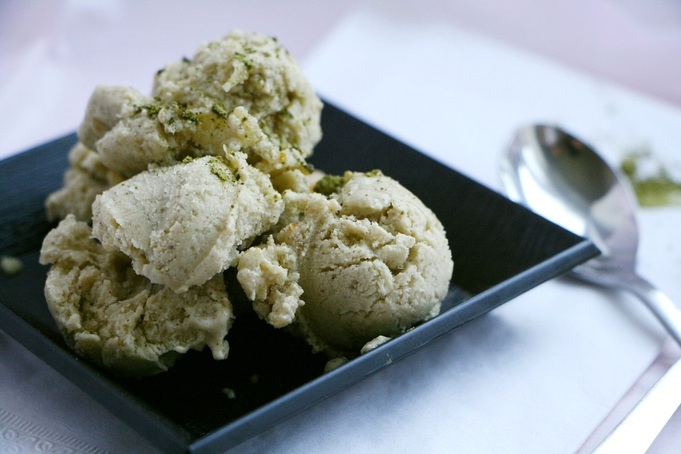
Matcha Yuzu Cheesecake Ice Cream. Well, that was a mouthful wasn't it?

But a mouthful worth saying, and a mouthful worth making in my opinion. It's low carb and high protein and well worth the effort. Oh, and for the record, these photos don't nearly it enough justice =P

Let's start! =)
Picture
Picture
Picture
Picture
Picture
Ingredients
- 250g light cream cheese, softened
- 5-6 tbsp yuzu jam
- 100 cc water (Feel free to add less/more than this amount)
- 3 tsp granulated sugar
- 1 tsp matcha powder (opt.)
- about 1 tbsp chocolate shavings (opt.)
- 1 packet of Knox unflavoured gelatin powder
- 1 tsp of cornstarch

Total Cooking Time: about 8 hours
Active Cooking Time: 25 minutes
Difficulty: Easy

Makes about 2.5 cups.

Directions:
1) Beat softened cream cheese with sugar and yuzu jam until fully combined. Gradually add water in small amounts to ease combining of the mixture. (I added enough just enough water to reach the consistency of pancake batter.)
2) Whisk in matcha powder and chocolate shavings if using. Beat to combine once again.
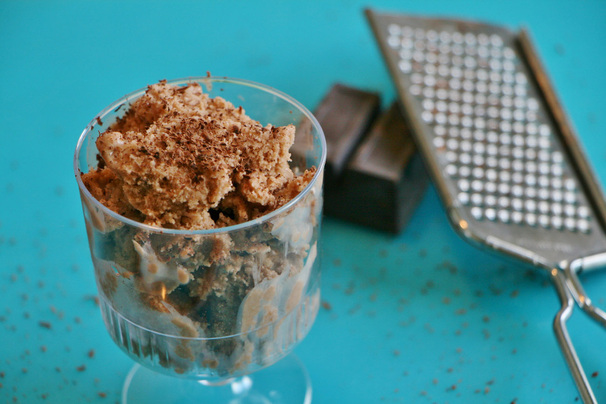
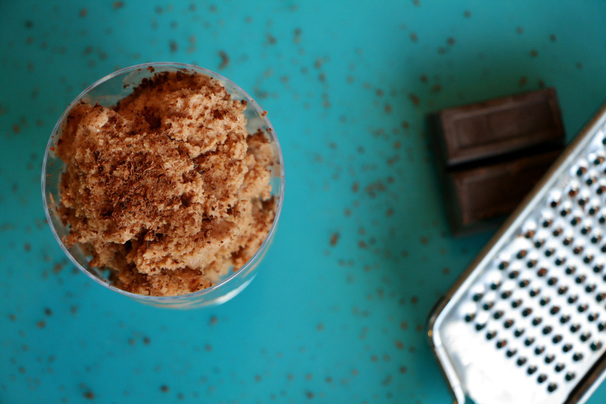
3) Mix cornstarch with 1 tbsp of water and add to the mixture. Beat to combine. Place over a bain-marie, stirring constantly until the mixture has thickened.
4) Remove from heat and let cool to room temperature.
5) Mix gelatin powder with 2 tbsp of water. Stir until completely dissolved and add to the mixture. Combine well.
6) Refrigerate mixture for about 4 hours.
7) Pour mixture into ice cream maker and process according to manufacturer's directions.
8) Serve and enjoy!

Notes:
- To describe the flavours present in this concoction of an ice cream mixture, I'd have to say it's quite an acquired taste. I rather loved the tanginess of the yuzu combined with the creaminess of the cream cheese, mixed with a slight hint of bitterness from the matcha. My mom was also fond of the flavour. My dad on the other hand, however, wasn't. So keep in mind that this is mix is definitely not your run-of-the-mill ice cream flavour.
- Some medications cannot be taken in conjunction with citrus fruits such as yuzu and grapefruit. Please be aware of this before serving to an individual that may be taking such medications.

Nutrition:
(Based on the the ENTIRE recipe)

Total Calories: 737.8 cal
Fat:  41.7 g
Cholestrol: 125 mg
Sodium:  875 mg
Carbohydrates: 46.6 g
Fibre:  0 g
Sugar:  39.8 g
Protein:  29 g

0 Comments

Chocolate Coffee Coconut Ice Cream (The Three C's!)

8/31/2013

0 Comments

 
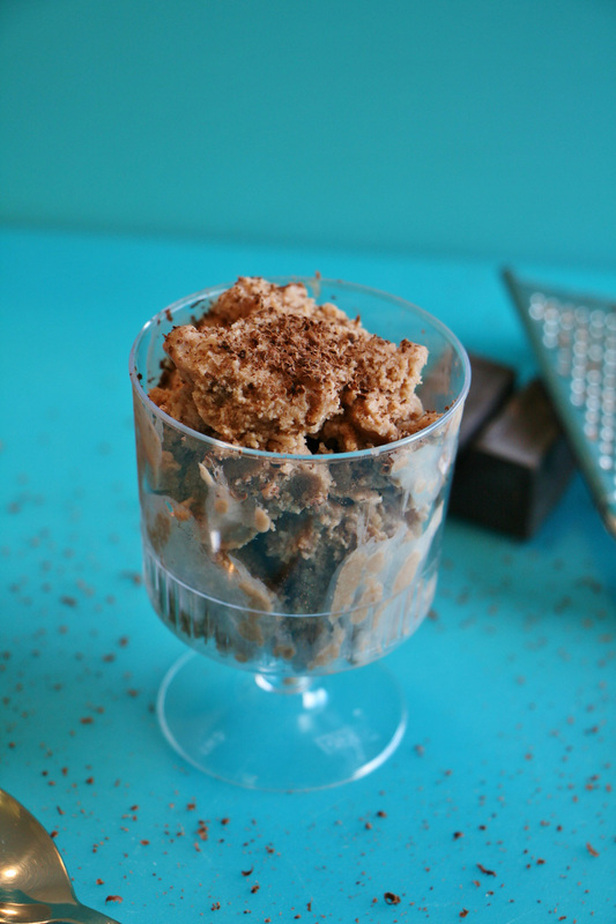
Chocolate. And coffee. And coconut. Ice cream doesn't get any better than the Three C's - that's for sure.

You can switch up the sweetened condensed milk for maple syrup or honey to make the recipe dairy-free! =)
Picture
Picture
Picture
Ingredients
- 5 tbsp canned coconut milk (150 cal)
- 1 cup water (if using congealed coconut milk)
- 5 tbsp sweetened condensed milk (306.875 cal)
- 4 pitted prunes (80 cal) (opt.)
- 1 tsp unsweetened cocoa powder (4 cal)
- 1 tsp of coffee granules
- a pinch of salt
- 1/3 cup of agar agar, dissolved     * IMPORTANT: I forgot to add this and the ice cream was all crumbly =(

Total Cooking Time: 40 minutes
Active Cooking Time: 10 minutes
Difficulty: Easy

Makes about 1 L.

Directions:
1) If using, process the prunes to a paste, with a few small chunks remaining, in a high-speed blender or food processor.

2) Shake the canned coconut milk well and add to the prunes. If you did not shake the can before opening, simply mix the congealed coconut milk with water until it reaches your desired consistency.

3) Add sweetened condensed milk. Blend well.

4) Mix coffee granules with 3 tbsp of water. Add cocoa powder, coffee mixture, and salt to the mixture. Blend again.

5) Transfer to an ice cream maker and follow the manufacturer's directions.

6) Serve and enjoy!

Notes:
- For a creamier result with a stronger coconut flavour, feel free to add more coconut milk.
- For a thinner consistency, feel free to add more water.
- For a sweeter ice cream, feel free to add more sweetened condensed milk.

Nutrition:
Total Calories: 542.875 cal
Calories per 1/2 cup: 64.2 cal

0 Comments
    The Sweet
    The Savoury

    Archives

    July 2020
    March 2020
    January 2020
    April 2019
    August 2018
    June 2018
    April 2018
    February 2018
    December 2017
    November 2017
    August 2017
    July 2017
    May 2017
    April 2017
    February 2017
    January 2017
    December 2016
    April 2016
    March 2016
    October 2015
    September 2015
    July 2015
    January 2015
    December 2014
    June 2014
    March 2014
    February 2014
    January 2014
    December 2013
    November 2013
    October 2013
    September 2013
    August 2013


    Categories

    All
    Brownie
    Chocolate
    Christmas Recipes
    Easy Recipes
    Gluten Free
    High Fibre
    High Potassium
    High Protein
    Ice Cream
    Japanese Style
    Low Carb
    Low Cholestrol
    Low Fat
    Low Sodium
    Matcha
    Microwave Recipe
    Quick Recipes
    Savoury Recipes
    Sweet Recipes
    Vegan
    Vegetarian
    Yuzu


    RSS Feed

WHAT DOES "QUIRKY AESTHETICS" MEAN?

Quirky =  a term that commonly refers to something/someone distinctly different and unique
Aesthetics = the visual aspect of things


Together, Quirky Aesthetics refers to the things, events, and happenings seen and perceived by this blog's creator - quirky perspectives in a visual form.

Contact ME

​Subscribe

Join our mailing list today!
Join Now
© Quirky Aesthetics. All rights reserved. Last modified: August 10, 2015.