Random Thoughts of a Quirky Blogger
  • ~ Home ~
  • ~ What I Think ~
  • ~ What I See ~
    • Events
    • Food
    • People
    • Places
  • ~ What I Make ~
  • Blog Series
  • Terms and Conditions
  • Disclaimer

Homemade Mango Ice Cream

8/4/2018

0 Comments

 
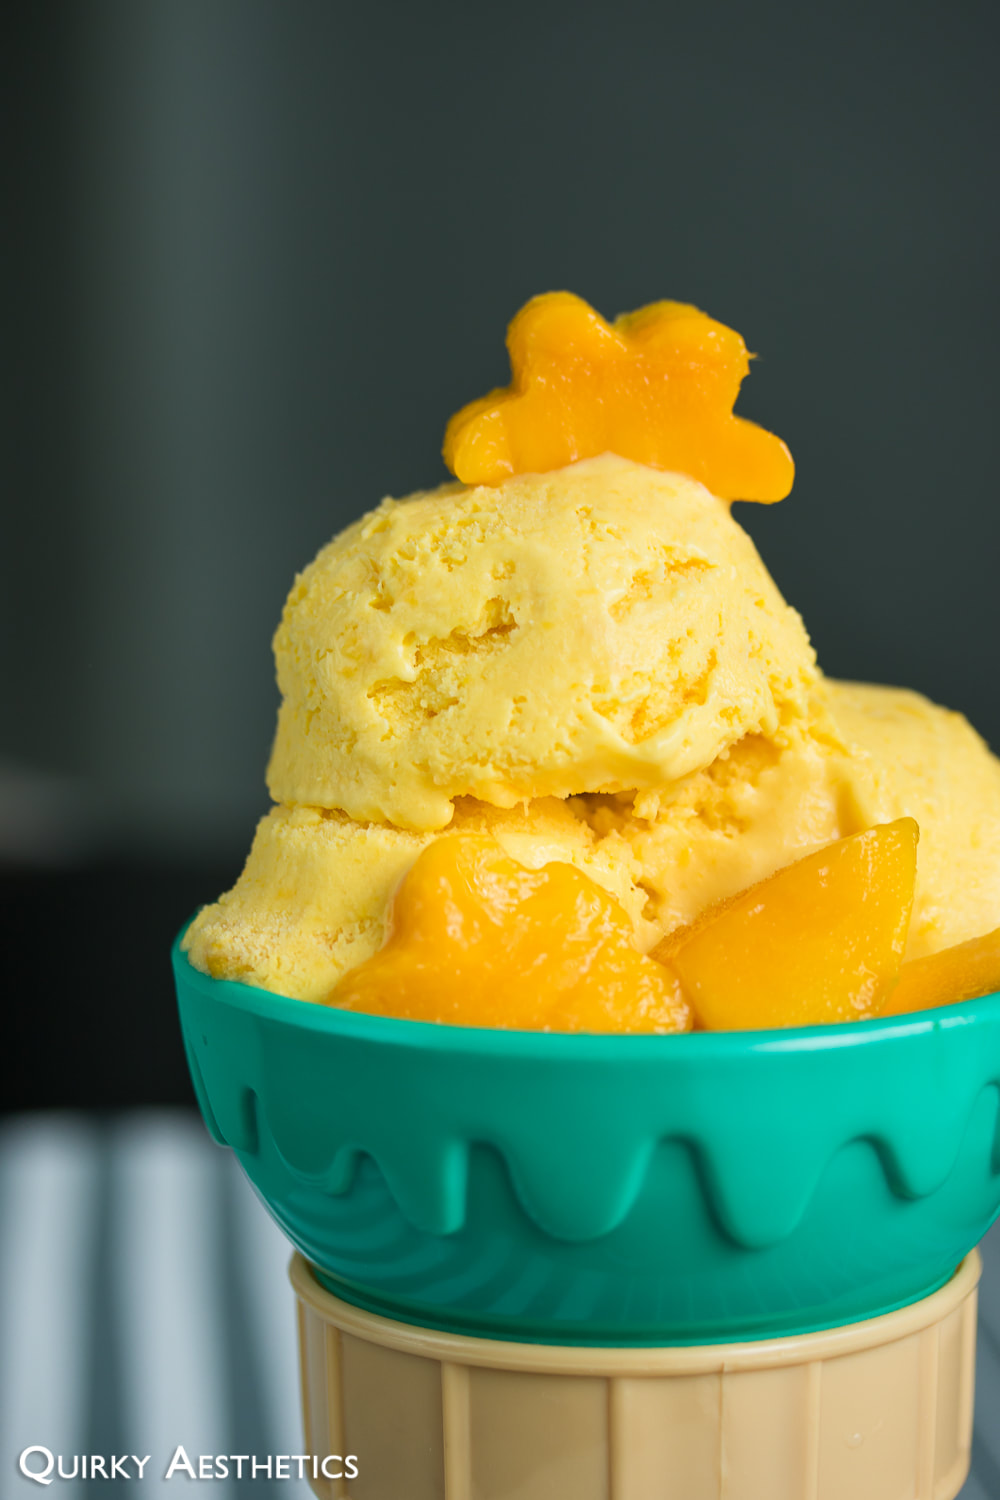
​This post is another spin-off of the classic "someone bought too many mangoes" story. A case of ripe Ataulfo mangoes were secured too easily too quickly, which meant that there was minimal reaction time to conjure up a method of utilizing these fresh ingredients while still at their prime.

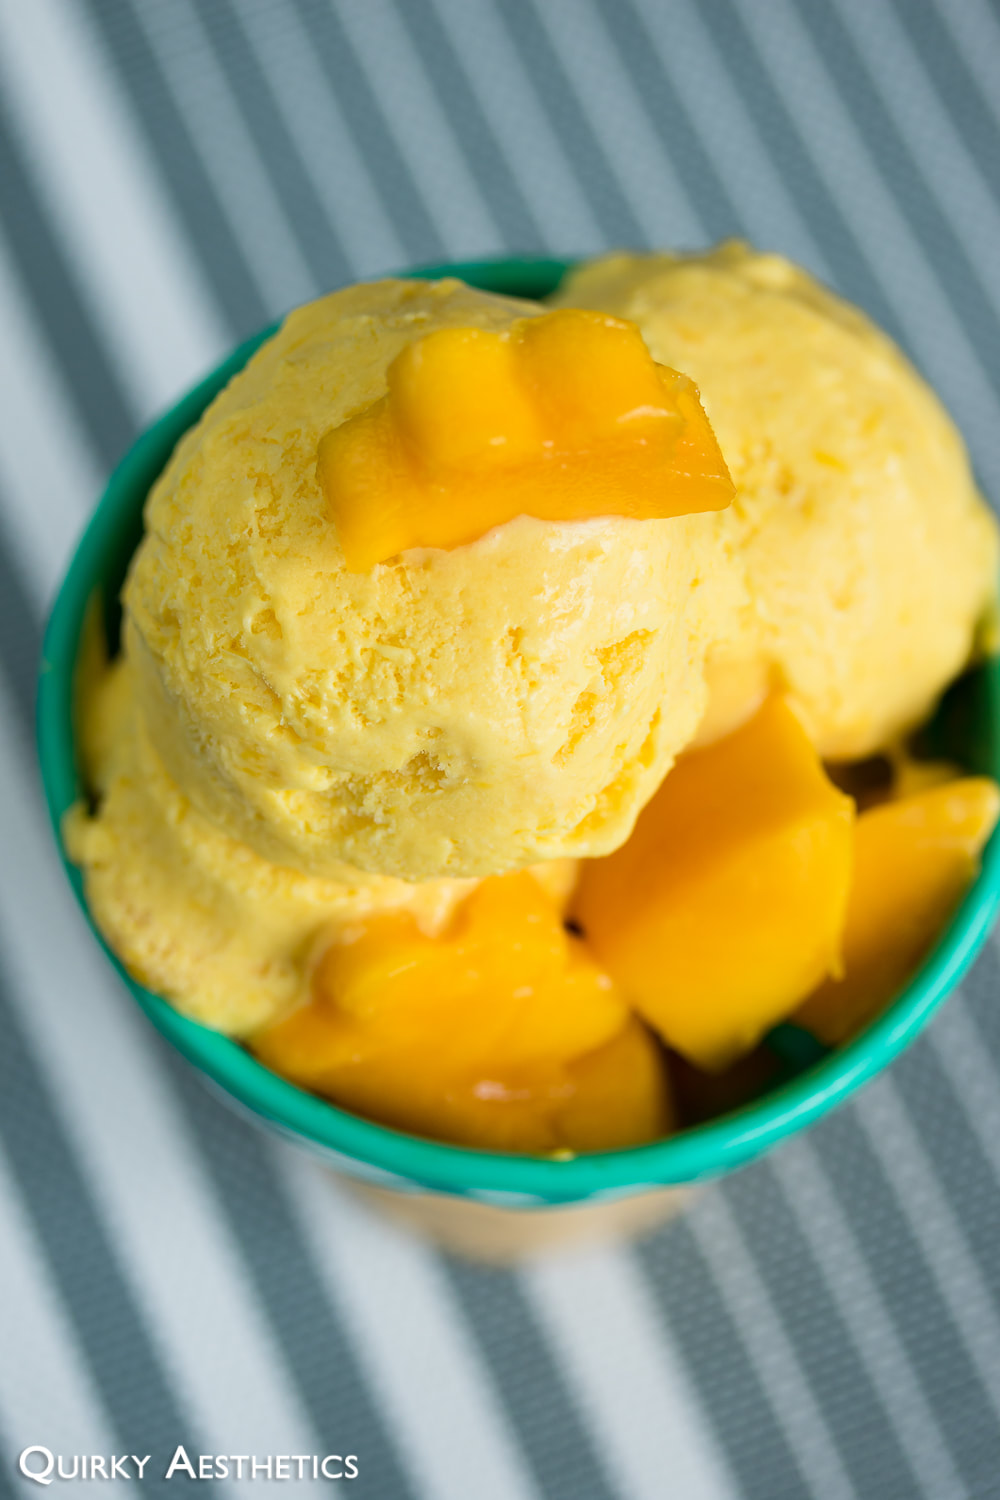
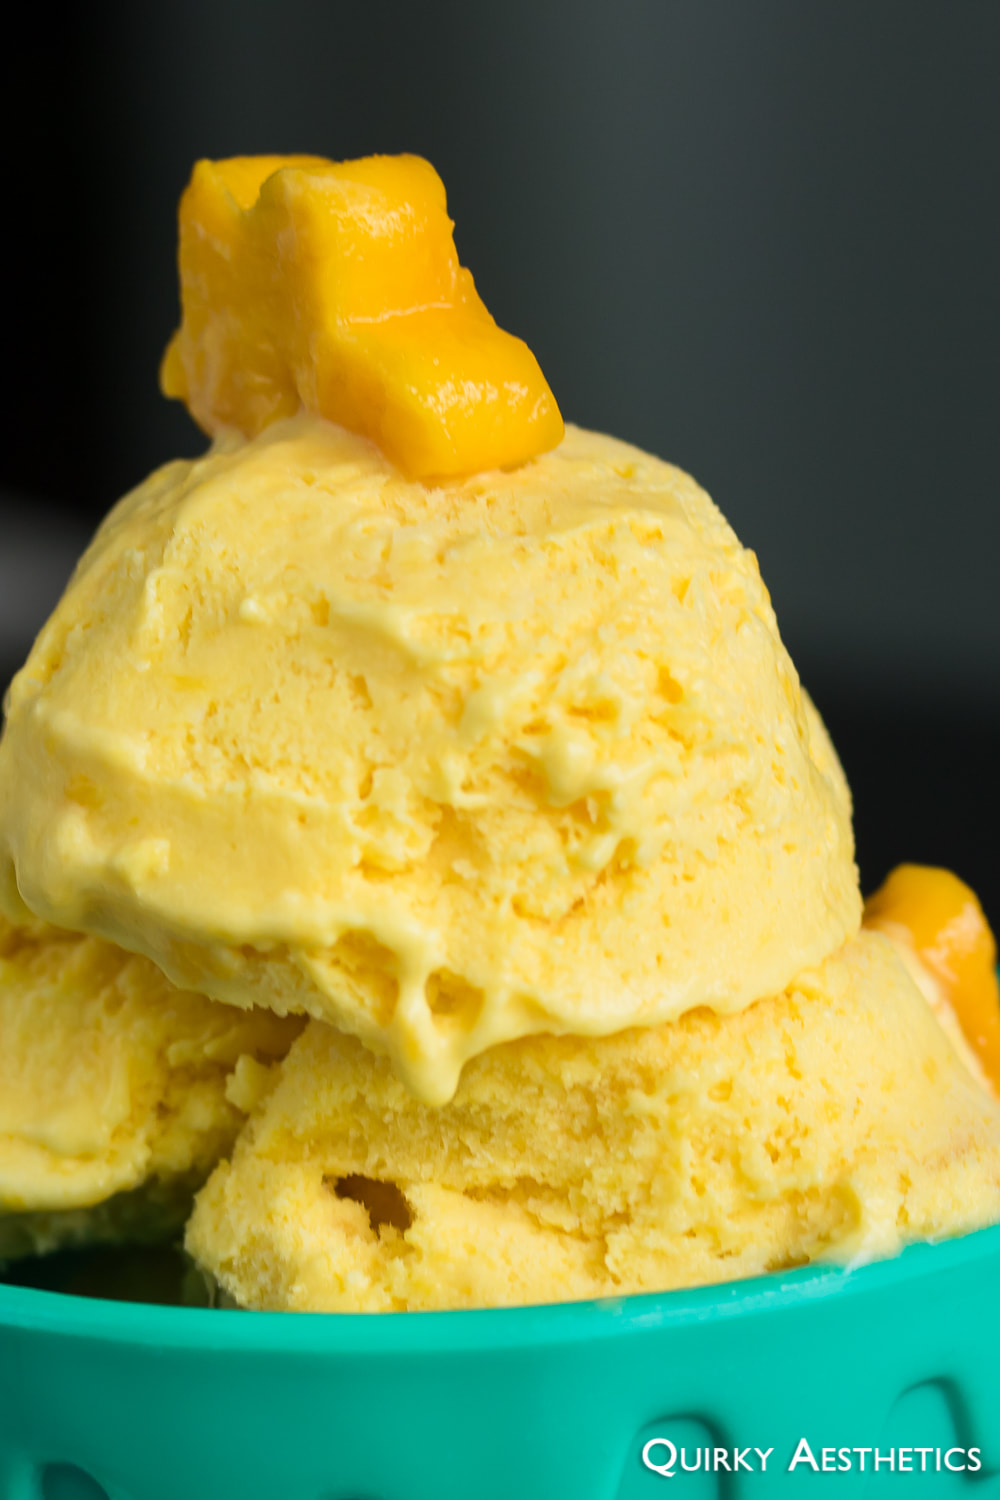
Mango Ice Cream was the result. Hence, the ice cream-maker was dug out of the cupboard and put to use.
Picture
Picture
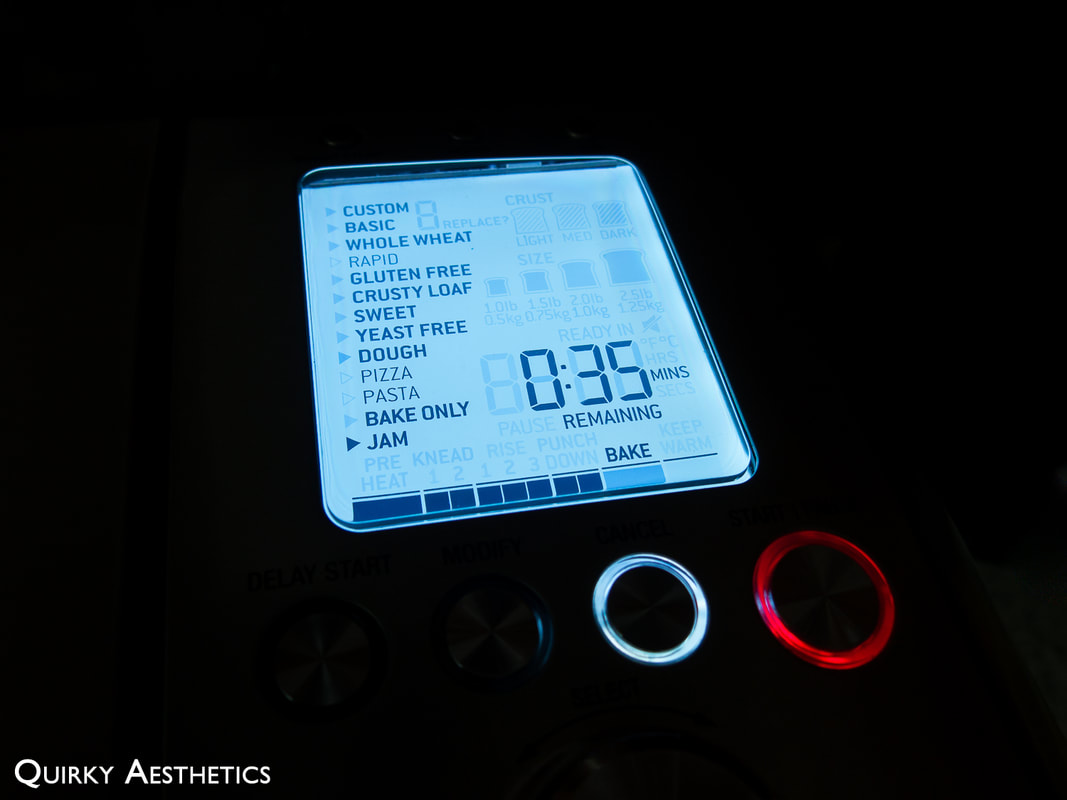
​Like multi-purpose bread-makers, the purpose of these machines is to assist with repetitive, time-consuming actions. One can opt to churn ice cream manually (by freezing a container and retrieving it to slosh its contents around every few hours), or invest in a device that partially does this for you.

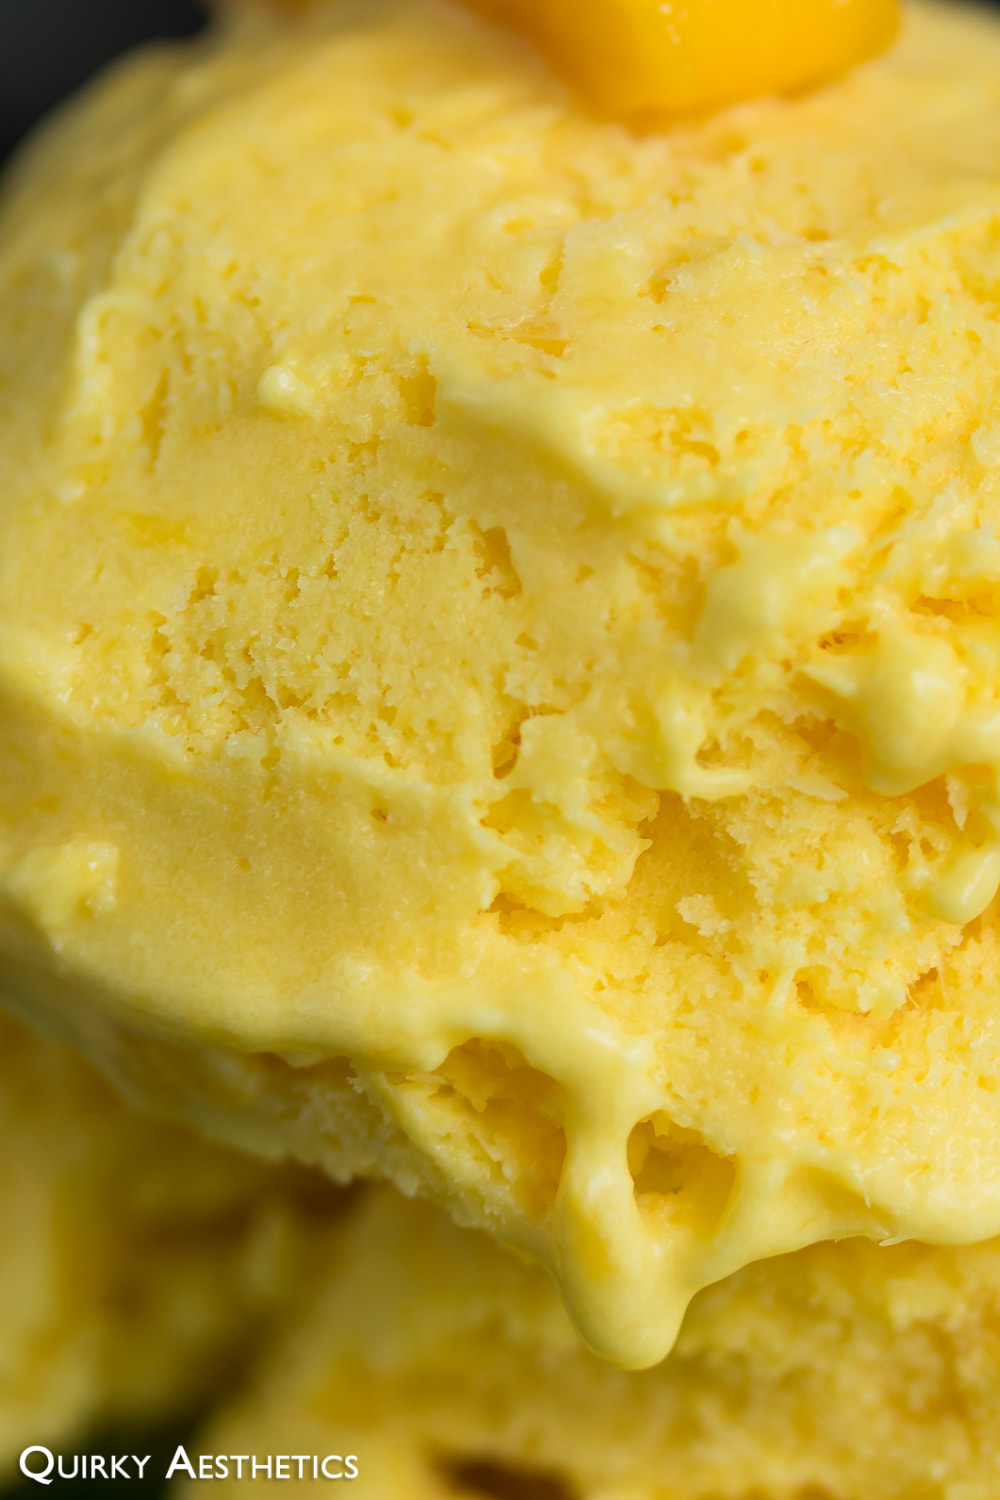
Ten minutes of mango-peeling, two hours of refrigerating, twenty-five minutes of churning, and overnight freezing later, we had Mango Ice Cream!
Picture
Picture
Picture
Picture
Ingredients
​​(Recipe inspired by and adapted from the Cuisinart manual)

- 4 ripe Ataulfo mangoes
- 2 cups whipping cream
- 2 tbsp half-and-half cream
- 4 tbsp (1/4 cup) granulated sugar *
- 1 tsp vanilla extract
- pinch of salt

Directions:

1) Familiarize oneself with the Cuisinart ICE-30BC (or your ice cream maker of choice), paying special attention to safety precautions and operating instructions.
2) Place churning bowl into freezer several hours before commencing preparations. 
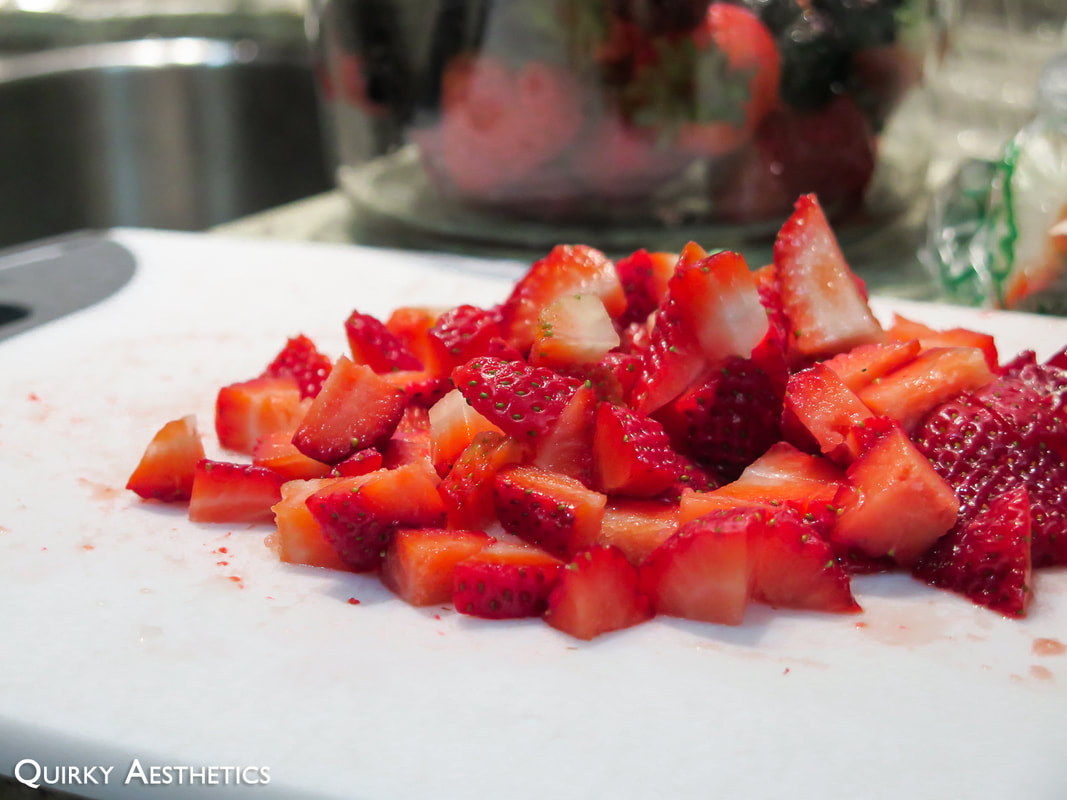
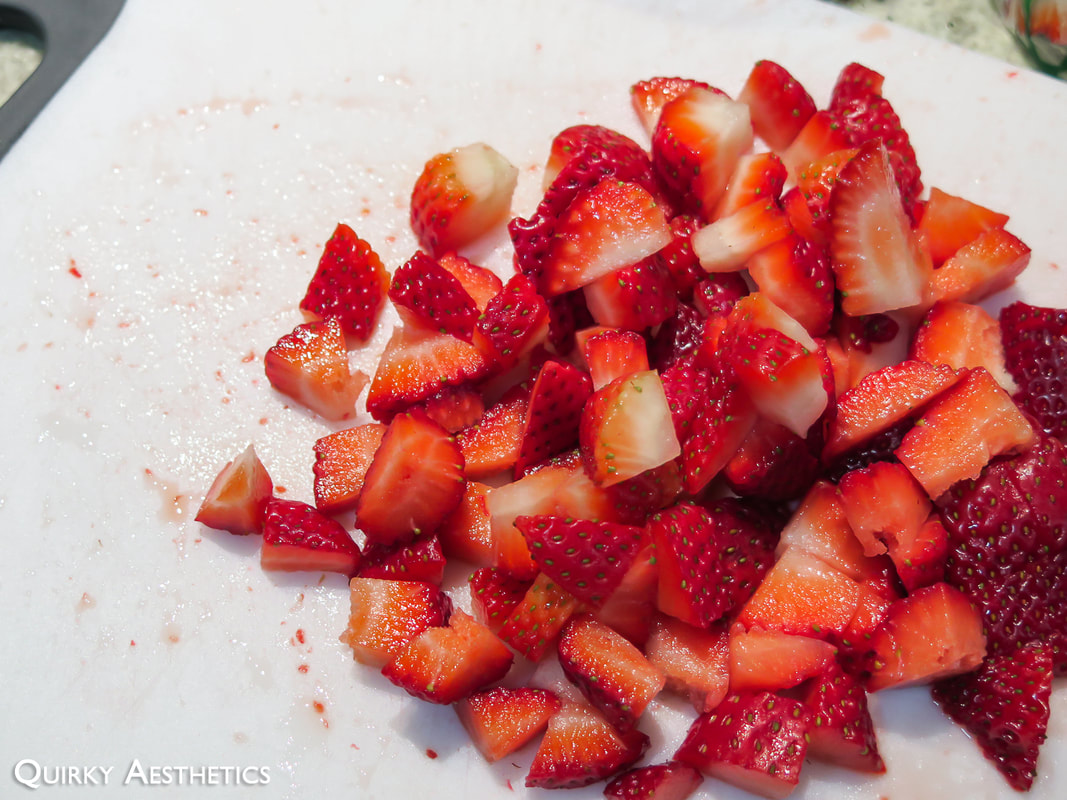
3) Peel and dice mangoes. Place into a large bowl
4) Add in half-and-half cream, sugar, vanilla extract, and salt.
5) Add in 1 cup whipping cream.
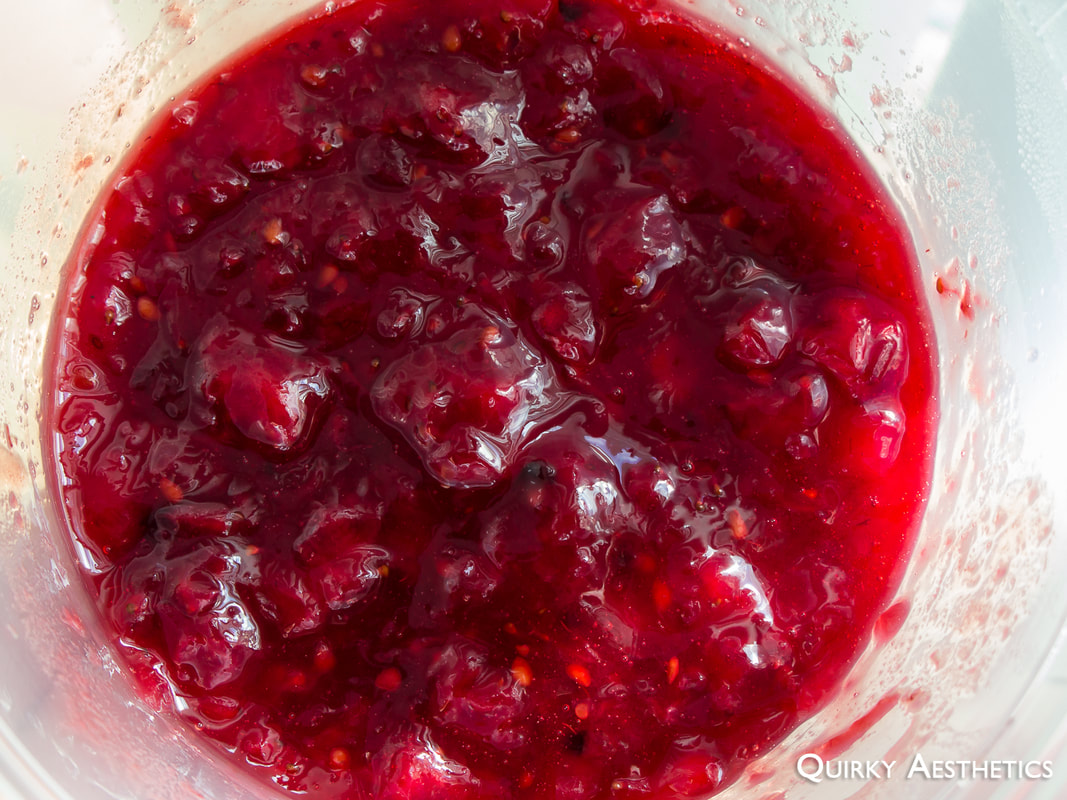
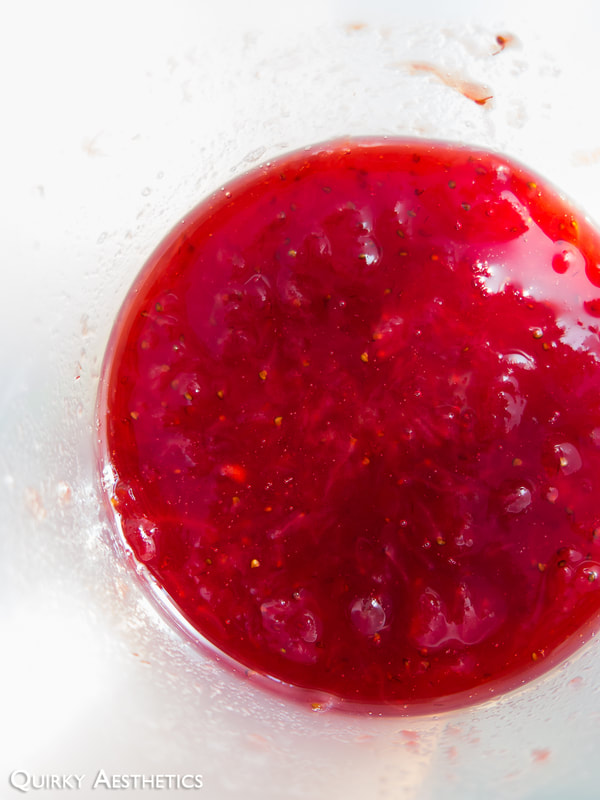
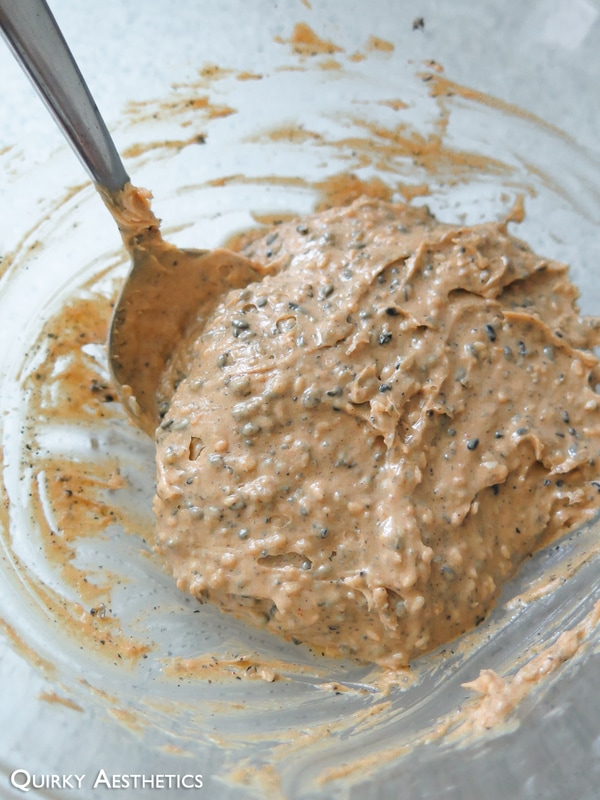
6) Pulverize using an immersion blender. The mixture should be thick with a slight chunkiness. (Alternatively, blend mangoes in a food processor first, then transfer to a large bowl and combine with dry ingredients and vanilla.)
7) Fold in remaining 1 cup whipping cream. Mix well.
8) Refrigerate for 2 hours (or as according to your ice cream maker's manual).
9) Retrieve churning bowl from freezer and secure in ice cream maker.
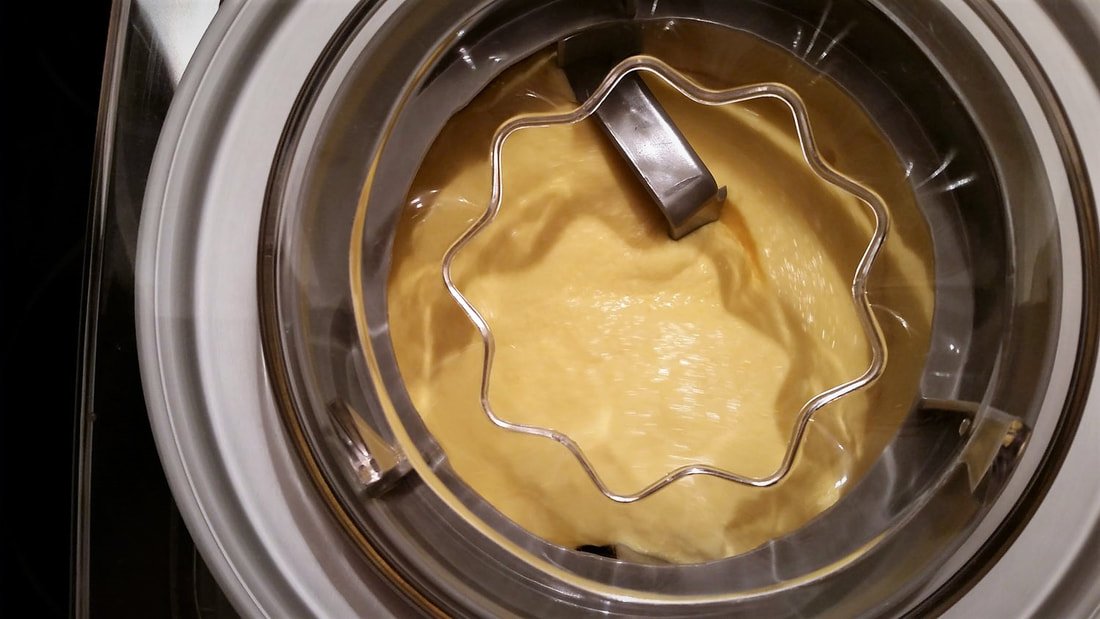
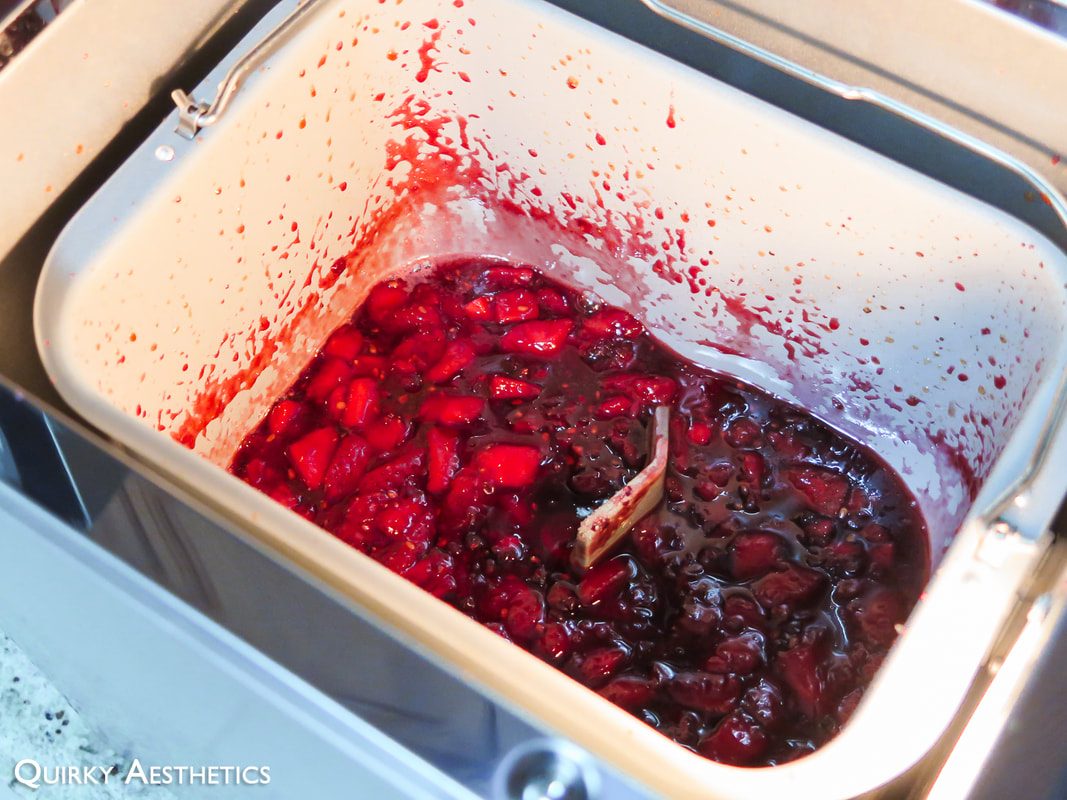
10) Remove mango mixture from fridge and pour into freezer bowl. Allow the mixture to churn and thicken in accordance to the ice cream maker's manual.
11) Observe the mixture as it churns. A creamy consistency should be achieved by the 25-minute mark. Continue churning if a thicker texture is desired.
12) Once the desired consistency is achieved, stop the ice cream maker and transfer the contents of the churning bowl to a shallow, airtight dish. Freeze for 5 hours or overnight.
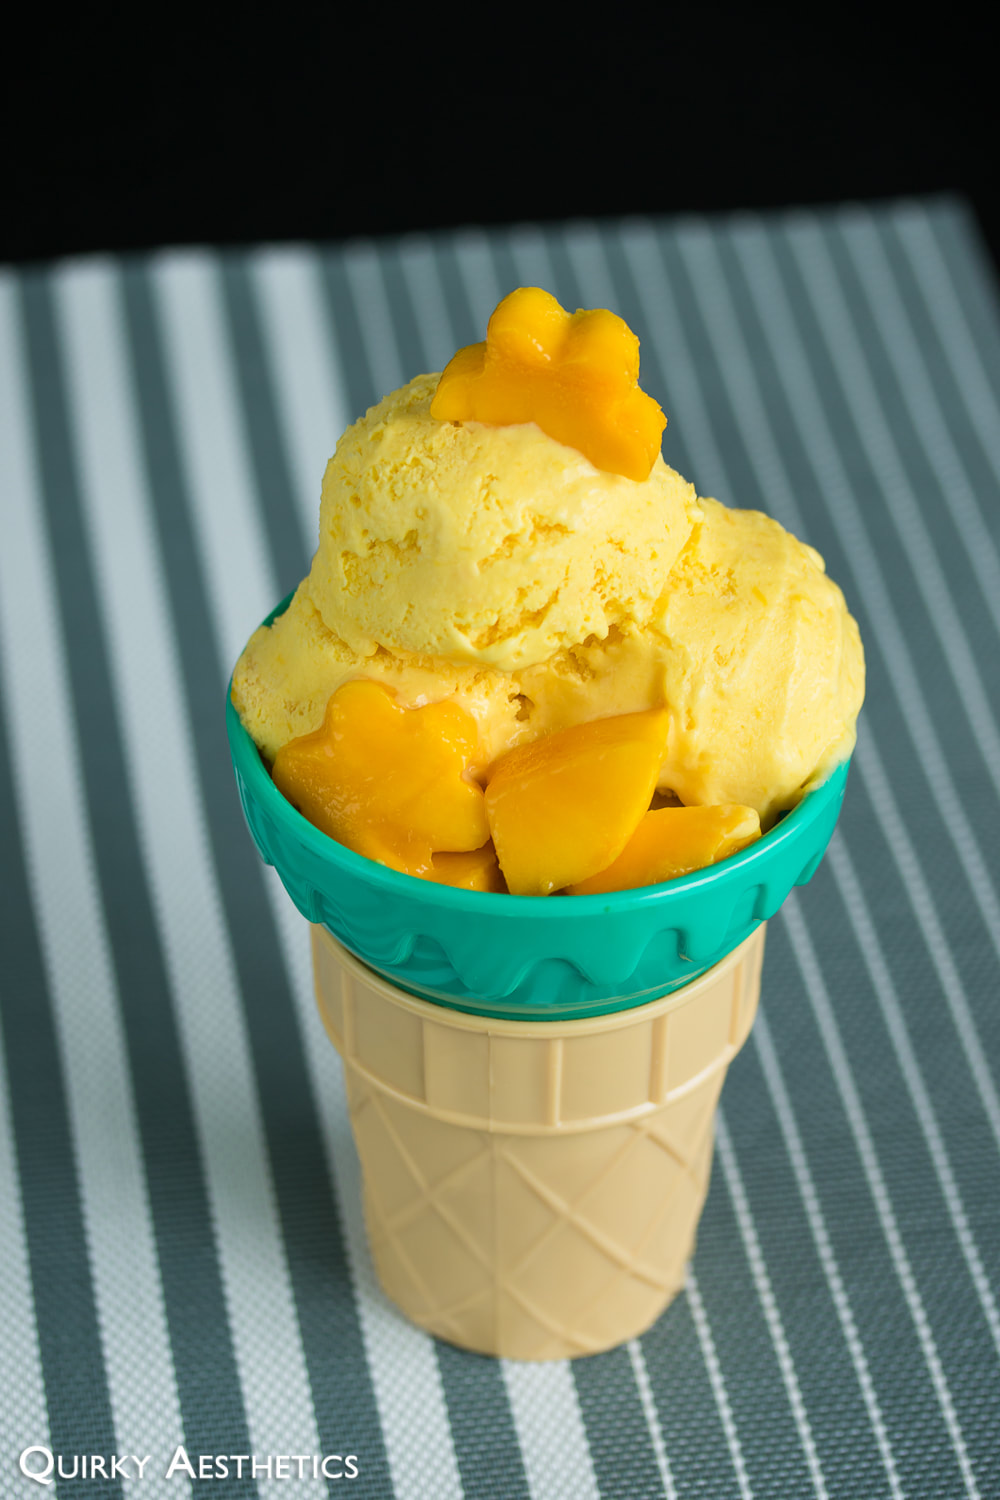
13) Allow ice cream to defrost for 10-15 minutes before serving.
14) Serve and enjoy!

Notes
prior to refrigerating and adjust the amount of sugar as needed.
- The Cuisinart manual did not call for the addition of a stabilizer, though I predict a smoother finish and greater cohesion if one was employed. This has yet to be verified, though most commercially-made ice creams utilize various stabilizers (and preservatives) to achieve a satisfying, sublime scoop.​
0 Comments

Strawberry and Blackberry Jam (Bread Maker Edition V1)

6/6/2018

0 Comments

 
​Lately, I've been a fan of toast-and-iced-latte breakfast combos. Peanut butter, banana slices, Nutella, Matcha Jam - I've tried them all. Though, an absence of orange marmalade in the household instigated a sudden urge for jam.
Picture
Picture
Undertaking this project with a compelling breadmaker/jam-maker hybrid, this is likely the first experiment exhibiting heavy reliance on modern-day appliances.
The machine in question is the Breville BBM800XL, which features a "Jam" setting claiming to produce a sweet fruit emulsion in precisely one hour. A relatively watery, yet pulpy concoction was the result, so additional measures were taken to ensure congealing.
Picture
Picture
Picture
Despite the initial setback, the final creation(s) were more than satisfactory as first attempts. The jams are extremely versatile and can be used traditionally on toast, or less conventionally as a beverage enhancer. (From personal experience, matcha lattes and unflavoured carbonated water are the ways to go!)
Picture
Picture
Picture
Picture
​Once methods have been derived to create a similar product without the assistance of additional appliances, this space shall be updated accordingly. Frozen berries and other seasonal fruits may also be considered, though repeatable results cannot be confirmed at this point in time.
Picture
Ingredients
(Recipe adapted from Breville manual, p.118)
Strawberry Jam
- 4 cups fresh strawberries, finely chopped *
- 1 cup granulated sugar
- 1/4 cup lemon juice
- 1 tbsp glutinous rice flour *
- 1/4 cup cold water
​Strawberry-Blackberry Jam
- 3 cups fresh strawberries, finely chopped *
- 1 cup fresh blackberries, halved
- 1 cup granulated sugar
- 1/4 cup lemon juice
- 1 tbsp glutinous rice flour *
- 1/4 cup cold water
​Directions:

i) Strawberry Jam

1) Familiarize oneself with the Breville BBM800XL (or your bread maker of choice), paying special attention to safety precautions and operating instructions.
2) Secure the paddle in the mixing compartment and ensure that the mixing compartment is secured within the machine.
3) Combine strawberries, sugar, and lemon juice in the compartment.
4) Close the lid of the appliance and connect it to a power source. Commence the jam-making process by selecting the "Jam" function.
5) Allow the machine to pulverize the contents of the mixing container while providing heat.
6) Once done, verify that the softened berry mixture has reached the desired consistency. Should the ideal jam-like consistency be attained, let the mixture cool before chilling.
7) If the berry mixture remains relatively watery, transfer to a medium saucepan and cook over medium-high heat.
8) Thoroughly mix glutinous rice flour with cold water, then add into the saucepan while stirring.
9) Reduce the mixture over medium heat, stirring constantly to prevent burning. Remove from heat once the surface appears shiny and the desire consistency has been achieved.
10) Let cool then refrigerate.
11) Serve and enjoy with toast or in beverages!​

​ii) Strawberry-Blackberry Jam

1) Familiarize oneself with the Breville BBM800XL (or your bread maker of choice), paying special attention to safety precautions and operating instructions.
2) Secure the paddle in the mixing compartment and ensure that the mixing compartment is secured within the machine.
3) Combine strawberries, blackberries sugar, and lemon juice in the compartment.
4) Repeat Steps 4 to 11 of Strawberry Jam recipe.

​Notes
- This recipe utilizes a Breville BBM800XL breadmaking machine that includes a "Jam" setting. Please note that not all bread makers are equipped with this function, and one should check beforehand to ensure when using specialized mechanical devices in cooking.
- A Strawberry Coulis recipe from the Breville manual from was modified to create a thicker, more spread-able jam. I did not adhere to the original recipe exactly, thus the addition of a stabilizer was deemed necessary for the selected fruit-to-sugar ratio.
- Depending on the size of one's machine's mixing compartment, the quantities (and varieties) of fruit can be increased for a greater jam yield. Be aware that modifications have yet to be tested, and thus results are not guaranteed.
- A fruit-to-sugar ratio of 4:1 resulted in commerical standard Smucker's-like sweetness. Feel free to reduce the amount of sugar to suit one's preferences, though, be warned that less sugar may lead to a runny final product.
- Glutinous rice flour was the stabilizer of choice in this recipe, though alternatives such as corn starch, tapioca starch, or plain flour can also be used.​
0 Comments

Tangyuan (Glutinous Rice Balls) from Scratch

7/6/2017

2 Comments

 
​To be honest, I wanted to make daifuku. With freshly-picked strawberries and an unopened package of matcha jelly, it just seemed right. However, my kitchen lacked Mochiko, and the weather deterred me from driving out to the Korean supermarket to pick up a box I would only use one sixth of.

Recalling that I had once accidentally purchased glutinous rice flour instead of plain glutinous rice, I set out making tangyuan. Strawberries were not included in the recipe; in its place was an indulgent peanut butter-sesame spread.
Picture
Picture
Picture
Picture
Picture
Picture
Picture
Picture
Picture
Picture
Picture
Picture
​Ingredients
​(Recipe adapted from Octochan @ Instructables)

Dough
- 400g glutinous rice flour (approx. 4.5 cups)
- 3-4 cups water
- 3 tbsp vegetable oil

Filling(s)
- 4 tbsp peanut butter *
- 2 tbsp white sesame seeds *
- 5 tbsp black sesame seeds *
- 75 g matcha jelly/matcha anko *

Sugar Syrup
- 0.7-0.9 cups of rock sugar *
- 5 cups water
- 1-2 knobs of ginger (opt.)​

Directions:

i) Filling

1) Place sesame seeds in a shallow pan over medium-high heat. Once popping sounds are heard, reduce the heat the medium, constantly stirring to prevent burning.
2) Remove from heat once white sesame seeds have turned to a golden brown.
3) Grind with a mortar and pestle or fine food processor to the desired consistency. (I crushed majority of the seeds to a fine crumb but allowed several whole bits to remain to add texture).
4) Add peanut butter and mix well. Set aside. It is highly recommended to spoon softer fillings onto a lined baking tray and freeze thoroughly before attempting to wrap them. (I tried to seal my tangyuan without freezing the fillings beforehand and saw little success without piling on additional layers of dough.)
5) Chop matcha jelly into pieces roughly measuring 1-2 cm. Set aside.

ii) Dough

1) Line two baking trays with wax paper. Set aside. (More trays may be needed for a larger portion.)
2) Place glutinous rice flour in a large bowl. Make a well in the centre and add vegetable oil and one third of the water.
3) Begin mixing with a spoon until large crumbs begin to form. Gradually add in more water while kneading. Repeat this process until the dough has a uniform, smooth texture. The surface should be glossy, but water should be not seeping through towards the bottom of the bowl. Keep in mind that more or less water may be required depending on the desired consistency and presence of filling(s).
4) To serve the dessert without fillings, knead the dough until it just begins to gleam. Separate chunks of the dough and roll into spheres measuring 1 inch in diameter. Place on baking trays to set.
5) To serve the dessert with fillings, knead the dough until the surface is smooth and glossy. Be sure to keep a small dish of water handy to supplement moisture as the dough dehydrates with air exposure.
6) Separate chunks of dough and roll into balls measuring 1.5 to 2 inches in diameter. Flatten the balls such that the middle section is slightly thicker than the edges. If the edges show signs of cracking, place the ball back into the bowl, add water, and knead again.
7) Place fillings at the centre of the flattened dough ball and seal with care. Should the dough casing break, patch the hole with a thin layer of dough and reshape. If necessary, decrease the amount of filling to prevent spillage. 
8) Repeat until all ingredients have been used up. Place on baking trays to set.
9) Once set, transfer the glutinous rice balls to a plastic bag and store in the freezer. They should last for at least one week, though quick consumption is recommended to ensure freshness.

iii) Sugar Syrup

1) Combine rock sugar, ginger, and water in a medium saucepan. Warm over medium heat, stirring to dissolve the sugar lumps. Reduce to low heat once the mixture begins bubbling.
2) Simmer until ginger knobs appear dehydrated, or until an aromatic waft of spiciness can be perceived. Remove from heat and let cool to room temperature.
3) If not consuming immediately, chill in the fridge in an airtight container.

iv) Cooking Instructions

1) Glutinous rice balls should be stored in the freezer and boiled to order.
2) Bring water to a roaring boil in a medium saucepan. Add in glutinous rice balls and reduce to medium heat.
3) Allow the glutinous rice balls to cook uncovered. Reduce to medium heat if bubbling turns ferocious, as this can cause splitting of the casing.
4) Once the glutinous rice balls begin to float, continue to boil for 1-2 minutes to ensure interior is cooked thoroughly.
5) Remove from heat immediately and rinse with cold water. This will prohibit the shell from becoming mushy and halt splitting if present.
6) Serve with warmed sugar syrup. Enjoy!


Notes
- This recipe was modified accordingly based on the amount of glutinous rice flour on hand. I opted to empty the entire packet (400g) and amplify the original measurements via a similar ratio. Should you wish to use an amount smaller/greater than the 400g specified above, please take heed to scale your ingredients accordingly.
- When toasting black sesame seeds, it is crucial to include a few white sesame seeds in the pan. Colour changes are made more visible with the white sesame seeds, preventing burning of the entire batch.
- Matcha jelly/matcha anko was utilized as a second filling, though can be substituted with other substances of preference. The sole requirement is that the substance should be relatively viscous, if not solid. Should one choose to use matcha anko, I have found a recipe here and a purchasing link here. (For Toronto locals, I obtained my 150 g block from Sanko on Queen West.)
- The peanut butter to sesame seed ratio is up to one's own discretion; peanut butter can also be swapped for other nut butters should peanut allergies be an issue.
- To render this recipe vegan, simply omit the jelly (as it contains gelatin) and substitute the filling with an unprocessed nut butter.
- Dessert soup-appropriate rock sugar can be purchased in the form of brown sugar slabs or assymetrical white crystals. Either can be utilized for this recipe. If including ginger, it is recommended to use at least one brown sugar slab for its richer depth.
- Personally, a lighter sugar syrup is preferred. However, feel free to adjust the amount of inputted sugar to your own liking.
2 Comments

Yuzu Plum Iced Tea

4/20/2017

0 Comments

 
Frigid winter temperatures mean steamy, spicy sips, but spring calls for refreshing glasses of fruity iced teas.

Mixing yuzu, also known as Honey Citron, and Korean sour plum (매실) with cold green tea has been a consistent favourite as of late. It transitions well from the season of showers to the summer months, and can even be transformed into a slushie for added cooling relief.

Once again, I've attempted to illustrate the steps in video format (sans music for the sake of maintaining my copyright strike profile clean). As the video recipe is text-less, please refer to the ingredient list below for approximate proportions.
Picture
Picture
Ingredients
​
- 1 lime wedge
- 1/2 cup ice
- 1-2 tsp yuzu/honey citron tea
- 2 tsp sour plum concentrate
- 1/3 cup hot water
- 2/3 cup green tea, chilled *​

Directions:

0) Brew preferred variety of green tea, then let cool and refrigerate for at least four hours.
1) Place lime wedge and ice cubes in a cup. Puncture lime wedge to release juices.
2) Pour chilled green tea over the lime wedge and ice cubes until cup is one third full.
3) Dissolve yuzu and sour plum concentrate in hot water. Pour over tea.
4) Fill the remainder of the cup with green tea. Stir to combine well.
5) Serve and enjoy!​

Notes
- For this recipe, I have opted to use DAVIDsTEA's Organic Sweet Almond Green, a floral green tea with strong almond influence. However, feel free to use your desired tea variety. (This recipe could also be crafted with a bergamot-based black tea, though I have yet to experiment with this combination.)
- Based on personal preferences, a 1:1 ratio of yuzu and sour plum have been found to yield the most pleasing results. Should one deduce the need to increase either of these proportions, please feel free to do so, as this recipe is merely a guideline.
- For those adhering to a vegan diet, I would suggest double-checking the labels of the Honey Citron Tea and Sour Plum Concentrate, though chances of animal interference are low.
0 Comments

Curry Japchae

4/1/2017

0 Comments

 
The box of curry on our countertop has been beckoning for my attention for some time now. With some unattractive leftovers in the fridge and an enormous bag of unopened japchae noodes peeking out from behind, I set to work combining the two to create a predominantly Korean-inspired dish with an injection of Japanese-style yellow curry.
Picture
Picture
Picture
Ingredients

Japchae
- 1 bunch japchae (sweet potato) noodles
- 2 bell peppers, roughly diced
- 1 onion, chopped
- 1 shallot, chopped
- 1 small knob ginger
- 4 perilla leaves, thinly sliced
- 1/3 cup vegetable oil
- 2 tbsp sesame oil
- sesame seeds (opt.)

Sauce
- 1 quarter block Golden Curry mild curry roux *
- 2 tbsp bulgogi sauce
- 1-2 tbsp kimchi base sauce
- 1 tbsp cane syrup *
- 1 tbsp light soy sauce
- 1 tbsp whipped peanut butter
- 1 tsp rice wine vinegar
- 1 tsp cornstarch (opt.)
​
Directions:

1) Bring a pot of water to a roaring boil. Add in japchae noodles and mix quickly. Remove and rinse with cold water before it softens. (See note.) Set aside.
2) Blanch the diced peppers until partially cooked. The colours will become a tad more vibrant, but shouldn't be able to be easily pierced by a fork. Rise with cold water and set aside.
3) In a medium bowl, dissolve the curry block with a small amount of hot water. Add in all sauce ingredients and mix well. Set aside.
4) Heat vegetable oil in a large pot. Over high heat, stir fry chopped onion, shallot, and ginger until fragrant and slightly golden.
5) Add in japchae and peppers, stirring to make sure that nothing adheres to the bottom of the pot.
6) Quickly add in the sauce mixture and toss to coat the japchae evenly. Feel free to add water at this stage to make the mixing process easier.
7) Add in sesame oil and any other sauce modifications if desired. Add perilla leaves.
8) Reduce heat to medium and continue stirring until sauce thickens. If too much water was added during the previous steps, mix cornstarch with a small amount of water and add it into the pot.
9) Remove from heat once sauce has thickened.
10) Let cool and top with sesame seeds (if desired).
11) Serve and enjoy!

Notes
- Admittedly, I overcooked the japchae noodles, causing the strands to disintegrate and adopt a mushy texture once the sauce was mixed in. As such, I would advise cooking the noodles only briefly, or simply rinsing them once before stir-frying.
- Rice wine vinegar is an optional ingredient, however I find that the tartness helps to balance the creamness of the peanut butter and curry roux. If available, fresh lime juice would be an even better alternative.
- Feel free to substitute cane syrup with sugar or honey.
- This recipe is versatile and can be altered based on one's dining preferences. Bits of ham or sausage can be added to the pot for a source of protein. It can also be made vegan with curry roux that is free of animal byproucts - Golden Curry contains "edible oil and fat" (derived from unspecified sources).
- While japchae noodles themselves are gluten-free, please be aware that the curry roux used in this recipe contains wheat.
- I used a mild curry block for this recipe, however feel free to adjust the spiciness to your liking.

0 Comments

Hot Chocolate Yuan Yang

10/25/2015

0 Comments

 
It's that time of year again - winter. (Do I hear groans from my fellow Canadians?)

While Apple Cider and PSLs are the common choices for fall, I tend to lean more towards extra-caffeinated, milky drinks when having to wake up earlier to accommodate harsh weather/precarious driving conditions. We're out of Nutella for now, but there's never a shortage of tea nor sweetened condensed milk in the cupboards.

I looked toward my favourite food blogs to derive inspiration for an innovative toasty beverages, and was more than thrilled to try out Lady and Pups' creative rendition of hot chocolate inspired by Cantonese flavours.
Picture
Picture
Picture
Picture
Picture
Picture
(Recipe adapted from Lady and Pups' 'THE HOT TRIPLETS')

Ingredients

- 1/2 cup 1% milk*
- 1/4 cup evaporated milk
- 3 tbsp sweetened condensed milk*
- 1/3 to 1/2 cup espresso*
- 3 tsp loose leaf black tea*
- 1 heaping tbsp cocoa powder
- 1 handful of mini marshmallows*

Directions:

1) Spoon tea leaves into a filter bag, then place into a small saucepan with the milk.
2) Steep the tea over low heat while stirring constantly. Spoon in sweetened condensed milk, stirring after the addition of each tablespoon.
3) Once the mixture becomes a pale copper hue, remove the tea bag and add in the espresso and evaporated milk. Stir to combine.
4) Over low-medium heat, add in cocoa powder and stir until fully dissolved.
5) Remove from heat and strain the mixture to remove any clumps.
6) At this stage, one can opt for a chilled version of the drink by allowing it to cool to room temperature and placing in the refrigerator at this stage for approximately one hour. Serve over ice.
7) To restore a slight amount of heat into the drink, microwave for 20 to 25 seconds before using a milk frother to add texture.
8) Pour into a serving mug and top with marshmallows. If desired, char the surface of the marshmallow layer with a kitchen blowtorch.
9) Serve and enjoy!

Notes
- Feel free to substitute 1% milk with skim milk, or even 2% milk for a richer taste. I have not attempted to use non-dairy milks though, and thus cannot vouch for the taste or texture if substituted.
- Feel free to adjust the amount of tea leaves or espresso to fit your tastes. I generally prefer milder coffee and stronger tea flavours, but happened to be running low on Nepal Black. (Oops!)
- Evaporated milk is an essential element of yuan yang and would advise against substituting coconut milk/almond milk/cashew milk/etc. in its place.
- Sweetened condensed milk provides the hot chocolate with a dose of unique sweetness unlike any other, therefore it is the recommended sweetener in this case. However, if you must, other potential alternatives include granulated sugar or agave.
- The size of marshmallows used in the recipe is entirely based on preference; mini marshmallow were utilized for this recipe simply since I find that charring large marshmallows uniformly to be slightly more challenging.
- For best results, allow the marshmallows to melt halfway before consuming.
0 Comments

Gluten-Free Almond Strawberry Cake

1/27/2015

0 Comments

 
Almond meal can be pretty pricey when purchased as is, which is usually why I've never attempted cake recipes involving the ingredient previously. But when I had a substantial amount of already ground sweet almonds left over from making almond milk, I decided to give a low-carb cake recipe a try.

Well, technically, it wasn't a recipe. I simply followed the general guideline of a recipe off Pinterest and improvised as the project progressed, finally topping the cake with some fresh strawberries we had in the fridge.

The attempt turned out to be satisfactorily successful in the end, and resulted in a easy, great-tasting afternoon snack!
Picture
Picture
Picture
Picture
Picture
Picture
Picture
Picture
Ingredients

- 2 eggs*
- 1/2 cup skim evaporated milk*
- 3 tbsp sweetened condensed milk*
- 1 tsp baking powder
- 2 cups of ground sweet almonds*
- 1/2 cup melted butter
- 1 tsp vanilla extract
- 3/4 cup large strawberries, thinly sliced (opt.)

Directions:

1) Preheat oven to 375 F.
2) Melt the butter in a large bowl. Then crack in the eggs and whisk quickly to prevent them from scrambling. Add in sweetened condensed milk once eggs and butter are fully incorporated.
3) Sift in baking powder and add in vanilla extract.
4) Whisk in ground sweet almonds in three to four additions before pouring in evaporated milk.
5) Grease a large round pan and pour in the batter. Top with sliced strawberries as desired.
6) Bake for 35-40 minutes. Once the surface becomes golden brown, remove from the oven and let cool for at least 10 minutes.
7) Using a plastic knife, carefully remove the cake from the pan and allow it to completely cool on a cooling rack.
8) Serve and enjoy!

Notes
- The ground almonds used in this recipe are smaller in size and sweeter in nature, and are a common ingredient in Chinese almond milk desserts. As opposed to the elongated oval-shaped almonds, these are rounder and plumper. An image of the almonds can be viewed HERE.
- Feel free to use regular skim milk (or even almond milk!) in place of skim evaporated milk. 1% or 2% could also be used for a richer taste if so desired.
- For a vegan option, feel free to use maple syrup or cane syrup in place of sweetened condensed milk. Please be aware that both of these have a stronger taste than sweetened condensed milk and have the potential to overpower the almond taste in the cake.
Butter could also be switched out for a vegan alternative if so desired, though I cannot vouch for the results as I have not attempted this.
- As my cake came out slightly crumblier than I would have preferred, I would recommend adding one more egg to the batter to allow the cake to have a stronger cohesive property.
0 Comments

Honey Milk & Coffee Jelly Jars

6/13/2014

0 Comments

 
After having visited Sweet Note Desserts on a recent trip to Markham and having a taste of their renown Milk Bottle Desserts, I couldn't help but be inspired to create some chilled bottled desserts of my own.

As it was a rather impromptu lazy afternoon project, I couldn't be bothered to incorporate flavours such as sesame or hazelnut into it. Instead, I went for the incredibly easy options of honey milk (literally just milk sweetened with a hint of honey) and coffee (using regular instant coffee granules).
Picture
Picture
Picture
Picture
Picture
Picture
(The amounts used in this recipe are not exact as I didn't measure out specific quantities while preparing the jellies, however, the concept of the preparation process remains the same as for any jelly-based dessert.)

Ingredients

For the milk honey jelly:
- 1/2 cup skim milk *
- 1/8 cup of half & half cream
- 3 tbsp honey *
- 3-4 tbsp gelatin powder 
- 3/4 cup of water

For the coffee jelly:
- 2-3 tbsp instant coffee granules
- 1/3 cup brown sugar *
- 1/2 cup skim milk- 3-4 tbsp gelatin powder
- 3/4 cup of water


Directions:
1) For the coffee jelly layer, add water to the gelatin powder  and stir to dissolve completely. Set aside.
2) Combine the rest of the ingredients and add in the gelatin powder. Mix thoroughly and pour into jars of choice to set.
3) Refrigerate for at least three hours before adding another layer on top.
4) For the milk honey jelly,  add water to the gelatin powder  and stir to dissolve completely. Set aside.
5)  Combine the rest of the ingredients and add in the gelatin powder. Mix thoroughly.
6) Remove the jars containing the coffee jelly from the refrigerator and pour honey milk layer on top.
7) Let refrigerate another 3-4 hours or until set.
8) Serve chilled.

Notes
- I used skim milk and a hint of half & half cream for the honey milk layer, however, feel free to use milk of a higher fat concentration or even cream if a richer taste is preferred.
- The amount of honey/brown sugar added to the jelly can be adjusted to your preference. I generally prefer a milder taste and thus add only a small amount of sweetener.
- The amount of gelatin powder can be varied for a softer or harder jelly. Using 3-4 tbsp of gelatin powder resulted in an extremely firm jelly, so this amount can be reduced slightly for a softer effect. As I have not tested this myself, however, I cannot vouch for any varying outcomes you may receive in the dessert.
0 Comments

Easy Prune and Orange Scones

3/23/2014

0 Comments

 
At this point it's become to distinguish between whether I've simply become a broken record, replaying the same, unchanged list of things I have to prepare for this upcoming week, or whether the stress has finally gotten to me and I'm slowly crumbling down....like a flaky scone.

In all seriousness though, I decided to whip up this quick batch of scones as I had bought whipping cream earlier this month, intending to make some sort of fancy dessert. Of course, that never happened.
And since the whipping cream would be expiring before I was to finish the week, there seemed to be no better solution to using the carton up in a creative and tasty way.
Picture
Picture
Picture
Picture
(Recipe inspired by/adapted from Smitten Kitchen; egg was omitted and granulated sugar was traded in for honey)

Ingredients
- 1 cup all-purpose flour *
- 1 tsp baking powder
- 1/2 cup quick-cooking oats
- 2 tbsp wheat bran
- 5 prunes, chopped
- 1/3 cup cold butter, cubed
- 1/2 cup whipping cream
- 1/4 cup honey *
- zest of half an orange
- pinch of salt

Directions:
1) Preheat oven to 400 F.
2) Sift flour, baking powder, and salt together in a large bowl. Add in oats and wheat bran.
3) Cut in butter until full incoporated. The dough should resemble a coarse meal with a few lumps.
4) Add in prunes and zest, honey, and cream. Mix until a dough forms.
5) Form dough into ten mounds roughly half an inch (or 2.54 cm) in thickness.
6) Bake for 20 mins, or until the tops have browned slightly.
7) Let cool and enjoy!

Makes 10 small scones.

Notes
- To make this recipe gluten-free, substitute a gluten-free flour mix for the all-purpose flour.
- I used a liquid sweetener (honey) in this recipe since I wanted to keep the scones slightly moist on the inside. However, feel free to use other forms of sweetener if you would like a crispier finish.

Nutrition:
(Per scone)

Calories: 196.2
Fat:  11.0 g
     Saturated: 6.6 g
Cholestrol: 32.3 mg
Sodium: 71.2 mg
Potassium: 78.6 mg
Carbohydrates: 23.2 g
     Fibre:  1.4 g
     Sugars:  8.6 g
Protein:  2.4 g
---
Vitamin A: 8.7%
Calcium: 4.4%
Iron: 3.1%
Magnesium: 2.2%
Manganese: 8.8%
Zinc: 1.3%
0 Comments

High Fibre Morning Power Smoothie

1/26/2014

0 Comments

 
I think I speak for a large majority of people on this planet when I say I'm not a morning person.
And unless you can be overly energetic without some sort of caffeine at 6 in the morning like my mom, you're probably on the hunt for something to render your senses awake.

Well here's a healthier option to caffeine: a Fruit Smoothie. But not just any ol' fruit smoothie! This one adds in an extra dose of fibre to keep you digestive system regulatory.

While it's a little high in sugar (don't worry, they're natural fruit sugars!), this smoothie is chock-full of vitamins and only have 9.2 g of net carbs! In other words, drink to your heart's content!
Picture
Picture
Picture
Picture
Ingredients
- 1 cup water
- 1 cup unsweetened almond milk
- 1/2 cup strawberries, sliced
- 1/2 cup pears, diced
- 1/3 cup water
- 3 tbsp psyillium husk


Directions:
1) Combine psyllium husk with 1/3 cup of water. Set aside.
2) Add remaining ingredients into a blender.
3) At this point, the psyllium husk should have absorbed most, if not all, of the water. Mix well and scoop into the blender.
4) Blend until smooth.
5) Pour into glasses and enjoy! *

Makes 2 servings.

Notes
- It is best to place wet ingredients into a blender first to ease mixing.
- As psyllium tends to cause liquids to congeal, this smoothie is best consumed immediately after preparation. If you prefer to chill the smoothie before serving, or to prepare it in advance, simply add a small amount of water and shake well before consuming it.

Nutrition:
(For entire recipe)

Calories: 268.8
Fat:  4.4 g
     Saturated: 0.5 g
Cholestrol: 0.0 mg
Sodium: 135.1 mg
Potassium: 1206.3 mg
Carbohydrates: 53.1 g
     Fibre:  43.8 g
     Sugars:  29.2 g
Protein:  5.1 g
---
Vitamin A: 3.2%
Vitamin B-12: 50.0%
Vitamin B-6: 46.4%
Vitamin C: 101.9%
Vitamin D: 45.0%
Vitamin E: 4.7%
Calcium: 44.3%
Iron: 59.4%
0 Comments
<<Previous
    The Sweet
    The Savoury

    Archives

    July 2020
    March 2020
    January 2020
    April 2019
    August 2018
    June 2018
    April 2018
    February 2018
    December 2017
    November 2017
    August 2017
    July 2017
    May 2017
    April 2017
    February 2017
    January 2017
    December 2016
    April 2016
    March 2016
    October 2015
    September 2015
    July 2015
    January 2015
    December 2014
    June 2014
    March 2014
    February 2014
    January 2014
    December 2013
    November 2013
    October 2013
    September 2013
    August 2013


    Categories

    All
    Brownie
    Chocolate
    Christmas Recipes
    Easy Recipes
    Gluten Free
    High Fibre
    High Potassium
    High Protein
    Ice Cream
    Japanese Style
    Low Carb
    Low Cholestrol
    Low Fat
    Low Sodium
    Matcha
    Microwave Recipe
    Quick Recipes
    Savoury Recipes
    Sweet Recipes
    Vegan
    Vegetarian
    Yuzu


    RSS Feed

WHAT DOES "QUIRKY AESTHETICS" MEAN?

Quirky =  a term that commonly refers to something/someone distinctly different and unique
Aesthetics = the visual aspect of things


Together, Quirky Aesthetics refers to the things, events, and happenings seen and perceived by this blog's creator - quirky perspectives in a visual form.

Contact ME

​Subscribe

Join our mailing list today!
Join Now
© Quirky Aesthetics. All rights reserved. Last modified: August 10, 2015.