Random Thoughts of a Quirky Blogger
  • ~ Home ~
  • ~ What I Think ~
  • ~ What I See ~
    • Events
    • Food
    • People
    • Places
  • ~ What I Make ~
  • Blog Series
  • Terms and Conditions
  • Disclaimer

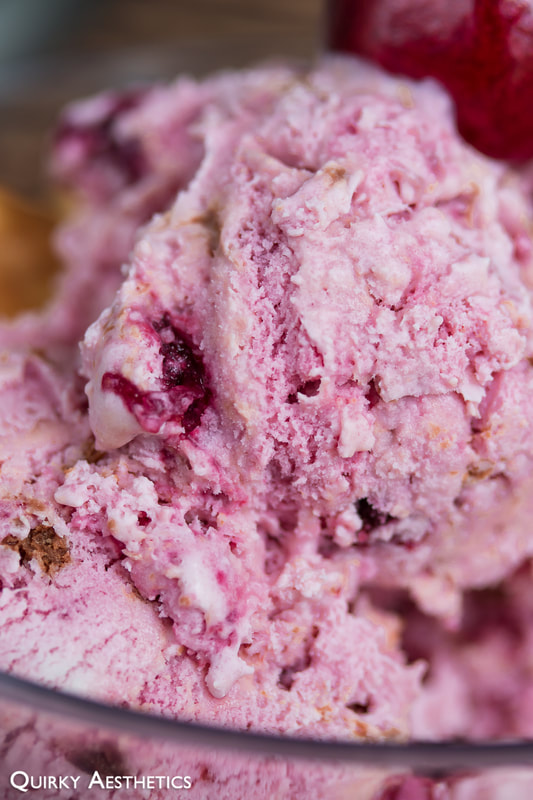
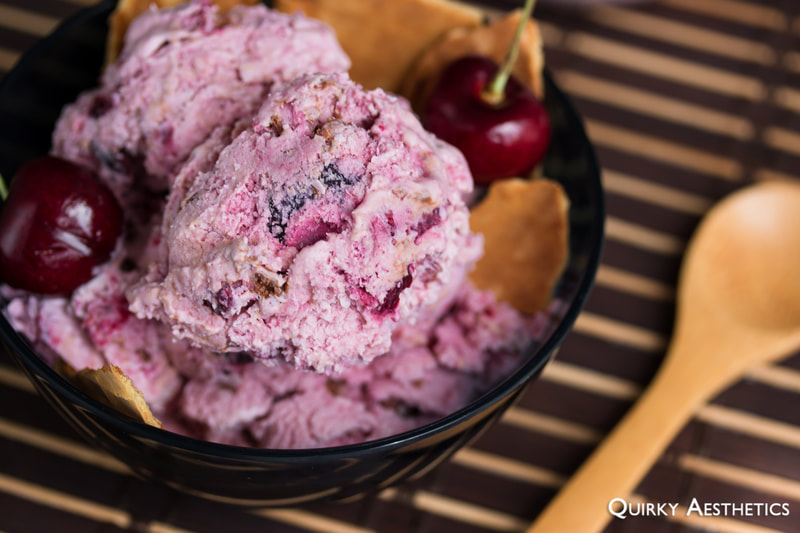
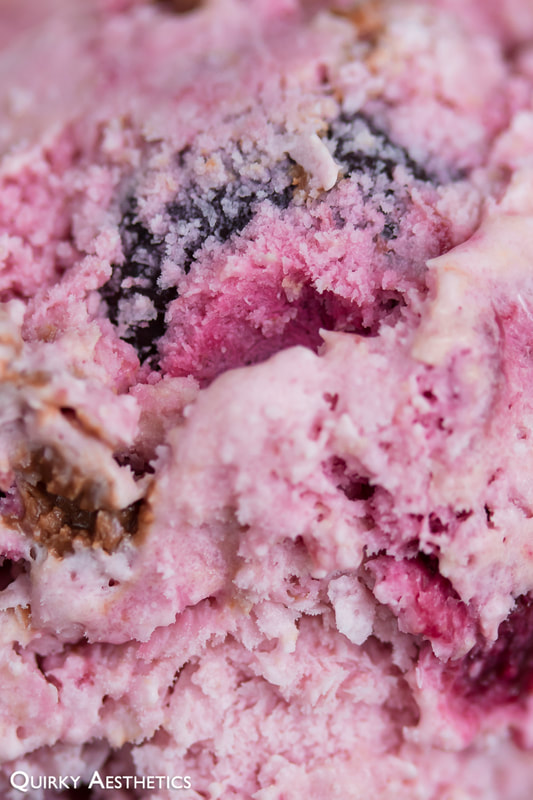
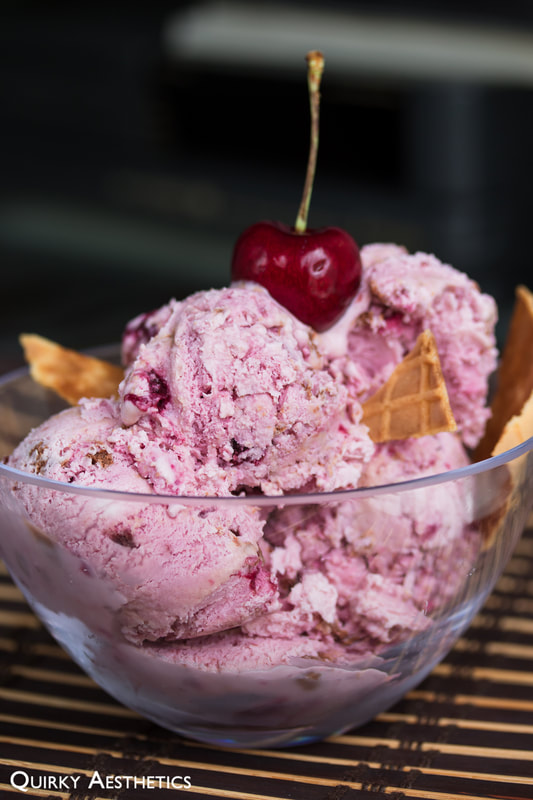
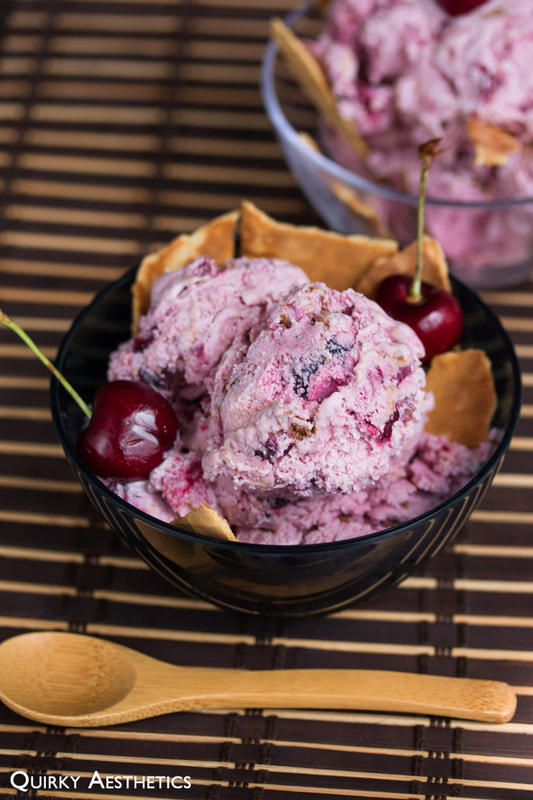
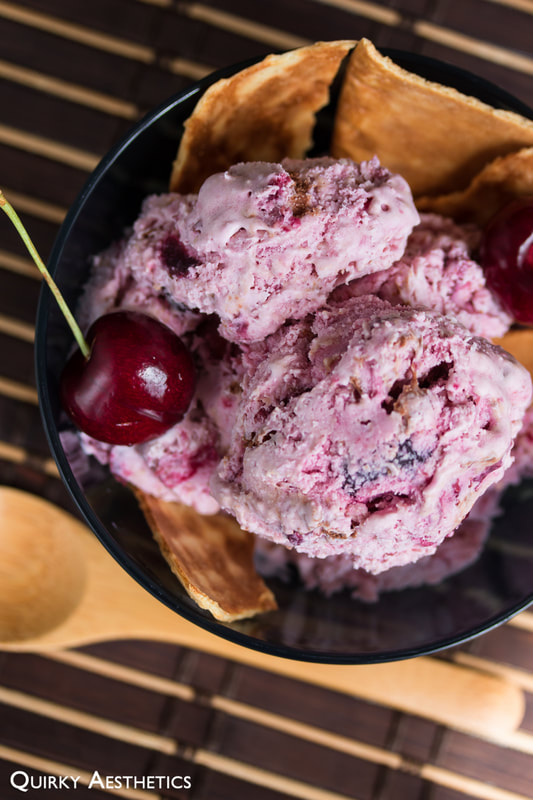
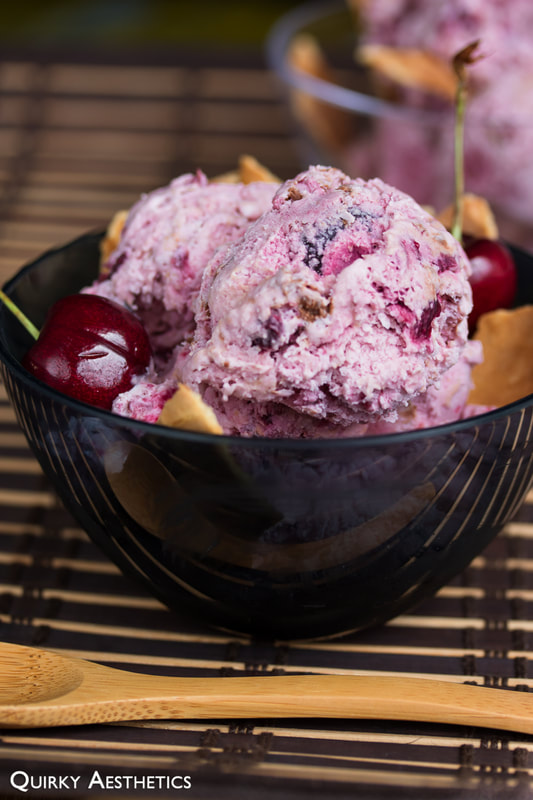
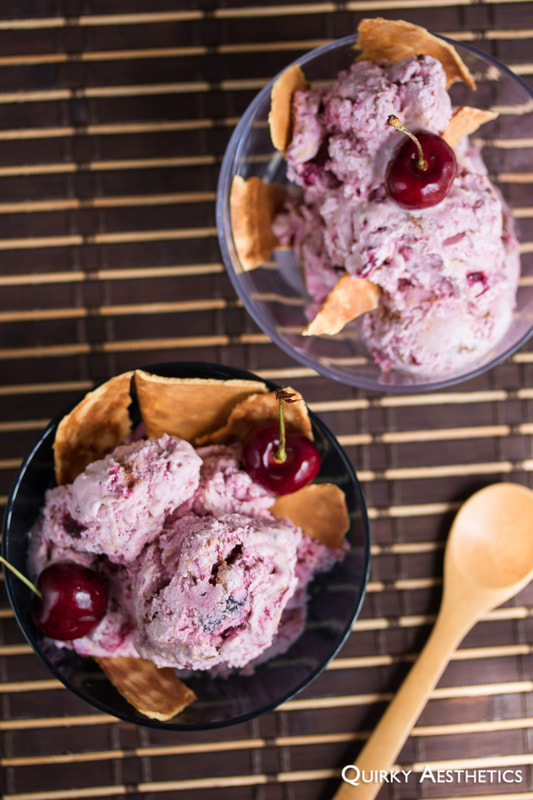
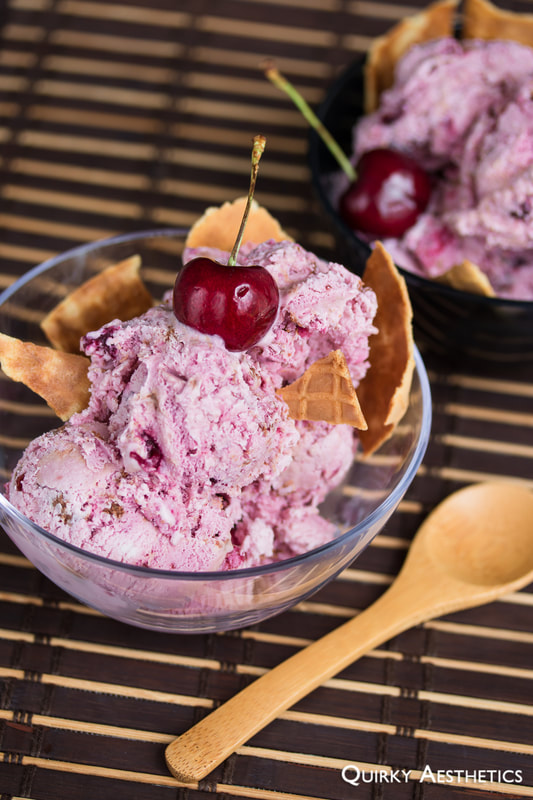
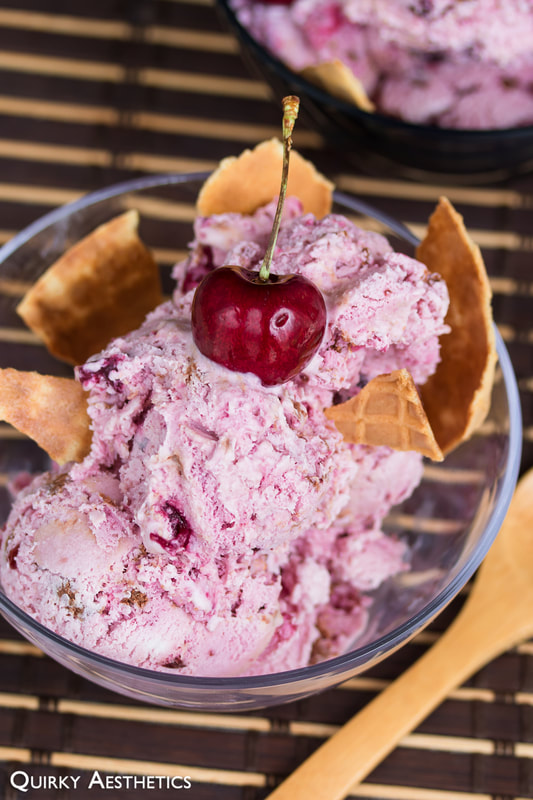
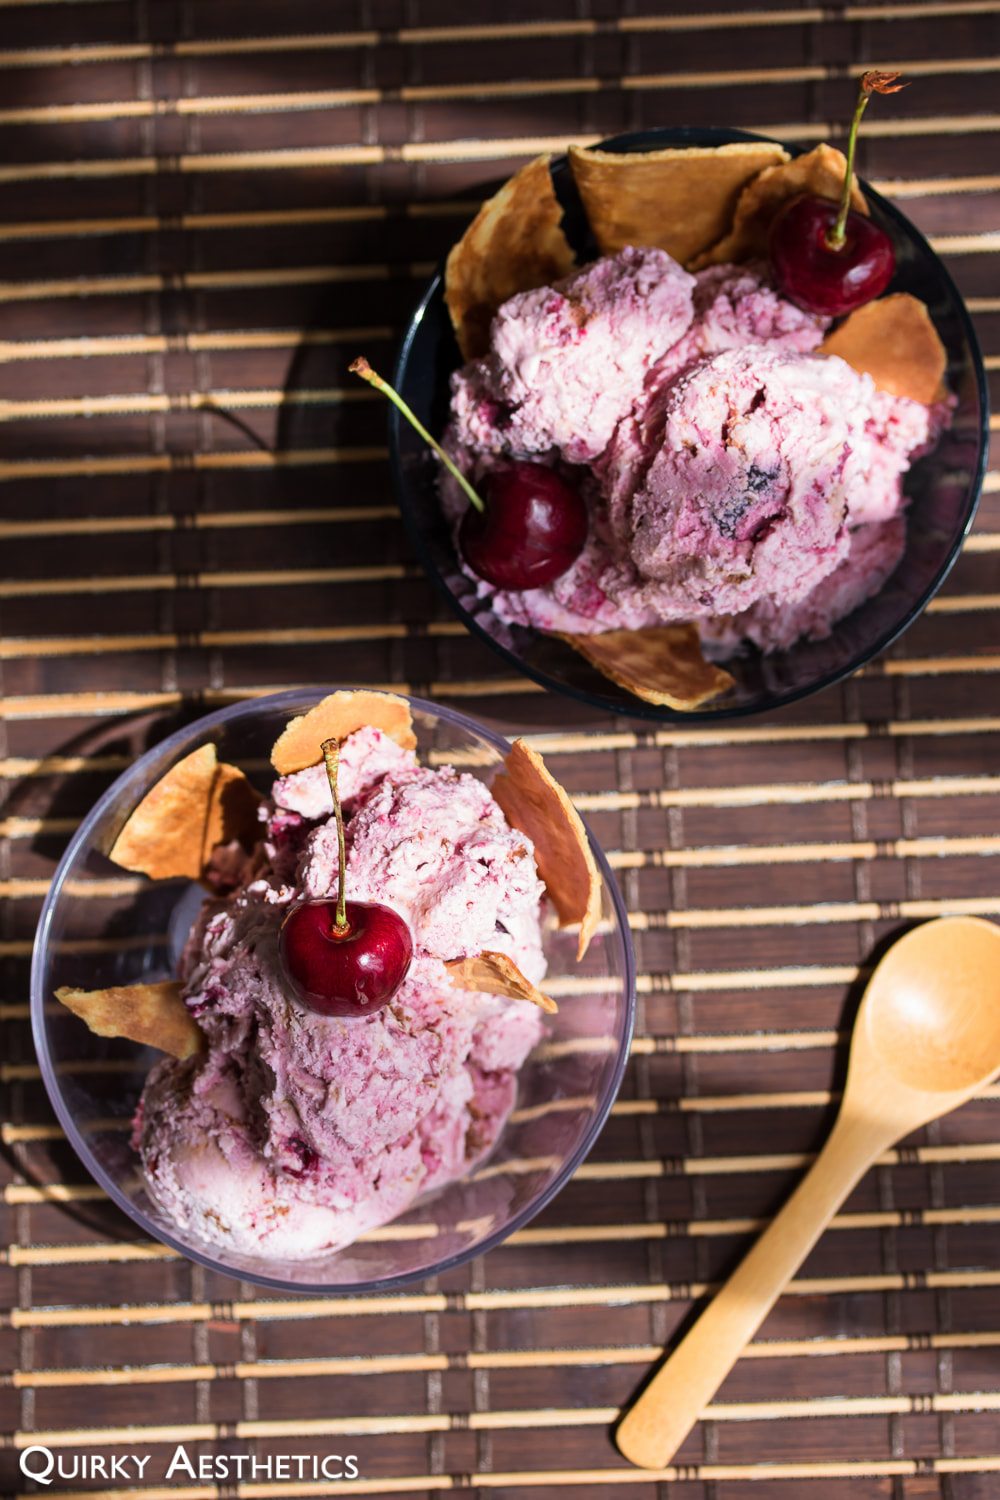
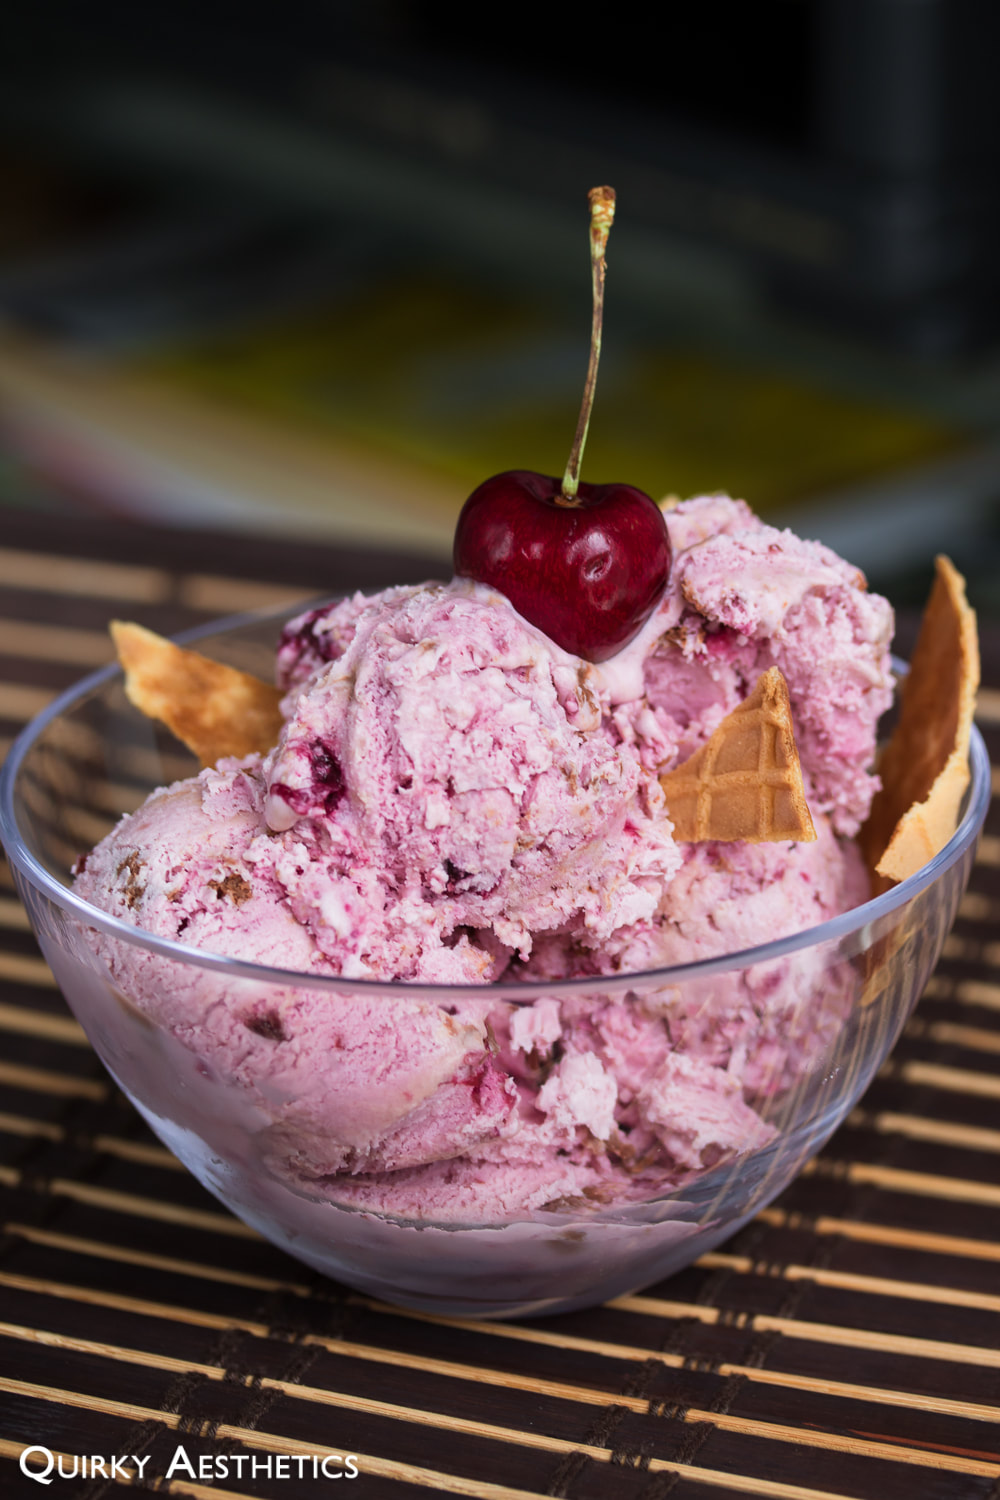
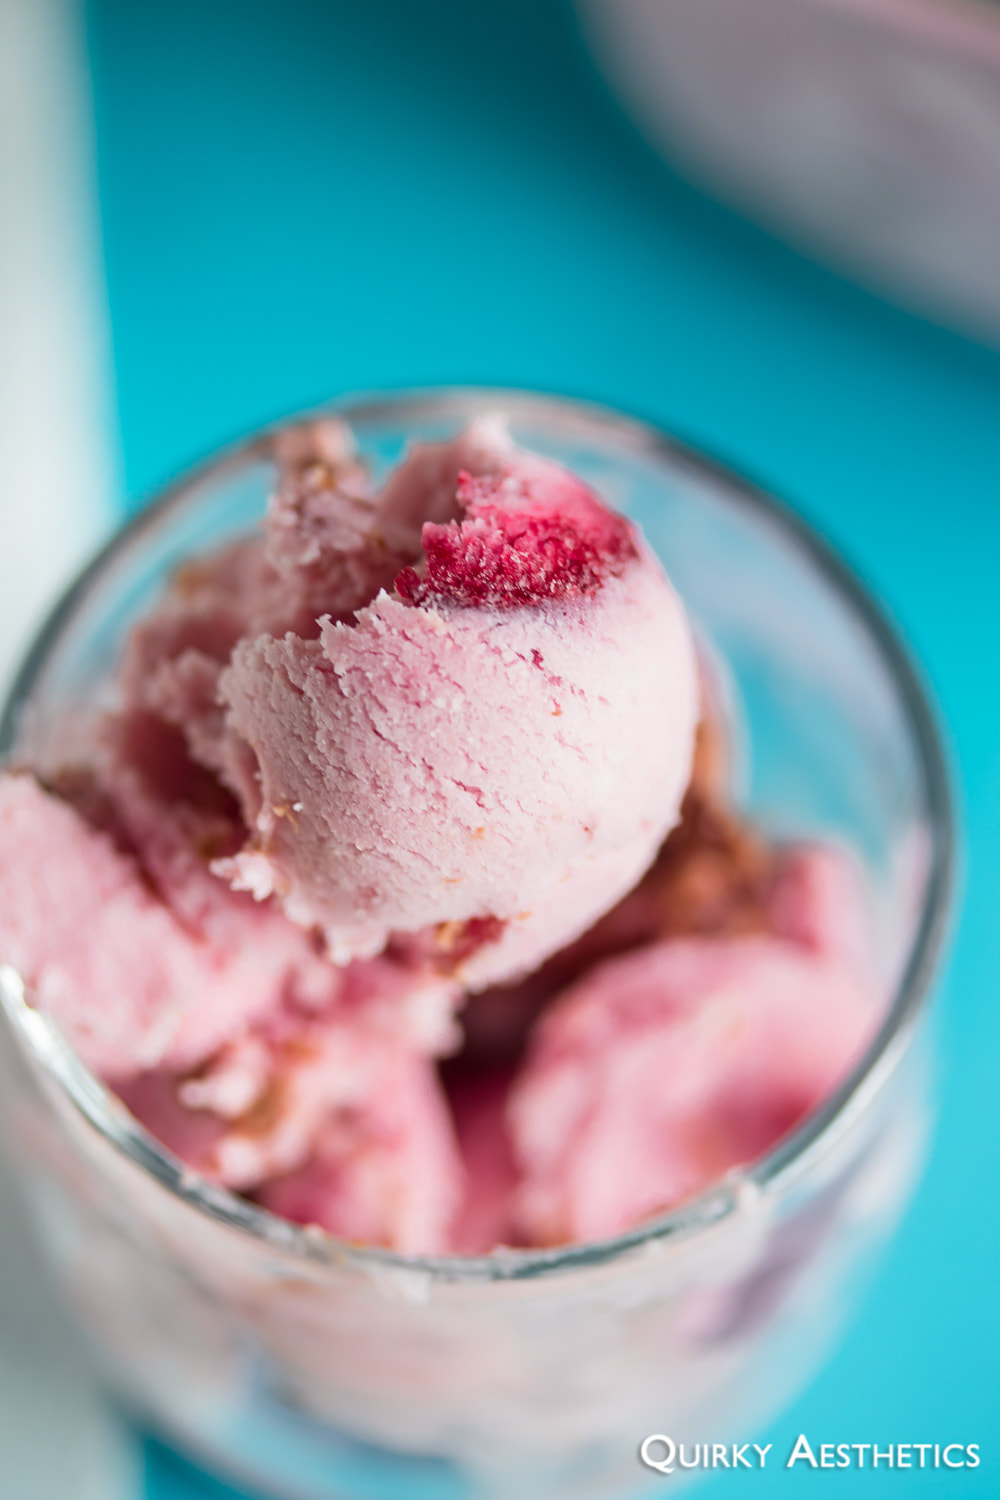
Chocolate Cherry Yogurt Ice Cream

7/12/2020

0 Comments

 
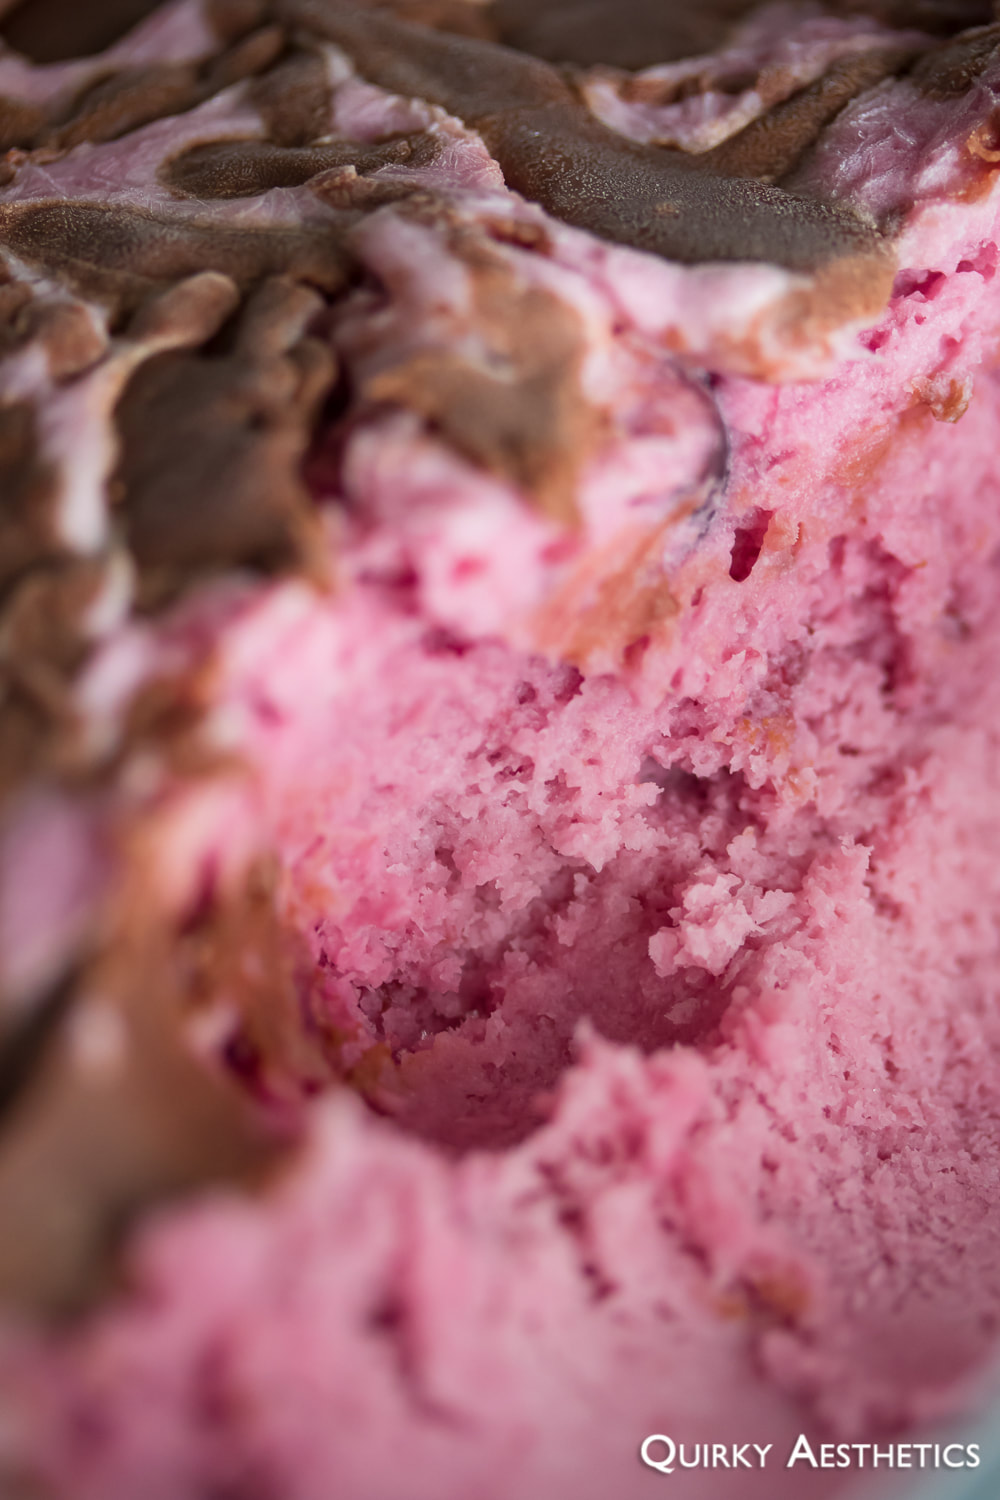
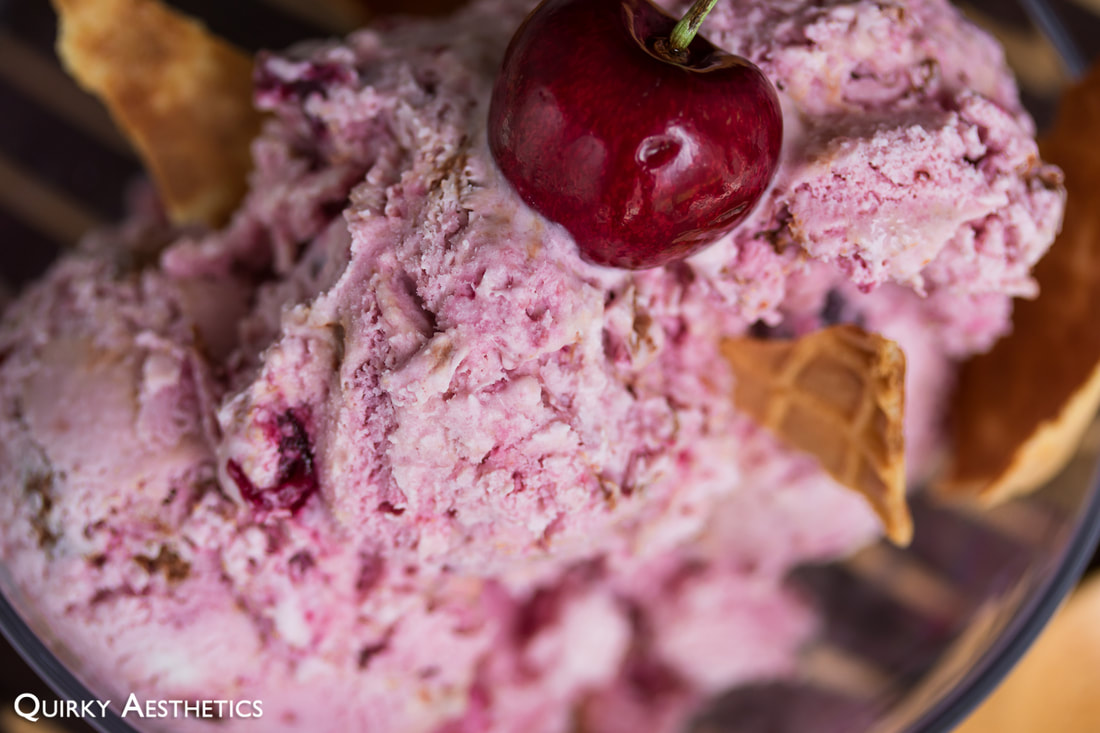
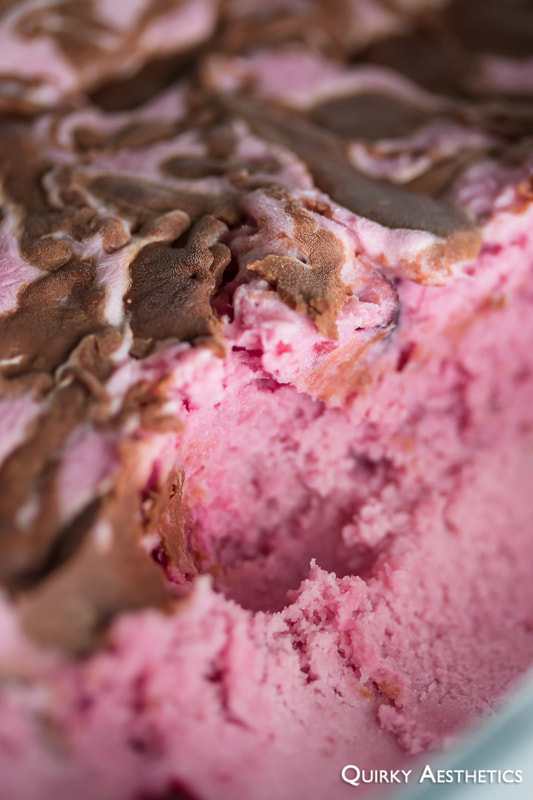
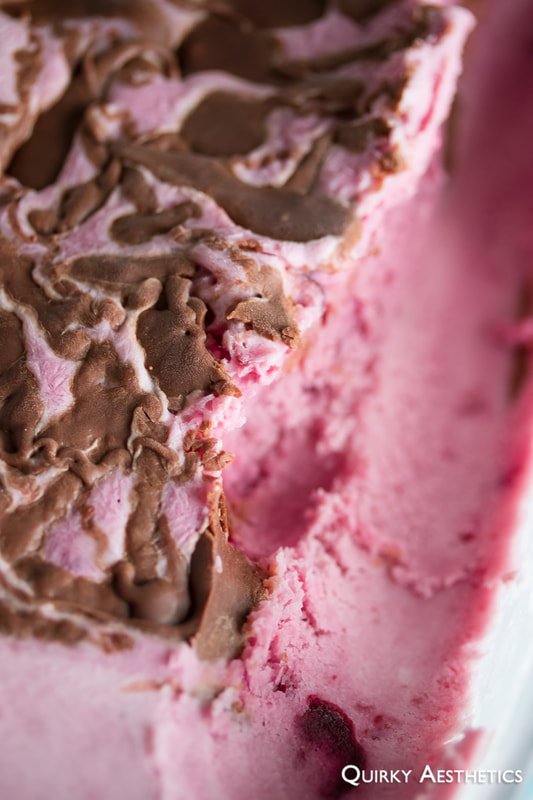
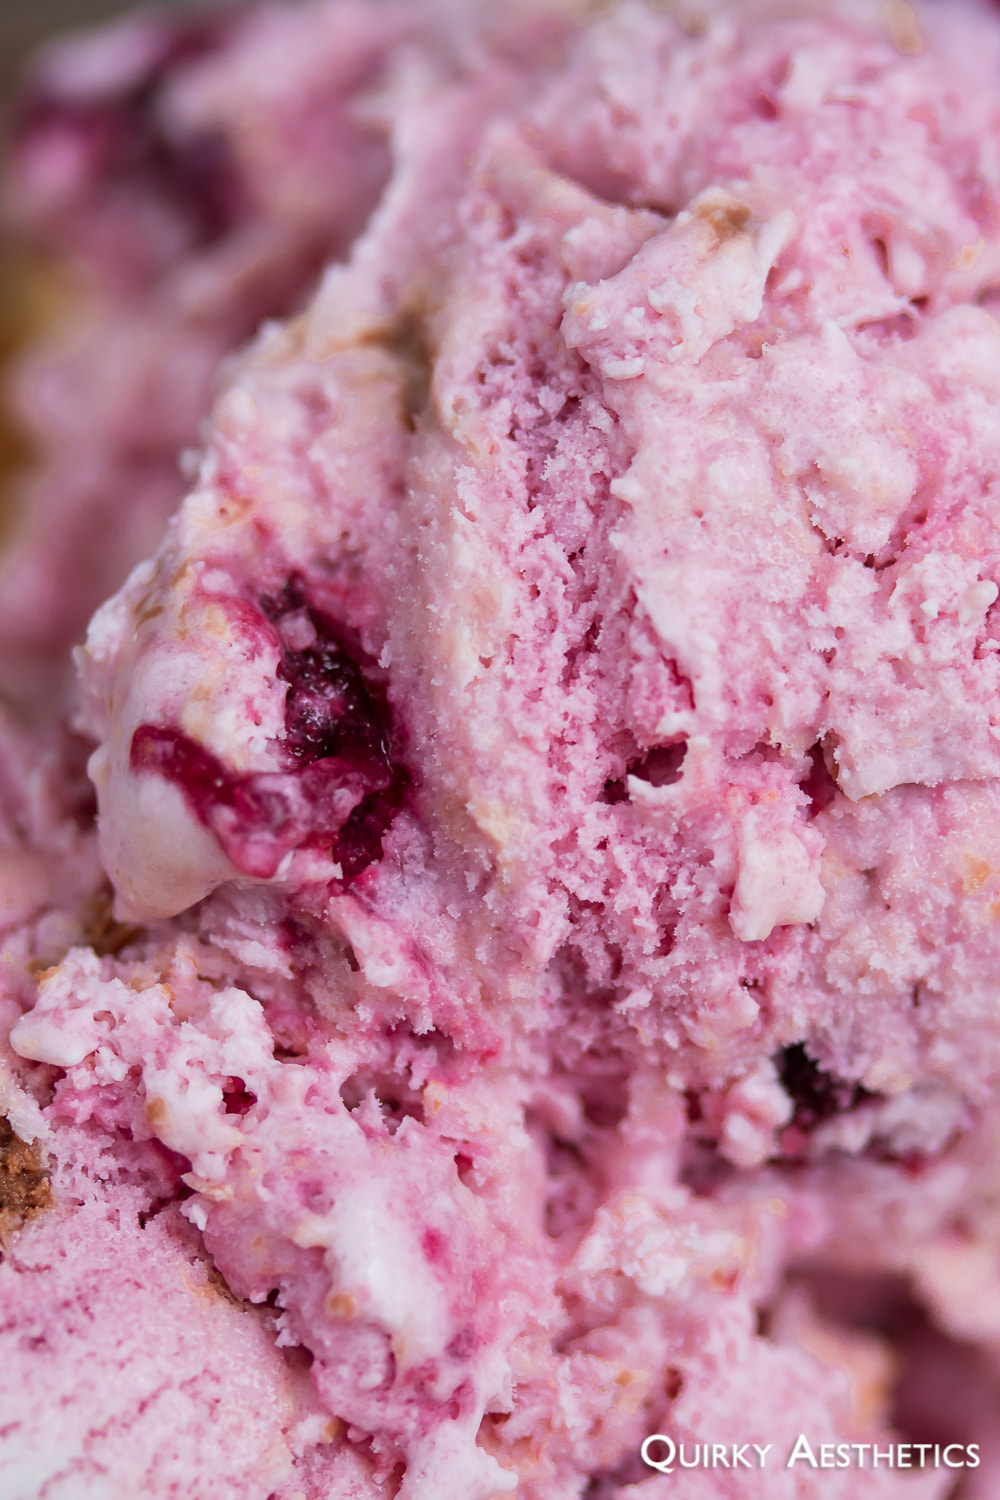
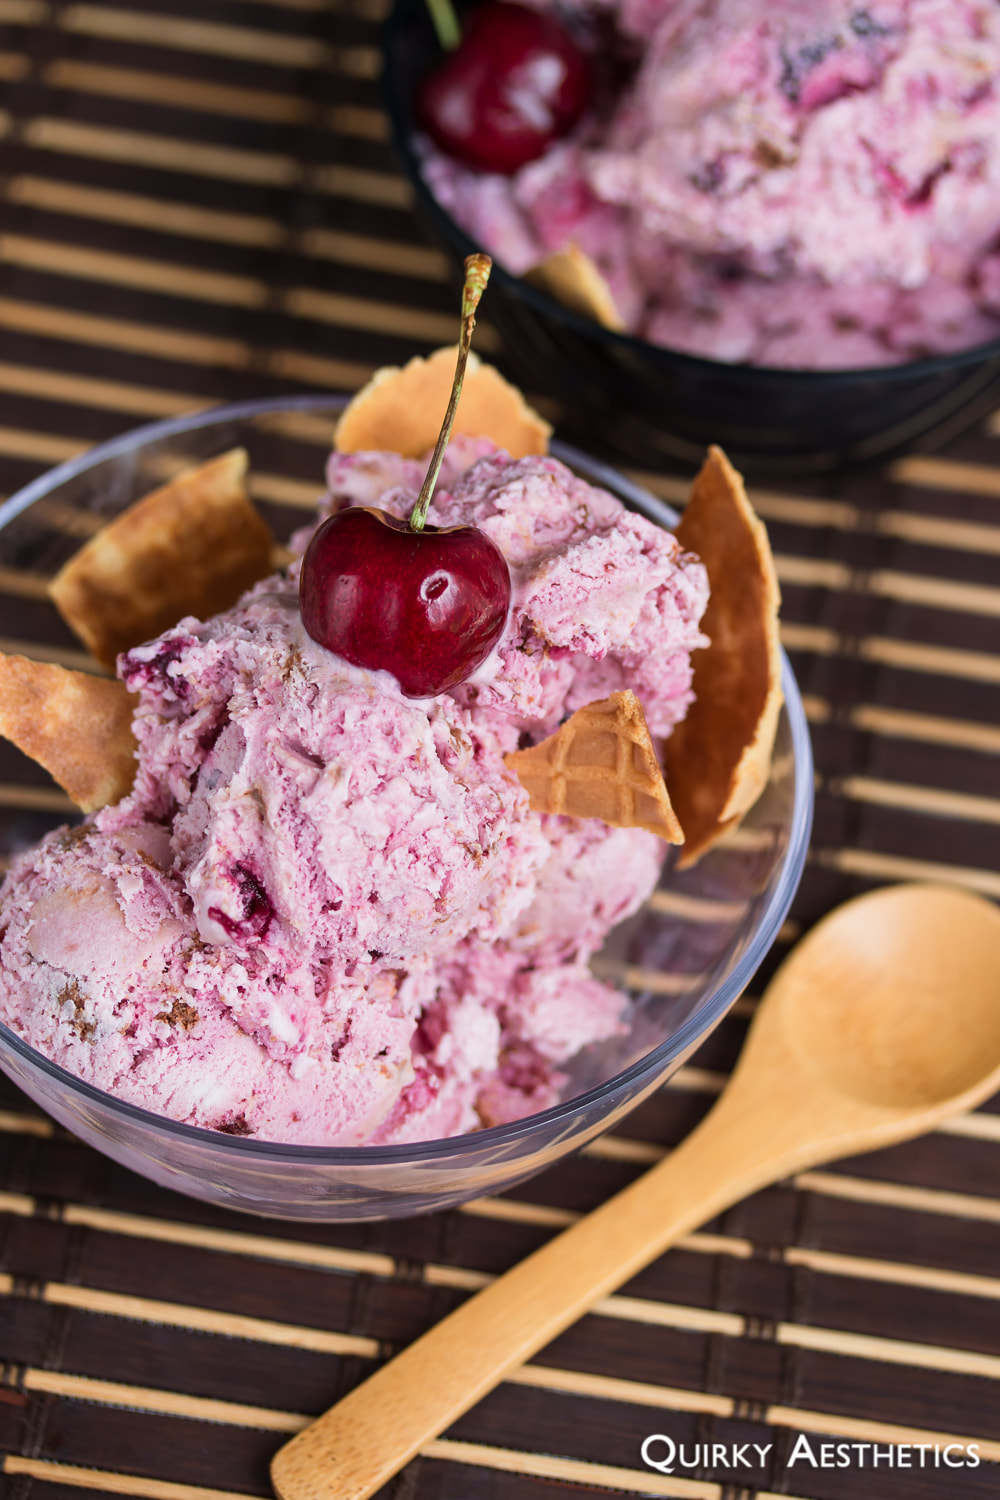
I won't lie and say that this surpasses my Mango Ice Cream.  The plain truth is that it doesn't, however tangy and delicious. Though, the fact remains that "someone bought too much".
Picture
Picture
Seasonal fruit is to be cherished, and sometimes - just sometimes - there happens to be freezer space available for the ice cream machine.
Picture
Picture
Picture
Picture
​An ice cream scoop had been acquired for the occasion, for I feared the consequences to be borne by my melon baller with repeated digs. Nonetheless, smooth trails failed to be formed, in spite of the dessert's true, creamy consistency. This icy concoction requires a minimum of twenty-five minutes to loosen its edges, so heed my words: please be patient.
Picture
Ingredients

i) Cherry Compote (approximate quantities)
- 5 cups cherries, pitted 
- 1 cup granulated sugar
- 1/3 cup lemon juice
- 1 tbsp glutinous rice flour
- 50 ml water
​
ii) Ice Cream Base​ (Recipe adapted from Cuisinart's ICE-30BC Recipe Booklet, pg. 8)
- 95 ml heavy cream
- 66 g sweetened condensed milk
- 650 ml heavy cream
- 310 g plain yogurt​

iii) Chocolate Ripple
- 51g dark chocolate couverture
- 50 ml whipping cream
​

Directions:

 i) Cherry Compote

1) Combine cherries, sugar, and lemon juice in a medium saucepan. Simmer until only a few chunks of cherry remain. Blending the mixture is not recommended as the final product is intended to retain bites of fruit.
2) Mix glutinous rice flour with water and stir into the mixture. Continue to reduce.
3) Once thickened, remove from heat and let cool.
4) Allow the mixture to come to room temperature before transferring to the refrigerator. Chill until ready to use.

ii) Ice Cream Base

1) Churning directions shall differ between ice cream makers, so it is highly advised to familiarize oneself with the respective manual before proceeding.
2) Using either a low heat setting on a microwave or over a bain-marie, dissolve sweetened condensed milk into 95 ml of heavy cream. Mix until fully combined. Allow this mixture to cool before using.
3) Whisk heavy cream and yogurt together in a large bowl. Add in the condensed milk mixture and combine well. At this point, it would be beneficial to let the base rest in the refrigerator for roughly two hours before proceeding.
4) Remove the ice cream maker from the freezer and follow the manual for churning instructions.
5) Once visibly thicker, add in the cherry compote as the machine continues to churn.
6) Continue churning until the paddle does not budge.

iii) Chocolate Ripple

1) Commence on the Chocolate Ripple as soon as the ice cream maker begins churning.
2) Over a bain-marie, allow chocolate couverture and heavy cream to melt slowly.
3) Remove from heat once partially dissolved and continue to stir to incorporate completely.
4) Allow the ripple to cool completely, stirring every so often to prevent hardening.

iv) Assembly

1) Once the paddle of the ice cream maker no longer budges, transfer the ice cream to a freezer-safe, airtight container, drizzling the Chocolate Ripple formula in between layers. Glass containers with airtight seals are ideal for this step; plastic is least resistant to drastic temperature changes and are prone to cracking upon removal, and thus is not recommended.
2) Allow to freeze for at least 8 hours. Should the centre remain soft, return to the freezer until firm.
3) Prior to scooping, remove the container from the freezer and let rest for 25 minutes at room temperature.
4) For best results, prepare a glass of hot water to dip the ice cream scoop before scooping.
5) Serve with waffle cones and/or fresh fruit. Enjoy!

Notes
- This recipe utilizes the Cuisinart ICE-30BC model and serves only as a rough guideline. Prior to commencing any ice cream or soft serve project, it is imperative that one familiarize oneself with the respective manual before proceeding.

- Cherries were the seasonal fruit of choice, however mango chunks, coconut, and pineapple have similar applications. Frozen fruit is another convenient option.
- Adapted from Cuisinart ICE-30BC's Chocolate Cherry Chocolate Cherry Frozen Yogurt, this rendition employs 35% fat whipping cream Instead of whole milk and flash frozen cherries instead of maraschino. The higher fat content, regrettably, did not act as a catalyst for solidification; instead of the 2-hour chill time, the entire batch averaged a total of 10 hours for thorough thickening. It remains unknown whether the issue lay with freezer temperature (- 14 C vs. the suggested - 17 C) or the omission of pre-churning refrigeration. That said, for best results, it is advised to let the ice cream base rest in the refrigerator for roughly two hours before proceeding.​
0 Comments

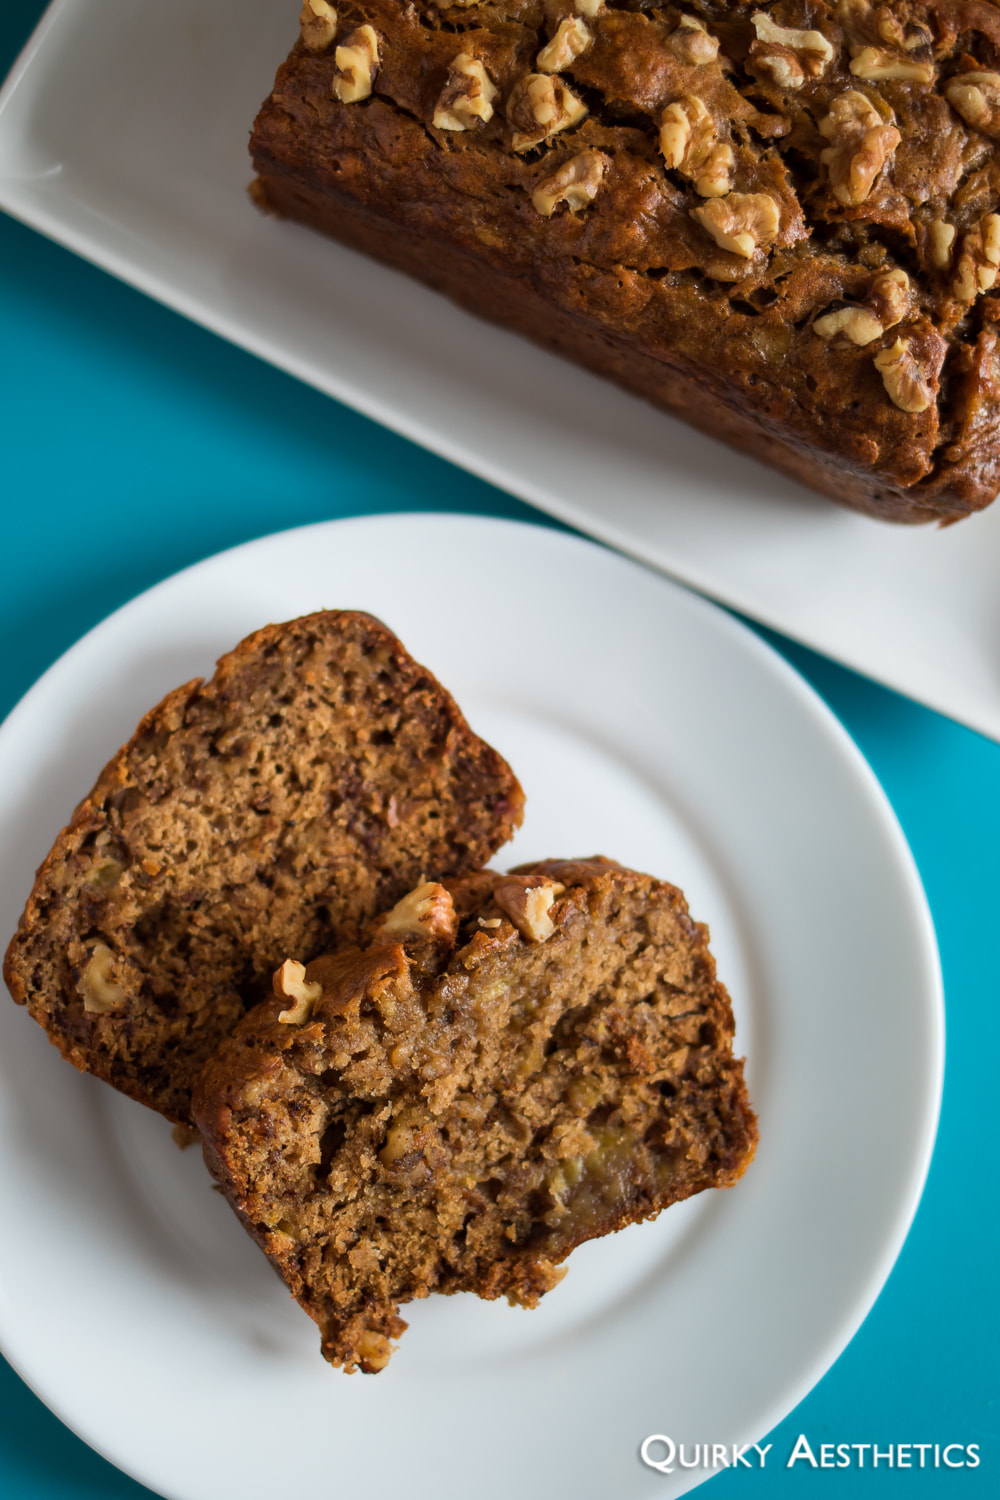
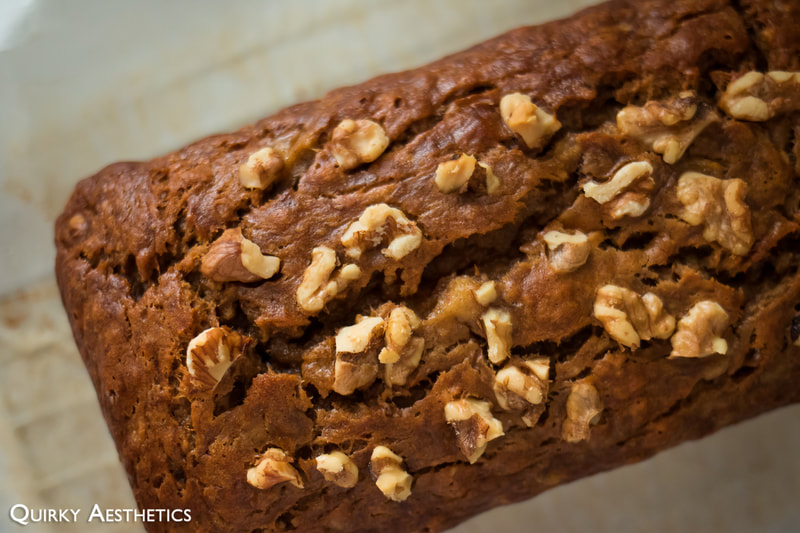
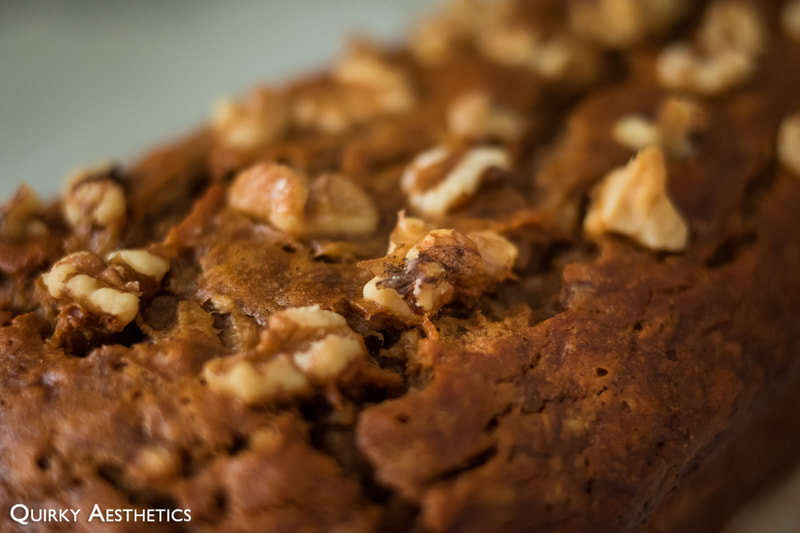
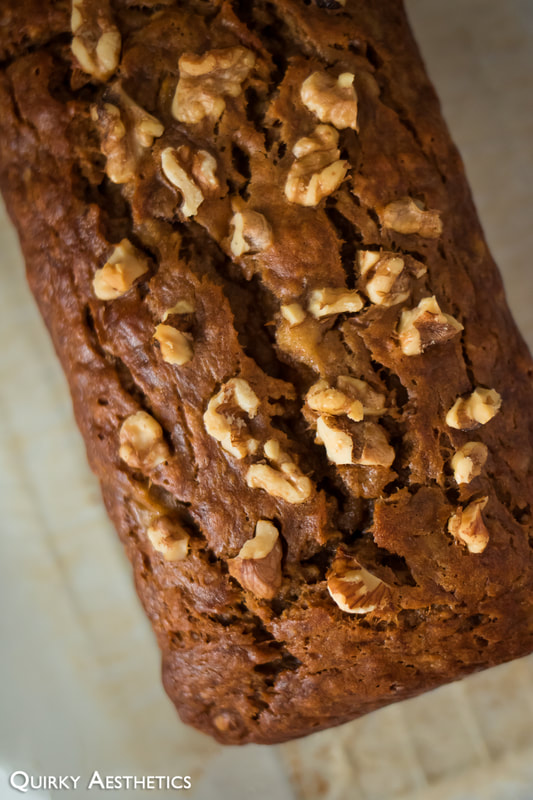
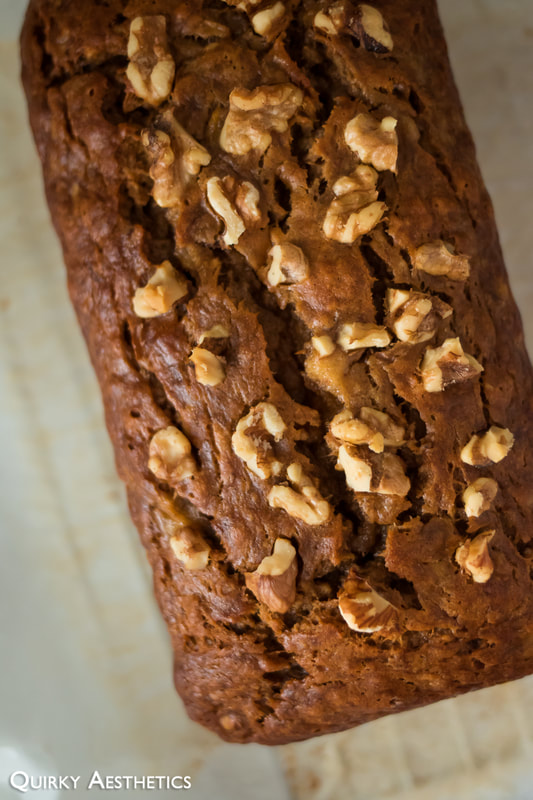
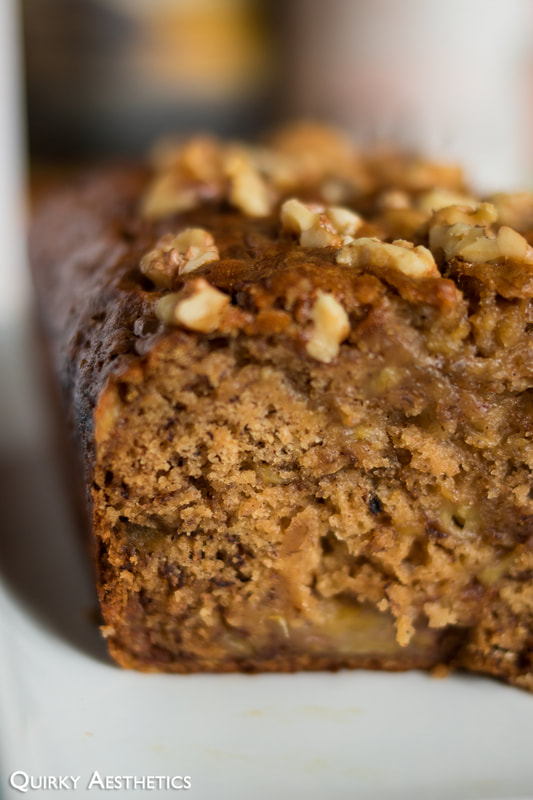
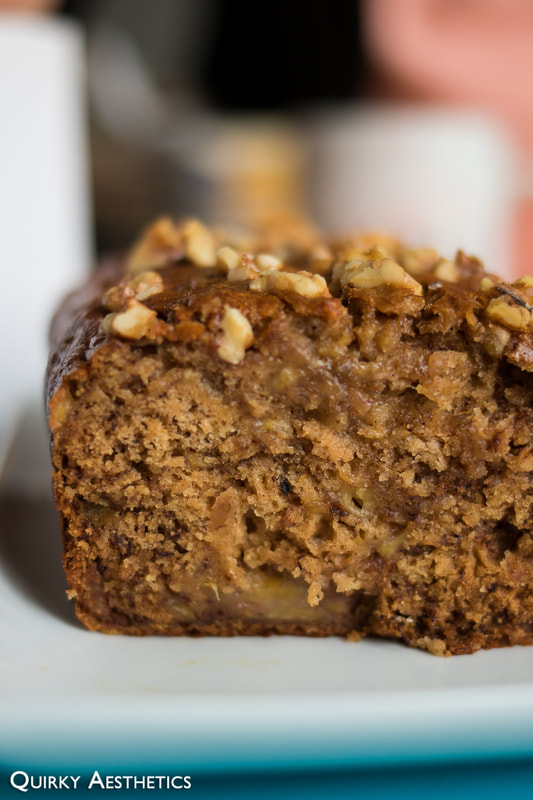
The Best Banana Bread Ever

3/30/2020

0 Comments

 
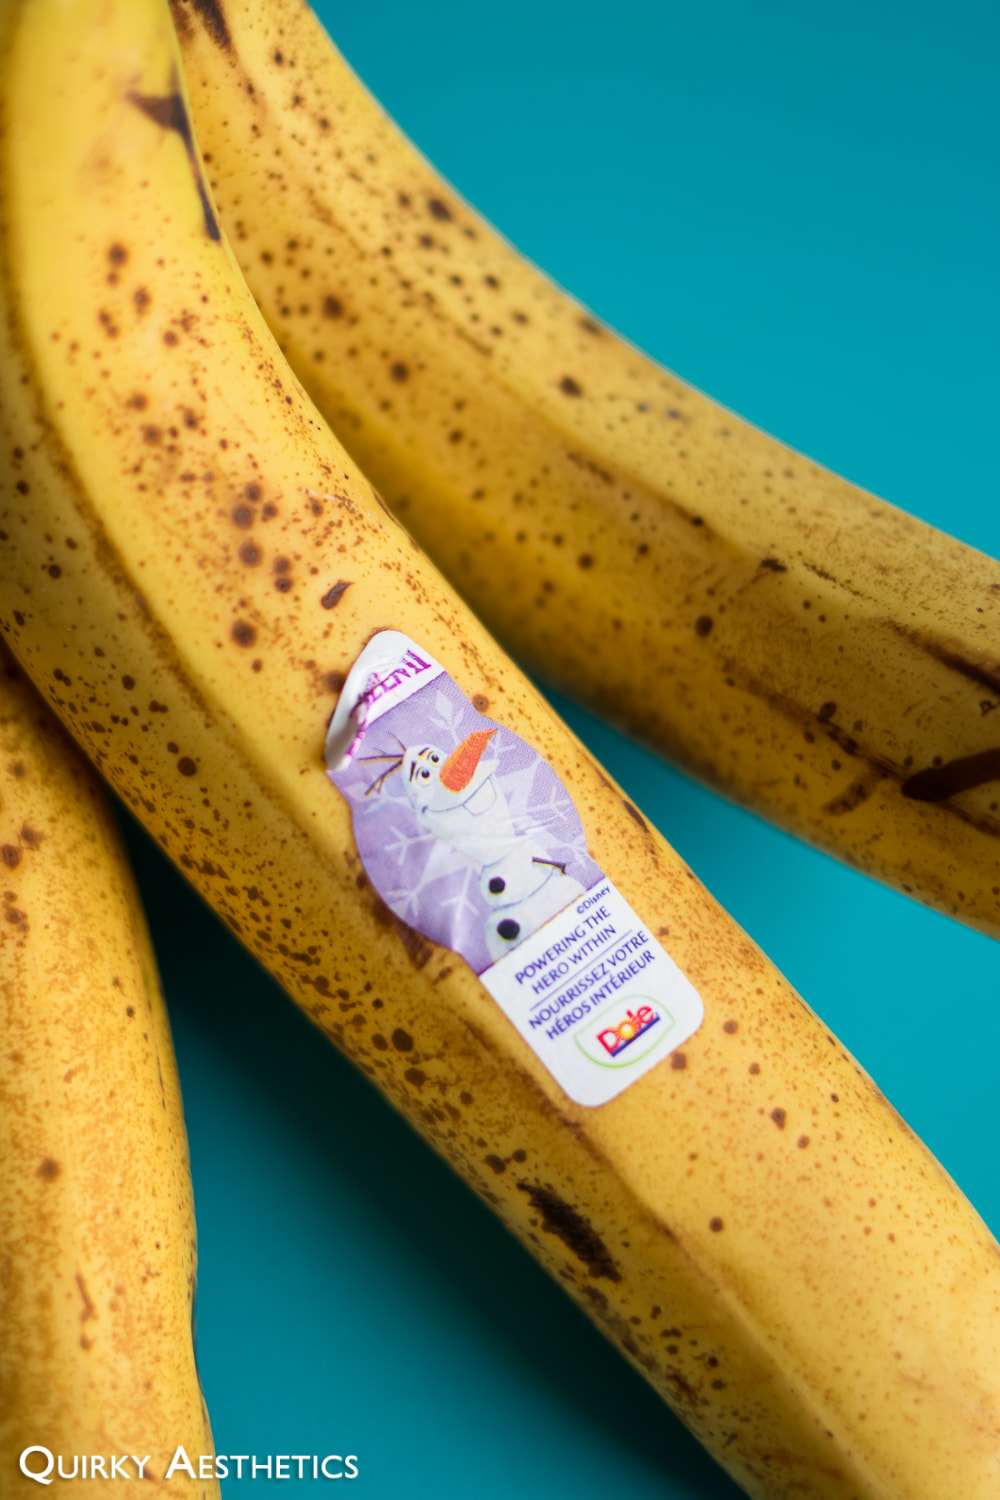
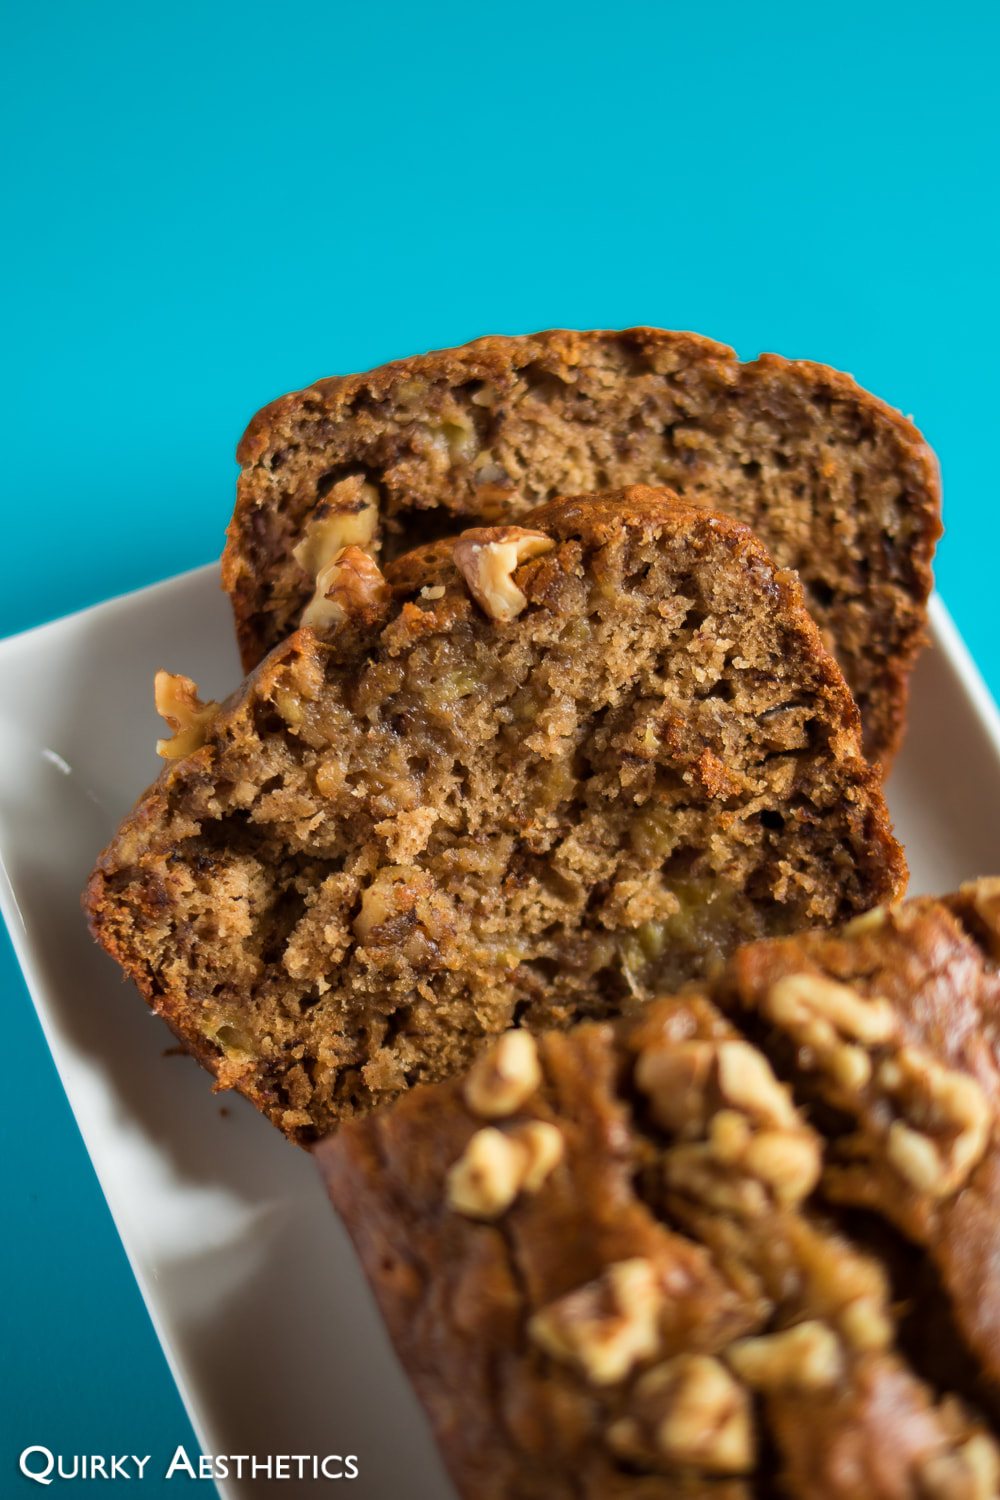
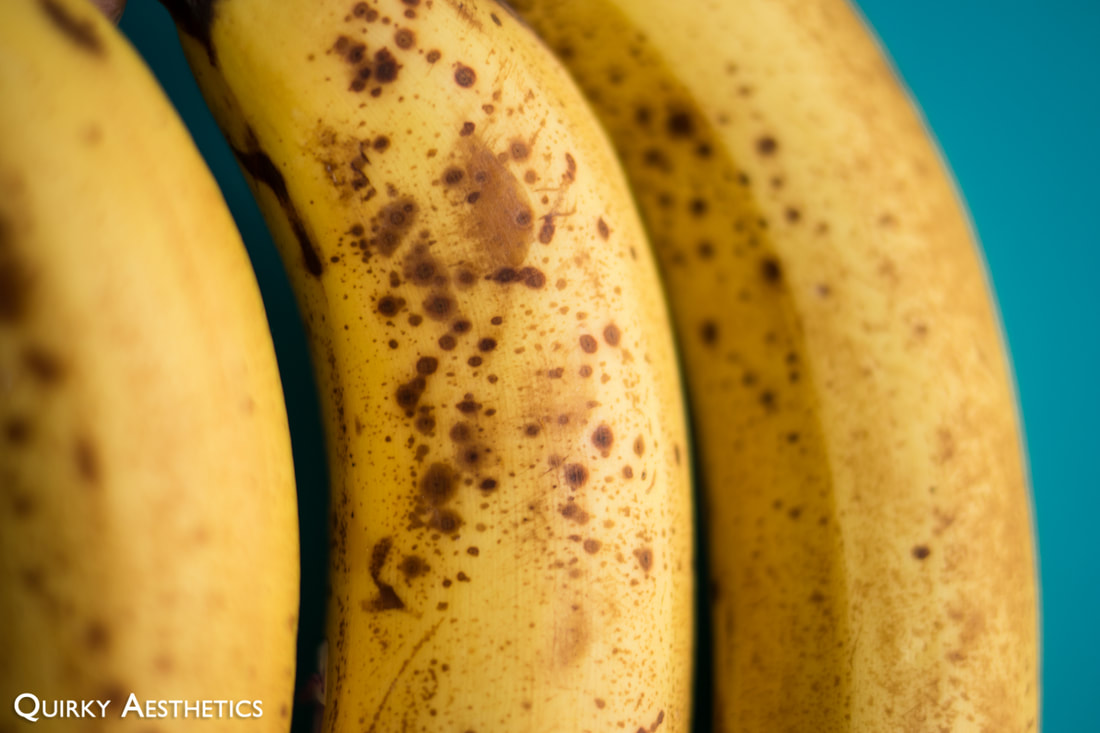
​From the corner of my eye, I spotted three bananas - no more, no less, and each perfectly spotty like abstract yellow dalmatians.
Picture
Picture
​Now, it might not be the most prudent of me to declare this the best banana bread on the planet. I shall not hesitate to admit that I have yet to try every recipe in existence for this classic comfort cake (because it's definitely a cake and not a "bread" by any means), but as any engineering graduate shall preach: If it works, why mess with it?
Picture
​This is not to say that I haven't included my own fair share of tweaks and additions, for while recipes are guidelines that ought to be respected, they're not exactly exempt from customization either.
Picture
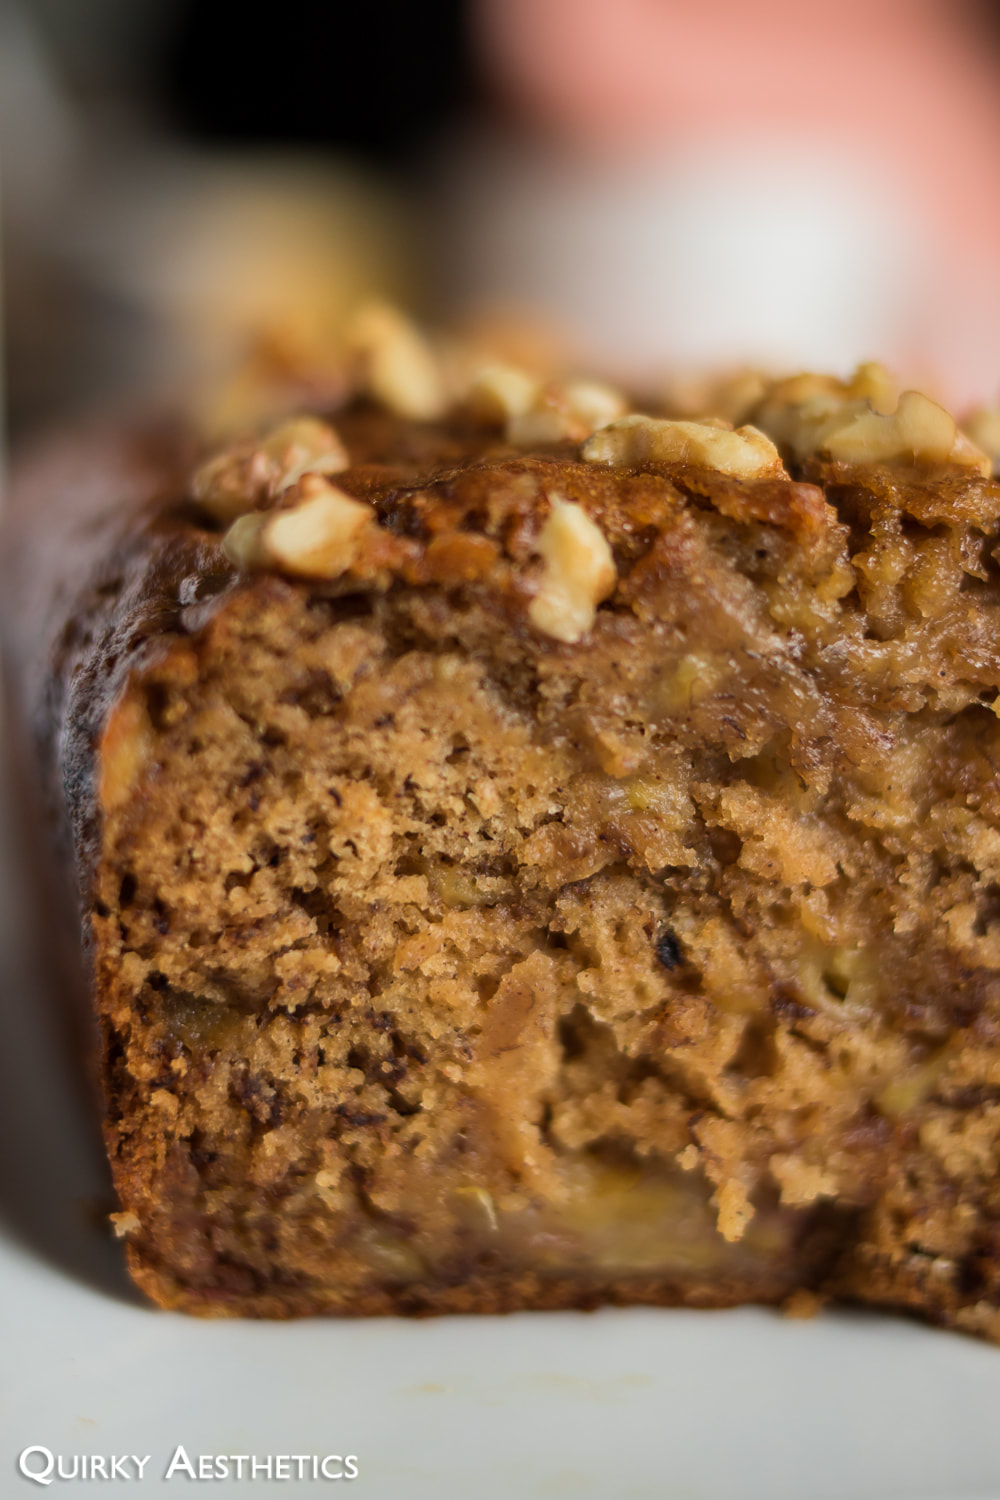
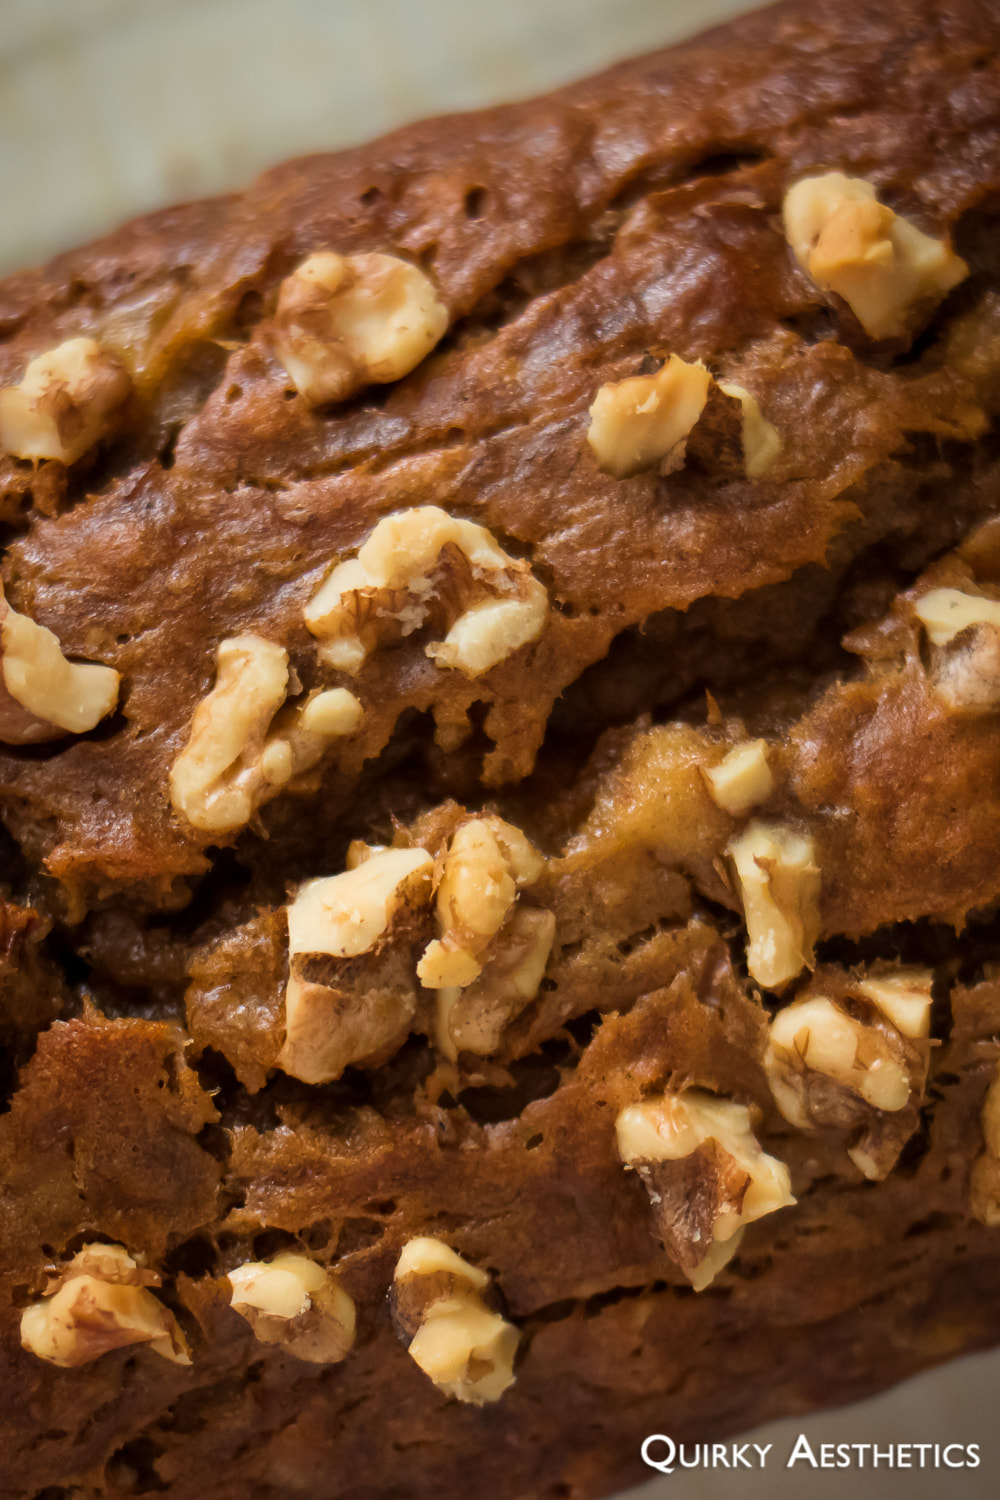
Some days, there are cravings for cookies. And at other times, one may settle for nothing other than a warm, moist slice of banana bread.

A slice supple enough to appease the desire for Starbucks;
A slice brimming with the just ideal dose of caramel-like sweetness;
A slice embodying the very essence of ripe-and-nearly-decaying-into-organic-matter-but-not-yet bananas; and
A slice to pair with a morning pour-over or frothy latte, while in practice of Social Distancing. 
Picture
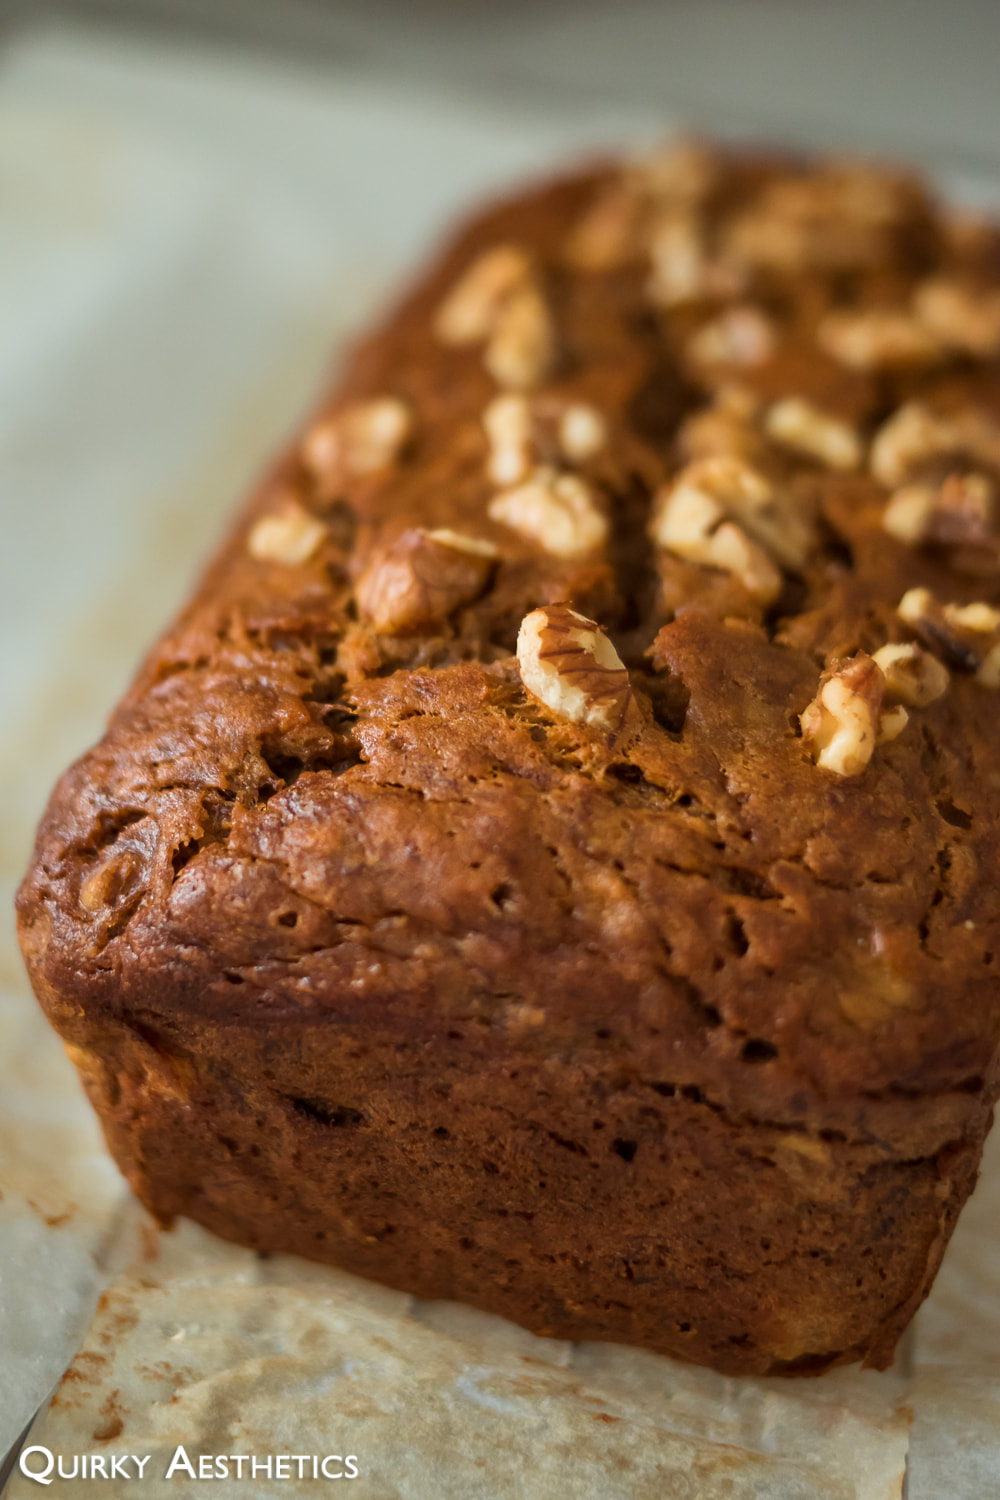
​That, my patient readers/post-skimmers, is this. Adapted from none other than the "divine ruler of the kitchen", I present:
The Best Banana Bread in Existence.
Picture
Picture
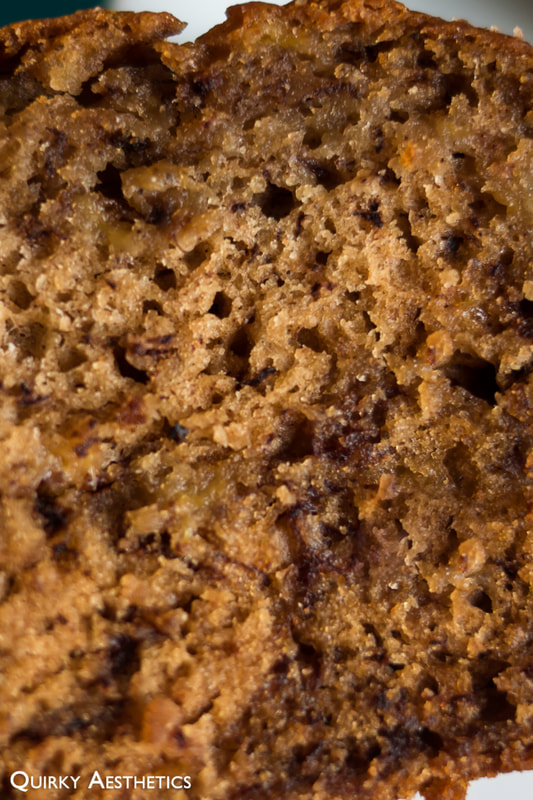
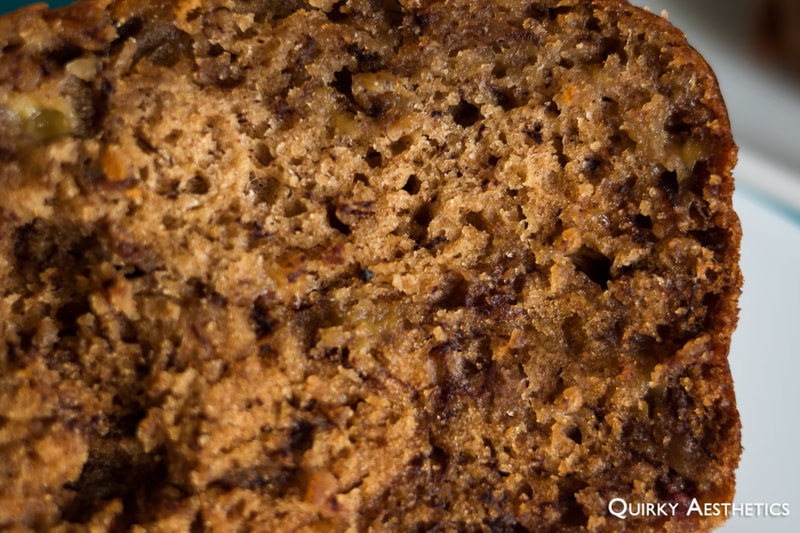
Just be careful not to over-mix. I'm serious about this point. 
Picture
Picture
Ingredients
(Recipe inspired by and adapted from smitten kitchen)
​

- 3 ripe bananas
- 1 egg
- 40 ml olive oil
- 40 g unsalted butter, melted
- 60 g brown sugar
- 60 ml maple syrup *
- 1 tsp vanilla extract *
- 180 g all-purpose flour 
- 5 g baking soda
- 1/2 teaspoon cinnamon
- 1 tsp pumpkin pie spice *
- pinch of salt
- 1/3 cup chopped walnuts *
​
Directions:

1) Whisk dry ingredients together in a medium bowl and set aside.
2) Using a potato masher, or the less ergonomic alternative of a fork, mash the bananas in a large bowl until chunky bits remain. There is no need to completely pulverize, as the banana bits will continue to disintegrate as the other ingredients are incorporated.
3) Whisk in olive oil and butter, then egg and vanilla extract. Lastly, add in the brown sugar and maple syrup. Mix well.
4) Sift in dry ingredients and proceed to fold in gently. It is crucial that the batter not be over-mixed: the fate of the loaf hinges on this step!
5) When the mixture is 80% incorporated, add in walnuts and fold once more. If desired, save some to top the loaf.
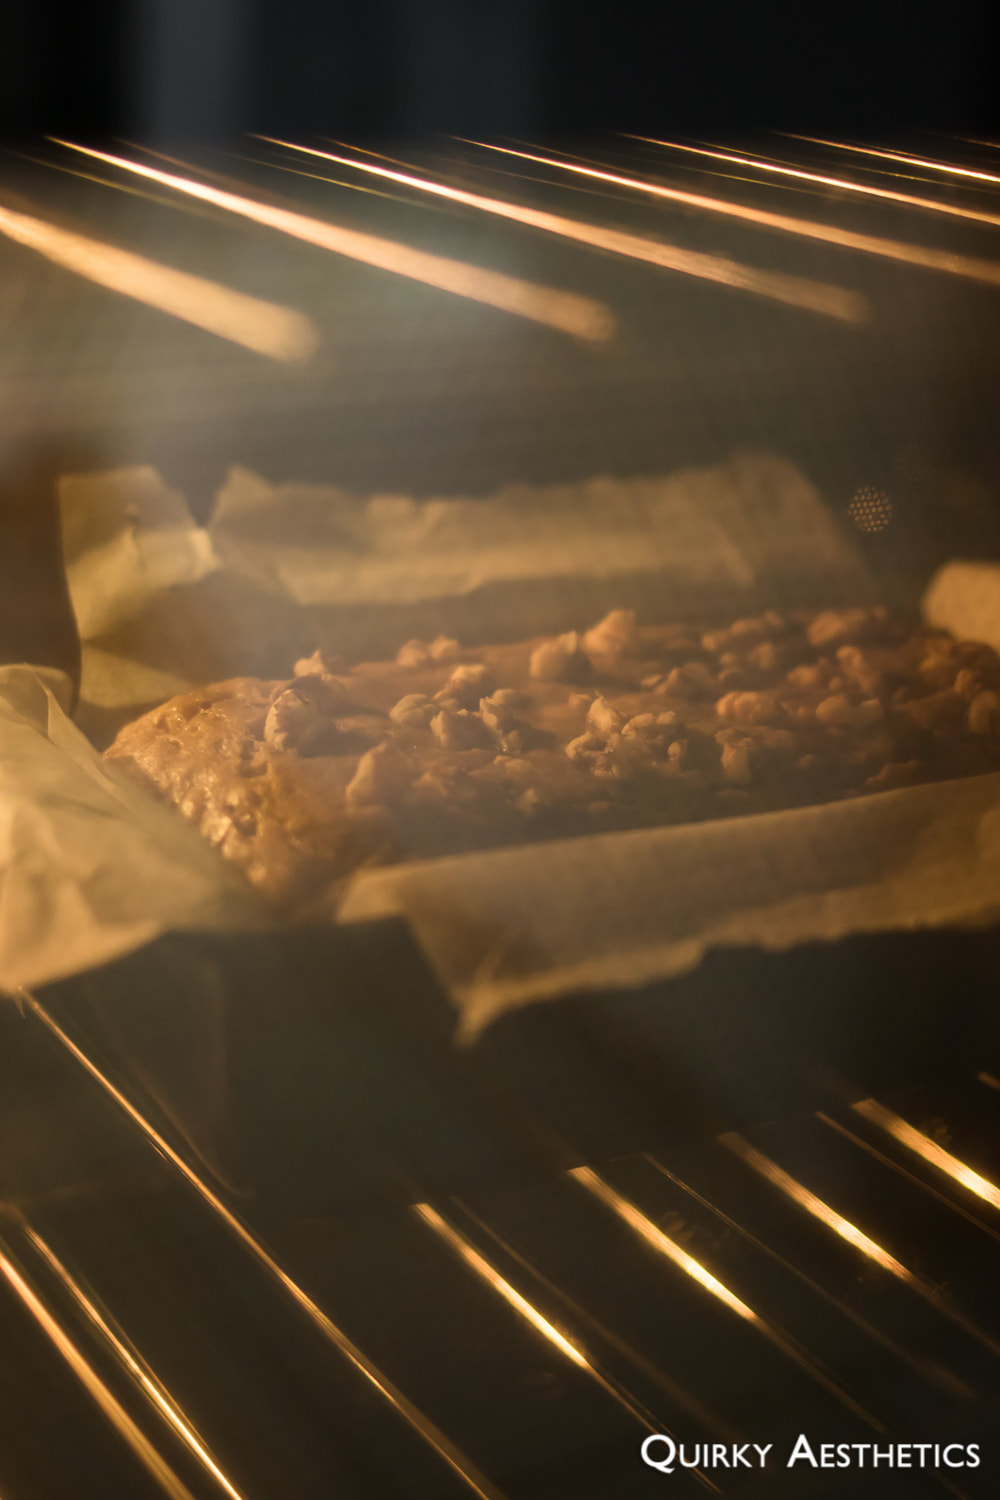
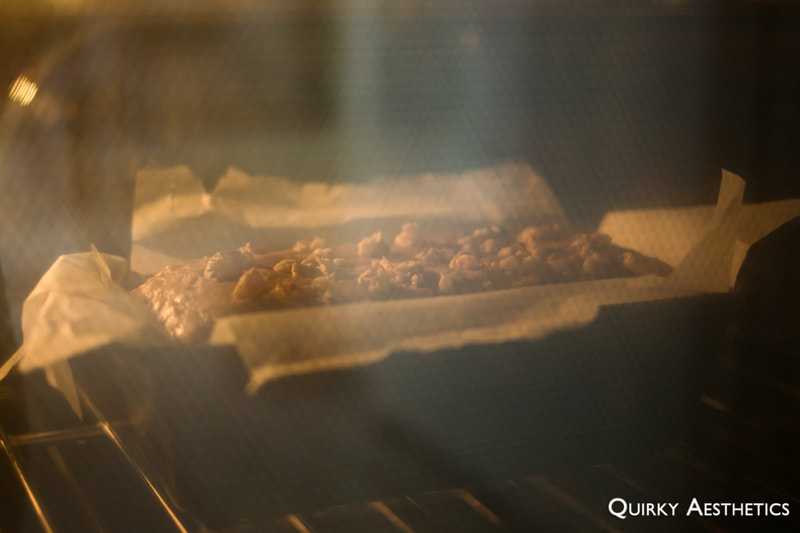
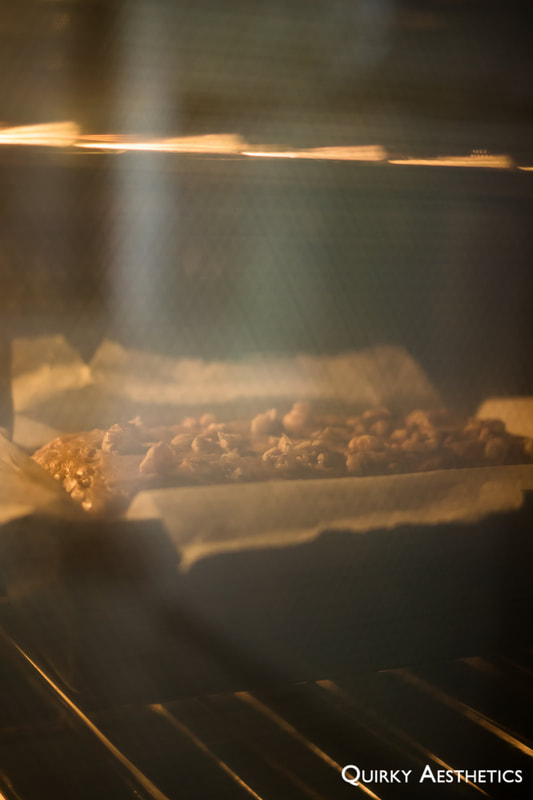
6) Bake at 350 F for 45-50 minutes. Check for doneness using a skewer at the 45-minute mark, and replace into the oven for a maximum of five additional minutes (50 minutes in total) if some stickiness remains.
7) Let cool for 10-15 minutes before transferring to a wire rack to cool.
8) Serve warm and enjoy!​

Notes
- Millet was omitted from this recipe, with a generous handful of roughly chopped walnuts stepping up in its place instead. Based on familial feedback, grains reminiscent of quinoa commonly result in digestive issues, though nuts did not pose such concerns. Personally known to not be the biggest lover of nuts ("healthy fats"), walnuts were a quintessential ingredient that could not be foregoed for enhanced texture.
- The amount of maple syrup and brown sugar can be adjusted to your desired sweetness, though I found these amounts to be ideal given the ripeness of the bananas on hand. Be mindful of the state of your bananas, as they contribute natural sugars to the batter.
- More often than not, I tend to eyeball the amount of vanilla extract, cinnamon, and synthetic enhancers. The quantity of these ingredients is entirely up to one's preference and normally be substituted to whatever similar entity is present in the pantry - just as long as ratio of dry-to-wet remains consistent, of course.
- Smitten Kitchen's original recipe called for a mix of cinnamon, nutmeg, and cloves. However, pumpkin pie spice was utilized instead, as the latter spices are not regular occupants of my pantry.
- Finally, I cannot emphasize enough the importance of just incorporating the dry ingredients. Overmixing the batter will result in a rigid, dry loaf with the consistency of stale bread, stripping the cake of flavour and moistness. A few sparse pockets of flour are acceptable and can be smoothed out whilst pouring into the pan prior to baking.
0 Comments

Strawberry and Mixed Berry Jam (Bread Maker Edition V2)

8/18/2018

0 Comments

 
​The first batch of jam disappeared a little too quickly, so the sole solution was to make more.

This second version also utilizes a bread maker - Don't worry, the sans-machinery version will come soon! - though also includes a setting agent to allow the jam to congeal once cooled.
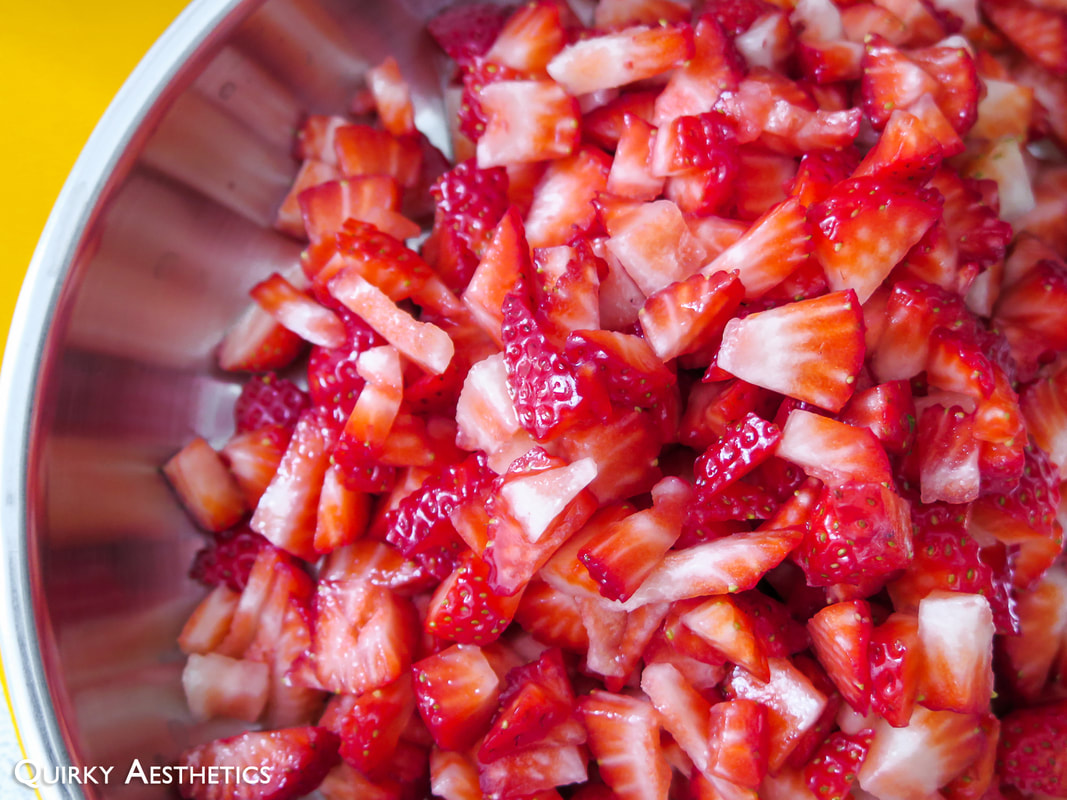
​Keeping ingredients as control variables, I set out to experiment with the Black & Decker All-In-One Deluxe Horizontal Breadmaker (B200566), adhering to its contained recipe for Strawberry Jam. Fresh strawberries were finely chopped; granulated sugar, lemon juice, and Certo pectin crystals were measured out.
Picture
​The results were great, albeit less chunky than desired. A smooth consistency paired well as a drink enhancer, but less intriguing as a condiment for buns and breads. Nonetheless, both versions were absolutely delicious!

(Please note that the Black & Decker model used in this recipe is no longer in production.)
​Ingredients
(Recipe adapted from Black & Decker manual, p.33)
Strawberry Jam
- 4.5 cups fresh strawberries
- 0.8 cup granulated sugar *
- 1/4 cup lemon juice
- 1/8 cup Certo pectin crystals *
- 1/4 cup hot water​
​Mixed Berry Jam
- 4 cups frozen berry medley
- 1 cup granulated sugar
- 1/4 cup lemon juice
- 1/6 cup Certo pectin crystals *
- 1/4 cup cold water
​Directions:

i) Strawberry Jam

1) Familiarize oneself with the Black & Decker B200566 (or your bread maker of choice), paying special attention to safety precautions and operating instructions.
2) Secure the paddle in the mixing compartment and ensure that the mixing compartment is secured within the machine.
3) Wash and quarter strawberries. Chop to smaller pieces for a smoother consistency.
4) Combine chopped strawberries, sugar, lemon juice in the compartment.
5) Dissolve pectin crystals with hot water, then add into the compartment.
6) Close the lid of the appliance and connect it to a power source. Commence the jam-making process by selecting the "Jam" function.
7) Allow the machine to pulverize the contents of the mixing container while providing heat.
8) Once done, verify that the softened berry mixture has reached the desired consistency. Should the ideal jam-like consistency be attained, let the mixture cool before chilling.
9) If the berry mixture remains relatively watery, please refer to Steps 7-9 of the Strawberry And Blackberry Jam (Bread Maker Edition V1) recipe.
10) Let cool, then transfer to an airtight container. Refrigerate for several hours to allow the jam to congeal.
11) Serve and enjoy with toast or in beverages!​​

​ii) Mixed Berry Jam

1) Familiarize oneself with the Black & Decker B200566 (or your bread maker of choice), paying special attention to safety precautions and operating instructions.
2) Secure the paddle in the mixing compartment and ensure that the mixing compartment is secured within the machine.
3) Run frozen berries under hot water two to three times to defrost. For larger berries, repeat this step and halve them before adding them into the mix.  
4) Combine defrosted berries, sugar, and lemon juice in the compartment.
5) Repeat Steps 5 to 11 of the Strawberry Jam recipe.​

​Notes
- This recipe utilizes a Black & Decker B200566 breadmaking machine that includes a "Jam" setting. Please note that not all bread makers are equipped with this function, and one should check beforehand to ensure when using specialized mechanical devices in cooking.
- A Strawberry Jam recipe from the Black & Decker manual from was modified and scaled to approximate metric untis (from US/Imperial units).
- Depending on the size of one's machine's mixing compartment, the quantities (and varieties) of fruit can be increased for a greater jam yield. Be aware that modifications have yet to be tested, and thus results are not guaranteed.
- After experimenting with both fresh and frozen berries, it can be concluded that taste is not compromised by using the pre-packaged variety. Be aware that blackberries and raspberries (or other rigid seed-containing berries) will induce a hefty amount of splatter within the machine.
- It is crucial that the amount of fruit used does not exceed 4 cups (or the recommended amount by your bread maker's manual). Over-filling the compartment can result in spillage during mixing.
- A fruit-to-sugar ratio of 5.5 : 1 resulted in a rather tart-tasting product, while a ratio of 4.5 : 1 was ideal in achieving a sweet, succulent spread for breads and beverages. That said, feel free to reduce the amount of sugar to suit one's preferences.
- This recipe can be utilized to make orange marmalade and cherry jam as well Simply slice the fruit into small pieces and remove pits/bitter rind.
- Pectin crystals was the recommended stabilizer for this recipe (according to the Black & Decker manual), though alternatives such as gelatin can also be used.
- Varying the amount of stabilizer allows one to adjust the consistency of the jam to one's liking. For a thicker texture, simply add more stabilizer, or dissolve the same amount using a smaller amount of water.
0 Comments

Almond Pulp Cake

4/7/2018

0 Comments

 
​With an updated stash of sweet Southern almonds, it was time to create a new batch of Chinese Almond Tea.

I doubled the recipe this round, which consequently meant that the amount of resulting almond pulp also doubled. Extensive research and four attempts (cookies, biscuits, cupcakes - you name it!) to re-use the sodden grains later, one emerged triumphant.
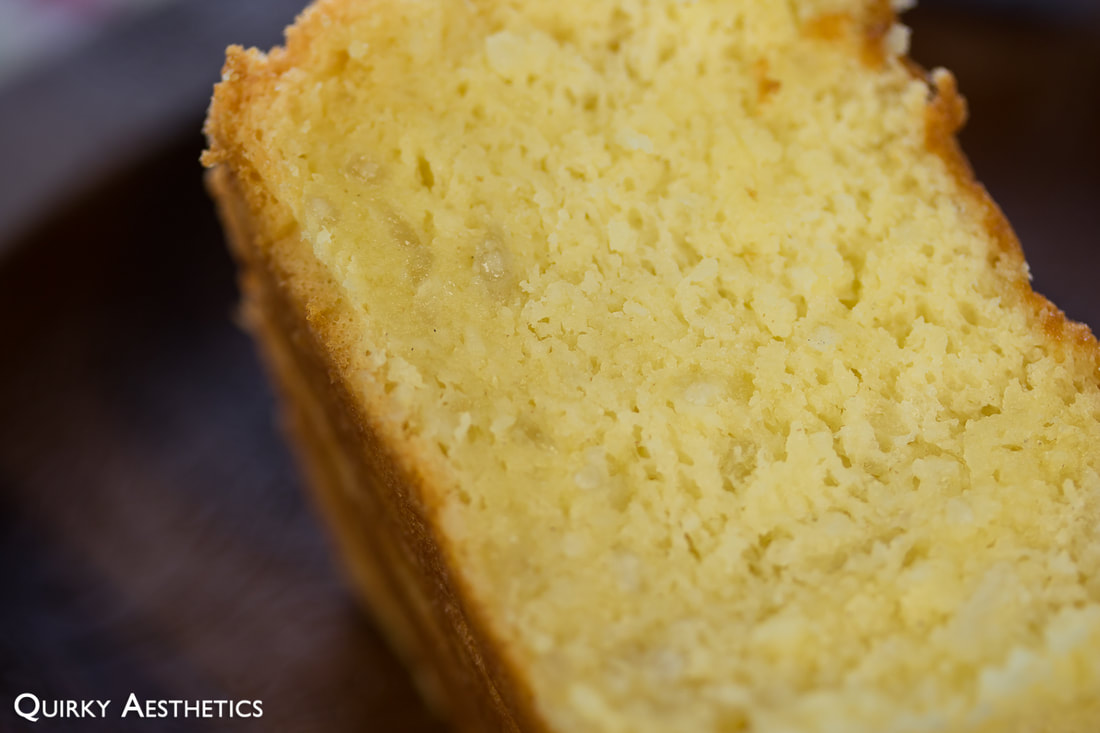
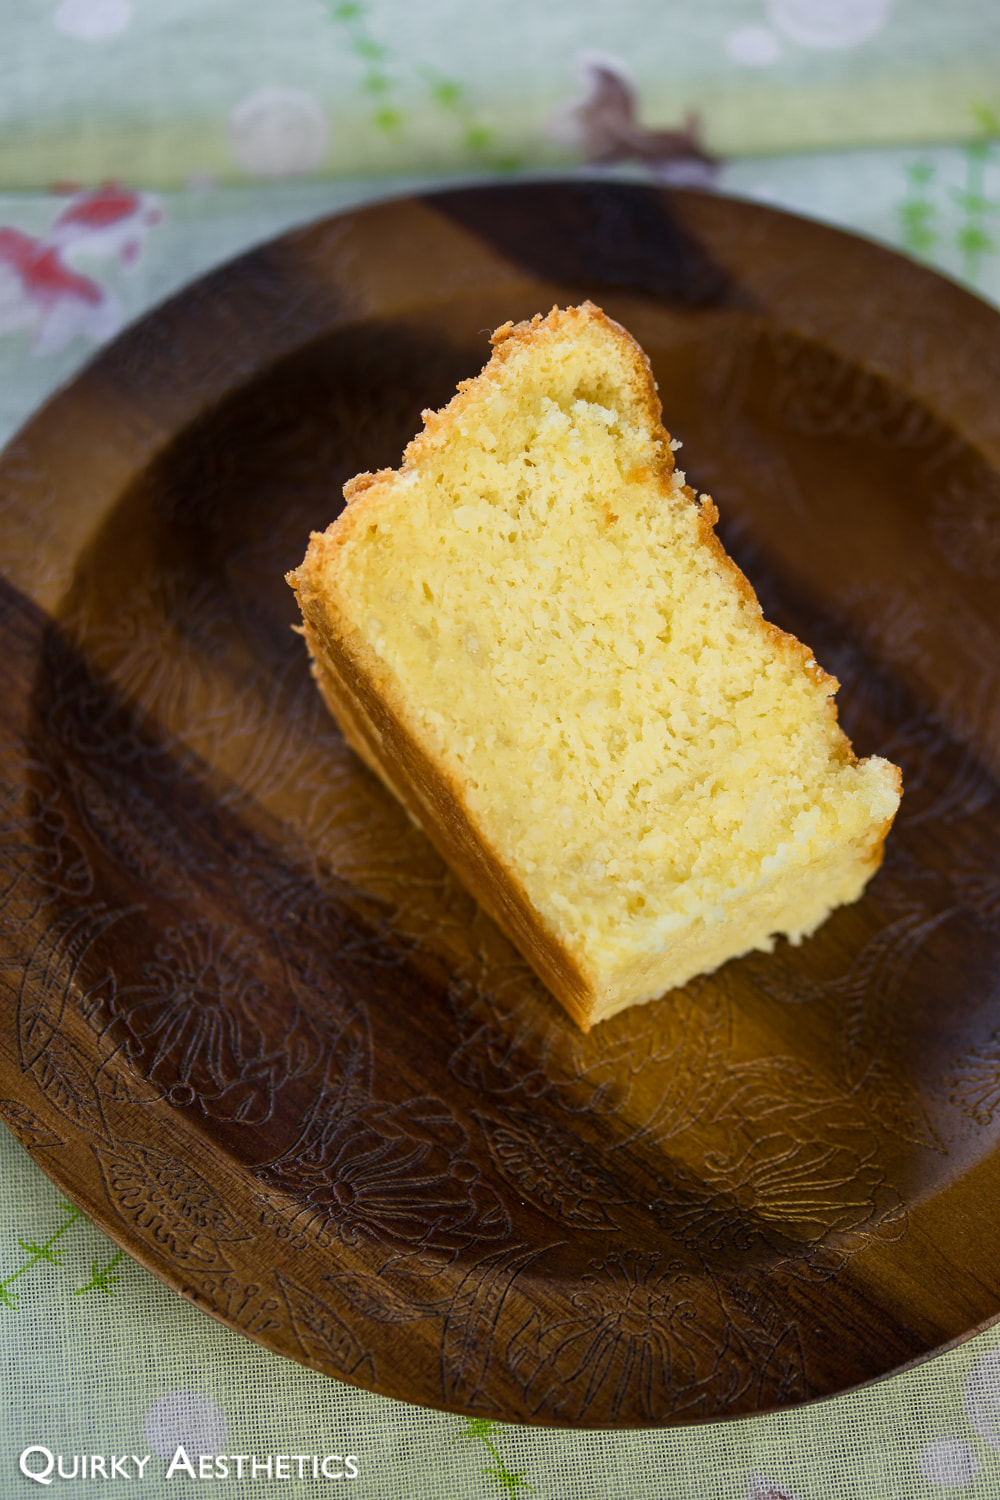
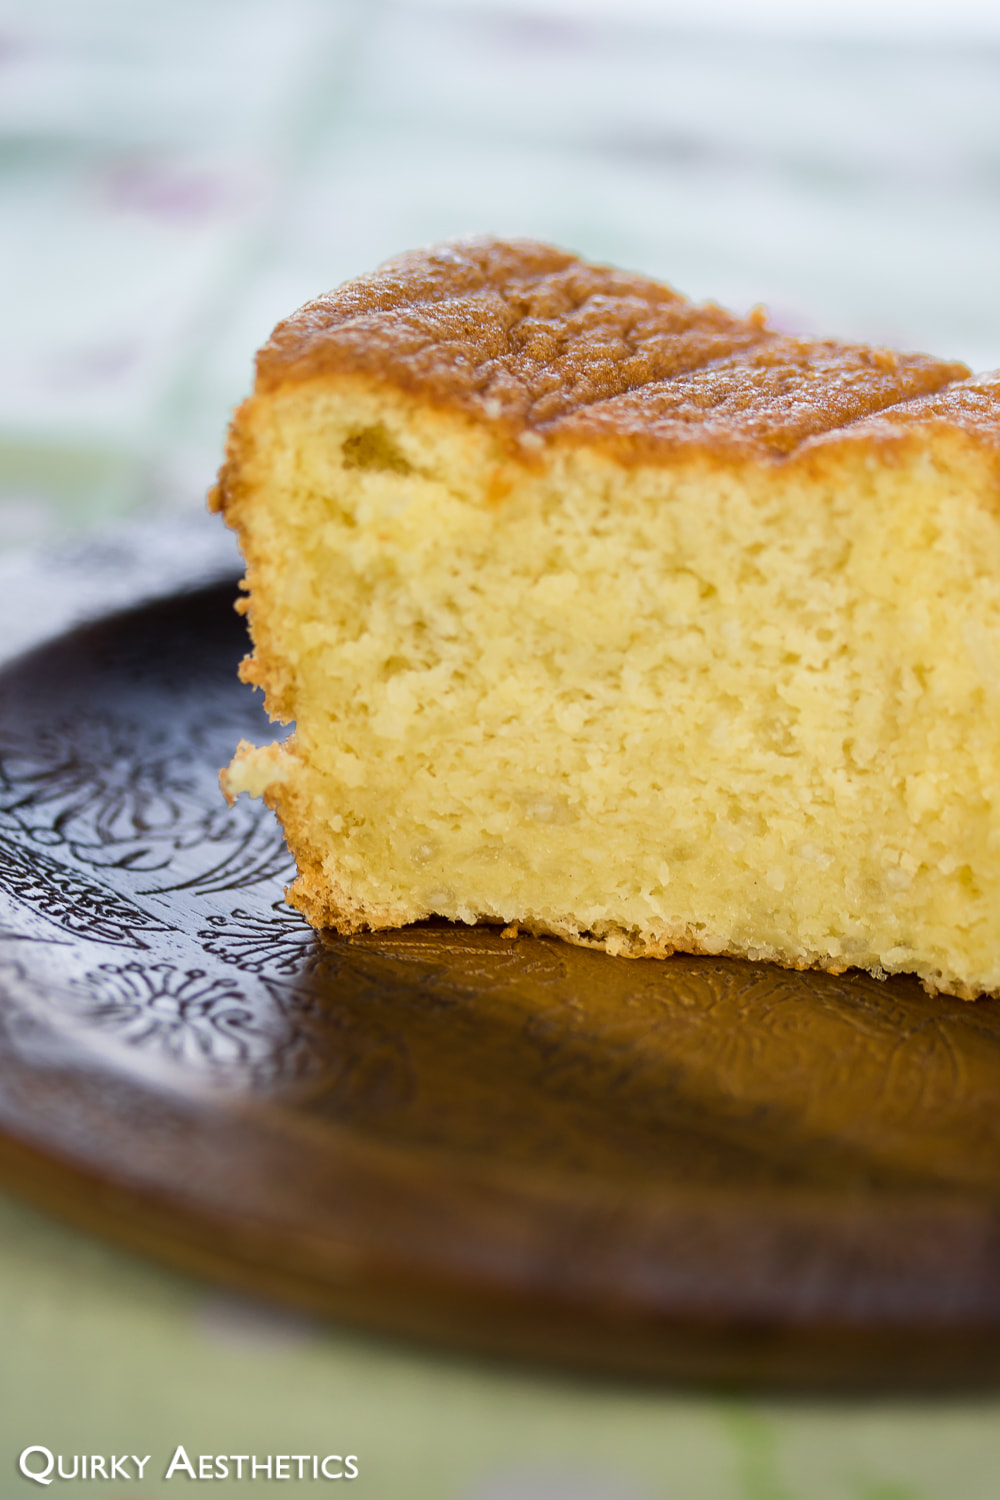
​A chiffon cake recipe was modified to yield a moist, aromatic specimen ideal for both breakfast or afternoon snack.
Though not exactly gluten-free, it retained its form as well as depth of flavour despite the greater pulp to flour content
Picture
Picture
Picture
Picture
Picture
​Ingredients
​​(Recipe inspired by and adapted from Cooking Tree)

- 4 egg yolks
- 1/3 cup granulated sugar
- 1/3 cup powdered sugar
- 1 g (pinch) salt
- 1/3 cup + 1/4 cup vegetable oil
- 70g (approx. 1/2 cup) milk
- 1 tsp vanilla extract
- 1 tsp almond extract
- 1 cup almond pulp *
- 3/4 cup all-purpose flour *
- 1 tsp baking powder

- 4 egg whites
- 50g (approx. 1/3 cup) granulated sugar

Directions:

1) Preheat the oven to 170 C / 340 F. Grease a round cake pan (or angel food cake pan).
2) In a large bowl, beat egg yolks, both sugars, and salt until pale yellow ribbons form.
3) Add in vegetable oil. Mix well to incorporate.
4) Add in milk, vanilla extract, and almond extract. Mix well to incorporate.
5) Add in almond pulp and combine well.
6) Sift in flour and baking powder. Mix well to incorporate, but refrain from overworking the mixture as the resulting product will become stiff after baking.
7) In a medium bowl, beat egg whites to soft peaks. Gradually add in sugar and continue to beat until stiff peaks form.
7) Transfer to cake pan, and smooth out the surface.
8) Bake for 40 to 45 minutes if using a chiffon cake or angel food cake pan. If using a regular round pan, extend the baking time by 15 to 20 minutes, baking in 5- to 7-minute intervals whilst checking doneness in the centre of the cake. Once the surface of the cake turns golden brown and a toothpick emerges clean, halt the cooking process immediately.
9) Let cool and remove from pan.
10) Serve and enjoy!​

Notes
- The original recipe by Cooking Tree utilized metric units (ie. grams), though these amounts have been converted to cups and/or tsps for improved clarity.
- While the initial recipe called for both baking powder and baking soda, the latter was omitted in this rendition and a greater amount of baking powder was added to compensate. Texture-wise, there were no distinct deviations from the sample (as far as I could perceive).
0 Comments

Minion Lemon Cheesecake V2

2/21/2018

0 Comments

 
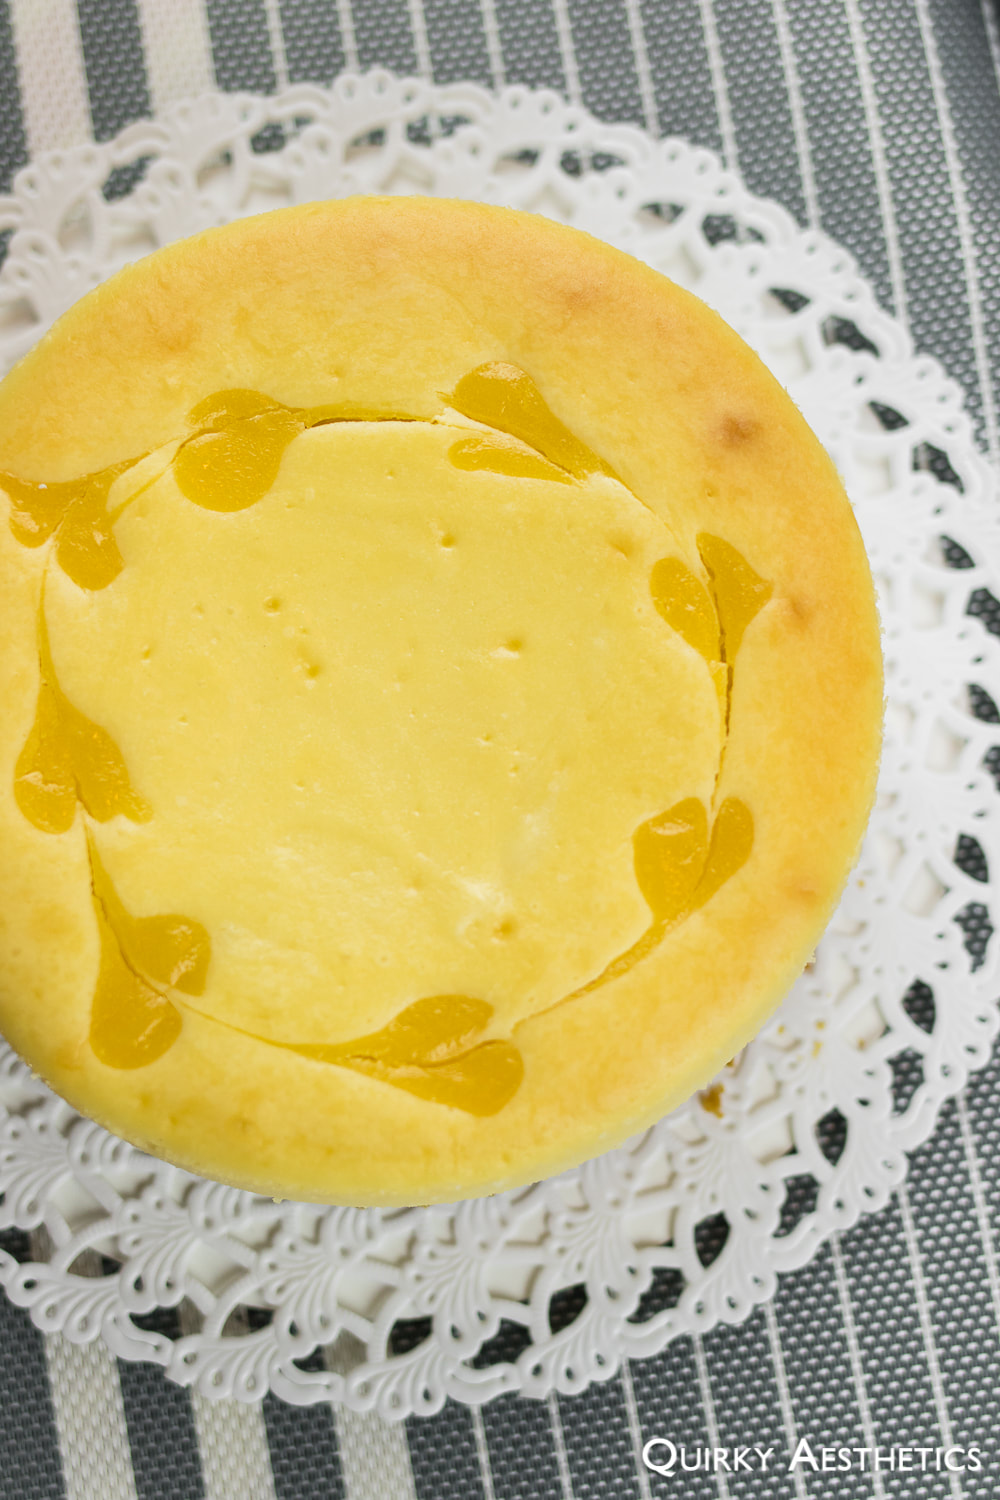
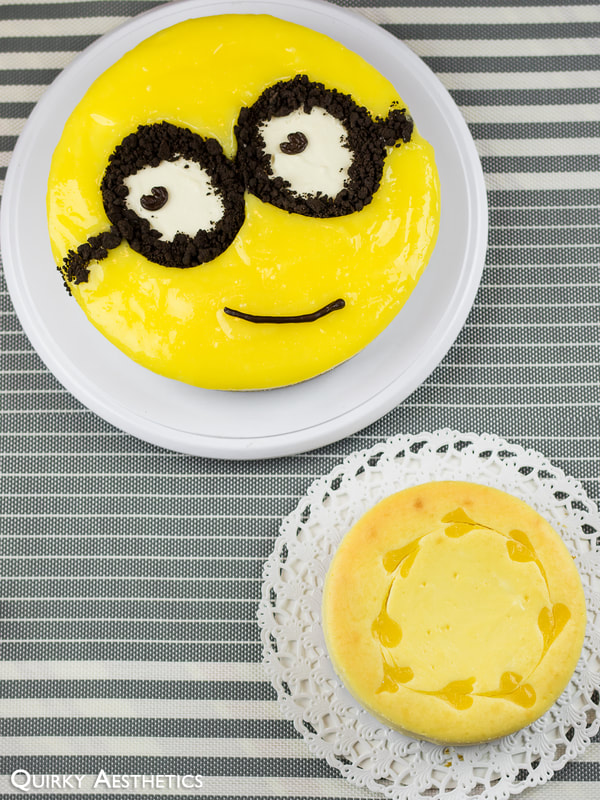
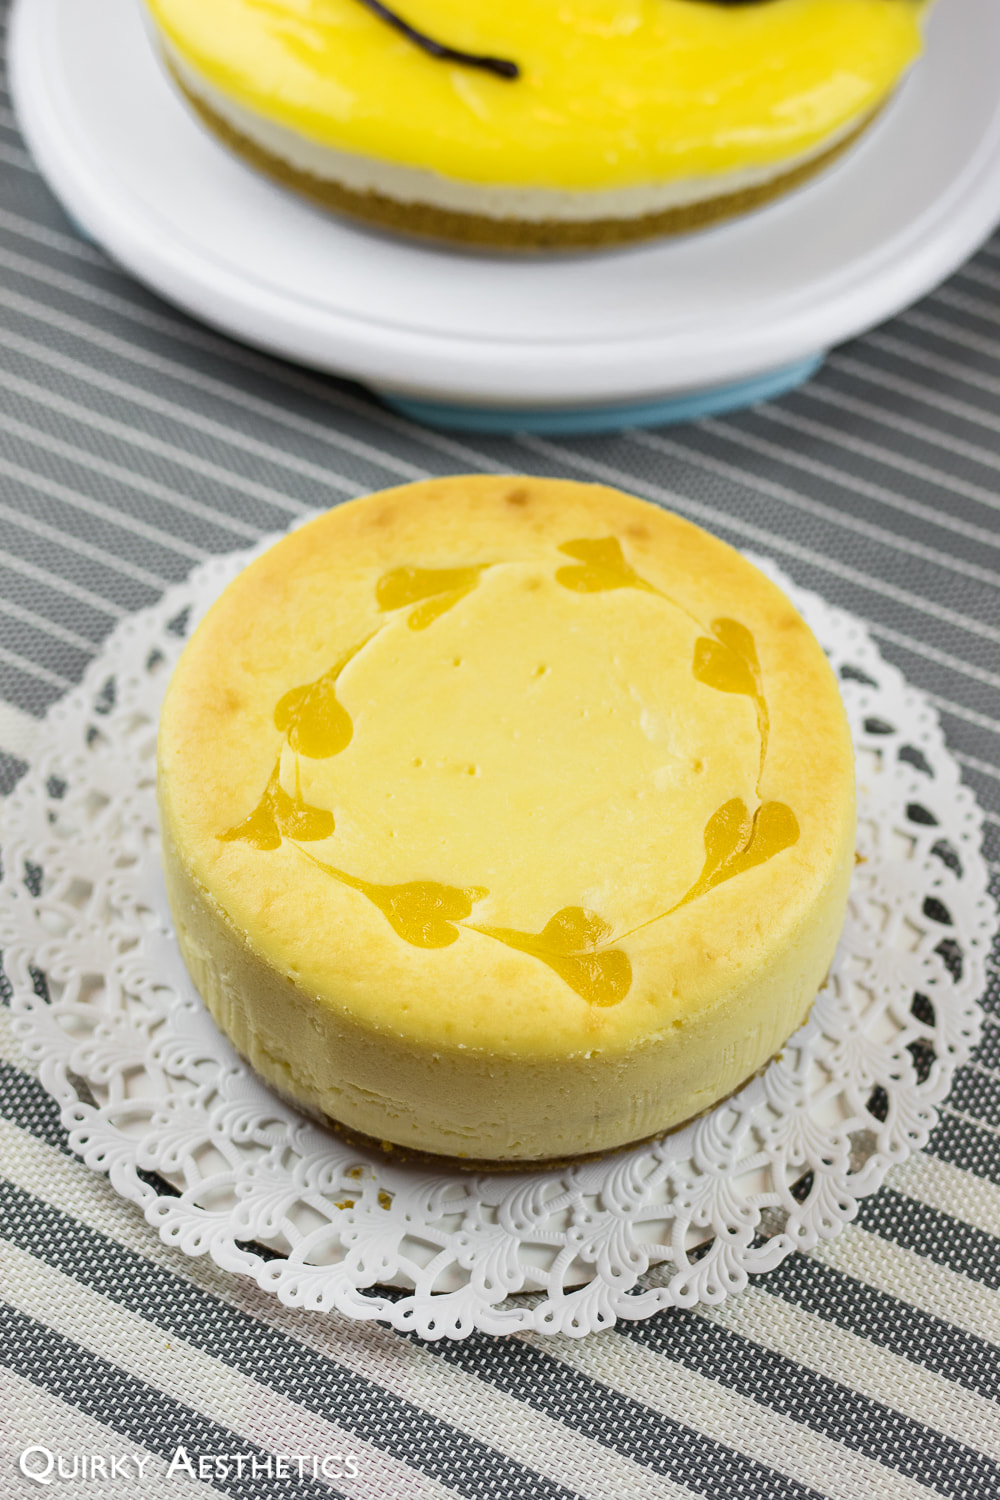
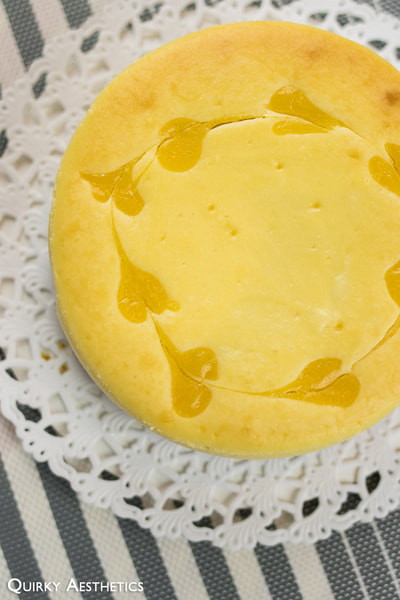
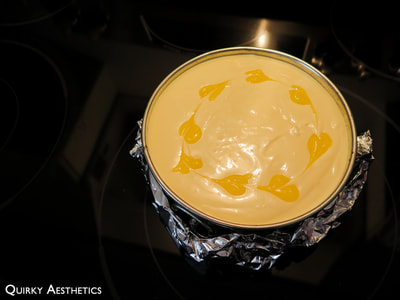
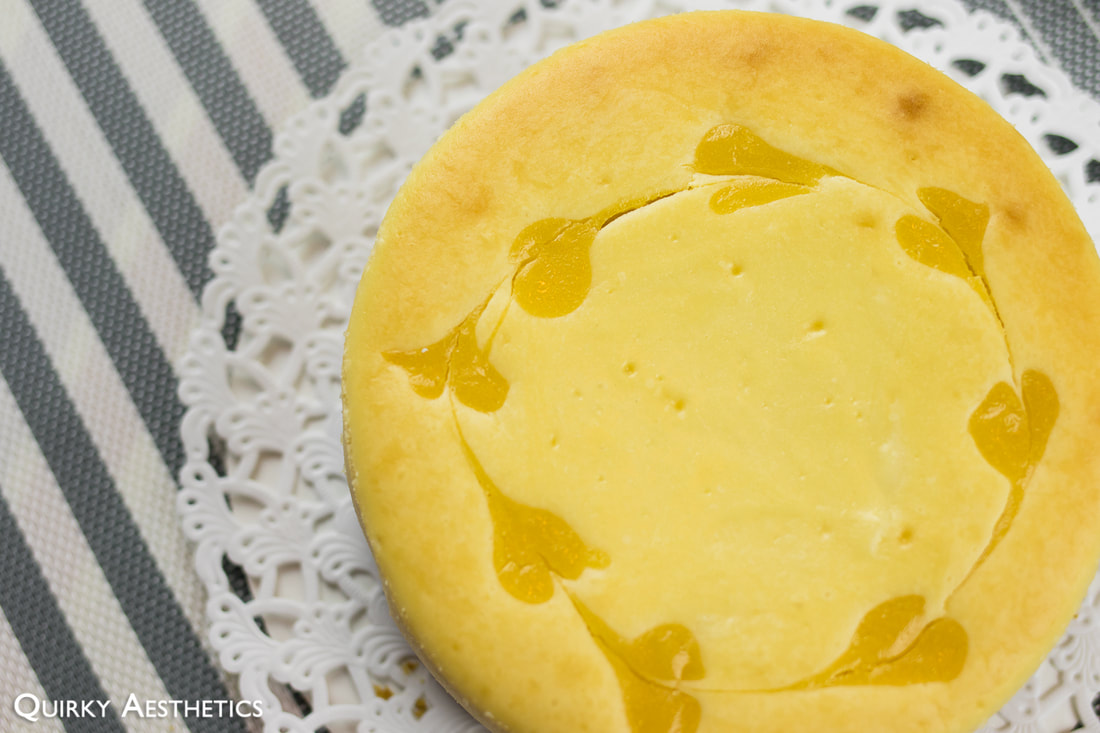
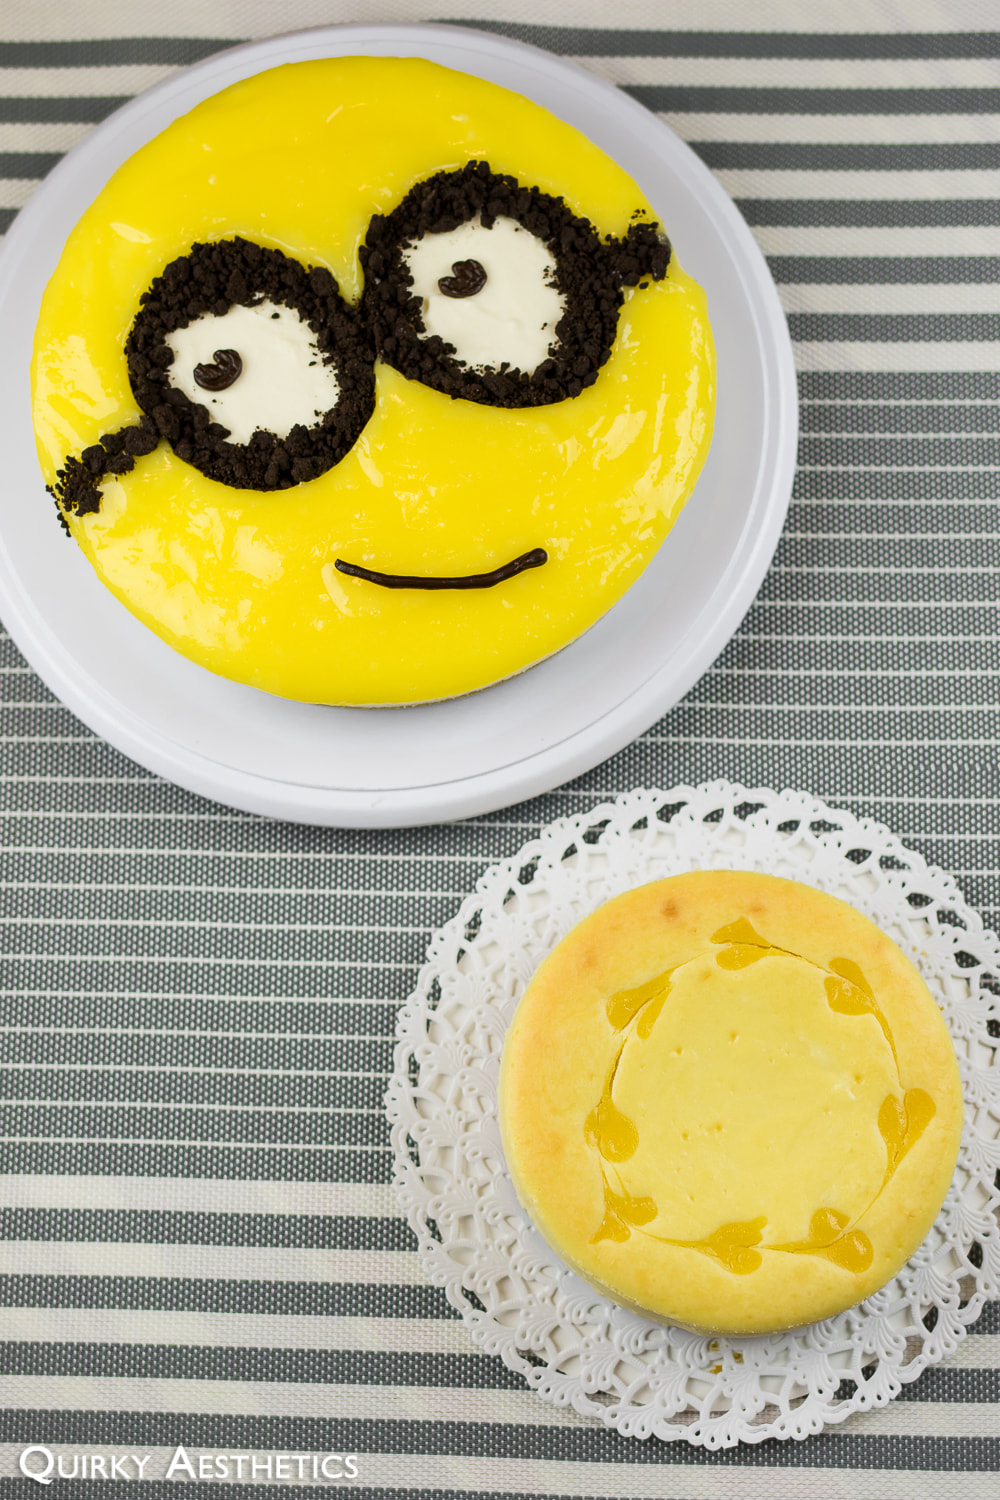
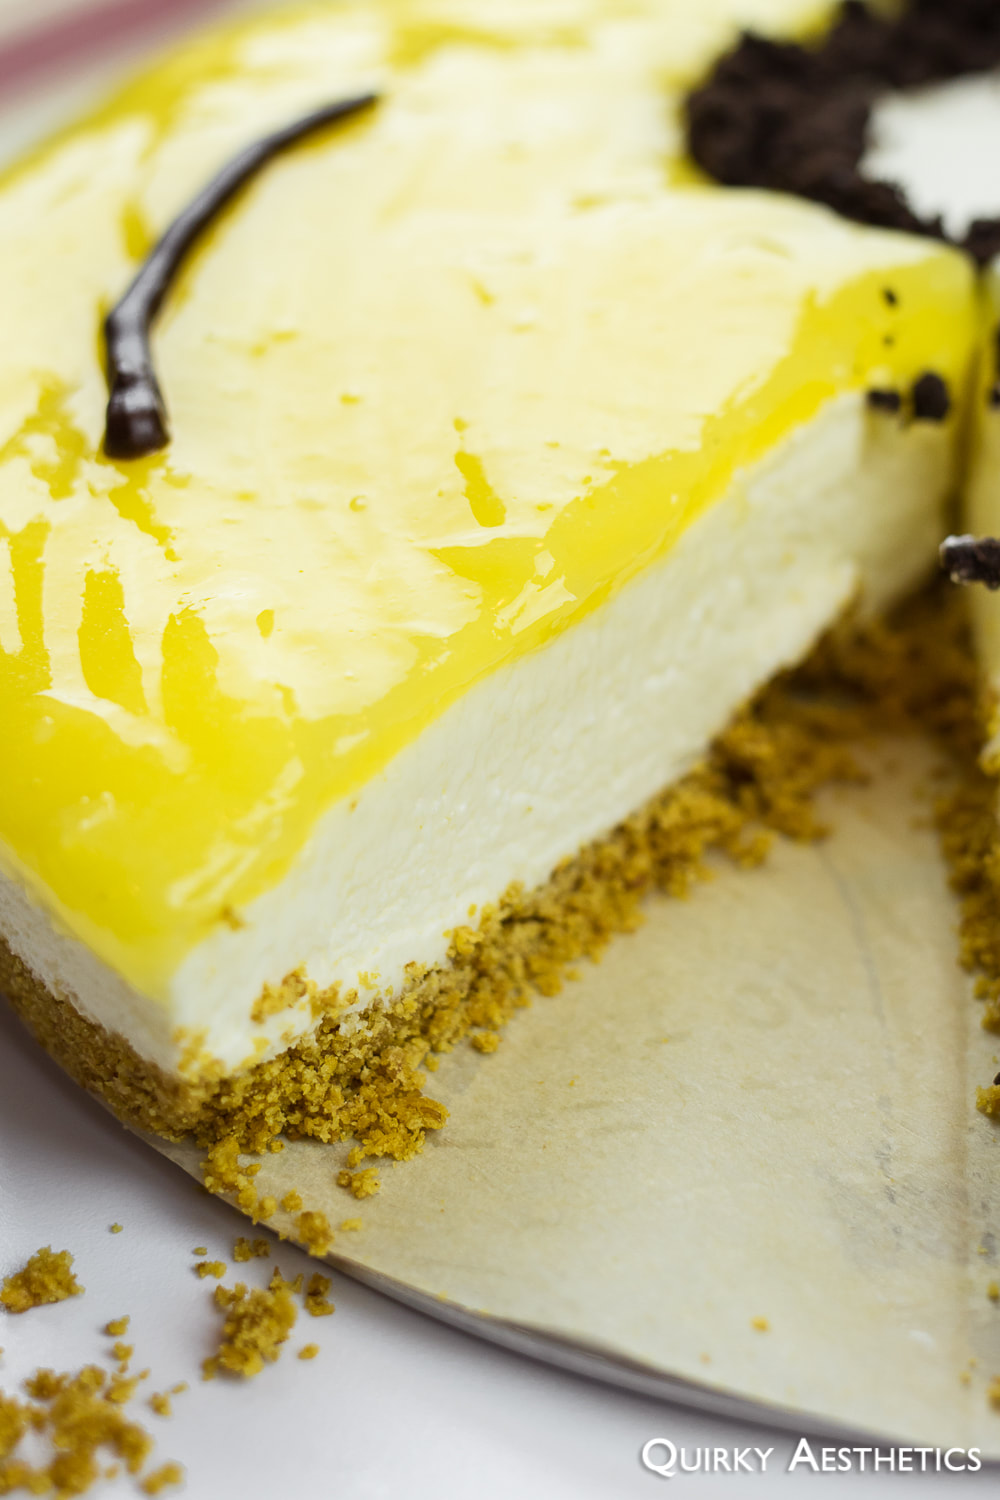
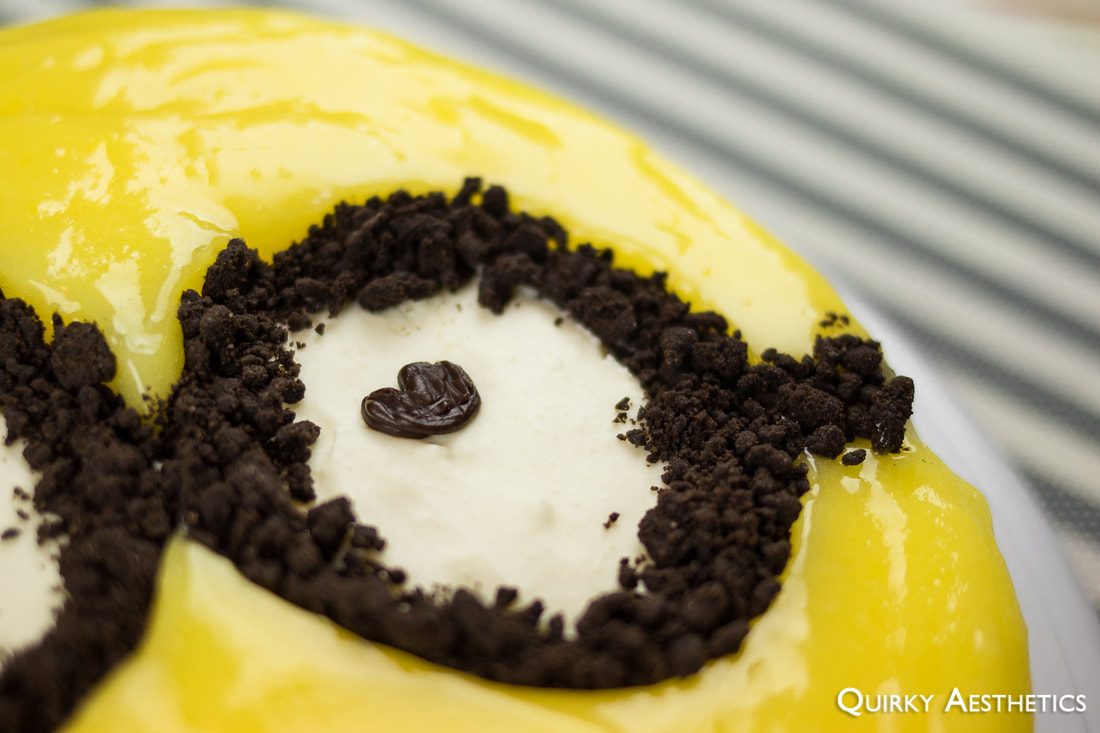
The second of the two-part Minion cheesecake series was a baked cheesecake with lemon curd swirls. While the Minion decoration fails to appear in the images below, I can assure that tremendous efforts had been exerted to create a chocolate outline of Bob.

​A spinoff of Minion Lemon Cheesecake V1, this rendition utilizes eggs and a small amount of flour as opposed to whipped cream, consequently resulting in a firmer consistency.
Picture
Picture
Picture
​Set aside sufficient time to commence this project, as majority of the process lies with lengthy baking, resting, and chilling times. Patience is the key to success in these circumstances.
Picture
Picture
Ingredients
​
Crust
- 1.5 cups graham crackers
- 1/4 cups unsalted butter, softened​

Cheesecake
​(Recipe inspired by and adapted from Kraft Canada)

- 2 pkgs/500 g Philadelphia Cream Cheese, softened
- 1/2 cup powdered sugar
- 1/2 cup granulated sugar
- 2 tbsp flour
- 1/4 cup unsalted butter, softened
- 2 eggs
- 1 tsp vanilla extract
- 1 tsp lemon extract (opt.)
- pinch of salt​
​
Lemon Curd/Decorative Element (optional) *
Please refer to Minion Lemon Cheesecake V1.

Directions:

i) Crust

1) Place graham crackers in a food processor and pulse to a fine crumb. Transfer to large bowl.
2) Add in melted butter and evenly combine.
3) Grease and line a loose-bottom pan with parchment paper. (Skip if using a non-stick pan.)
4) Press the crumb mixture onto the bottom of the pan and smooth with the back of a spoon or spatula, ensuring uniformity in thickness to the best of one's abilities. Press to compact.
5) Place in refrigerator and chill for a minimum of 30 minutes. Prepare cheesecake filling in the meantime.

ii) Cheesecake Filling

1) Preheat oven to 325 F.
2) In a large bowl, beat softened cream cheese until smooth.
3) Add in sugar(s) and beat again until fluffy.
4) Add in eggs and softened butter. Beat again to incorporate.
5) Sift in flour. Add in vanilla extract, pinch of salt, and lemon extract (if desired).
6) Pour mixture into loose-bottom pan and smooth the surface.
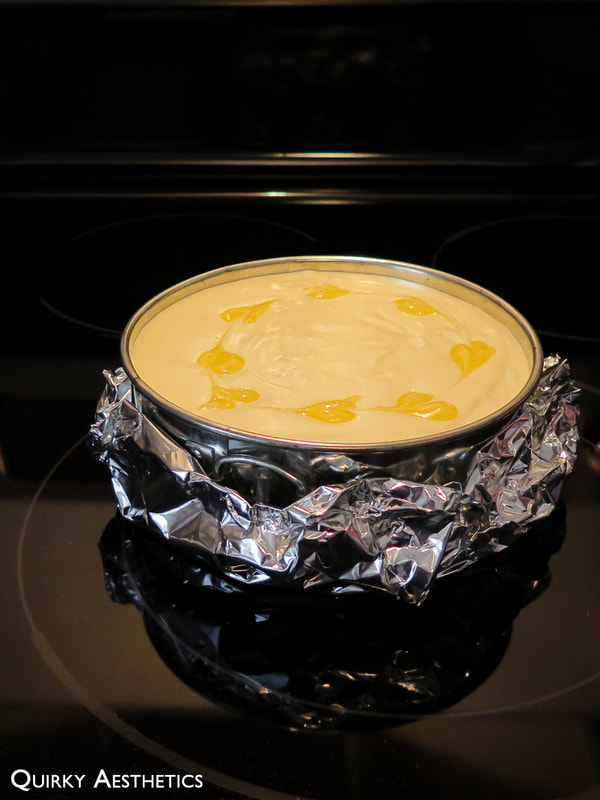
7) Obtain a small amount of the curd from the Minion Lemon Cheesecake V1. Using a teaspoon, dollop the curd along the circumference of the cake.
8) Trail a toothpick through the centre of each dollop to form tiny hearts.
9) Wrap the bottom of the pan with a thick layer of heavy-duty aluminium foil.
10) Place the pan in a shallow baking dish and fill with water to an approximate height of 1 inch.
11) Bake at 325 F for 70-90 minutes. After the 60-minute mark, monitor the appearance of the cake for signs of browning. During the baking process, tiny bubbles should emerge in the water in the pan, but it should not boil.
12) Remove from the oven and let rest for 30 minutes. *
13) Remove the cheesecake from water bath and let cool for 1 hour.
14) Wipe the pan dry and transfer to the refrigerator. Chill for at least 4 hours before removing from pan.
15) Serve and enjoy!

Notes
- The recipe for the Minion Lemon Cheesecake V1 yields a greater amount of Lemon Curd than needed to complete the cake. Please refer to the post for the recipe and adjust ingredient amounts accordingly for one's pan size. A loose-bottom spring form pan measuring 6 inches in diameter and 2.5 inches in height was utilized for this recipe.
- A greater amount of melted butter can be used to create a denser crust. A lower butter-to-crumb ratio results in the need for greater compaction levels. This recipe utilized 1/4 cup of melted butter, though it is advised to use more to certify a stable foundation.
- Ensure that the cream cheese has softened completely before beating, as clumps will appear in the mixture if still solid. It is recommended to remove the cream cheese from the refrigerator and alllow it to soften at room temperature. However, microwaving on a low power setting for 30-40 second intervals is a viable alternative.
- Knox Unflavoured Gelatin was utilized in this recipe. Should other brands/forms of gelatin be used, a 1:3 gelatin to water ratio needs to be maintained such that the filling stabilizes.
- The cheesecake was immediately removed from the oven at the 90-minute mark, and exhibited signs of cracking shortly afterwards. One may wish to consider turning off the oven at the 70- or 80-minute mark and allow the cake to cook in residual heat, then let it rest in the oven to prevent surface cracking.
0 Comments

Minion Lemon Cheesecake V1

2/21/2018

0 Comments

 
​It began with ochungg proposing a personal baking project - a mission entirely out of character for someone who neither enjoys planning nor complex culinary processes. This eventually led to the my creation of a flowchart, and her narrowing down the options to a New York Cheesecake. The theme was Minions.

I suggested constructing two versions of a Lemon Cheesecake, as ochungg's rendition was intended to be a gift (ie. not to be eaten after toiling away on the project for countless hours).
Picture
Picture
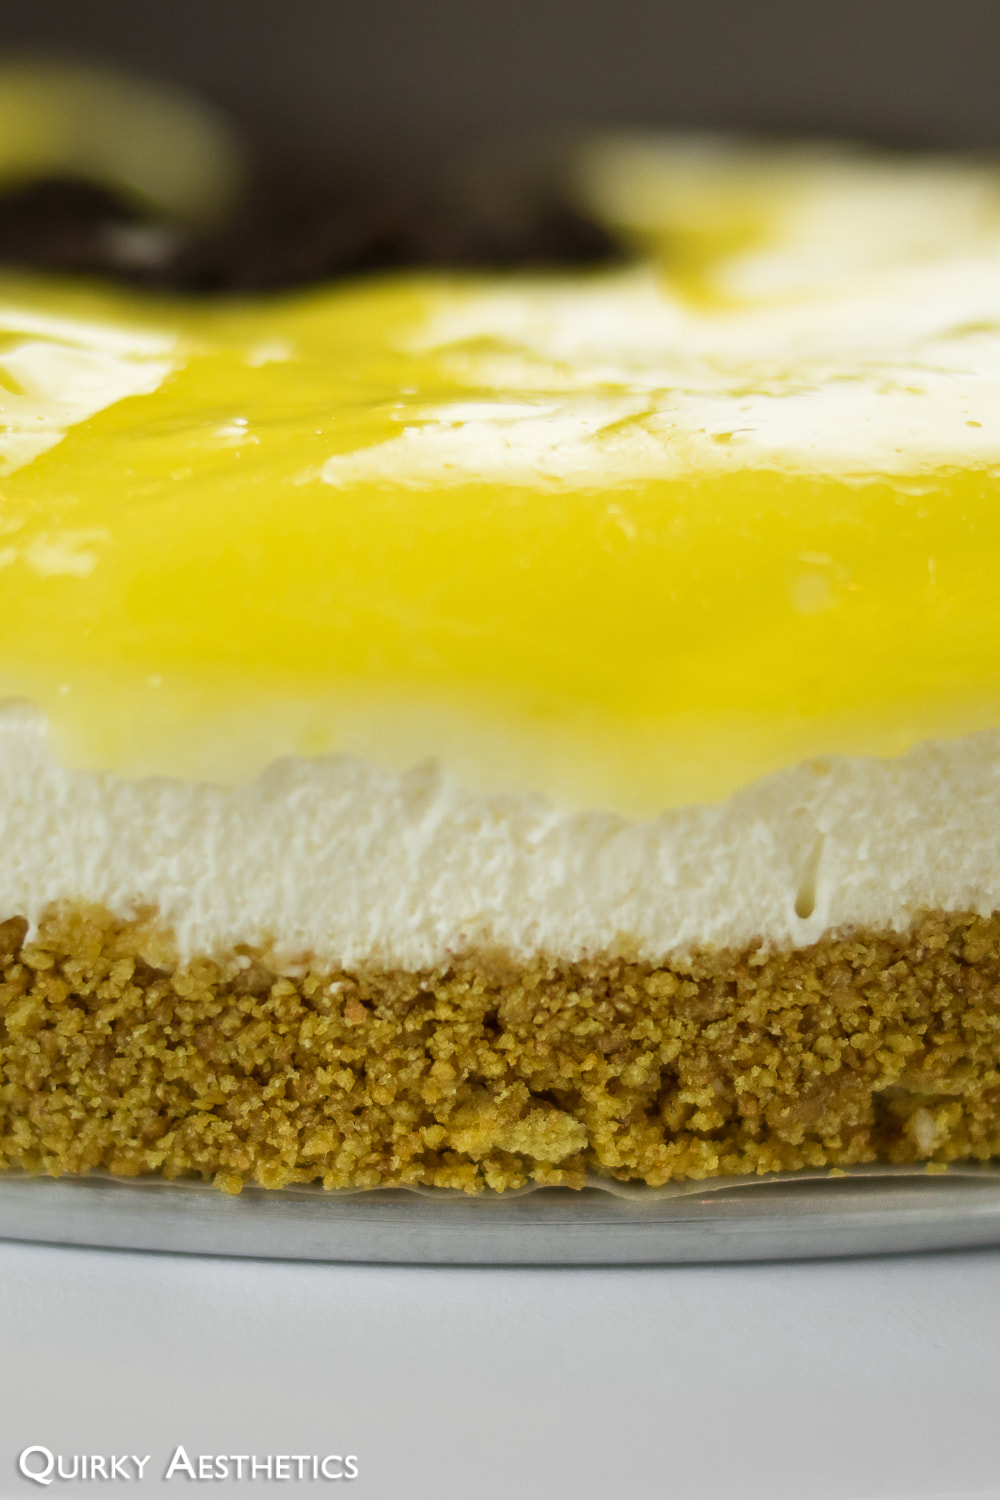
The first version, appropriately termed "V1", was formulated to be a no-bake cheesecake that utilized gelatin and heavy cream as stabilizers as opposed to eggs.
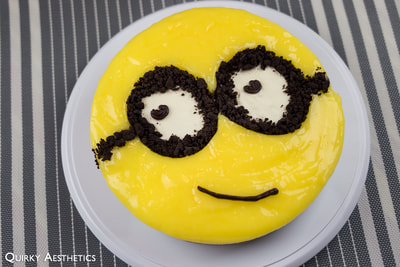
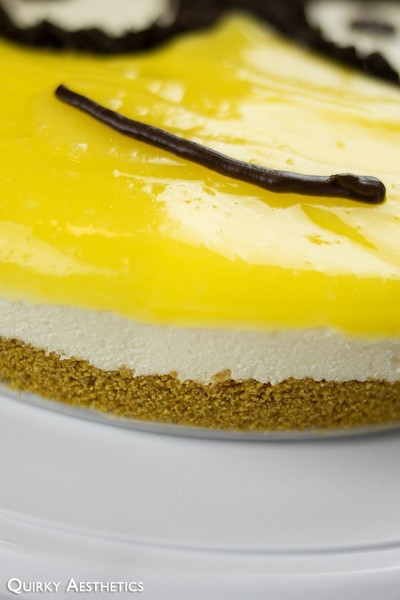
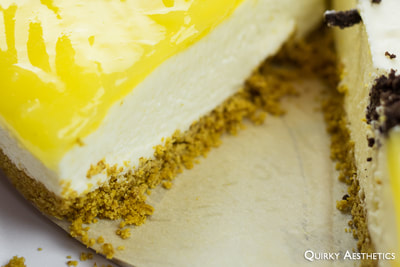
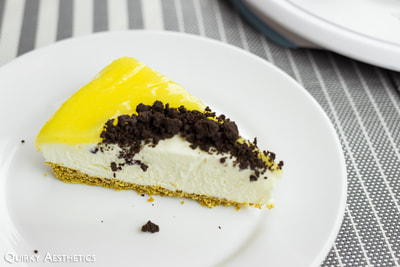
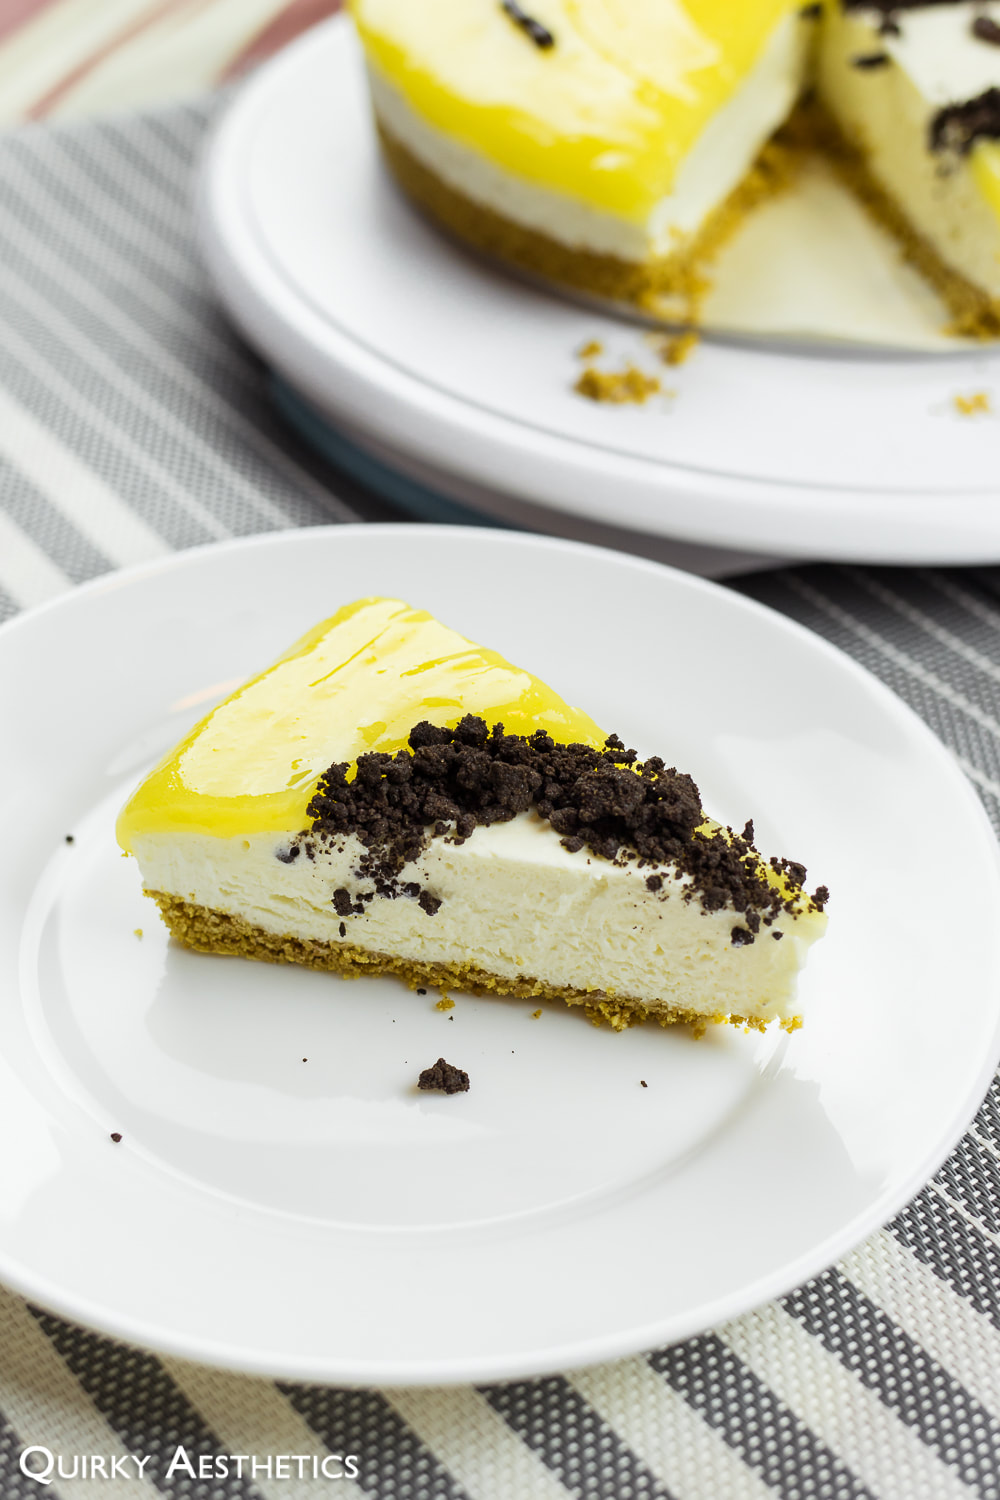
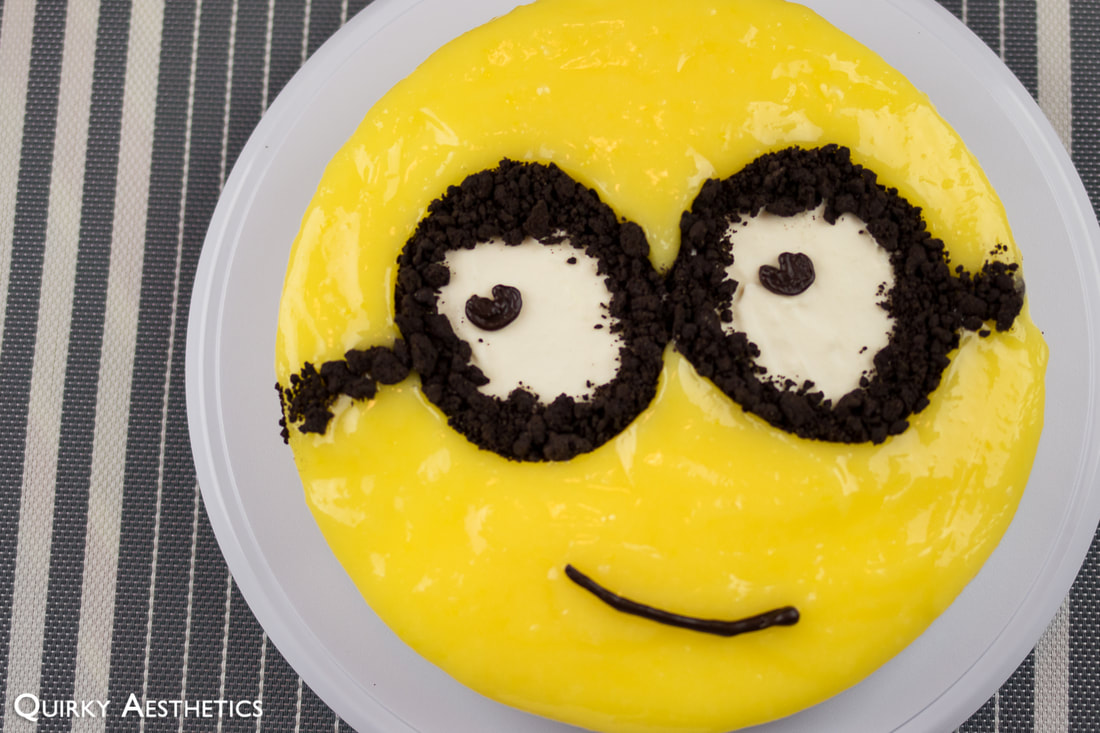
As with any non-Japanese cheesecake, the foundation was a graham cracker crust, followed by a creamy cheesecake layer. The top layer of the cake included lemon curd and chocolate wafer cookie crumbs; the distinct palette of these components was used to craft Bob's distinctive facial features.
Picture
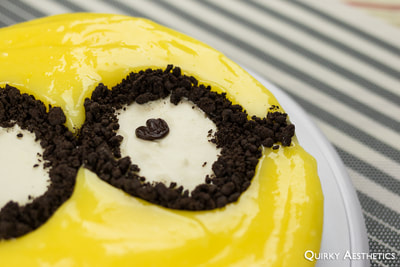
In order to create the form for the goggles decoration, four aluminium foil rings were crafted as guides. For a pan measuring 9.5 inches in diameter, rings measuring 3.8 inches and 3 inches in diameter were constructed.
These rings were placed on top of the cake, within each other, concentrically. The spacing between the rings was allocated for the thickness of Bob's goggles, and was filled with chocolate cookie crumbs.
Picture
Picture
This Lemon Cheesecake is the second Minion-themed creation to find its way on this space. Yellow is a fairly easy tone to achieve in baking, but perhaps I'll take a more intrepid approach next time for a Sulley concept.
Picture
Picture
Picture
Ingredients
​
Crust
- 2 cups graham crackers
- 1/4 cup unsalted butter, melted

Cheesecake Filling
​(Recipe inspired by and adapted from honeykki)

- 2 pkgs/500 g Philadelphia Light Cream Cheese, softened
- 1/2 cup granulated sugar
- 1/2 cup powdered sugar
- 8 g gelatin (approx. 1 Knox unflavoured gelatin packet)
- 25 g hot water
- 237 ml/1 small carton Neilson whipping cream *
- 2 tbsp granulated sugar
- 1 tsp vanilla extract
- 1 tsp lemon extract (opt.)
- pinch of salt

Lemon Curd *
​(Recipe inspired by and adapted from honeykki)
- 150 ml lemon juice
- 3/4 cups granulated sugar *
- 3 eggs + 2 egg yolks
- 1.5 tbsp corn starch
- zest of one lemon

Decorative Elements
- 225 g/approx. 12 chocolate wafer cookies *
- 2 tbsp sweetened condensed milk *
- 1/4 cups semi-sweet chocolate chips
- splash of half & half cream

Directions:

i) Crust

1) Place graham crackers in a food processor and pulse to a fine crumb. Transfer to large bowl.
2) Add in melted butter and evenly combine.
3) Grease and line a loose-bottom pan with parchment paper.
4) Press the crumb mixture onto the bottom of the pan and smooth with the back of a spoon or spatula, ensuring uniformity in thickness to the best of one's abilities. Press to compact.
5) Place in refrigerator and chill for a minimum of 30 minutes. Prepare cheesecake filling in the meantime.​

ii) Cheesecake Filling

1) In a large bowl, beat softened cream cheese until smooth.
2) Add in sugar(s) and beat again until fluffy.
3) Dissolve gelatin in hot water (in a 1:3 gelatin-water ratio) and incorporate into mixture.
4) In a separate bowl, combine whipping cream and granulated sugar. Beat until thick; the consistency should resemble soft peaks (in meringue).
5) Fold whipped cream into cream cheese mixture in three additions. Gently combine each time using a spatula such that airiness is maintained.
6) Add in vanilla extract, pinch of salt, and lemon extract (if desired). Mix well.
7) Pour mixture into loose-bottom pan and refrigerate.
8) Chill for 1-2 hours in the refrigerator, then transfer to the freezer. Let chill for at least 1.5 hours to set.

iii) Lemon Curd

1) Combine lemon juice, sugar, and eggs/egg yolks in a large bowl. Mix well until sugar dissolves completely.
2) Mix cornstarch with 2 tbsp of water. Combine well. 
3) Bring a small pan of water to a boil. Place lemon mixture on top of the plan and whisk until it thickens. (This process can range between 10 to 20 minutes.)
4) Once mixture has thickened to a goopy consistency, remove from heat and let cool.
5) Transfer to a shallow dish. Cover with plastic wrap to prevent film formation and chill in refrigerator for at least 30 minutes.

iv) Assembly
 
​1) Construct aluminium foil rings for the surface decoration - See explanation above. 
2) Scrape cream filling from centre of chocolate wafer cookies. Discard if not consuming.
2) Using a food processor, pulse to a fine crumb.
3) Transfer to a medium-sized bowl and add in sweetened condensed milk. Combine well, being sure to break up any large clumps.
4) Set aside crumb mixture.
5) Remove cheesecake from freezer and retrieve lemon curd mixture.
6) Obtain the four aluminium foil rings that were previously constructed. Arrange on top of cheesecake as a guide for the surface decoration (ie. Bob's goggles)
7) Smooth lemon curd on top of cake, working around the circumference of the larger foil ring.
8) Using a small funnel, distribute the chocolate cookie crumbs evenly along the trench formed between the two foil rings. Should a funnel not be available, work with a tiny dessert spoon and steady hands. Transfer excess cookie crumbs to a container and set aside for other desserts/casual munching.
9) Melt chocolate chips in a microwave on medium power in intervals of 30 seconds. Once bubbles begin to form, add a splash of cold half & half cream and microwave again. Mix well to get rid of clumps.
10) Transfer to a piping bag (or small Ziploc) and snip off the tip. Draw the eyes and mouth of the Minion.
11) Place finished cheesecake back into the freezer for a minimum of three hours.
12) Remove from pan and store in an airtight dish.
13) Serve and enjoy!

Notes
- This recipe yields a greater amount of Lemon Curd than needed for a loose-bottom pan measuring 9.5 inches in diameter and 1.5 inches in height, so the remainder can be set aside for Lemon Meringue Parfait Cups. Similarly, one may need to adjust the ingredient amounts accordingly to fit one's pan of choice.
- 3/4 cups of granulated sugar was utilized for the Lemon Curd. Feel free to adjust this amount to one's own preferences for less/more sweetness.
- A greater amount of melted butter can be used to create a denser crust. A lower butter-to-crumb ratio results in the need for greater compaction levels. This recipe utilized 1/4 cup of melted butter, though it is advised to use more to certify a stable foundation.
- Ensure that the cream cheese has softened completely before beating, as clumps will appear in the mixture if still solid. It is recommended to remove the cream cheese from the refrigerator and allow it to soften at room temperature. However, microwaving on a low power setting for 30-40 second intervals is a viable alternative.
- Knox Unflavoured Gelatin was utilized in this recipe. Should other brands/forms of gelatin be used, a 1:3 gelatin to water ratio needs to be maintained such that the filling stabilizes.
- The original recipe called for 200 g of whipping cream, however any similarly-sized carton should be acceptable.
- The original Lemon Curd recipe called for 1/4 cup of softened butter. A substitution of starch mixture was utilized out of convenience, though the addition of butter would have likely yielded a creamier finish and higher degree of viscosity. That said, it is suggested to use butter instead of starch.
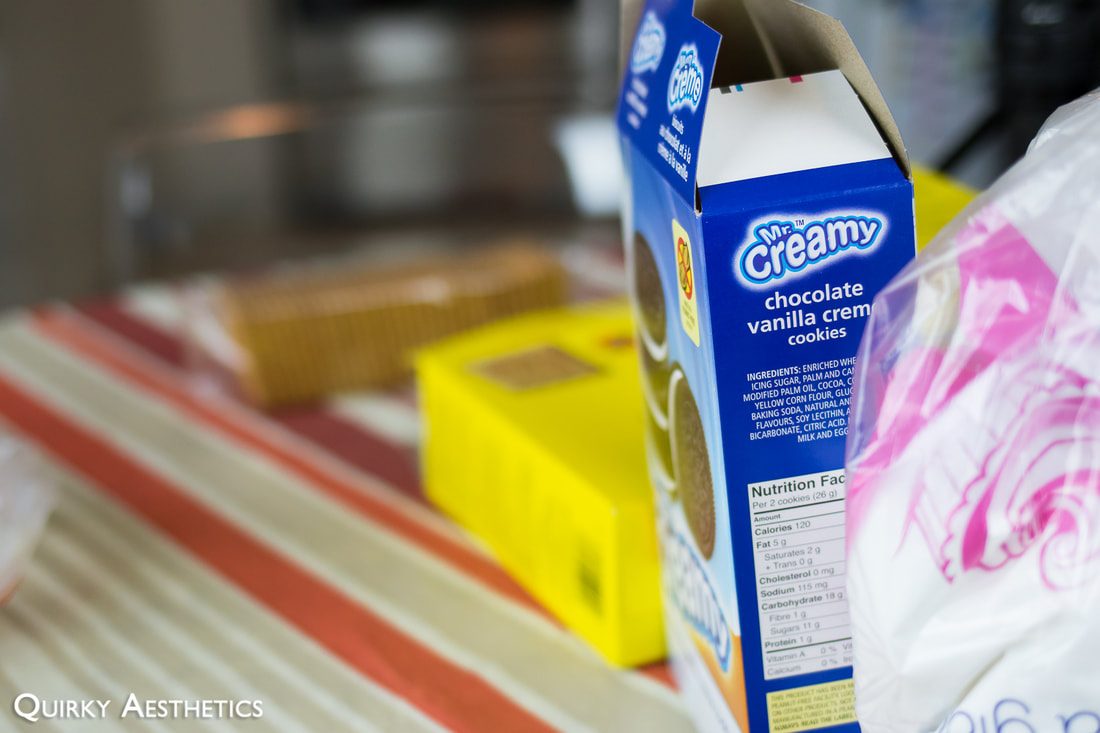
- Mr. Creamy, a more economic version of Oreo cookies, was used in this recipe, though feel free to use one's preferred type of chocolate graham crackers (with or without filling).
- Bob was chosen as the main character for this cake - as such, a yellow and white palette dictated the choice of decorative elements. Should one opt to construct a different character, one is free to swap yellow-toned curd and chocolate cookie crumbs for other hues (such as orange curd or golden graham crumbs) to better suit one's theme.
0 Comments

Tangyuan (Glutinous Rice Balls) from Scratch

7/6/2017

2 Comments

 
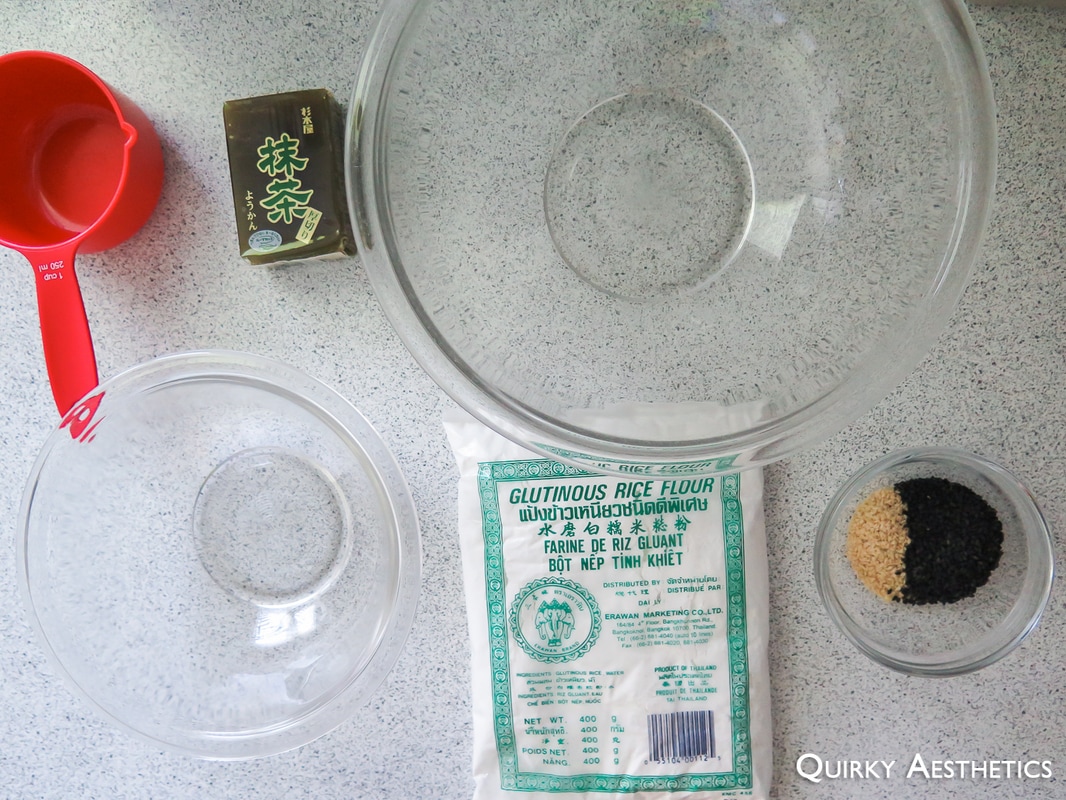
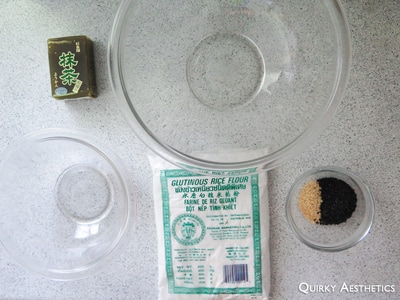
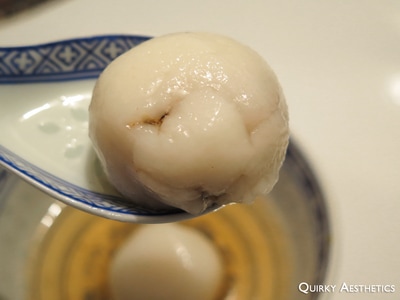
​To be honest, I wanted to make daifuku. With freshly-picked strawberries and an unopened package of matcha jelly, it just seemed right. However, my kitchen lacked Mochiko, and the weather deterred me from driving out to the Korean supermarket to pick up a box I would only use one sixth of.

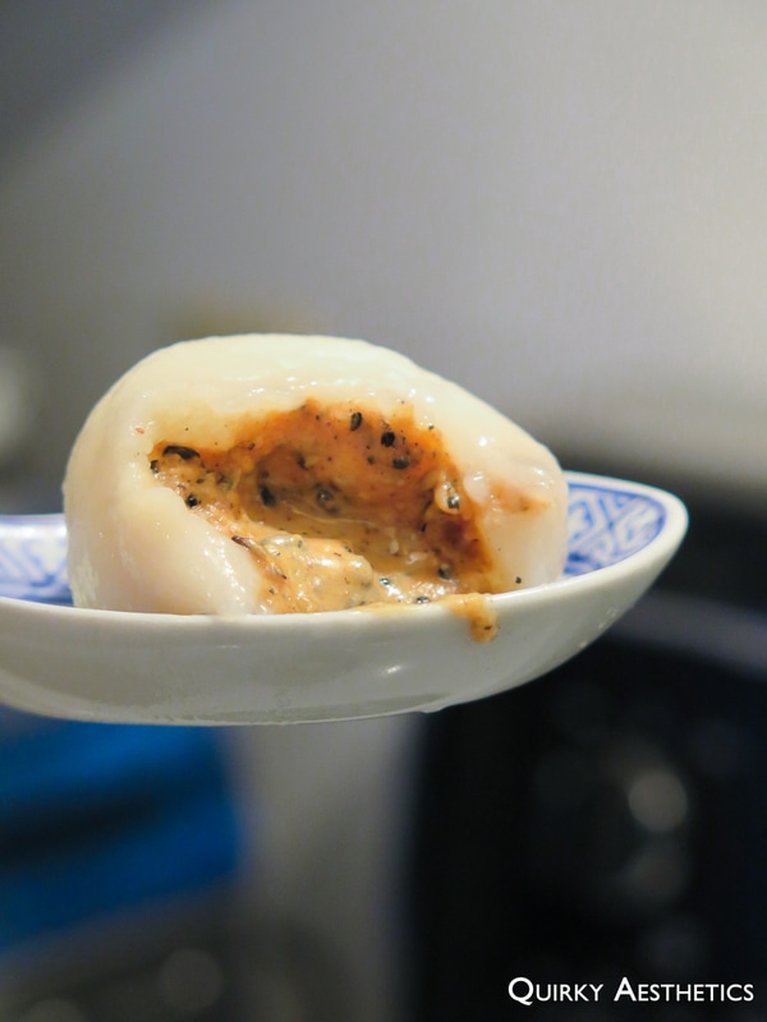
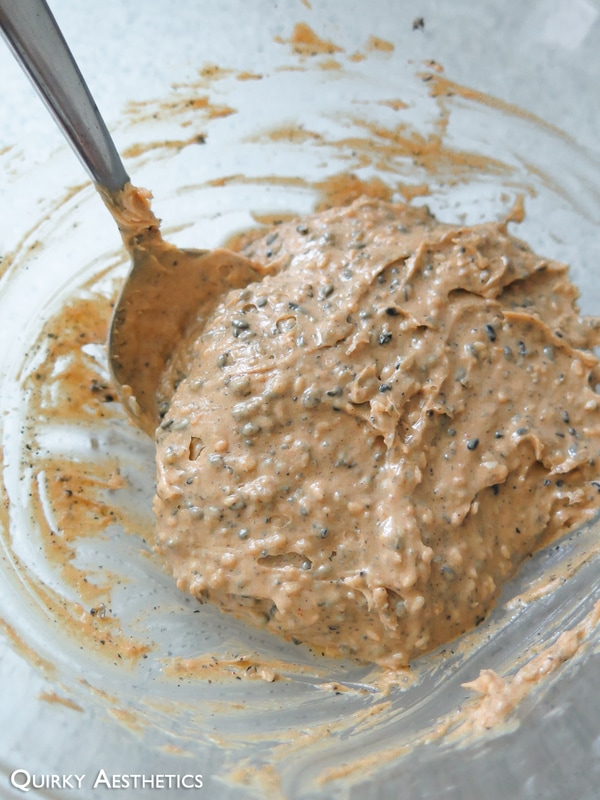
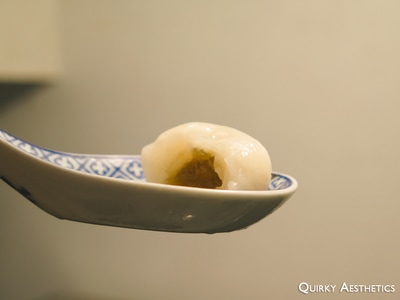
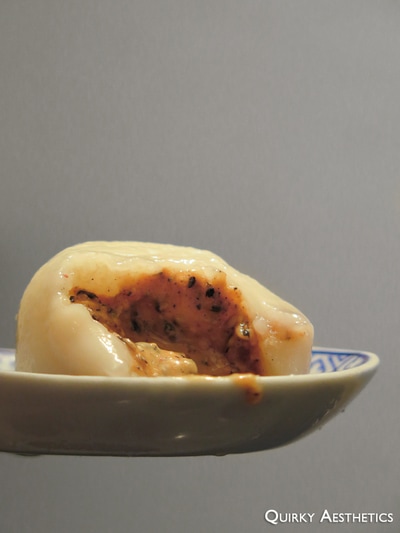
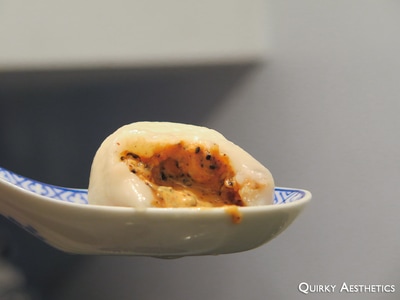
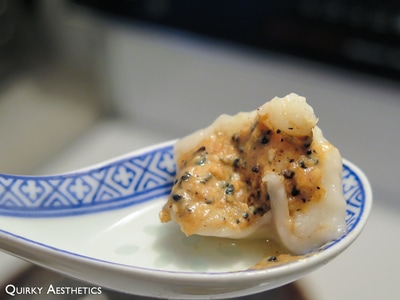
Recalling that I had once accidentally purchased glutinous rice flour instead of plain glutinous rice, I set out making tangyuan. Strawberries were not included in the recipe; in its place was an indulgent peanut butter-sesame spread.
Picture
Picture
Picture
Picture
Picture
Picture
Picture
Picture
Picture
Picture
Picture
Picture
​Ingredients
​(Recipe adapted from Octochan @ Instructables)

Dough
- 400g glutinous rice flour (approx. 4.5 cups)
- 3-4 cups water
- 3 tbsp vegetable oil

Filling(s)
- 4 tbsp peanut butter *
- 2 tbsp white sesame seeds *
- 5 tbsp black sesame seeds *
- 75 g matcha jelly/matcha anko *

Sugar Syrup
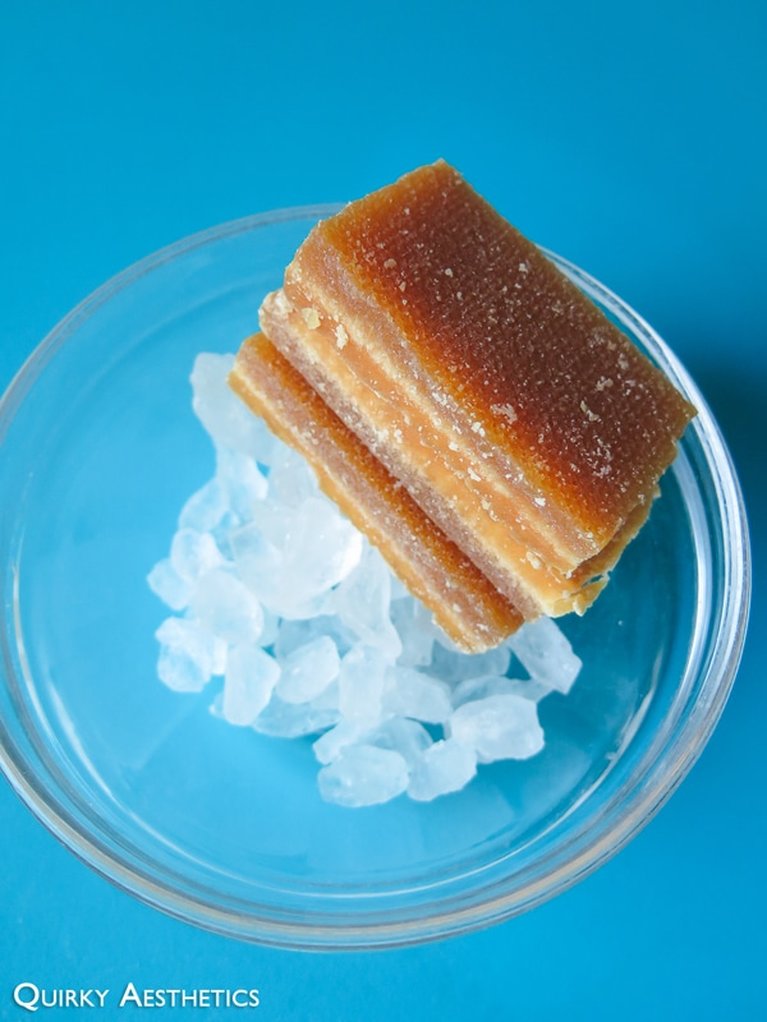
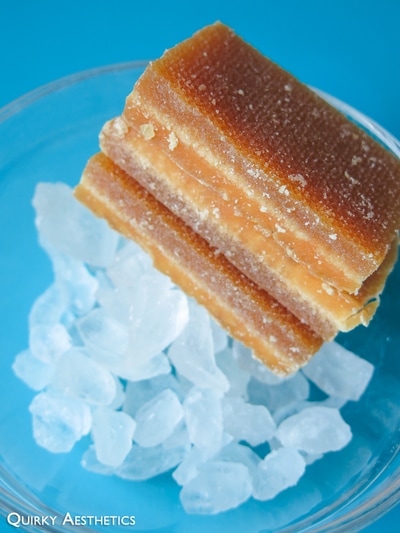
- 0.7-0.9 cups of rock sugar *
- 5 cups water
- 1-2 knobs of ginger (opt.)​

Directions:

i) Filling

1) Place sesame seeds in a shallow pan over medium-high heat. Once popping sounds are heard, reduce the heat the medium, constantly stirring to prevent burning.
2) Remove from heat once white sesame seeds have turned to a golden brown.
3) Grind with a mortar and pestle or fine food processor to the desired consistency. (I crushed majority of the seeds to a fine crumb but allowed several whole bits to remain to add texture).
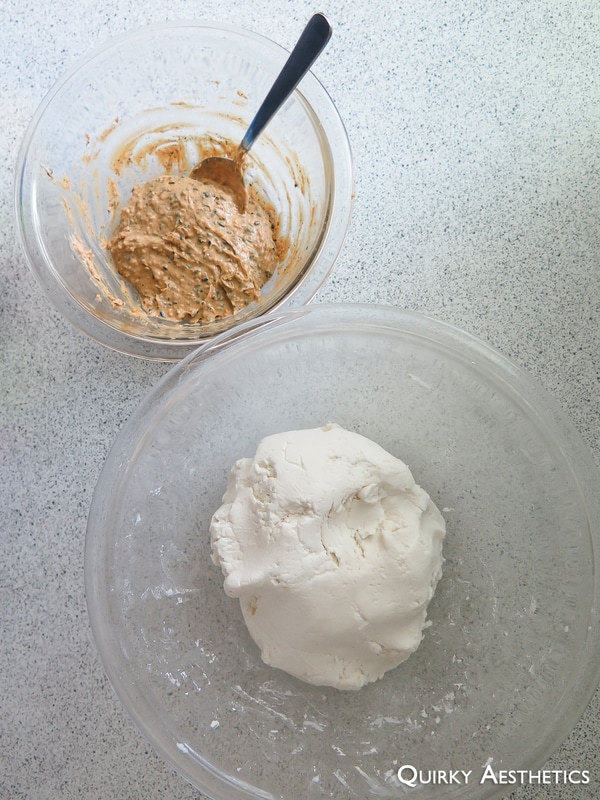
4) Add peanut butter and mix well. Set aside. It is highly recommended to spoon softer fillings onto a lined baking tray and freeze thoroughly before attempting to wrap them. (I tried to seal my tangyuan without freezing the fillings beforehand and saw little success without piling on additional layers of dough.)
5) Chop matcha jelly into pieces roughly measuring 1-2 cm. Set aside.

ii) Dough

1) Line two baking trays with wax paper. Set aside. (More trays may be needed for a larger portion.)
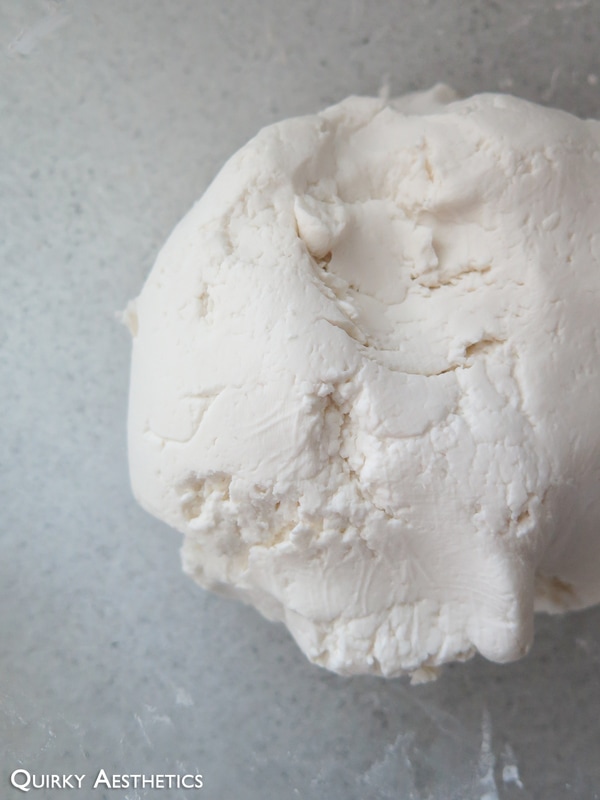
2) Place glutinous rice flour in a large bowl. Make a well in the centre and add vegetable oil and one third of the water.
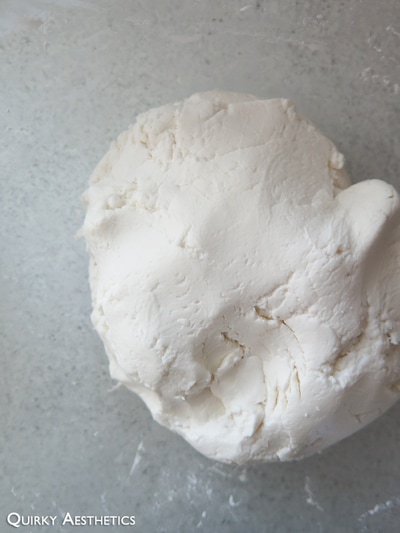
3) Begin mixing with a spoon until large crumbs begin to form. Gradually add in more water while kneading. Repeat this process until the dough has a uniform, smooth texture. The surface should be glossy, but water should be not seeping through towards the bottom of the bowl. Keep in mind that more or less water may be required depending on the desired consistency and presence of filling(s).
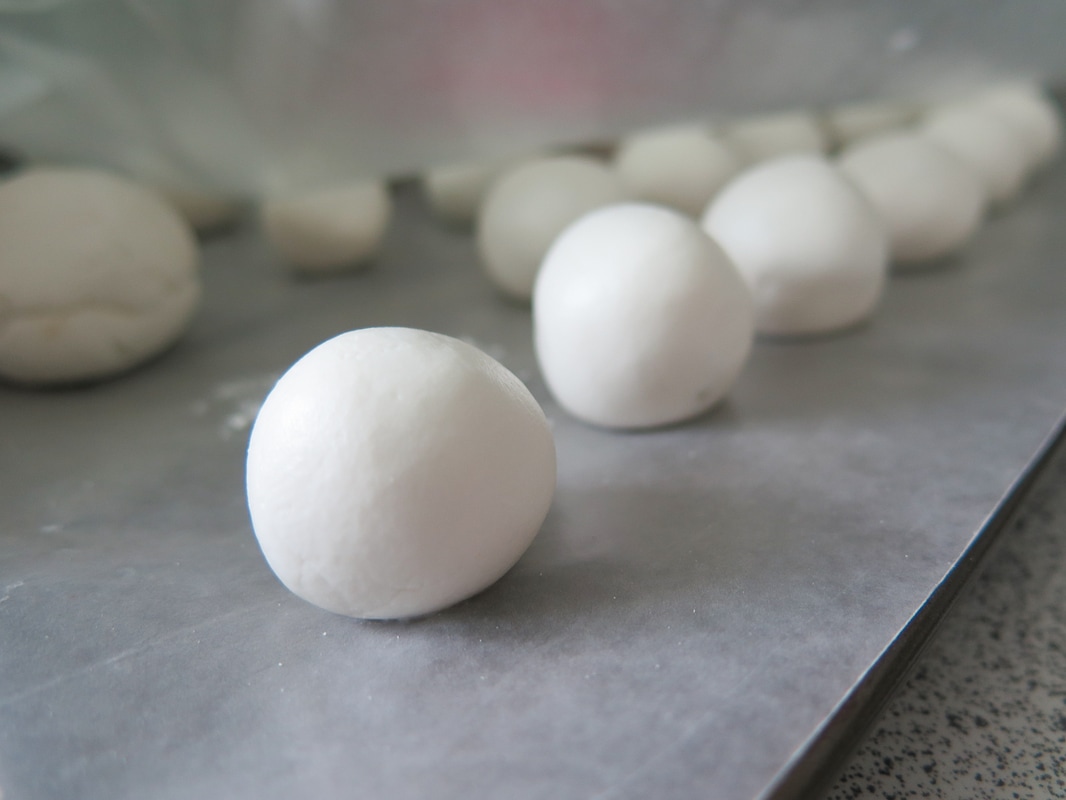
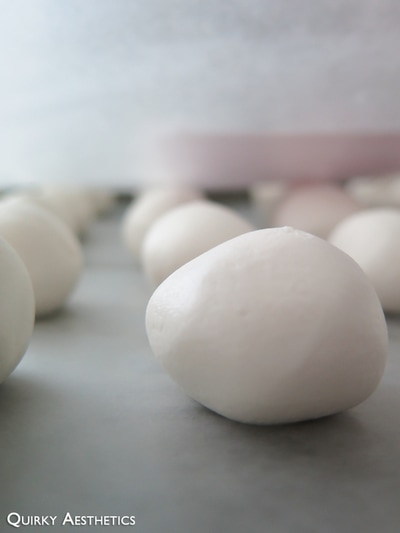
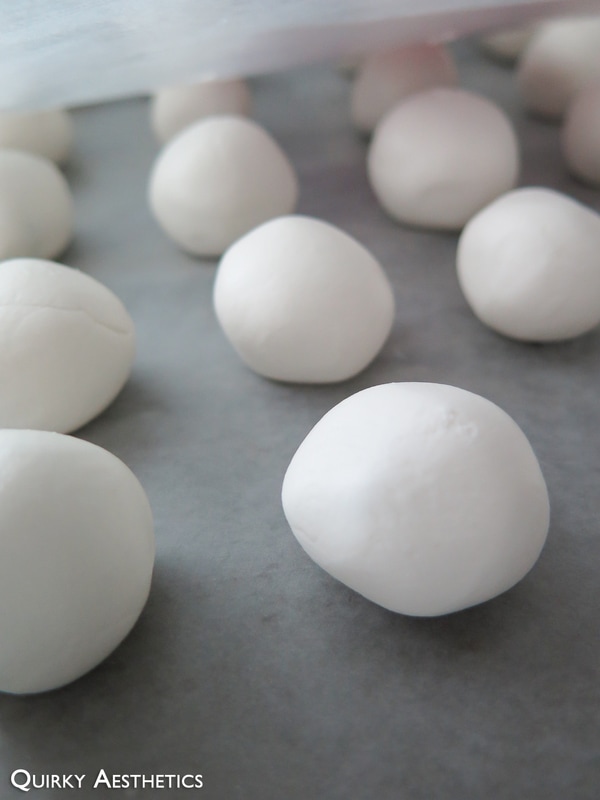
4) To serve the dessert without fillings, knead the dough until it just begins to gleam. Separate chunks of the dough and roll into spheres measuring 1 inch in diameter. Place on baking trays to set.
5) To serve the dessert with fillings, knead the dough until the surface is smooth and glossy. Be sure to keep a small dish of water handy to supplement moisture as the dough dehydrates with air exposure.
6) Separate chunks of dough and roll into balls measuring 1.5 to 2 inches in diameter. Flatten the balls such that the middle section is slightly thicker than the edges. If the edges show signs of cracking, place the ball back into the bowl, add water, and knead again.
7) Place fillings at the centre of the flattened dough ball and seal with care. Should the dough casing break, patch the hole with a thin layer of dough and reshape. If necessary, decrease the amount of filling to prevent spillage. 
8) Repeat until all ingredients have been used up. Place on baking trays to set.
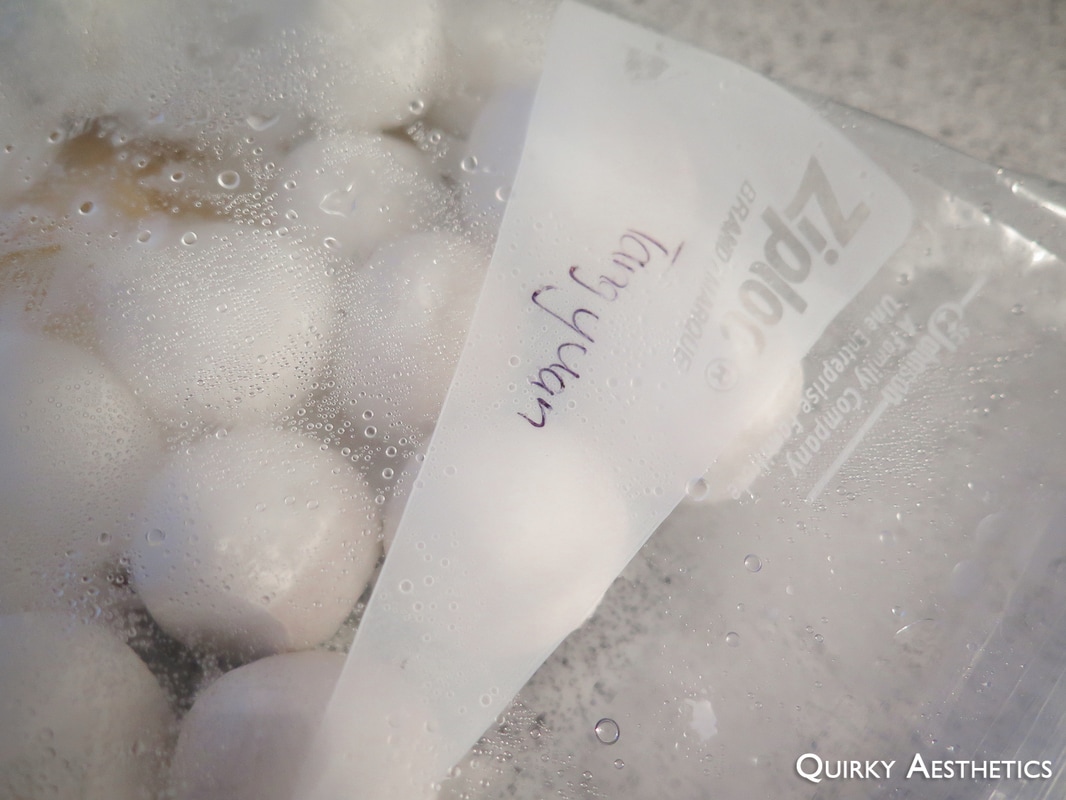
9) Once set, transfer the glutinous rice balls to a plastic bag and store in the freezer. They should last for at least one week, though quick consumption is recommended to ensure freshness.

iii) Sugar Syrup

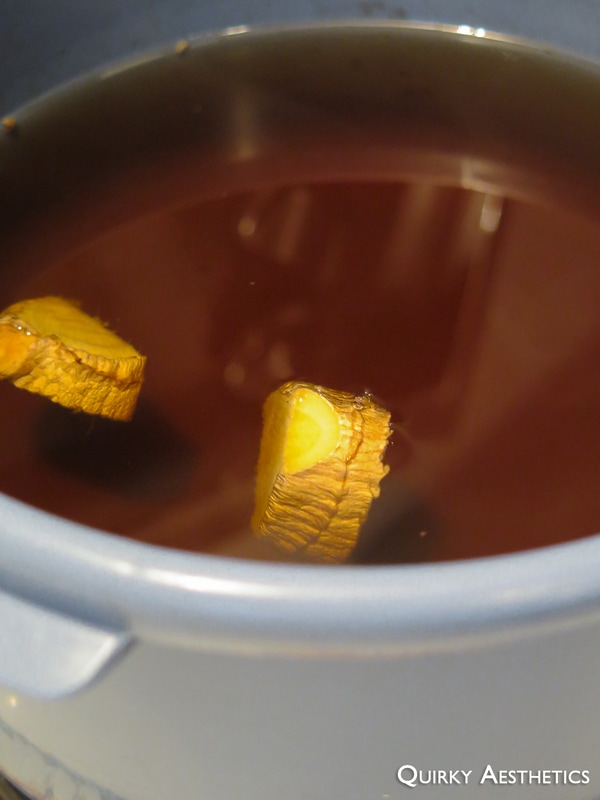
1) Combine rock sugar, ginger, and water in a medium saucepan. Warm over medium heat, stirring to dissolve the sugar lumps. Reduce to low heat once the mixture begins bubbling.
2) Simmer until ginger knobs appear dehydrated, or until an aromatic waft of spiciness can be perceived. Remove from heat and let cool to room temperature.
3) If not consuming immediately, chill in the fridge in an airtight container.

iv) Cooking Instructions

1) Glutinous rice balls should be stored in the freezer and boiled to order.
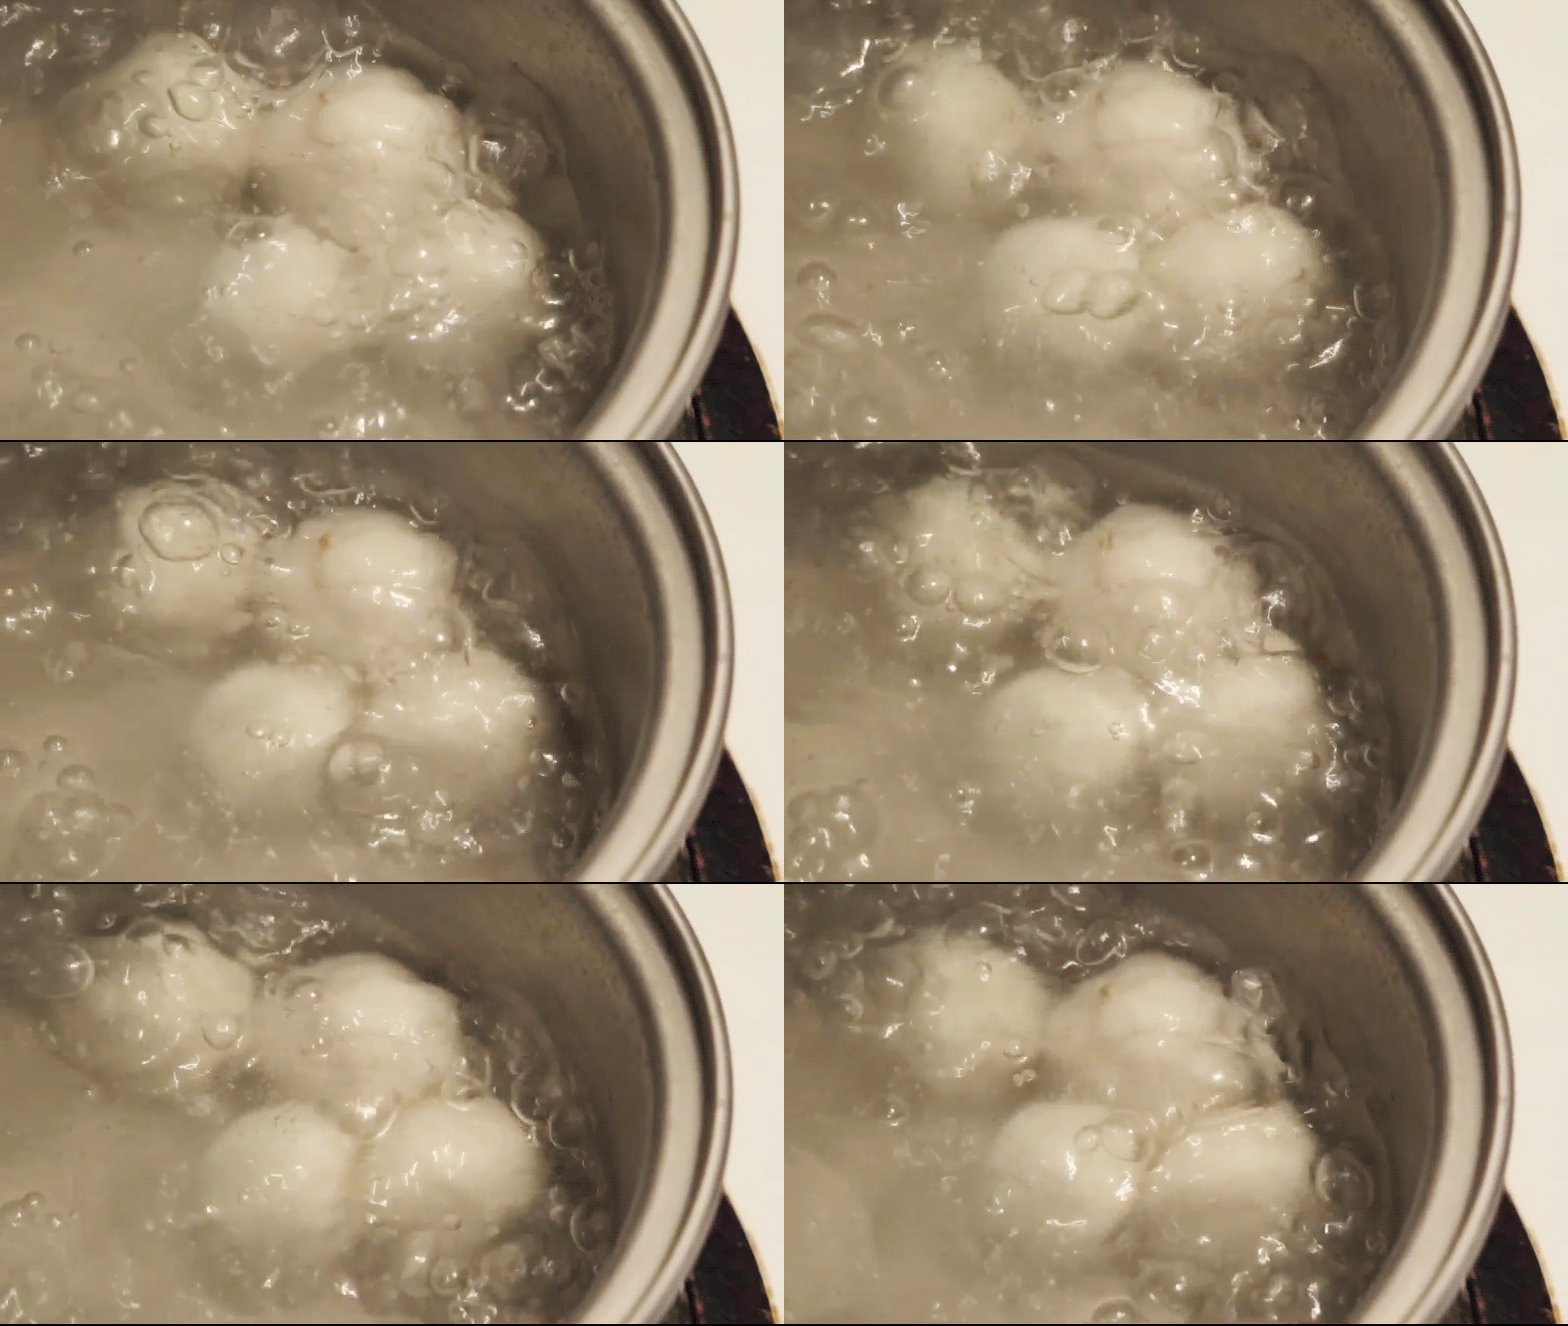
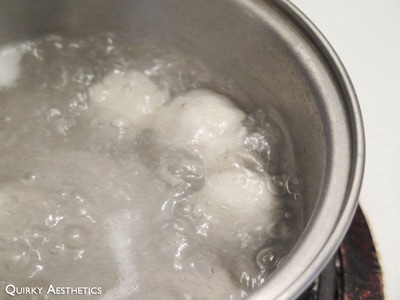
2) Bring water to a roaring boil in a medium saucepan. Add in glutinous rice balls and reduce to medium heat.
3) Allow the glutinous rice balls to cook uncovered. Reduce to medium heat if bubbling turns ferocious, as this can cause splitting of the casing.
4) Once the glutinous rice balls begin to float, continue to boil for 1-2 minutes to ensure interior is cooked thoroughly.
5) Remove from heat immediately and rinse with cold water. This will prohibit the shell from becoming mushy and halt splitting if present.
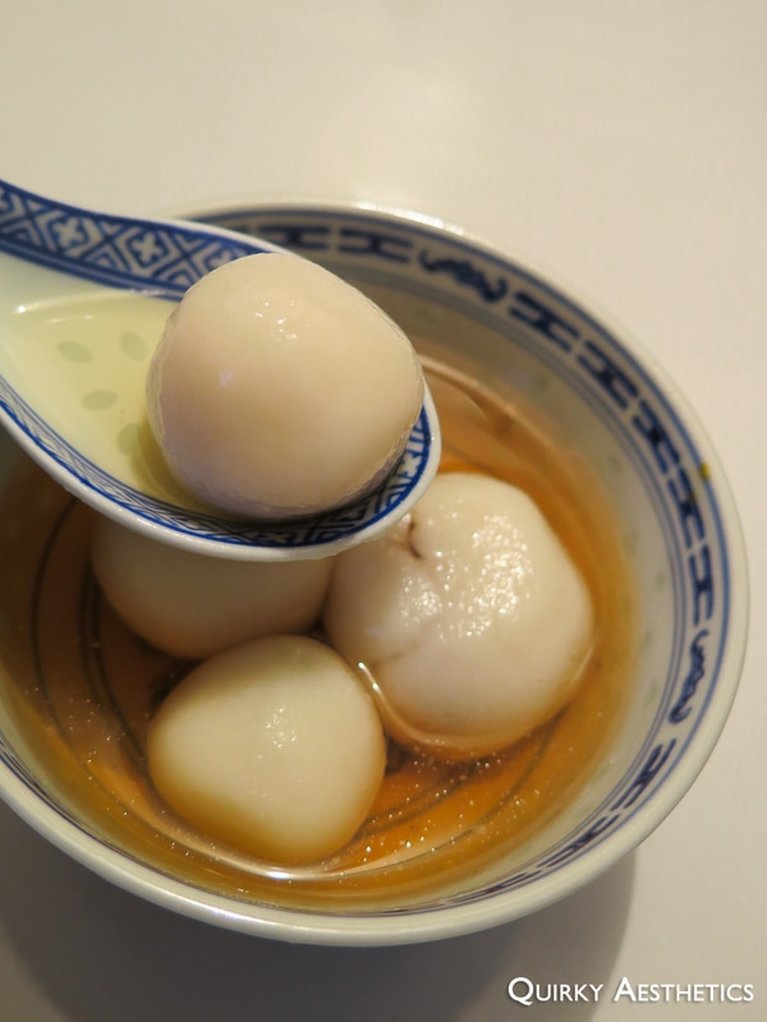
6) Serve with warmed sugar syrup. Enjoy!


Notes
- This recipe was modified accordingly based on the amount of glutinous rice flour on hand. I opted to empty the entire packet (400g) and amplify the original measurements via a similar ratio. Should you wish to use an amount smaller/greater than the 400g specified above, please take heed to scale your ingredients accordingly.
- When toasting black sesame seeds, it is crucial to include a few white sesame seeds in the pan. Colour changes are made more visible with the white sesame seeds, preventing burning of the entire batch.
- Matcha jelly/matcha anko was utilized as a second filling, though can be substituted with other substances of preference. The sole requirement is that the substance should be relatively viscous, if not solid. Should one choose to use matcha anko, I have found a recipe here and a purchasing link here. (For Toronto locals, I obtained my 150 g block from Sanko on Queen West.)
- The peanut butter to sesame seed ratio is up to one's own discretion; peanut butter can also be swapped for other nut butters should peanut allergies be an issue.
- To render this recipe vegan, simply omit the jelly (as it contains gelatin) and substitute the filling with an unprocessed nut butter.
- Dessert soup-appropriate rock sugar can be purchased in the form of brown sugar slabs or assymetrical white crystals. Either can be utilized for this recipe. If including ginger, it is recommended to use at least one brown sugar slab for its richer depth.
- Personally, a lighter sugar syrup is preferred. However, feel free to adjust the amount of inputted sugar to your own liking.
2 Comments

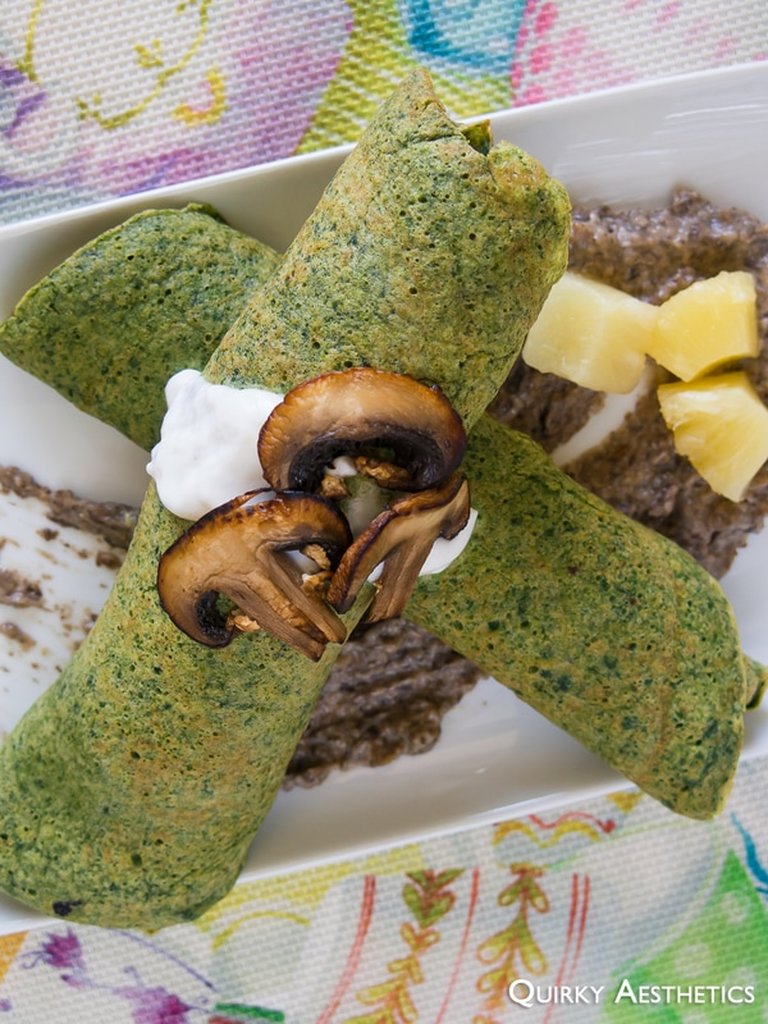
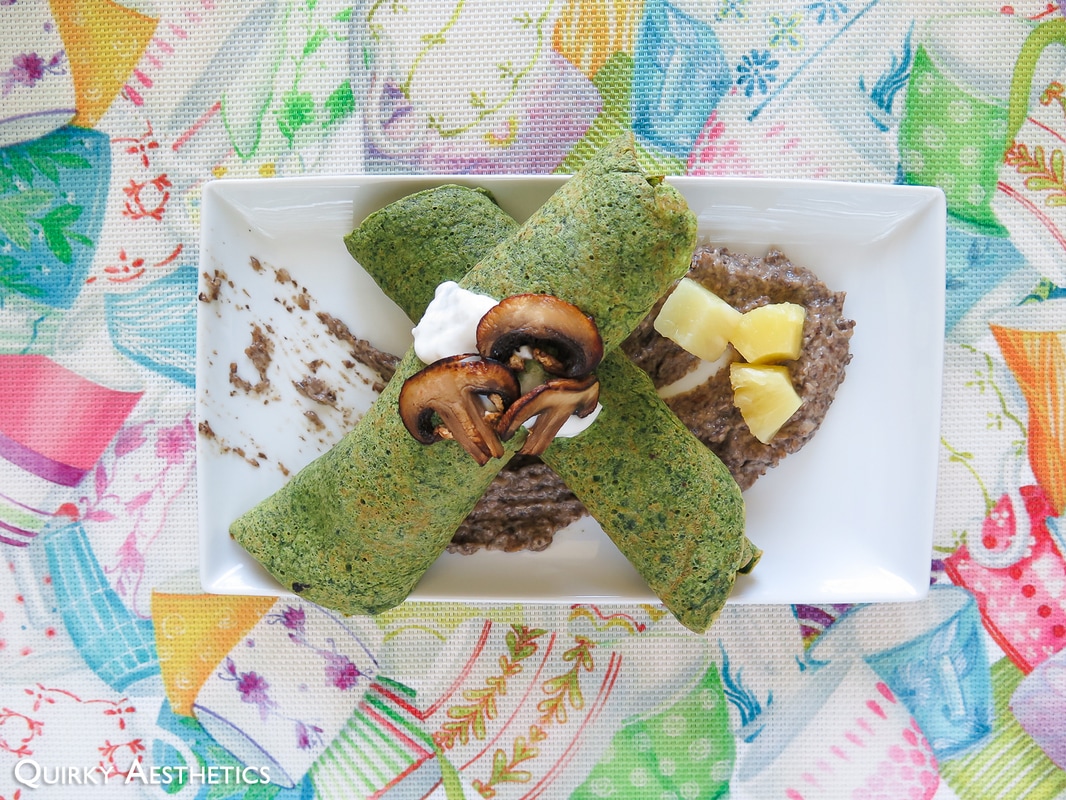
Vegetable Borscht Soup + Spinach Roll-Ups

5/14/2017

0 Comments

 
Having a unmistakable affection for sleeping in is synonymous with an adoration for brunch. Though as much as I enjoy brunch in a cozy, bustling setting with thirty plus other diners, I passionately despise lineups and traffic congestion.
I prefer to take brunch in my own hands, even if it involves an incredibly lengthy clean-up process. The results are always well worth my planning and culinary efforts - just be sure to set aside enough time to enjoy the meal!

Happy Mother's Day to all the intrepid, loving mothers around the world!
Picture
Picture
Picture
Picture
Ingredients

Vegetable Borscht Soup
- 3 medium tomatoes
- 2 bell peppers, chopped
- 1 can sliced beets (or 1 whole beet, sliced)
- 2 zucchini, sliced
- 1 sweet potato, diced
- 1 red onion, diced
- 1 carrot, diced
- 1 can Swanson chicken stock (approx. 412 mL)
- 2 tbsp Worcestershire sauce
- vegetable oil
- dollop of sour cream (optional)


​Spinach Roll-Ups

Crepes
- 1 bunch spinach
- 5 eggs
- 3/4 cup milk
- 1 cup all-purpose flour
- 1 tsp cornstarch
- 5 - 6 turkey breast deli slices
- 1 mushroom, sliced *

Mushroom Mayo
(
Recipe inspired by and adapted from SORTED Food)
- 11 cremini mushrooms, roughly chopped
- 1 tbsp butter
- 1 tbsp syrup
- 3 - 4 tbsp mayonnaise
- 1-2 tbsp bulgogi sauce
- sea salt
- 1 tsp wasabi *
- garlic powder *
Directions:

i) Vegetable Borscht Soup

1) Preheat oven to 375 F.
2) Cut tomatoes in small chunks, leaving one halve unsliced for topping (if desired). Slice the half into wedges and set aside.
3) Lightly coat half of the diced tomatoes with oil and sea salt. Roast for 12 minutes at 375 F.
4) Roast diced bell peppers for 9 minutes at 375 F.
5) Heat vegetable oil in a pot over medium-high heat. Sautée onions until soft and fragrant.
6) Add in beets, sweet potato, peppers, zucchini, and unroasted tomatoes.
7) Pour in one can of chicken stock (approximately 412 mL). Reduce the heat to medium and allow to simmer for 6 minutes, covered.
8) Once the vegetables have softened, partially pulverize the mixture using an emulsion blender. Continue blending until half of the vegetables remain intact.
9) Add in roasted tomatoes and worchestershire sauce. Mix well.
10) Add a small amount of water such that all components are submerged. Continue to simmer covered for several minutes.
11) Turn off heat and set aside covered.
12) In a shallow pan over high heat, roast tomato wedges until evenly charred on each side. Set aside for topping. (Optional)
13) Ladle soup in a bowl and top with charred tomato wedges, a dollop of sour cream, and thinly sliced scallions (if desired).
14) Serve and enjoy!

ii) Spinach Roll-Ups - Crepes

1) Allow spinach to wilt over a large pot over medium heat. Stir the bottom-most pieces every so often to prevent burning.
2) Transfer the wilted spinach to a bowl to cool. Pulverize in a food processor until smooth and free from lumps. Set aside and prepare crepe/pancake batter.
3) In a large bowl, whisk eggs and add in milk.
4) Fold in spinach paste and combine well.
5) Sift in flour and cornstarch, then mix well to incorporate.
6) Heat vegetable oil in a large, shallow pan over medium-high heat. Use a paper towel square to remove excess oil and grease the inside of the pan. Do not discard this paper towel; place on a small dish for re-use.
7) Using a ladle, spoon the batter into the pan and reduce to medium heat. Cover and allow to cook slowly.
8) Flip the pancake when bubbles appear on the surface. Allow to cook covered for 3 to 5 minutes before removing from heat.
9) Grease the pan again and repeat until no more batter remains. Let crepes cool to room temperature.

iii) Spinach Roll-Ups - Mushroom Mayo

10) In a small pot over medium, melt butter until foamy.
11) Add in chopped mushroom, sea salt, and sugar syrup.
12) Cover and allow to cook, keeping the pot moving every thirty seconds.
13) Stir to ensure that all sides are cooked evenly.
14) Once browned and softened, transfer mushrooms to a small bowl to cool.
15) Blend in a food processor until smooth.
16) Combine mushroom paste, mayonnaise, bulgogi sauce, and seasonings of choice in a medium bowl. Cover and place in the refrigerator to chill.
​
iv) Spinach Roll-Ups - Assembly

17) In a shallow pan over high heat, roast mushroom slices until evenly charred on each side. Set aside for topping. (Optional)
18) Place two slices of turkey breast at the outer edges of the pancake and roll laterally.
19) Remove mushroom mayo from fridge and spread a thin layer onto a serving plate. Arrange Spinach Roll-Ups on top and serve with charred mushrooms.
20) Serve and enjoy!
​
Notes
- Tomato wedges and sliced mushrooms were set aside for charring and topping the above dishes, though this step can be eliminated if toppings are not desired.
- Mushroom Mayo seasonings can be adjusted to one's preferences. I have added wasabi and garlic powder, however feel free to add/remove seasonings as necessary.
- For the Spinach Roll-Ups, I utilized a ratio of 1 bunch of spinach to 5 eggs. This yielded a rather thick pancake as opposed to the thin crepe that I had been aiming for. It is recommended to reduce the amount of spinach paste for a thinner crepe.
- This recipe can be made vegetarian by swapping deli turkey breast slices for animal-free alternatives (such as tofu pockets or enoki mushrooms).
0 Comments

Yuzu Plum Iced Tea

4/20/2017

0 Comments

 
Frigid winter temperatures mean steamy, spicy sips, but spring calls for refreshing glasses of fruity iced teas.

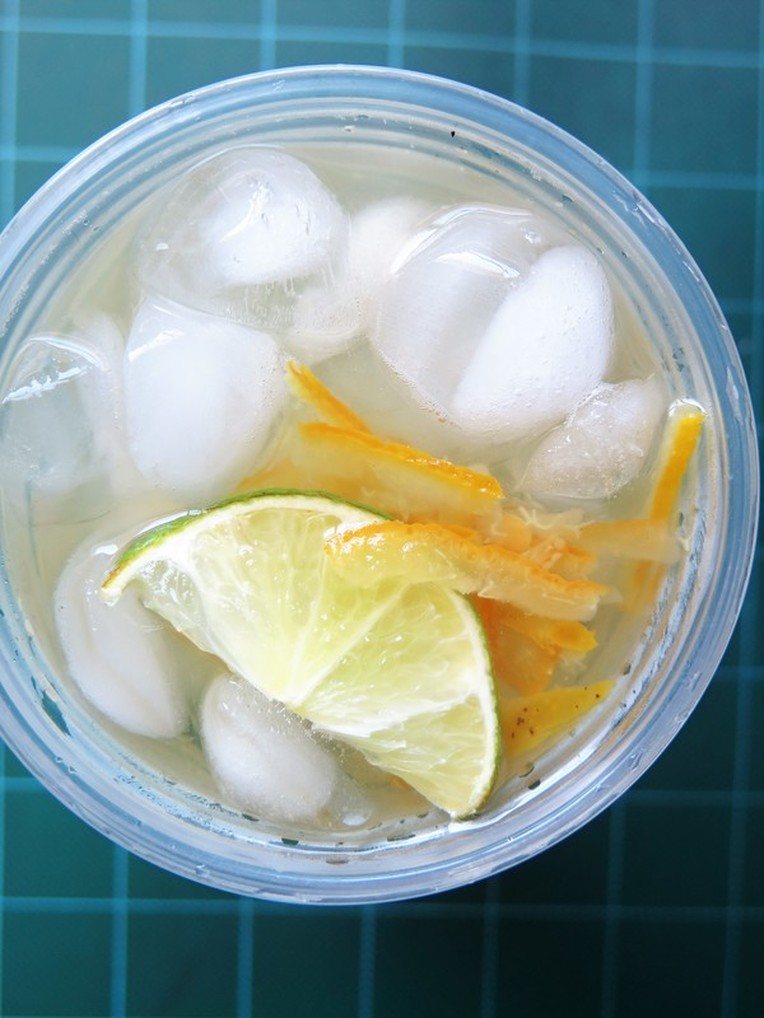
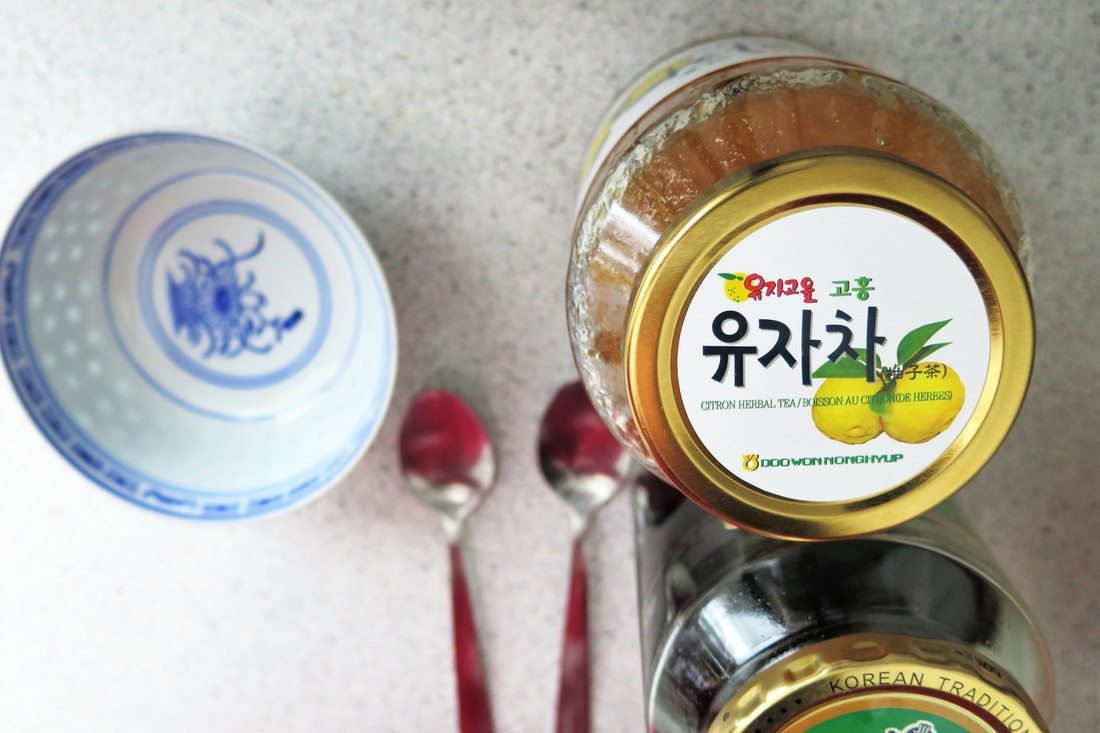
Mixing yuzu, also known as Honey Citron, and Korean sour plum (매실) with cold green tea has been a consistent favourite as of late. It transitions well from the season of showers to the summer months, and can even be transformed into a slushie for added cooling relief.

Once again, I've attempted to illustrate the steps in video format (sans music for the sake of maintaining my copyright strike profile clean). As the video recipe is text-less, please refer to the ingredient list below for approximate proportions.
Picture
Picture
Ingredients
​
- 1 lime wedge
- 1/2 cup ice
- 1-2 tsp yuzu/honey citron tea
- 2 tsp sour plum concentrate
- 1/3 cup hot water
- 2/3 cup green tea, chilled *​

Directions:

0) Brew preferred variety of green tea, then let cool and refrigerate for at least four hours.
1) Place lime wedge and ice cubes in a cup. Puncture lime wedge to release juices.
2) Pour chilled green tea over the lime wedge and ice cubes until cup is one third full.
3) Dissolve yuzu and sour plum concentrate in hot water. Pour over tea.
4) Fill the remainder of the cup with green tea. Stir to combine well.
5) Serve and enjoy!​

Notes
- For this recipe, I have opted to use DAVIDsTEA's Organic Sweet Almond Green, a floral green tea with strong almond influence. However, feel free to use your desired tea variety. (This recipe could also be crafted with a bergamot-based black tea, though I have yet to experiment with this combination.)
- Based on personal preferences, a 1:1 ratio of yuzu and sour plum have been found to yield the most pleasing results. Should one deduce the need to increase either of these proportions, please feel free to do so, as this recipe is merely a guideline.
- For those adhering to a vegan diet, I would suggest double-checking the labels of the Honey Citron Tea and Sour Plum Concentrate, though chances of animal interference are low.
0 Comments

Curry Japchae

4/1/2017

0 Comments

 
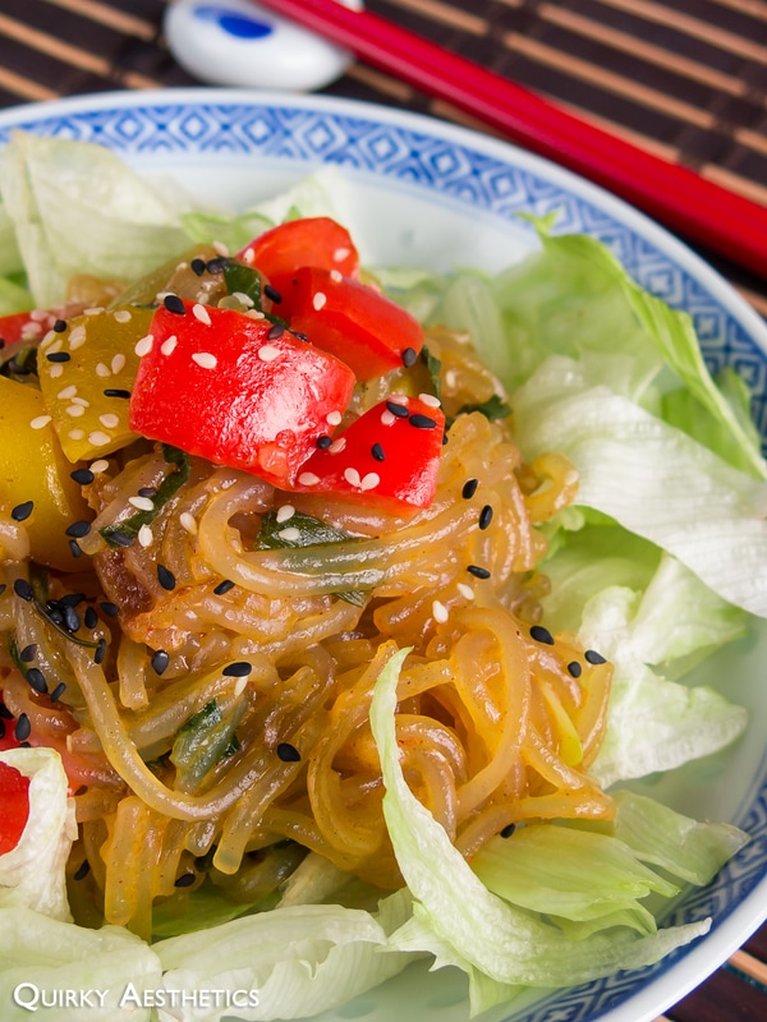
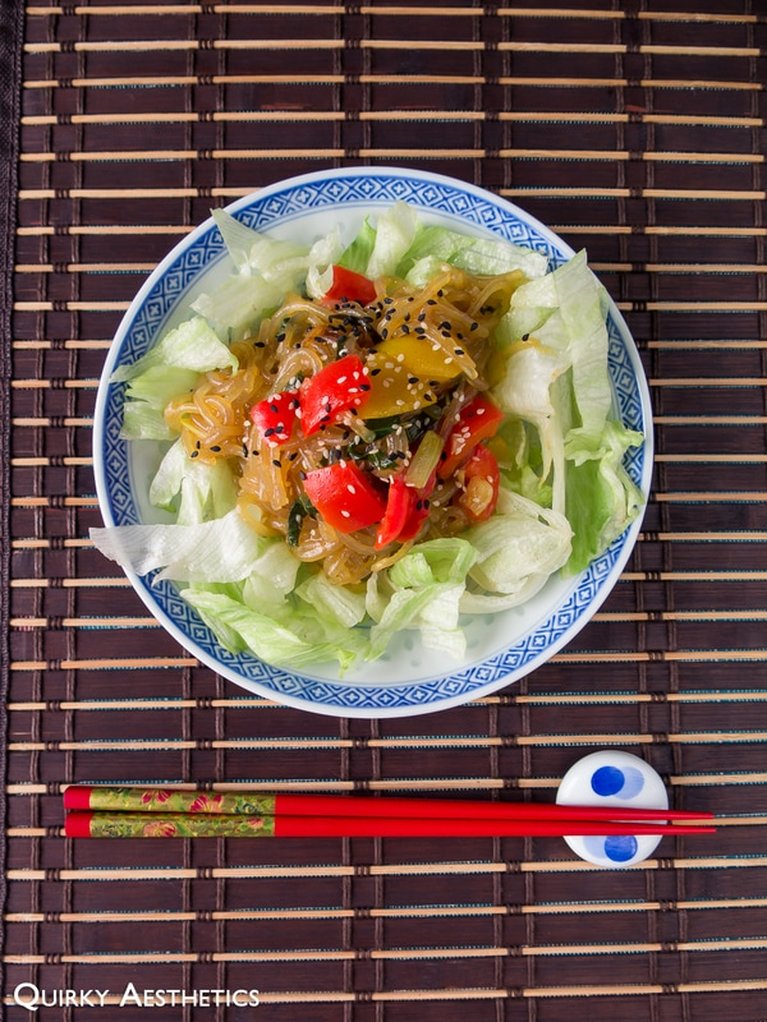
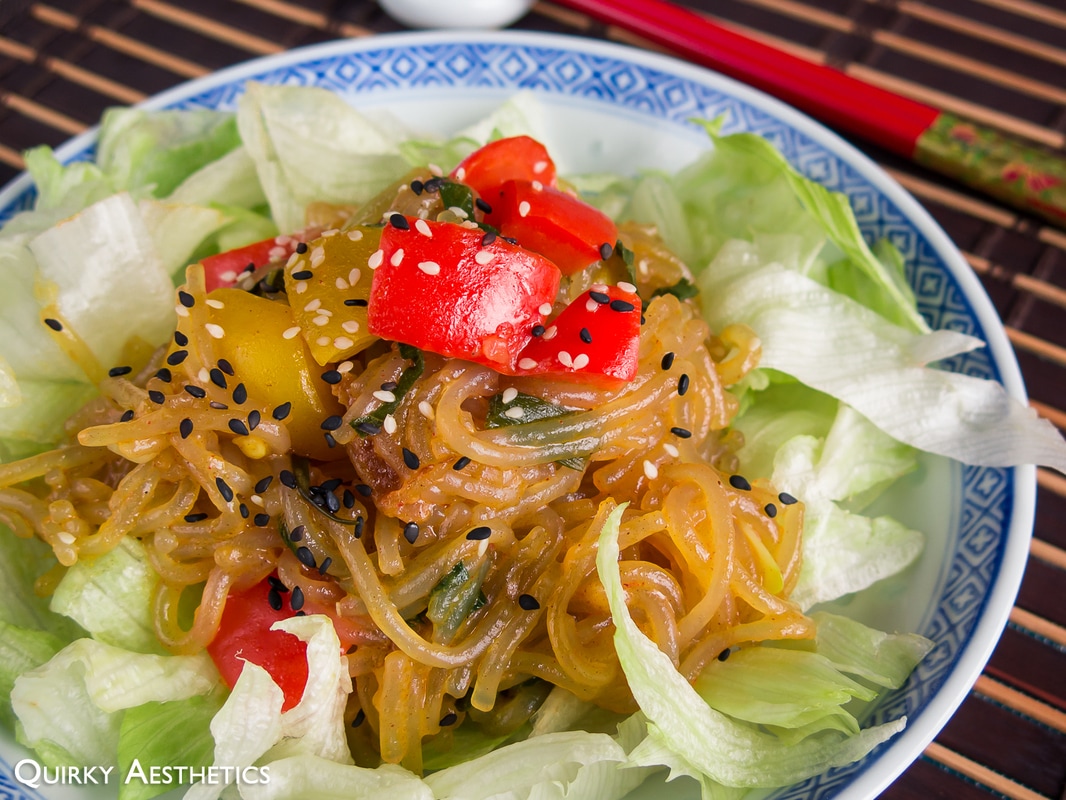
The box of curry on our countertop has been beckoning for my attention for some time now. With some unattractive leftovers in the fridge and an enormous bag of unopened japchae noodes peeking out from behind, I set to work combining the two to create a predominantly Korean-inspired dish with an injection of Japanese-style yellow curry.
Picture
Picture
Picture
Ingredients

Japchae
- 1 bunch japchae (sweet potato) noodles
- 2 bell peppers, roughly diced
- 1 onion, chopped
- 1 shallot, chopped
- 1 small knob ginger
- 4 perilla leaves, thinly sliced
- 1/3 cup vegetable oil
- 2 tbsp sesame oil
- sesame seeds (opt.)

Sauce
- 1 quarter block Golden Curry mild curry roux *
- 2 tbsp bulgogi sauce
- 1-2 tbsp kimchi base sauce
- 1 tbsp cane syrup *
- 1 tbsp light soy sauce
- 1 tbsp whipped peanut butter
- 1 tsp rice wine vinegar
- 1 tsp cornstarch (opt.)
​
Directions:

1) Bring a pot of water to a roaring boil. Add in japchae noodles and mix quickly. Remove and rinse with cold water before it softens. (See note.) Set aside.
2) Blanch the diced peppers until partially cooked. The colours will become a tad more vibrant, but shouldn't be able to be easily pierced by a fork. Rise with cold water and set aside.
3) In a medium bowl, dissolve the curry block with a small amount of hot water. Add in all sauce ingredients and mix well. Set aside.
4) Heat vegetable oil in a large pot. Over high heat, stir fry chopped onion, shallot, and ginger until fragrant and slightly golden.
5) Add in japchae and peppers, stirring to make sure that nothing adheres to the bottom of the pot.
6) Quickly add in the sauce mixture and toss to coat the japchae evenly. Feel free to add water at this stage to make the mixing process easier.
7) Add in sesame oil and any other sauce modifications if desired. Add perilla leaves.
8) Reduce heat to medium and continue stirring until sauce thickens. If too much water was added during the previous steps, mix cornstarch with a small amount of water and add it into the pot.
9) Remove from heat once sauce has thickened.
10) Let cool and top with sesame seeds (if desired).
11) Serve and enjoy!

Notes
- Admittedly, I overcooked the japchae noodles, causing the strands to disintegrate and adopt a mushy texture once the sauce was mixed in. As such, I would advise cooking the noodles only briefly, or simply rinsing them once before stir-frying.
- Rice wine vinegar is an optional ingredient, however I find that the tartness helps to balance the creamness of the peanut butter and curry roux. If available, fresh lime juice would be an even better alternative.
- Feel free to substitute cane syrup with sugar or honey.
- This recipe is versatile and can be altered based on one's dining preferences. Bits of ham or sausage can be added to the pot for a source of protein. It can also be made vegan with curry roux that is free of animal byproucts - Golden Curry contains "edible oil and fat" (derived from unspecified sources).
- While japchae noodles themselves are gluten-free, please be aware that the curry roux used in this recipe contains wheat.
- I used a mild curry block for this recipe, however feel free to adjust the spiciness to your liking.

0 Comments
<<Previous
    The Sweet
    The Savoury

    Archives

    July 2020
    March 2020
    January 2020
    April 2019
    August 2018
    June 2018
    April 2018
    February 2018
    December 2017
    November 2017
    August 2017
    July 2017
    May 2017
    April 2017
    February 2017
    January 2017
    December 2016
    April 2016
    March 2016
    October 2015
    September 2015
    July 2015
    January 2015
    December 2014
    June 2014
    March 2014
    February 2014
    January 2014
    December 2013
    November 2013
    October 2013
    September 2013
    August 2013


    Categories

    All
    Brownie
    Chocolate
    Christmas Recipes
    Easy Recipes
    Gluten Free
    High Fibre
    High Potassium
    High Protein
    Ice Cream
    Japanese Style
    Low Carb
    Low Cholestrol
    Low Fat
    Low Sodium
    Matcha
    Microwave Recipe
    Quick Recipes
    Savoury Recipes
    Sweet Recipes
    Vegan
    Vegetarian
    Yuzu


    RSS Feed

WHAT DOES "QUIRKY AESTHETICS" MEAN?

Quirky =  a term that commonly refers to something/someone distinctly different and unique
Aesthetics = the visual aspect of things


Together, Quirky Aesthetics refers to the things, events, and happenings seen and perceived by this blog's creator - quirky perspectives in a visual form.

Contact ME

​Subscribe

Join our mailing list today!
Join Now
© Quirky Aesthetics. All rights reserved. Last modified: August 10, 2015.